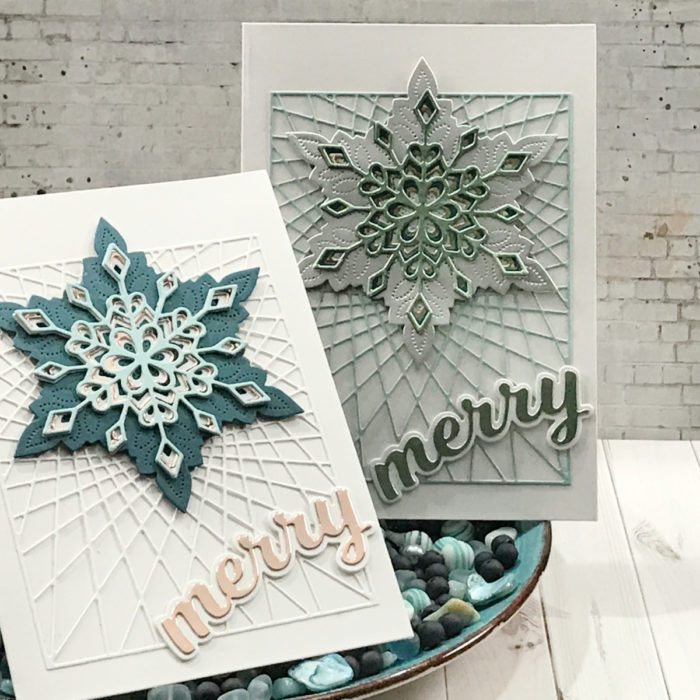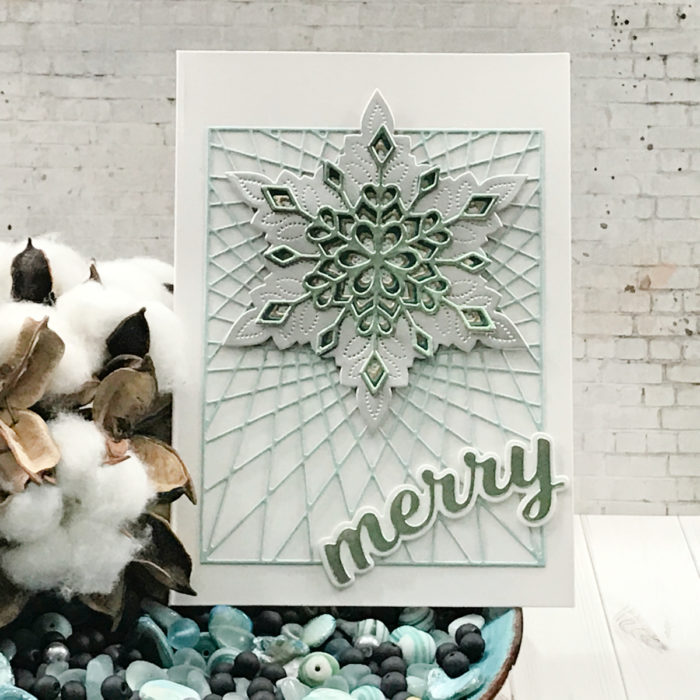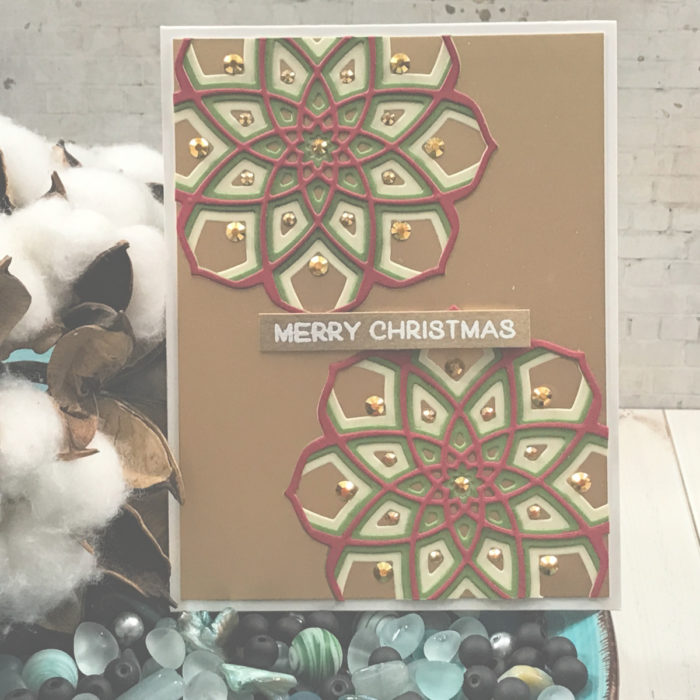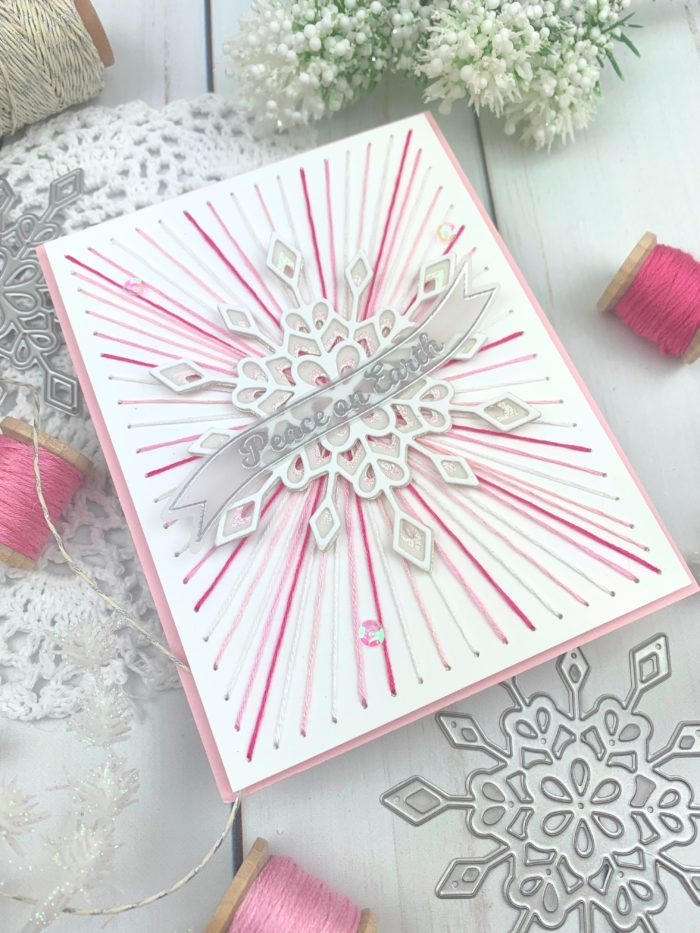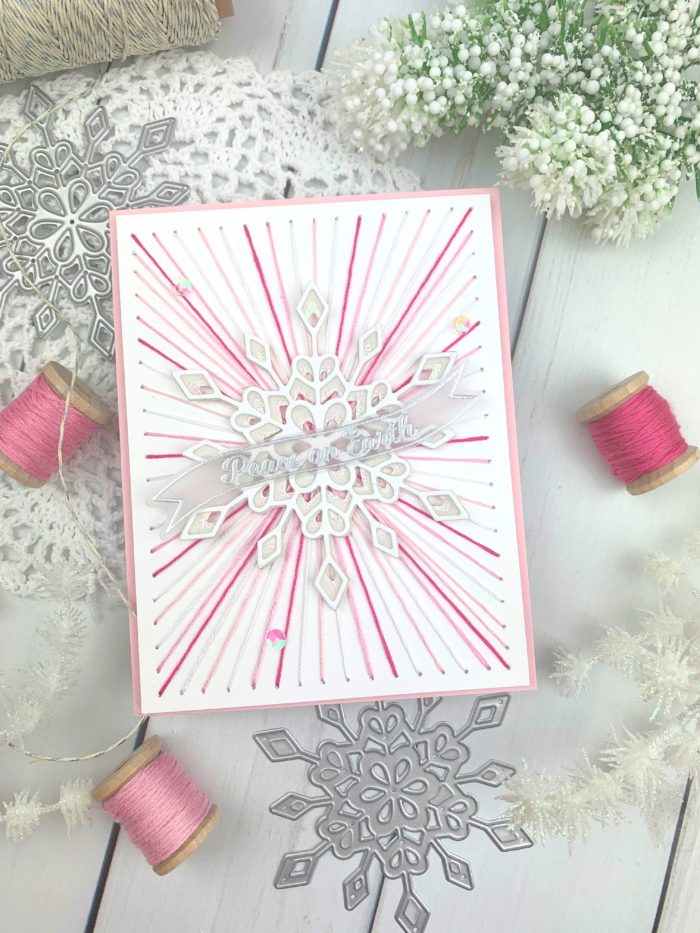
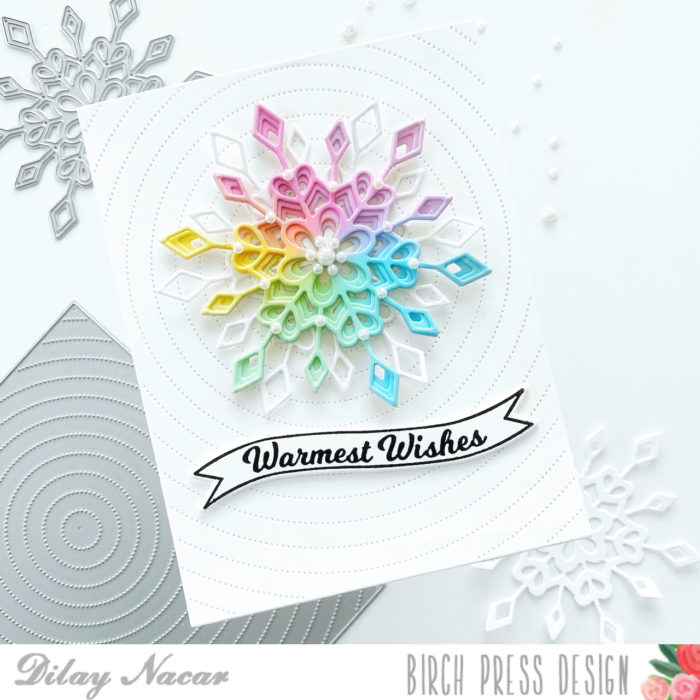
Welcome back, crafty friends! Dilay here from justcallmedee.com sharing a fun, holiday-themed rainbow snowflake card! Today’s card is quick and easy to recreate, perfect for your last minute cards!
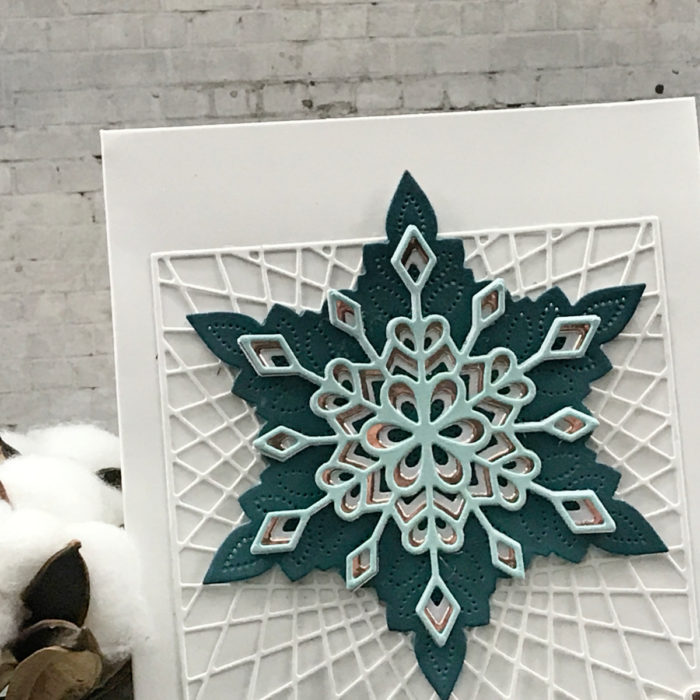
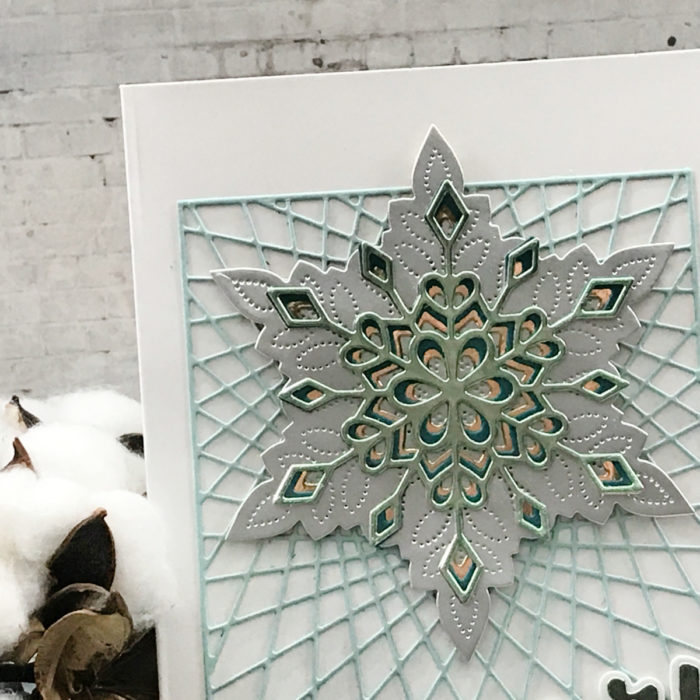
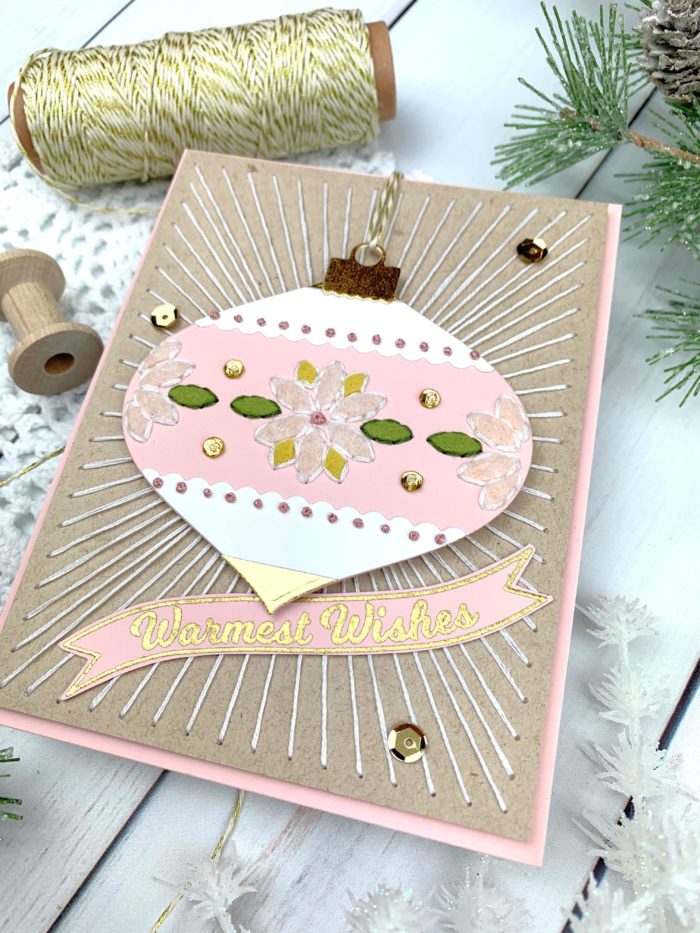
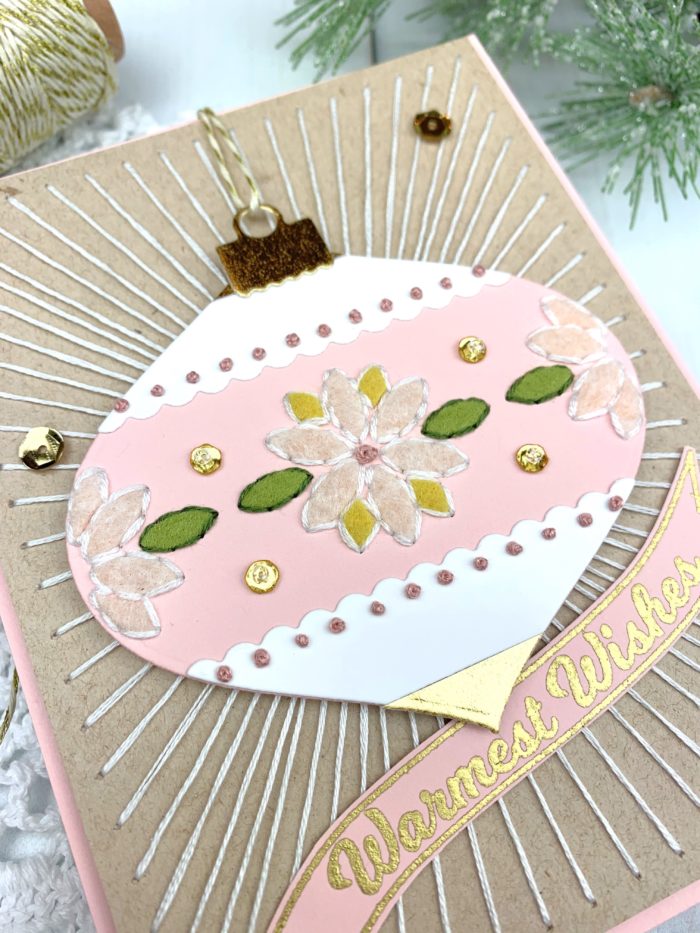
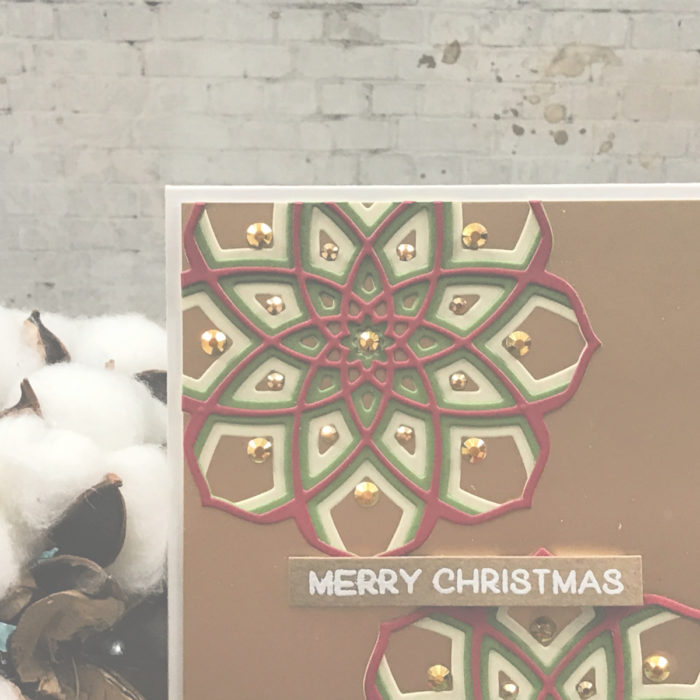
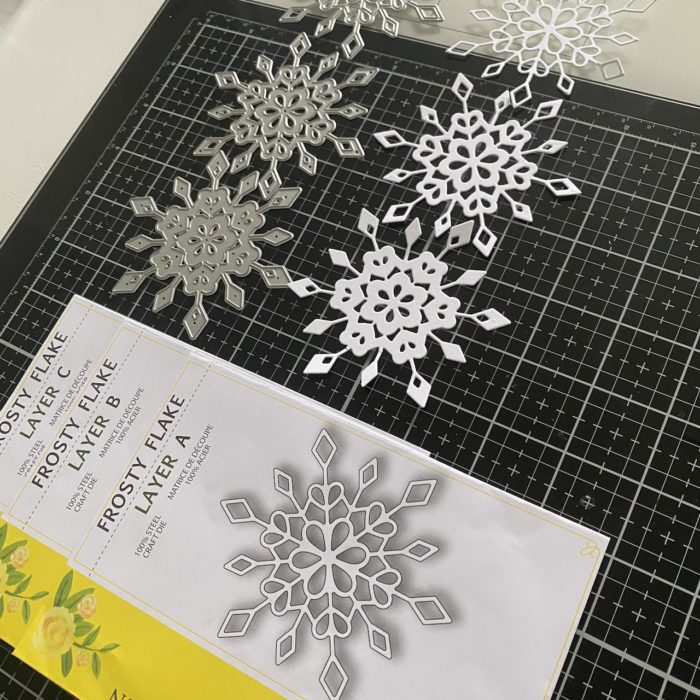
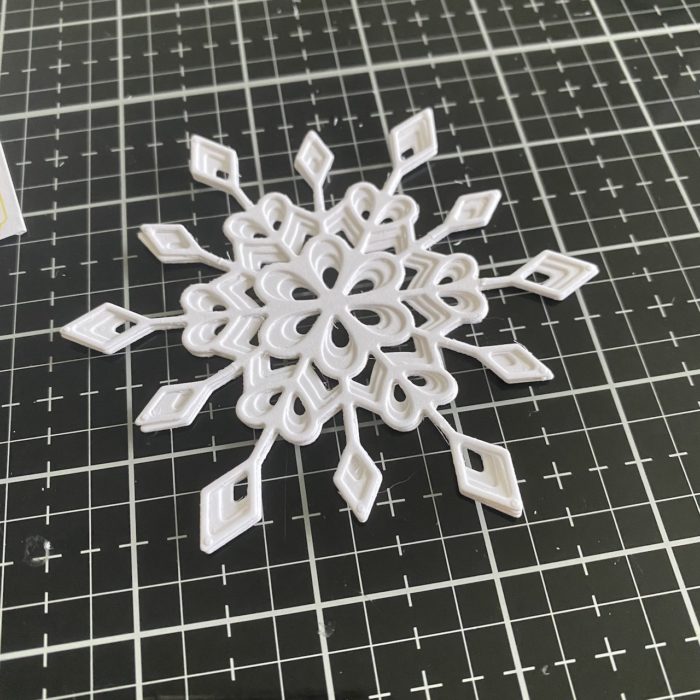
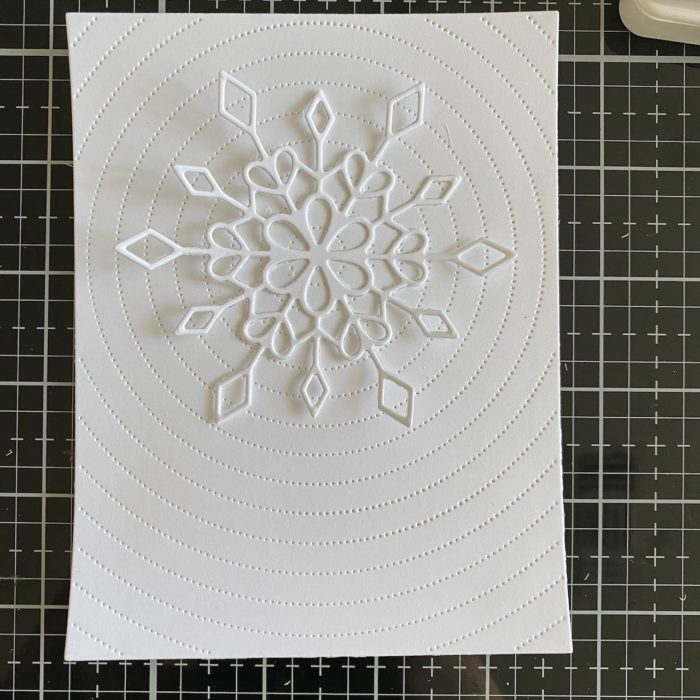
To begin, I die cut the ‘Frosty Flake Layer Set’ A, B, and C layering die and adhered them together. I also cut an additional layer A and set that aside to place under my snowflake for added dimension.
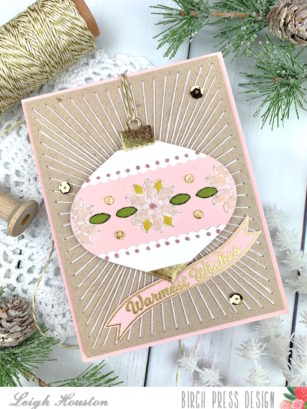
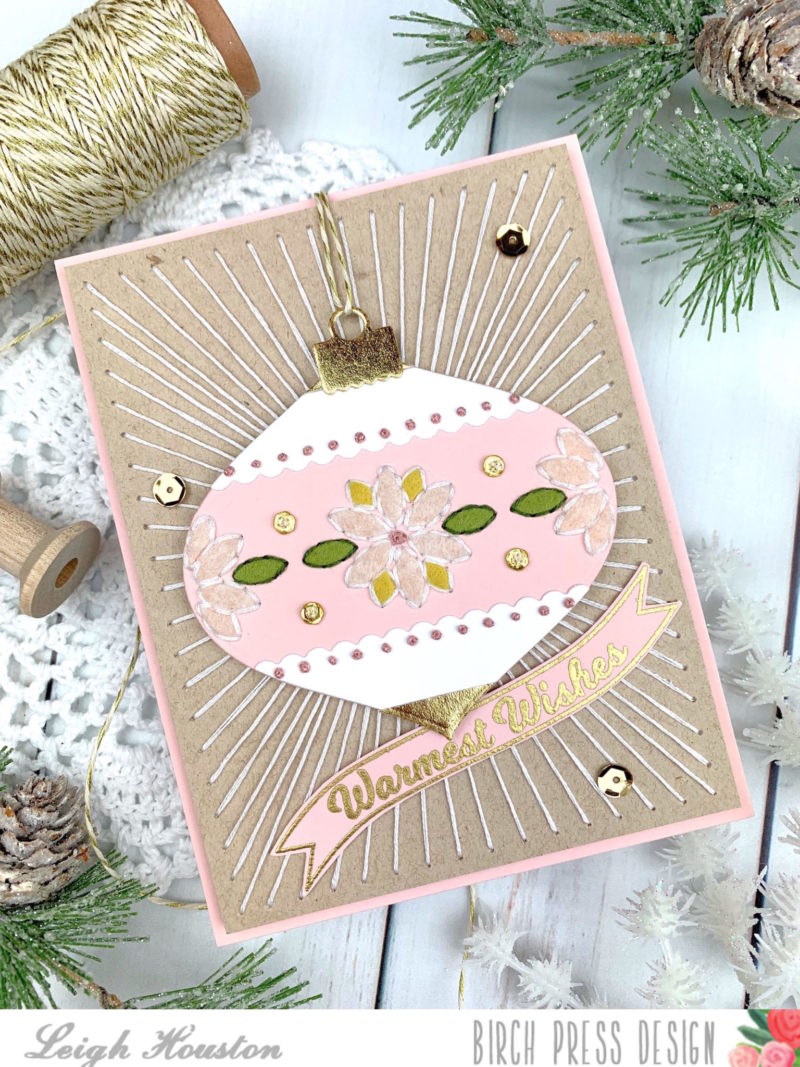
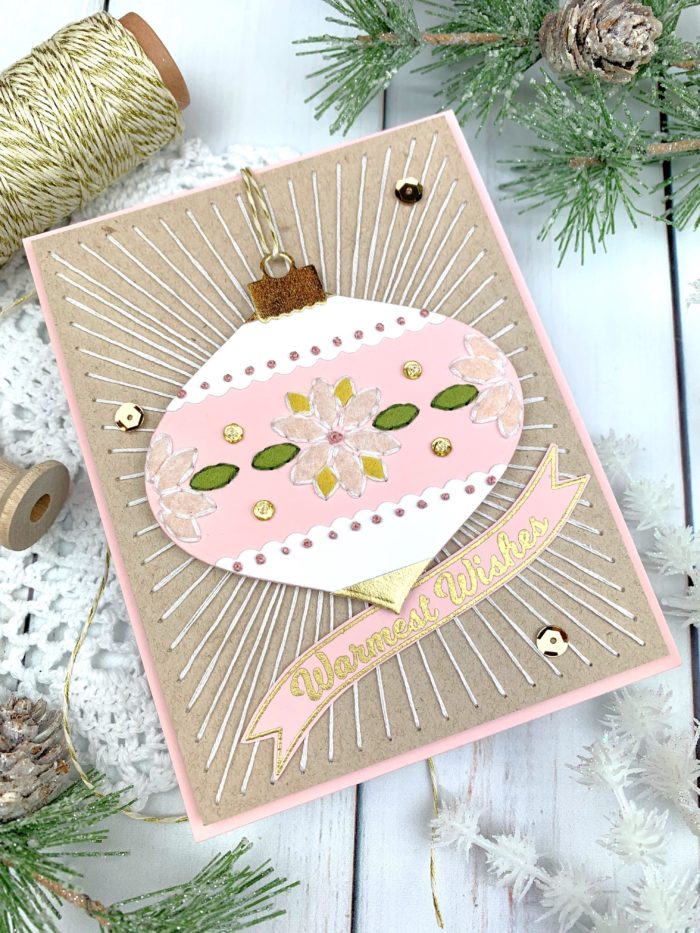
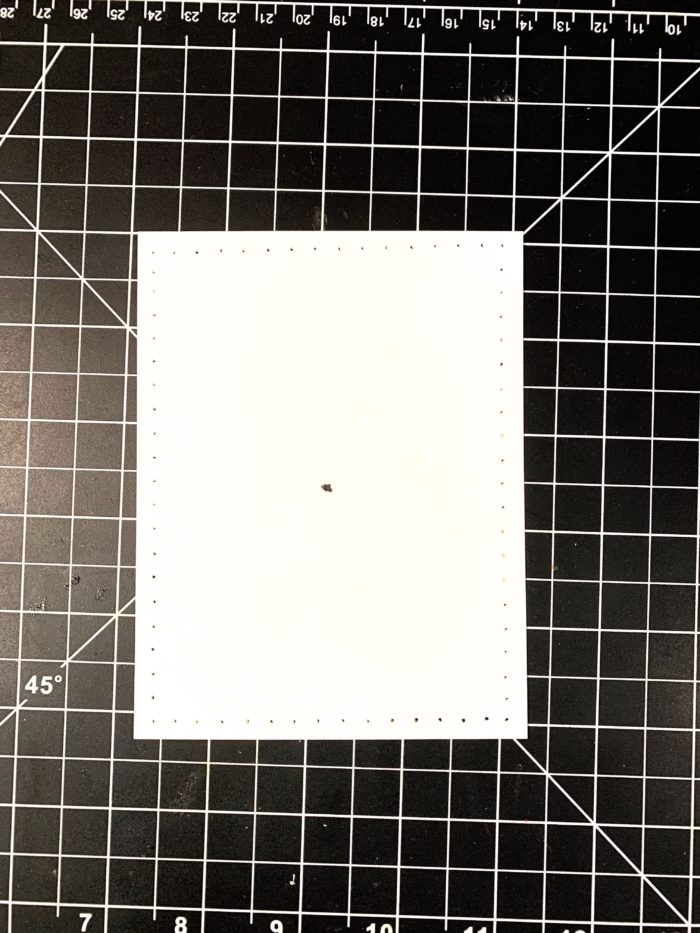
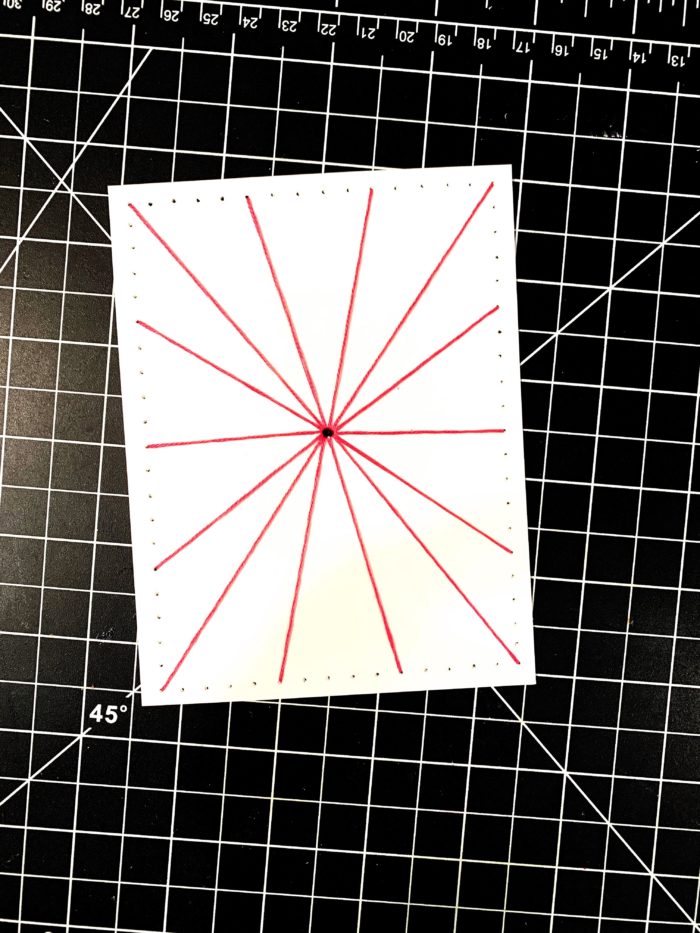
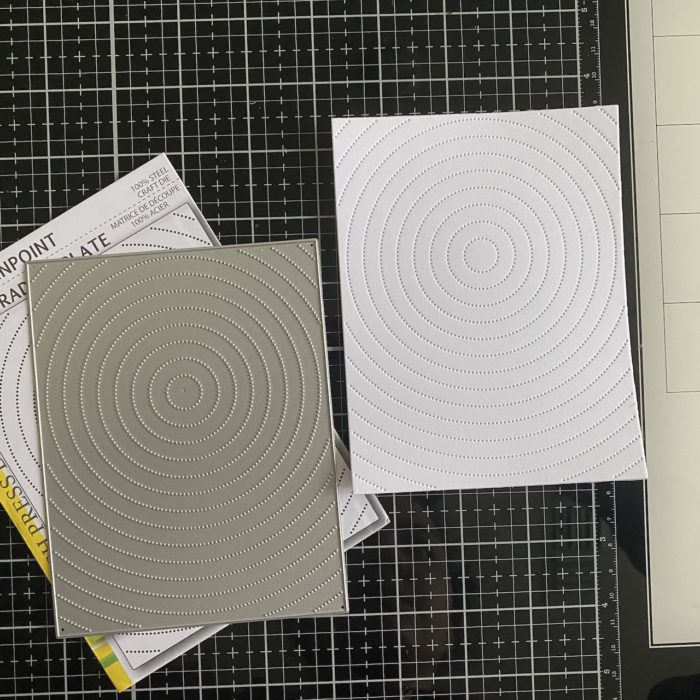
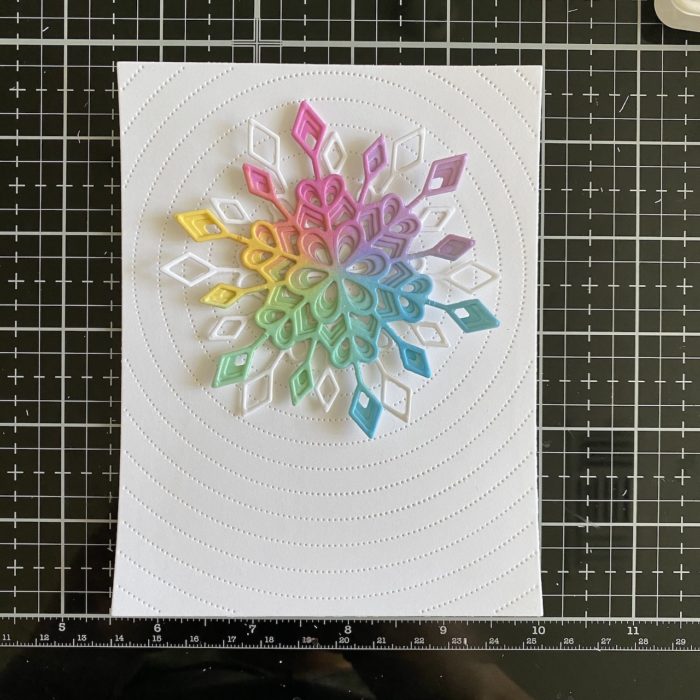
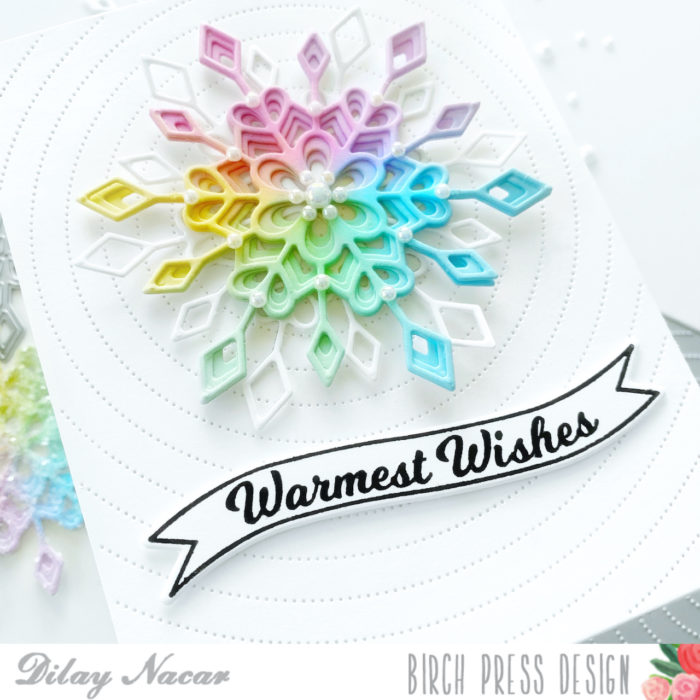
Next, I ink blended the snowflake using colors in rainbow order and set that aside to dry while I worked on the background. For this step, I cut an A2 sized background using the ‘Radial Pinpoint Plate’ die then adhered that onto another piece of A2 sized white cardstock for added stability.
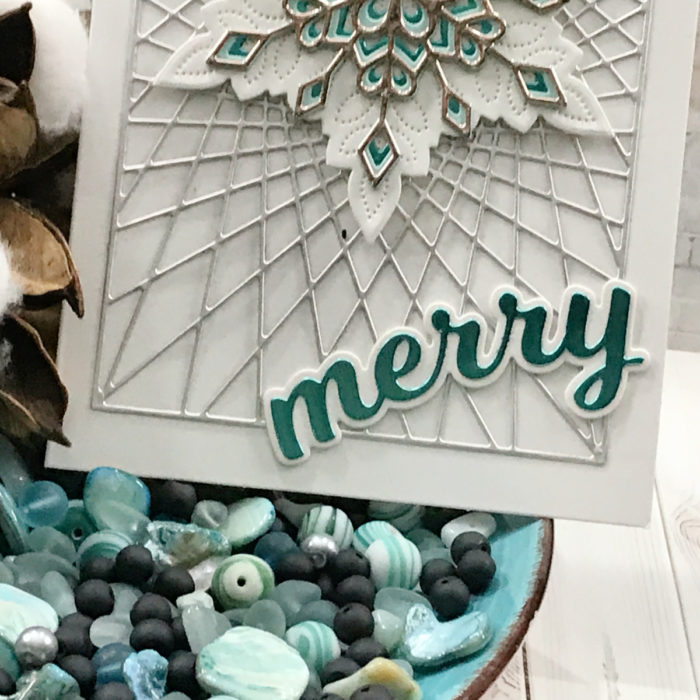
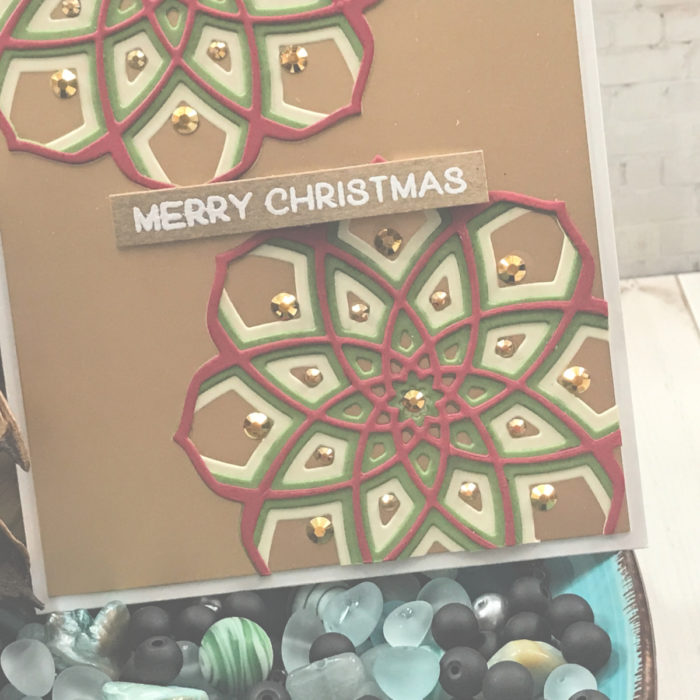
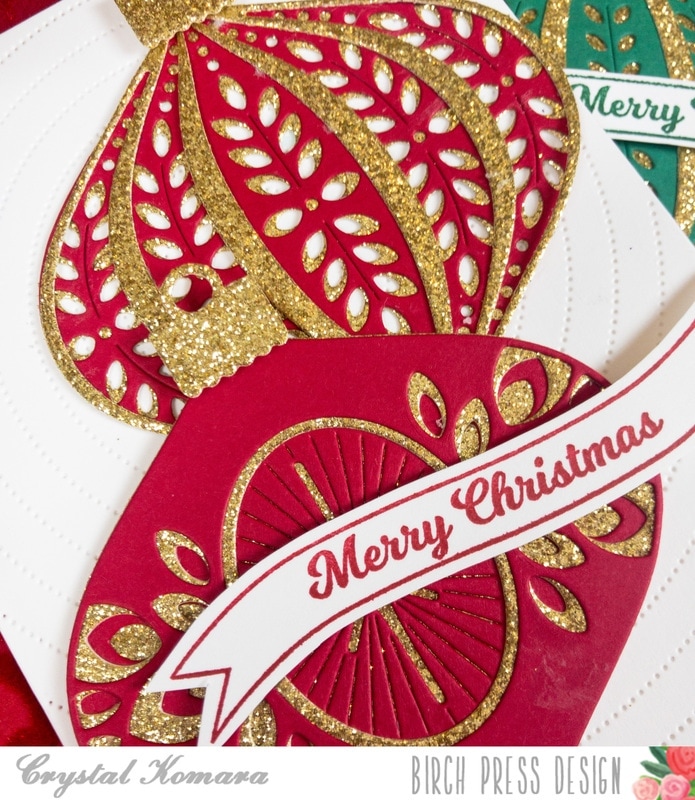
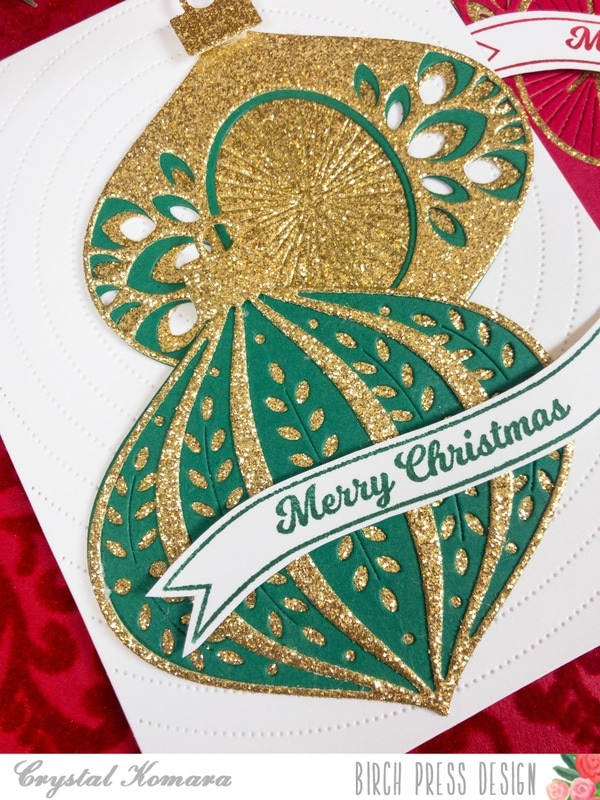
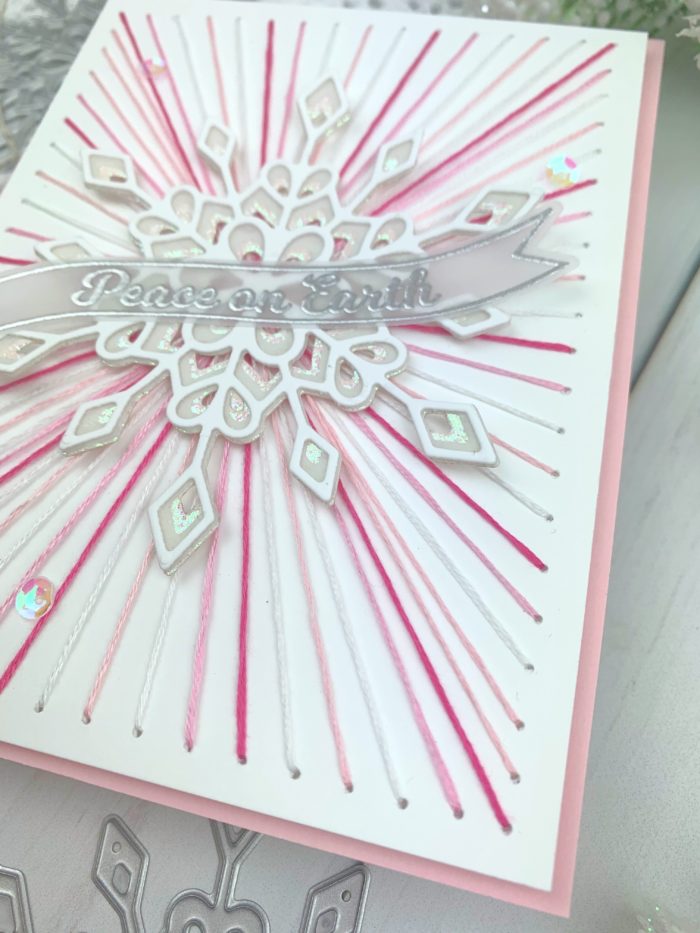
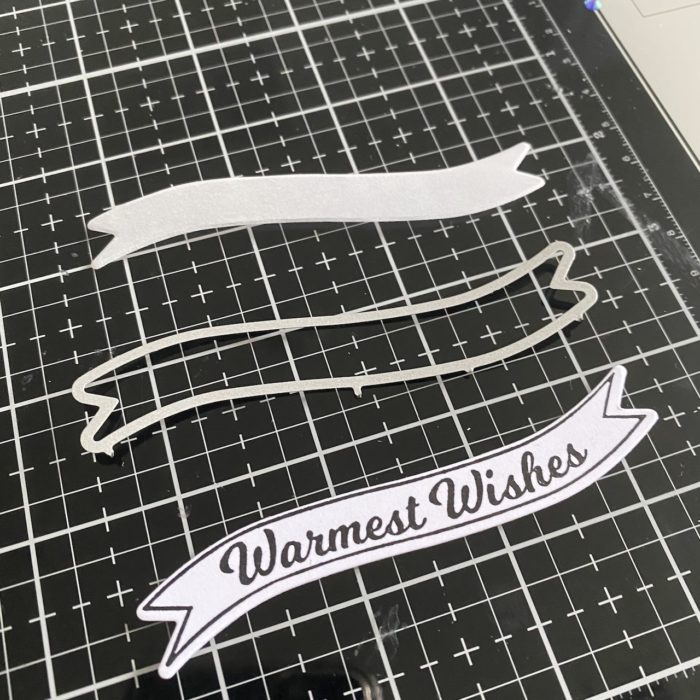
Next, I created the sentiment using the ‘Warm Wishes’ stamp from the ‘Christmas Ornament and Labels’ stamp set, first stamping it in black ink then die cutting it with the coordinating banner die.
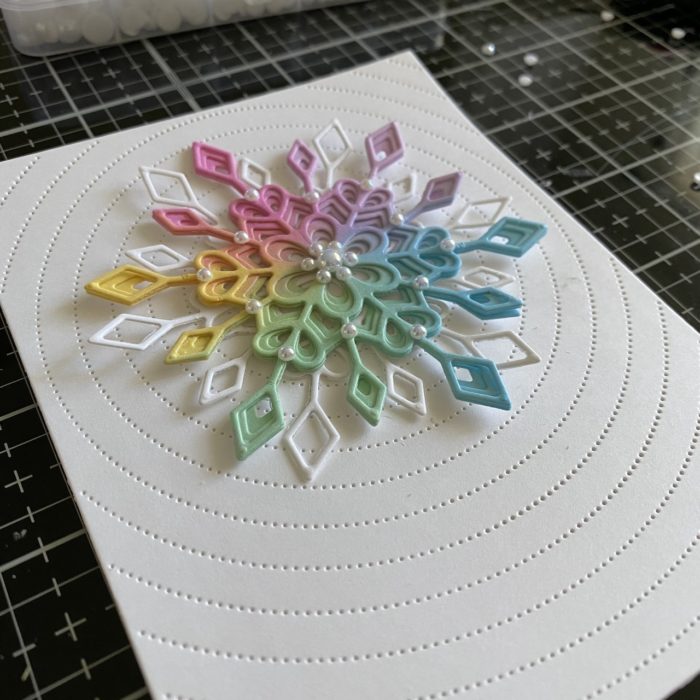
To put the card together, I glued the extra layer A to the center of the ‘Radial Pinpoint Plate’ panel background then glued the snowflake on top of that. Once dry, I added a few iridescent flat back pearls and adhered the banner sentiment with foam tape.
I hope you enjoyed this fun, non-traditional holiday card! Thank you so much for visiting and I wish you a very happy holiday season!