
Hello Everyone and Welcome Back!
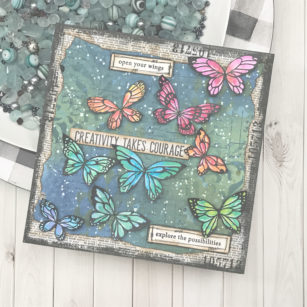
For today, instead of creating a card let’s stretch our stamps and use them in an art journal… The Lovely Butterflies stamp set is perfect for this type of project in so many ways!

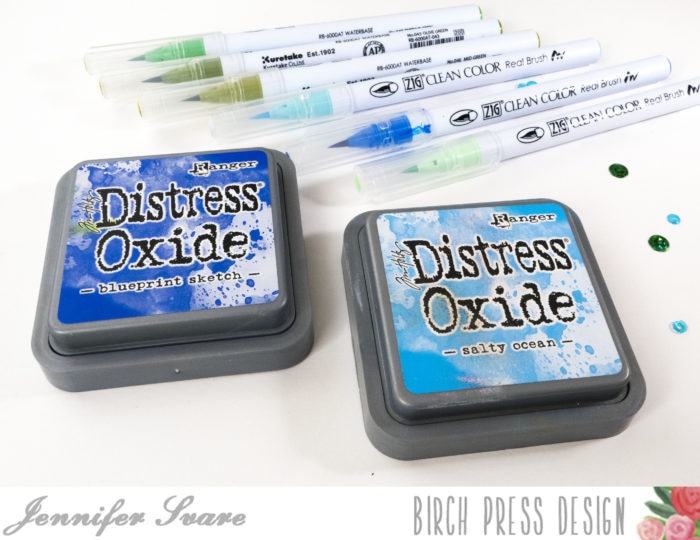
I started by creating my background using my distress oxides in shades of blue.


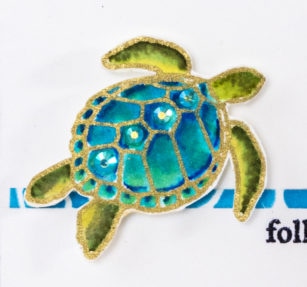
As my background was drying, I stamped my images and heat embossed them and grabbed my watercolors to add the bright colors to their wings!


Now back to the background… Here is where you can have all the fun… stencil, splatter, paste – the possibilities are endless… I chose to make sure I added a border using an old dictionary page…

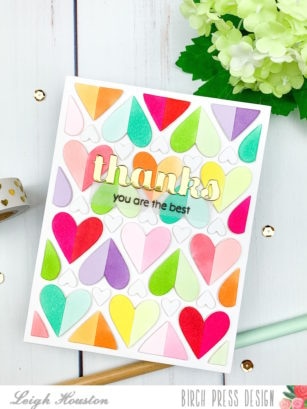
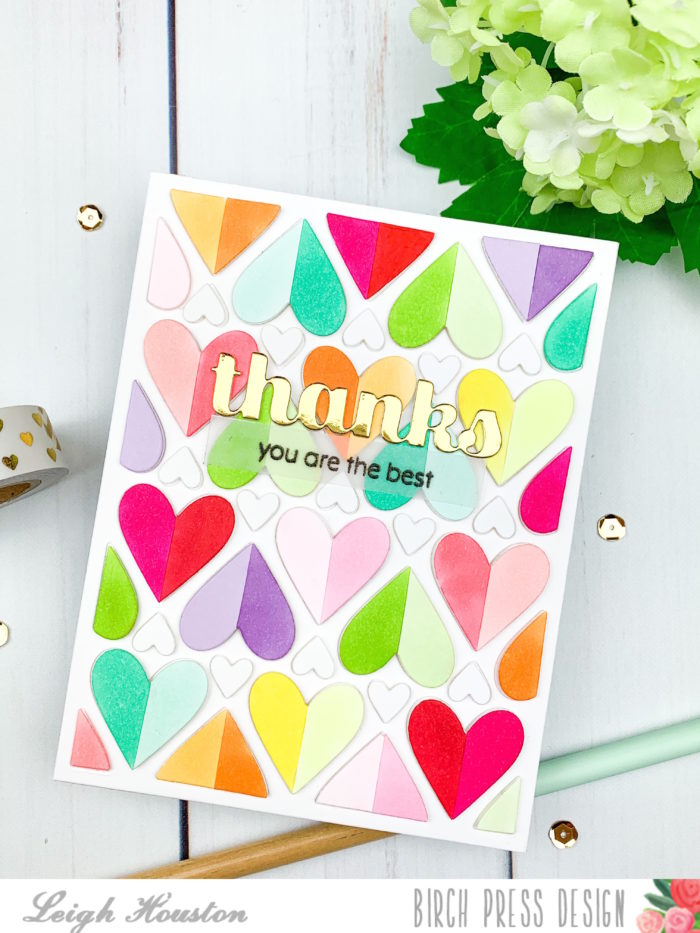
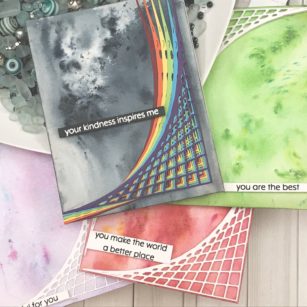
Once all my pieces were dry I fussy cut out my butterflies and placed them onto my page creating my rainbow! I believe we cannot have enough rainbows right now!

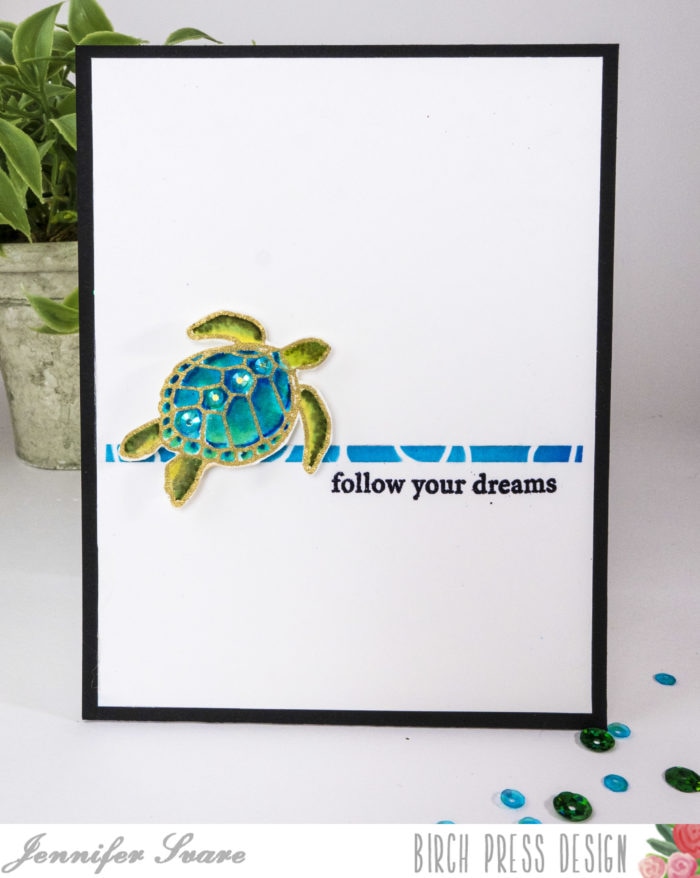
I used two of the sentiments from the stamp set and placed at the top and the bottom of my page to finish it off!

As always, I hope you enjoyed today’s project… and if you want to see more details just click on the video below and see how these projects come together step by step!
Make sure you stay tuned for more wonderful projects coming soon! Have a great day and always remember… Be Creative!

Supplies