
Hello there creative and awesome Birch Press Fans. We are still celebrating the newest release with a Giveaway!
We will be having giveaways on our Instagram Account March 21-29, 2020. One comment will be chosen at random from each of the Instagram posts during the blog blitz. Only one prize per person per giveaway. We use a random number generator to select winners from comments. You have until midnight US EST April 1 to leave a comment on each and every Instagram post that you want to enter. Winners will be announced on the Instagram posts on April 3.
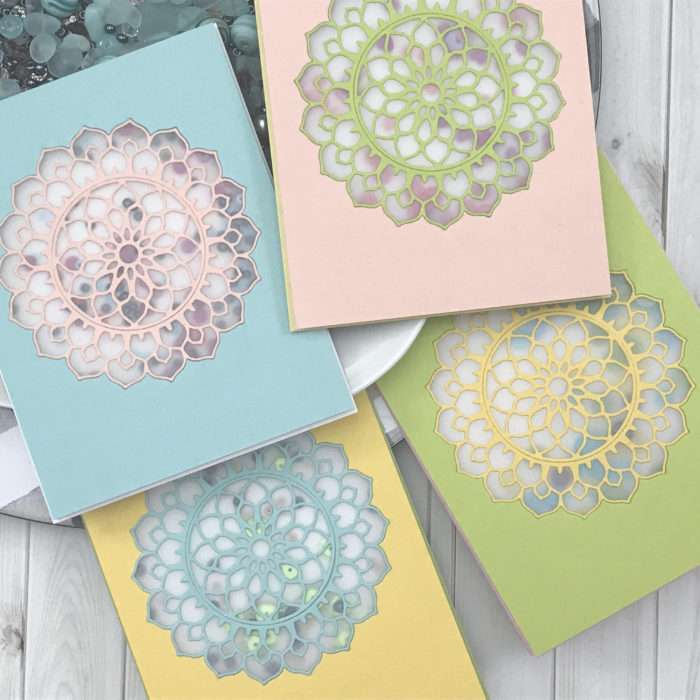
For a chance to win the Honeycomb Bevel Layer Set…..
1.) Follow Birch Press Design on Instagram
2.) Double Tap (LIKE) the post with this giveaway
3.) Tag A Friend in the comments
Good luck! And thanks for joining us!
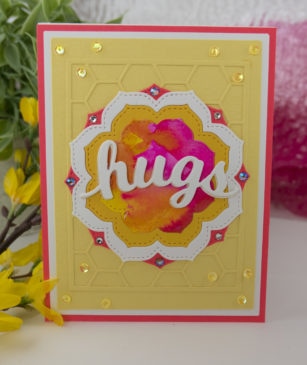
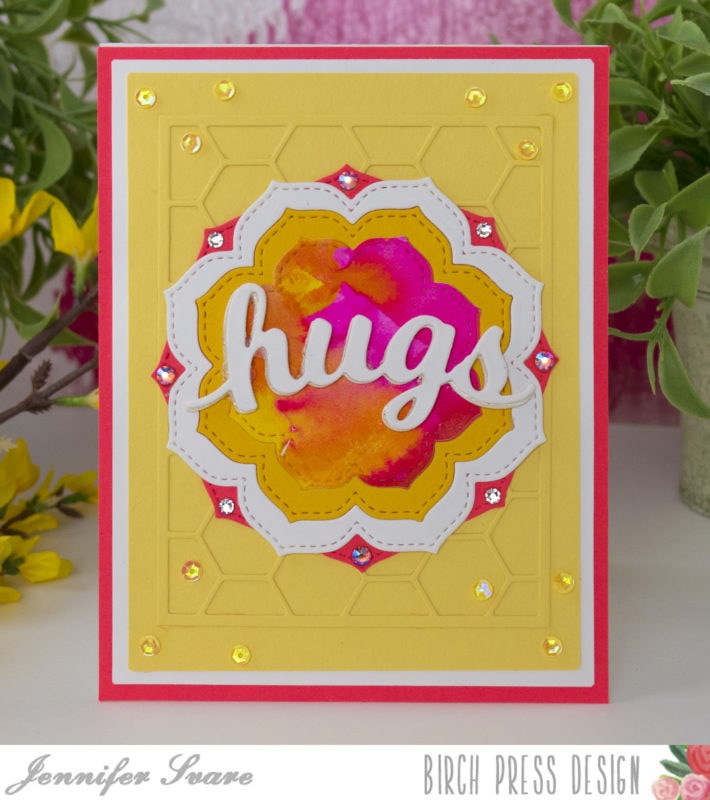
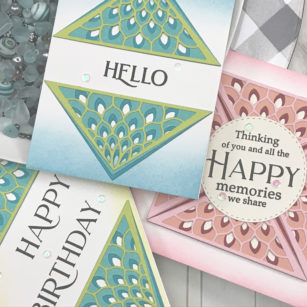
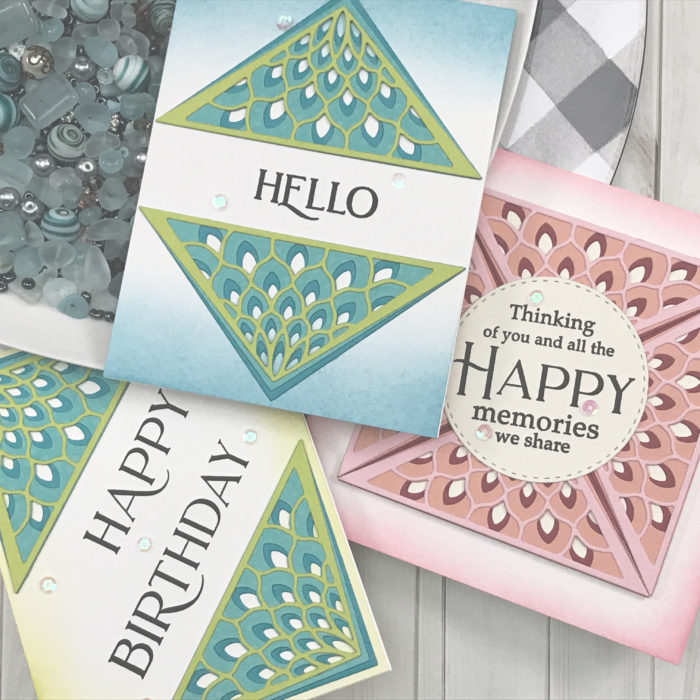
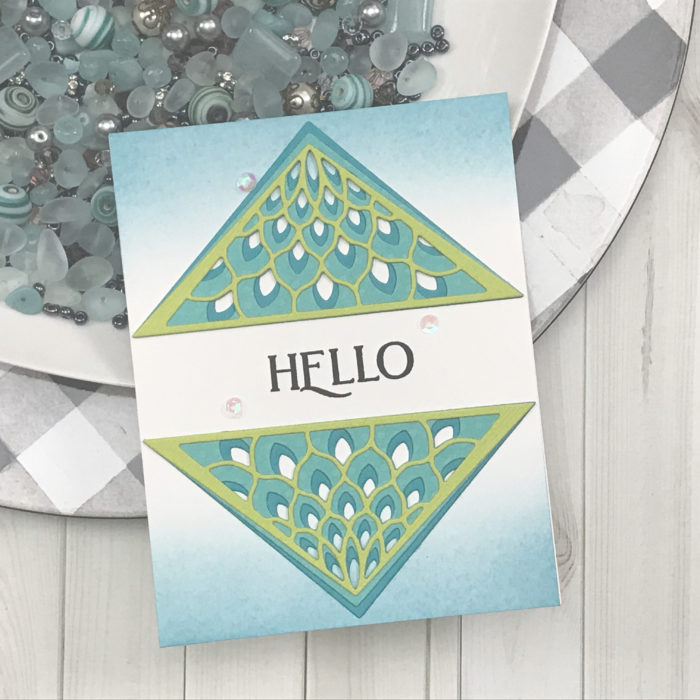
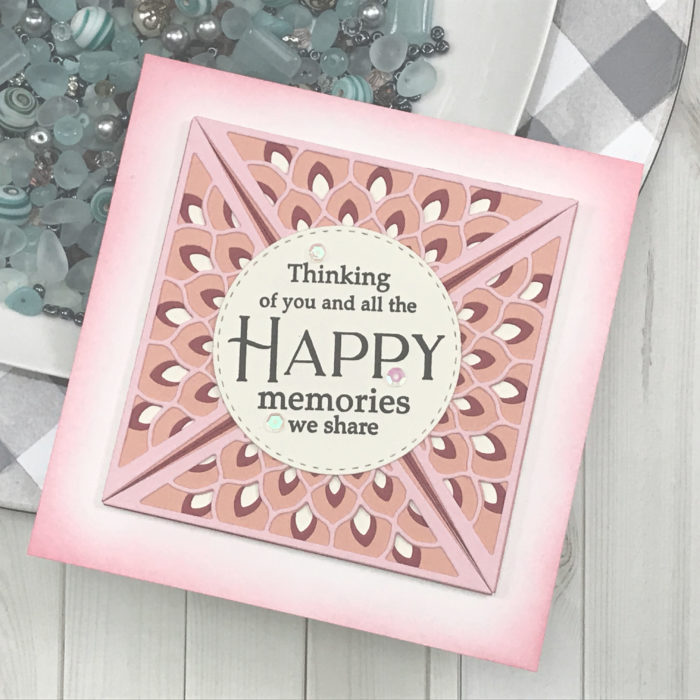
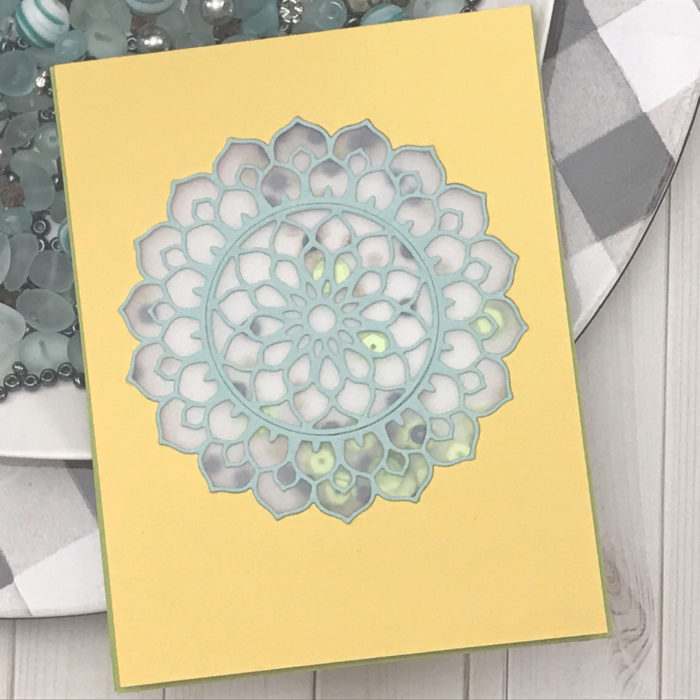
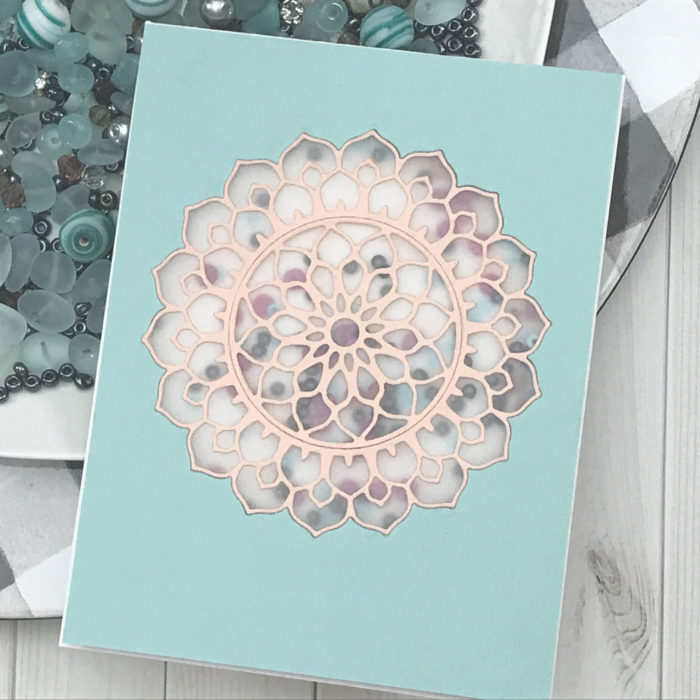
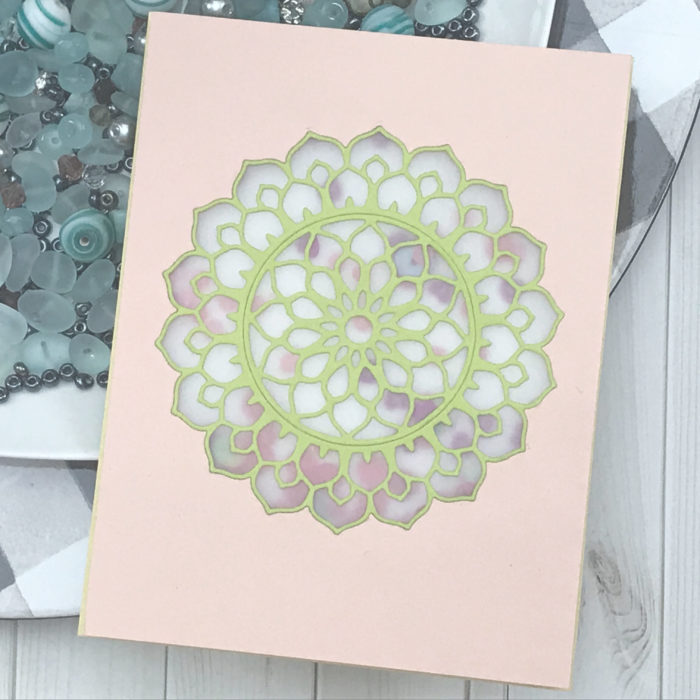
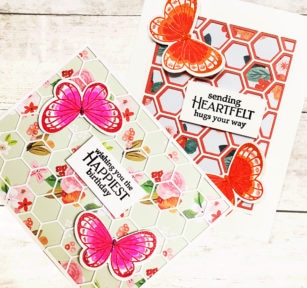
I have created two spring themed cards for you using the Honeycomb Bevel Plate Layer Dies.

I have used the backdrop of a few of the lovely spring and floral papers in the new Memory Box Cottage Meadow Paper Pack.

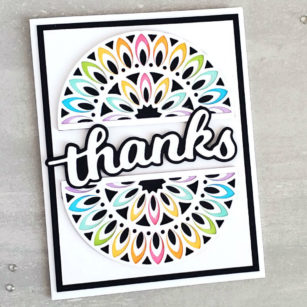
The Honeycomb Bevel Plate Layers Set can be used as a single card cover die as well as in layering. For the “Happiest Birthday” card you will die cut the “C” die twice and cut to piece across the entire A2 size card front.

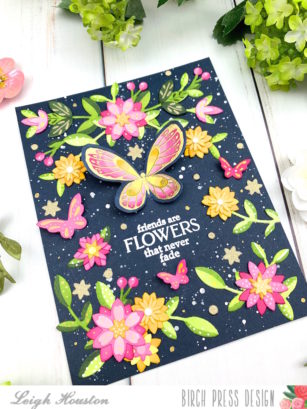
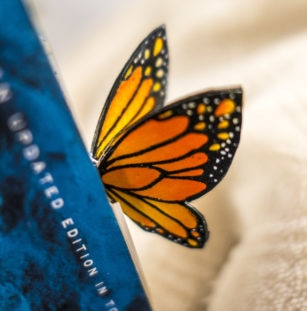
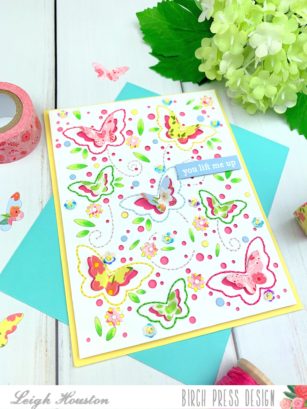
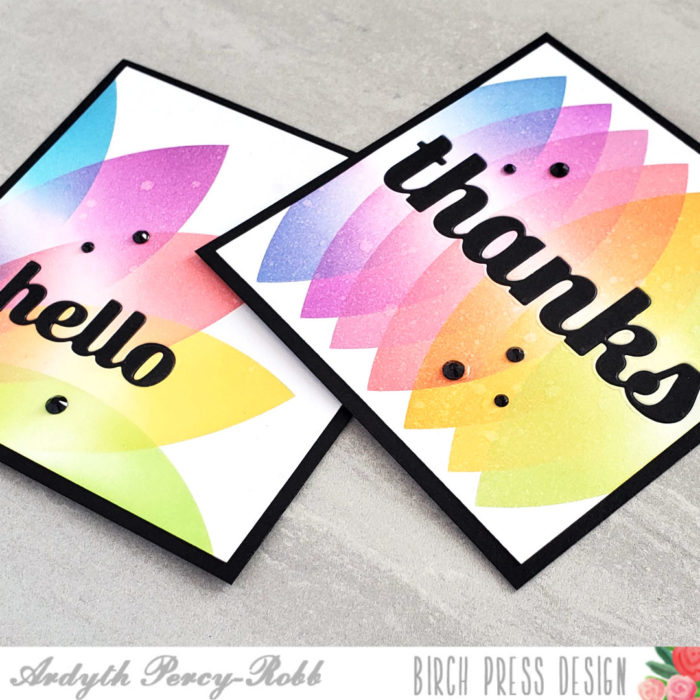
Have you seen the new Fairy Sugar Glitter Glues? I have had some sparkly fun by adding some onto the Lovely Butterflies Clear Stamp Set.

I really loved all the various sentiments from the Poppystamps Greetings Basics Clear Stamp Set and used one for each card.

The butterflies were embossed and colored in bright colors matching the papers. Drops of glitter glue in Pansy, Strawberry Ice, and Goldenfinch were placed on the edges of the butterfly wings.

The sentiments and butterflies were popped up on double sided foam tape for extra dimension.

I hope you are enjoying the Spring paper colors, sparkle-licious glitter glue collections, clear stamps, and amazing dies, offered in this newest release!
Supplies