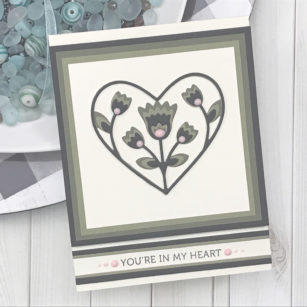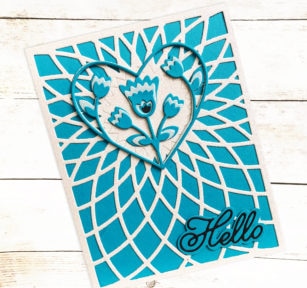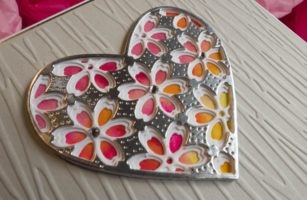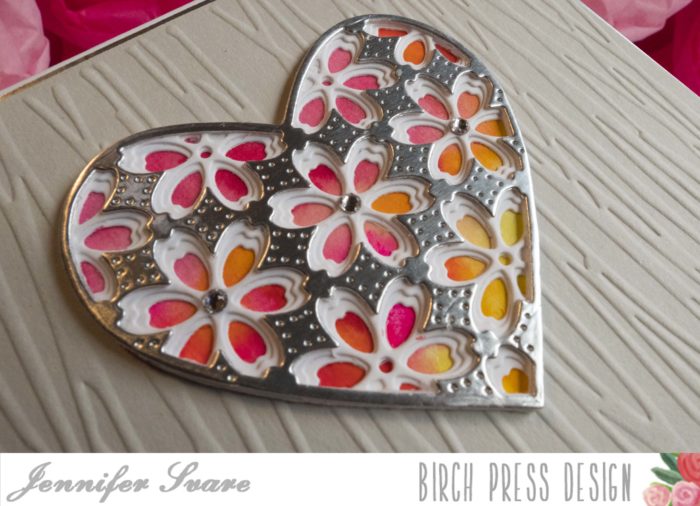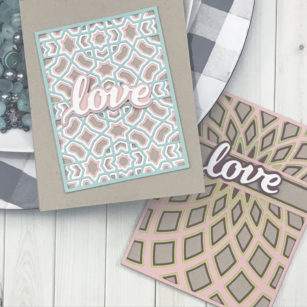

Hello! Today I’m excited to introduce the new Vivid Bloom Stitched Layer Set available now at Birch Press Design! So many wonderful things can be done with nested dies, and this set has 6 sizes to offer endless possibilities!

The video (linked below) shows how I created frames using the dies, and also put a subtle texture into the background using the Leafy Jumble stencil and transparent texture paste.

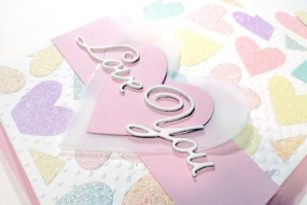
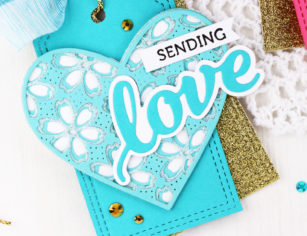
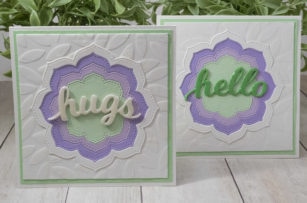
The new Hello and Hugs Honey Script dies each come with the letters and a background die. For today’s project, I used the letters without the background. Several were stacked on top of each other for extra depth to the letters. I went over it with a shimmer pen, topped off with glossy accents. I love, love, love this script!

Creating frames from nested dies is just one way to use them – really, the possibilities are endless and I can’t wait to share more ideas! Enjoy the video and have a great day!

Supplies