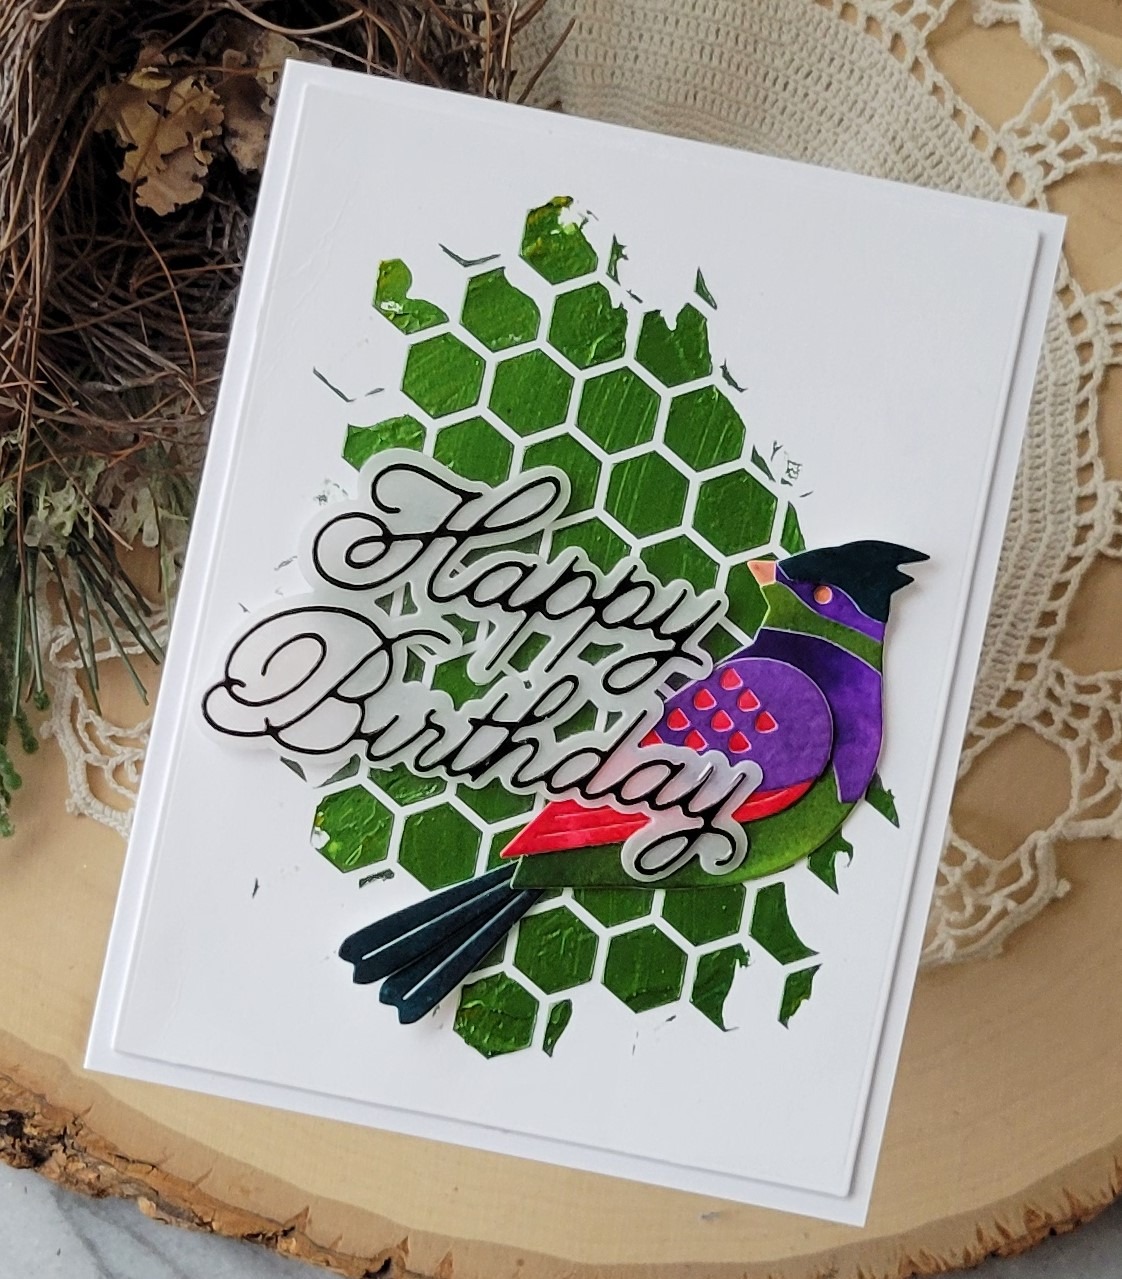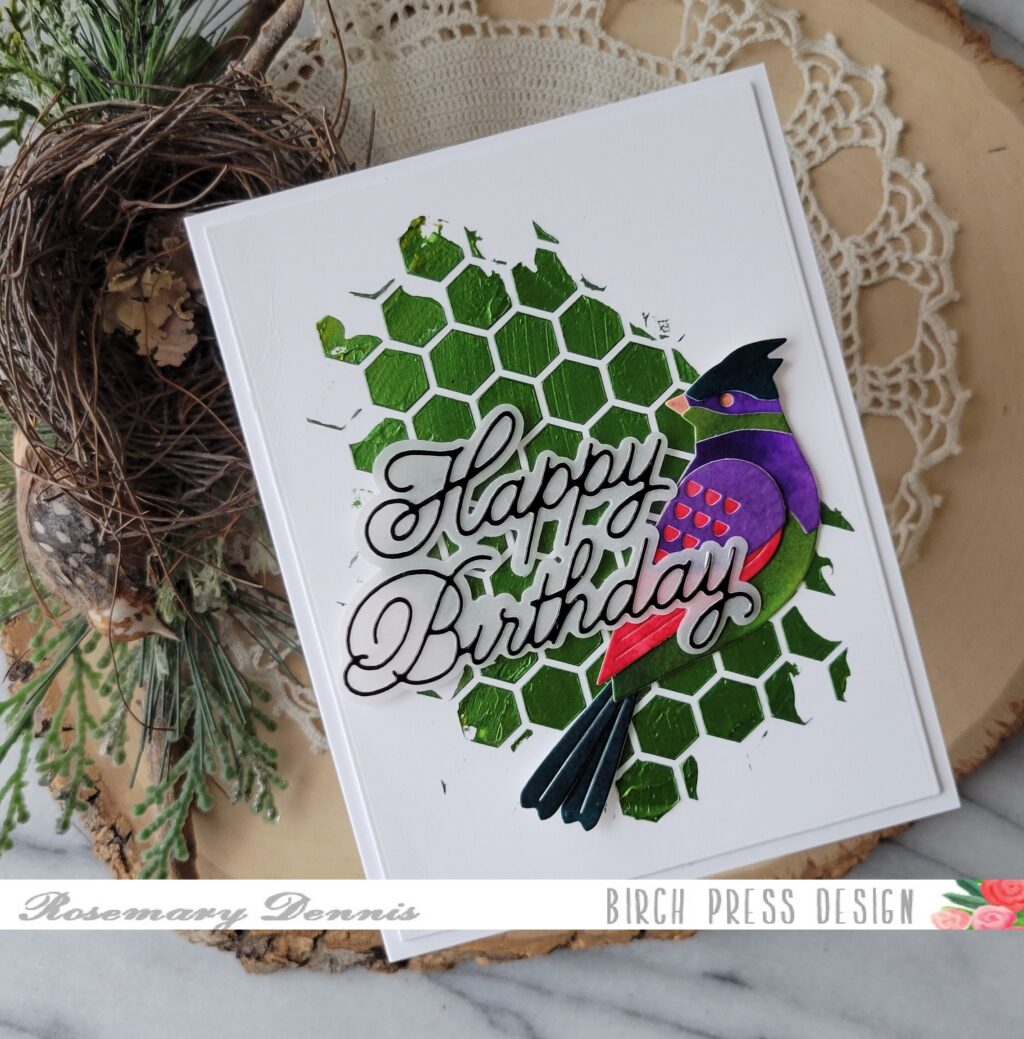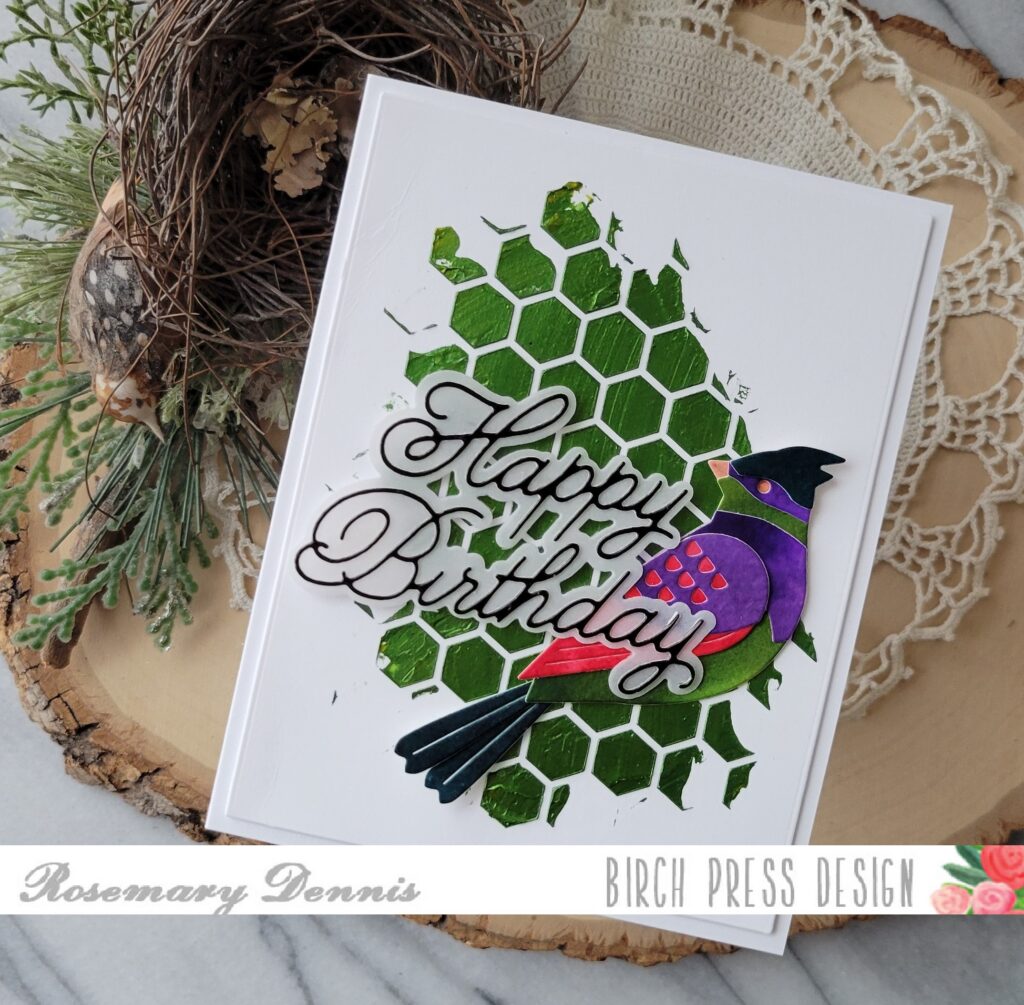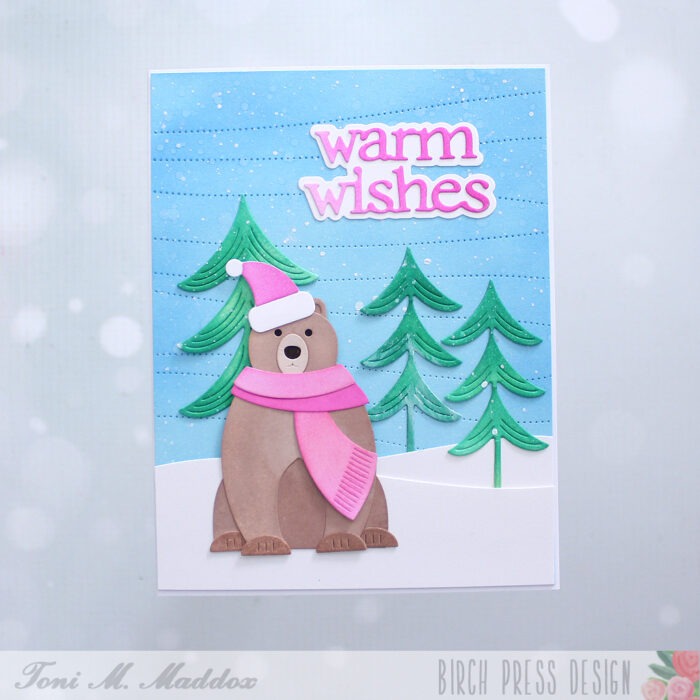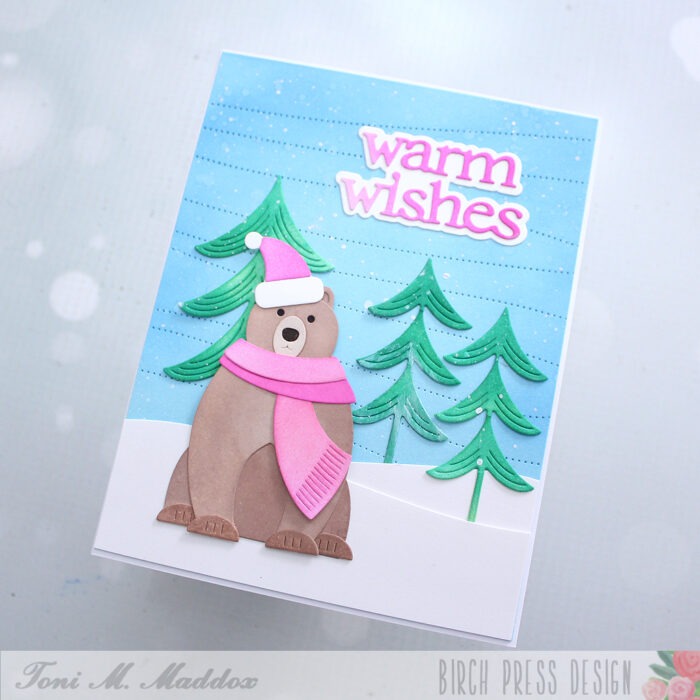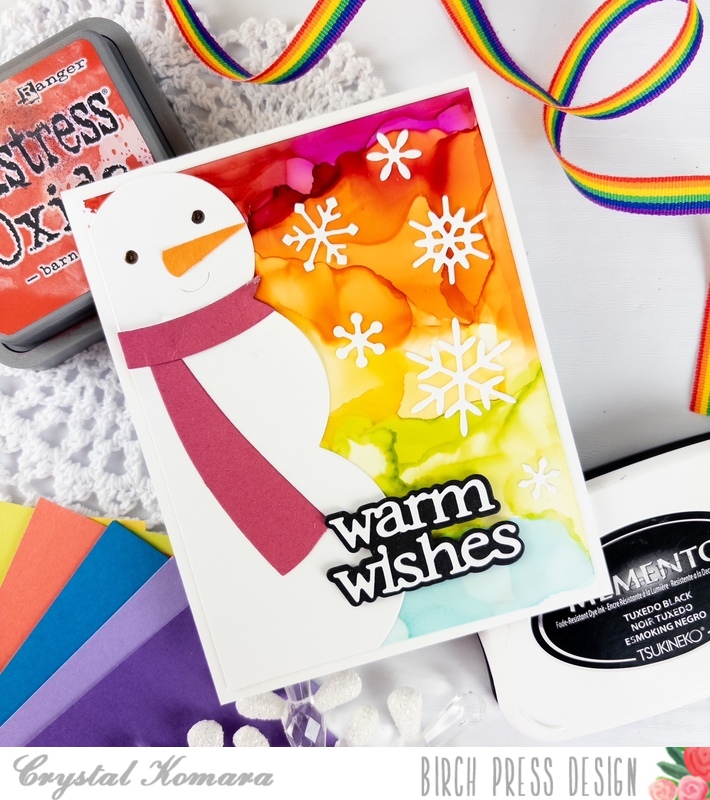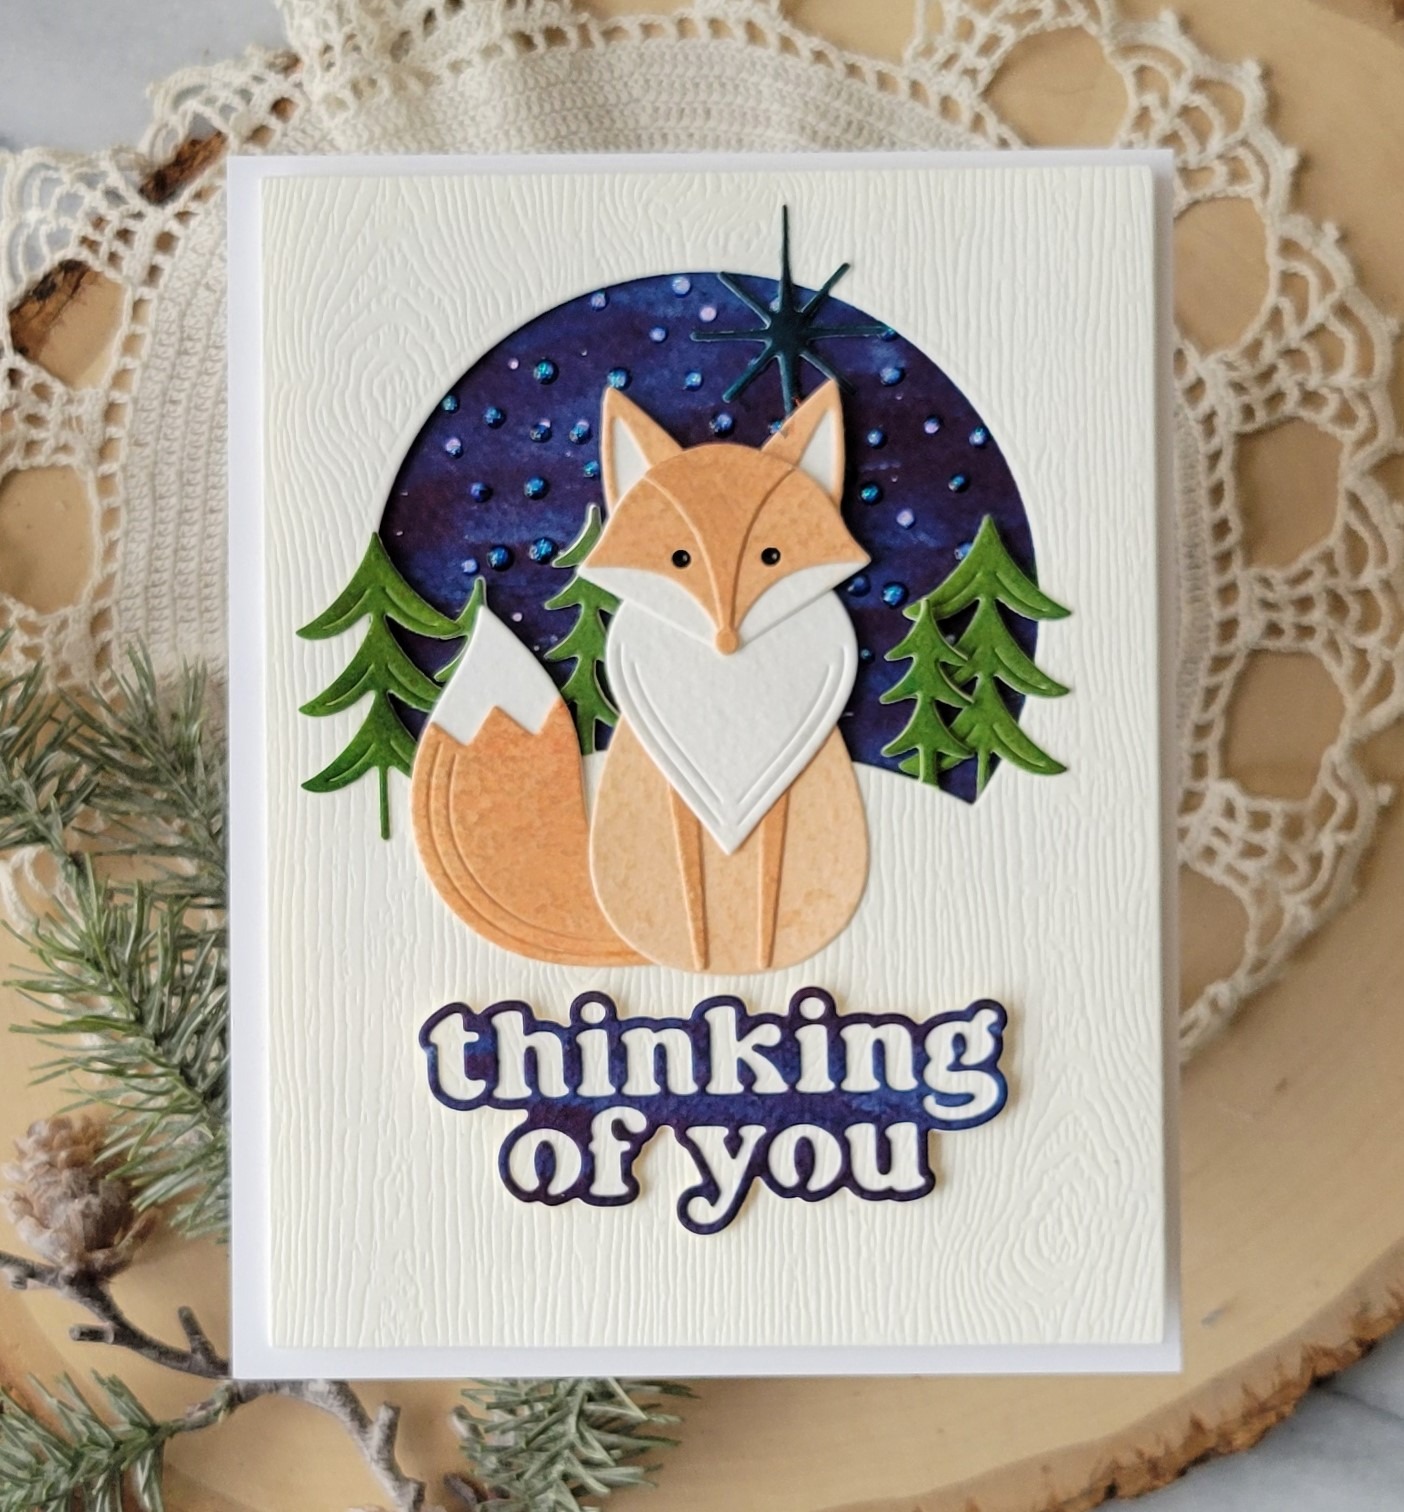
Hello everyone! Rosemary here on the blog today sharing a card created with the Block Print Wise Fox, Block Print Starry Night Scene and Thinking of You Vintage Sentiment die set. Let’s have a look at what I made.

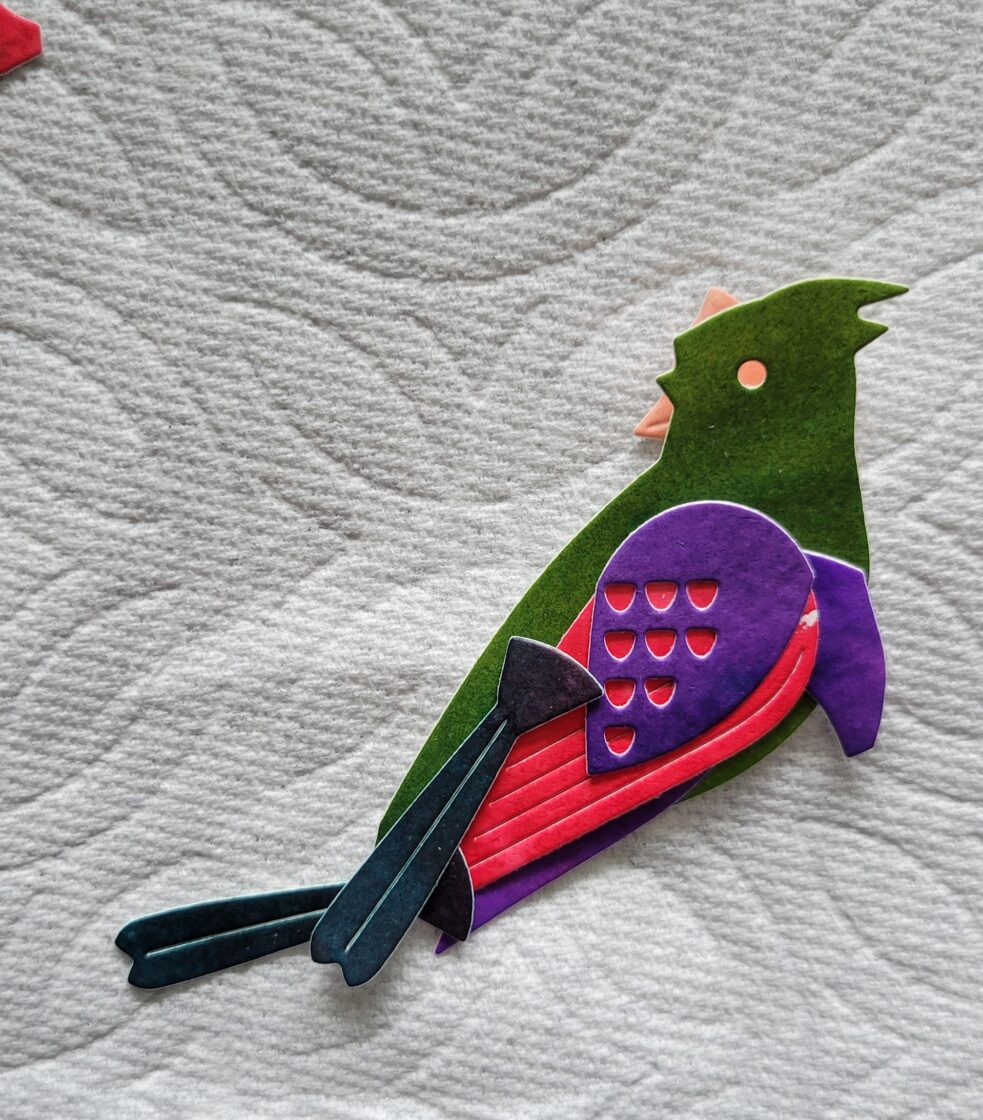
I started off my card by making all the pieces for my fox. I had been doing another rummage through my supplies and found my Distress watercolor pencils. I hadn’t really used them before so thought this would be a good time to give them a try.
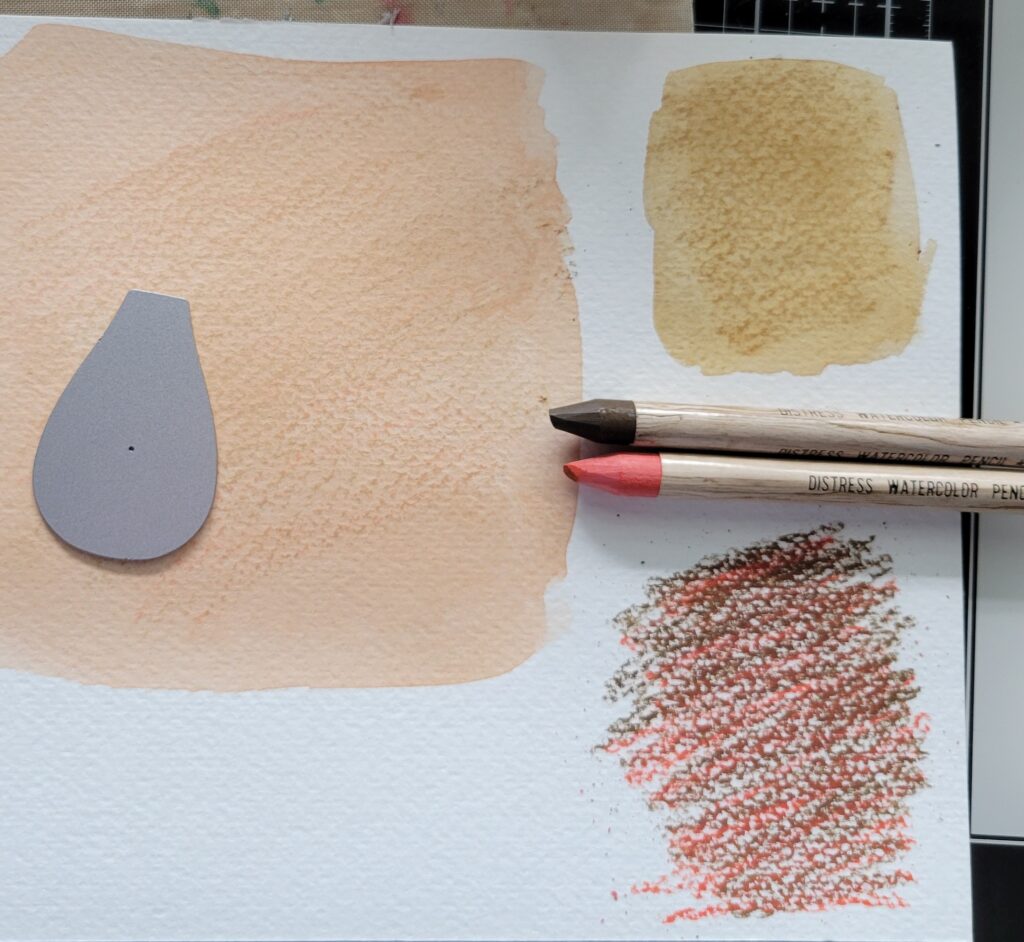
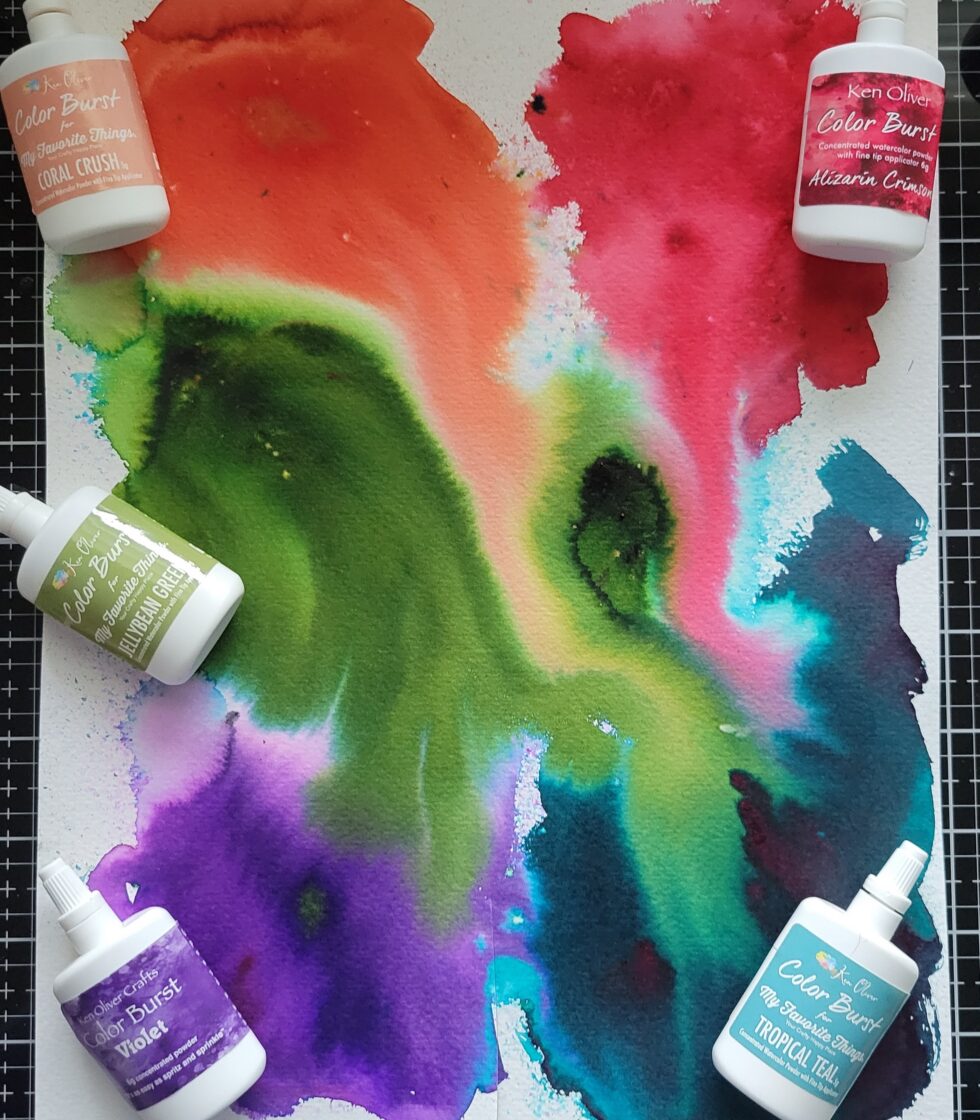
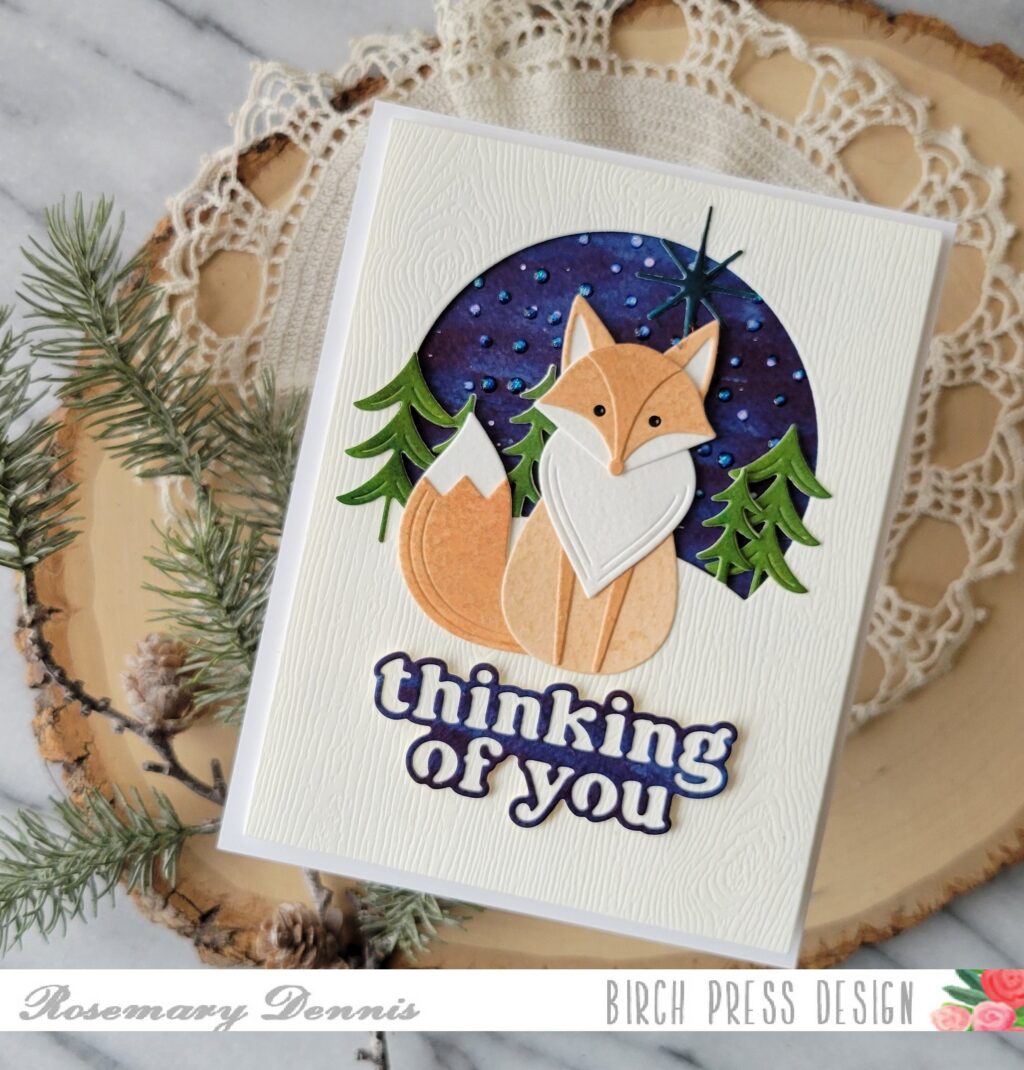
I cut down a piece of watercolor cardstock and then scribbled on a combination of Gathered Twigs and Ripe Persimmon and then blended with water. The first generation of color was pretty light so I let the area dry and then scribbled on more color to get a slightly darker patch. To get an even darker value I got heavy handed with my scribbling and was able to get a nice darker tan color.
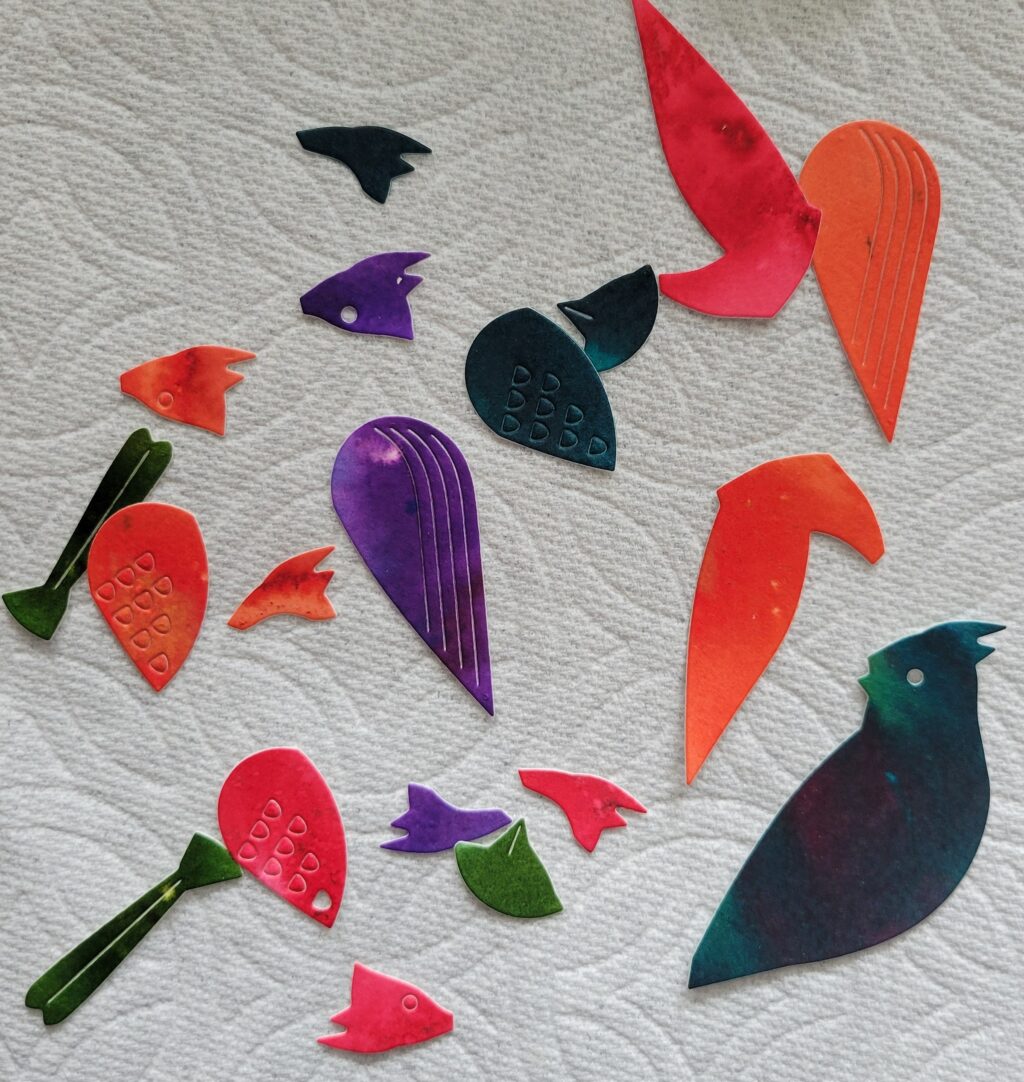
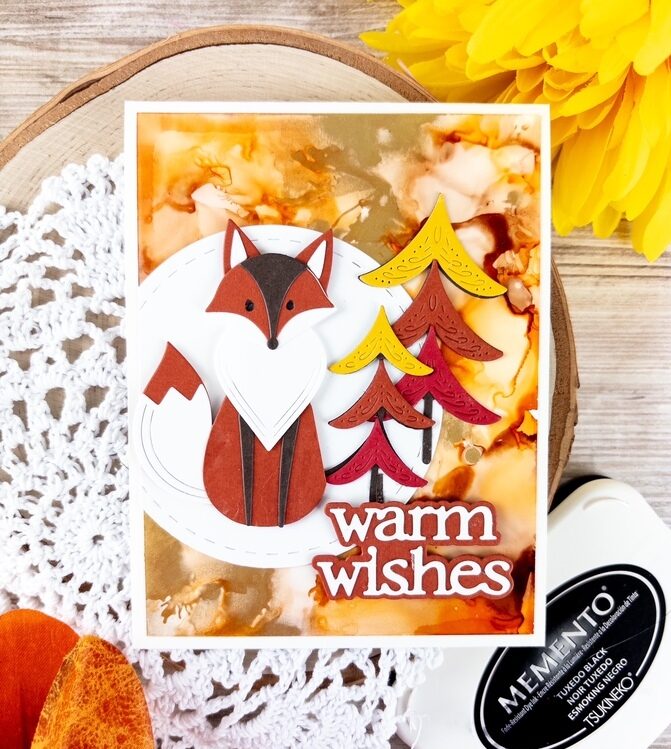
Once my panel was dry I die cut all the parts of the fox from different areas on the sheet to get the varying shades. I used the white parts were cut from the sheet of watercolor cardstock that wasn’t colored. I assembled my fox with liquid adhesive. Now it was time for the background. For this I used a Tonic Studios aqua flow pen in a dark blue on another piece of watercolor cardstock. I love the variation in the color that I was able to achieve.
I let it dry and then worked on the top panel that features the arched opening for the background piece. I die cut cream Memory Box woodgrain cardstock down with a rectangle die and then die cut the Starry Night Scene from the panel. I then die cut the trees and the star from scraps of cardstock that I had left over from the card I posted earlier this month. I trimmed out the trees and adhered them on top of the die cut panel.
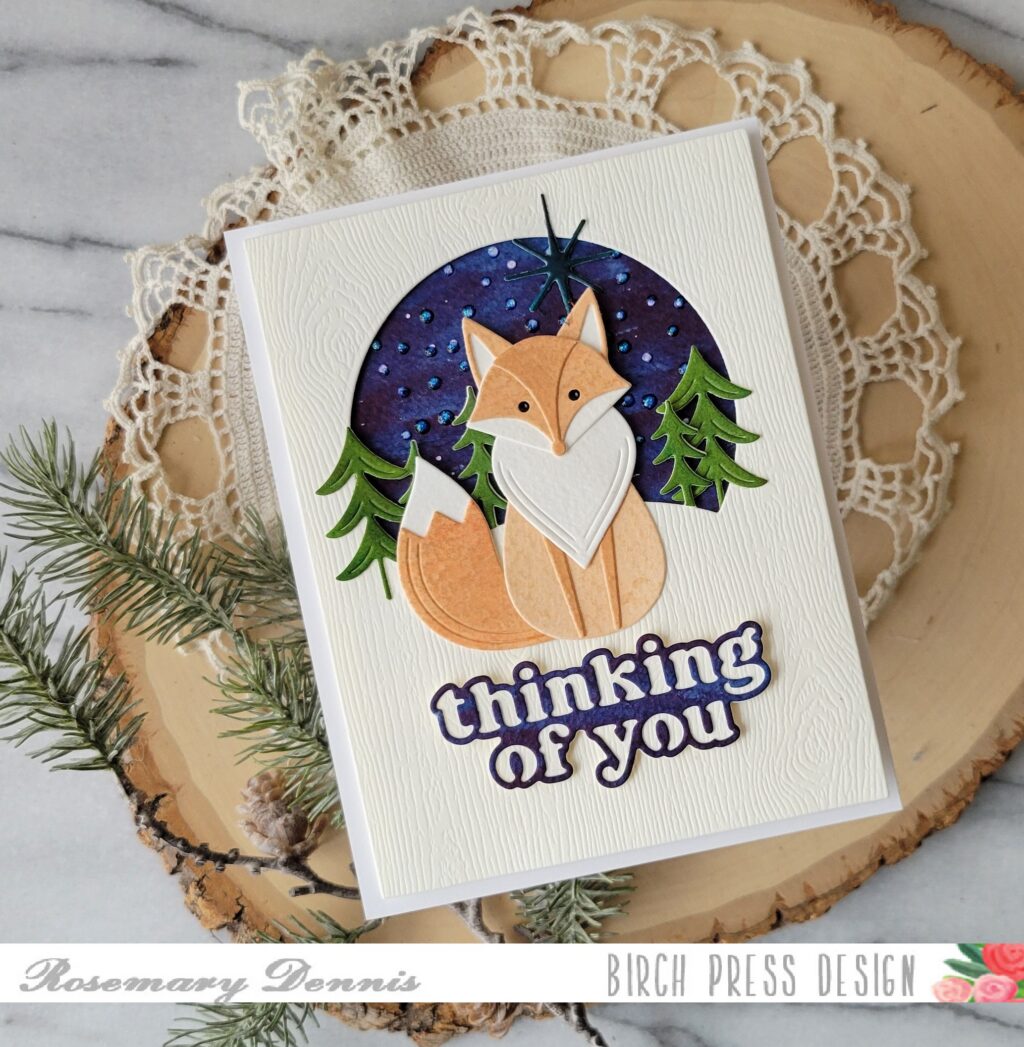
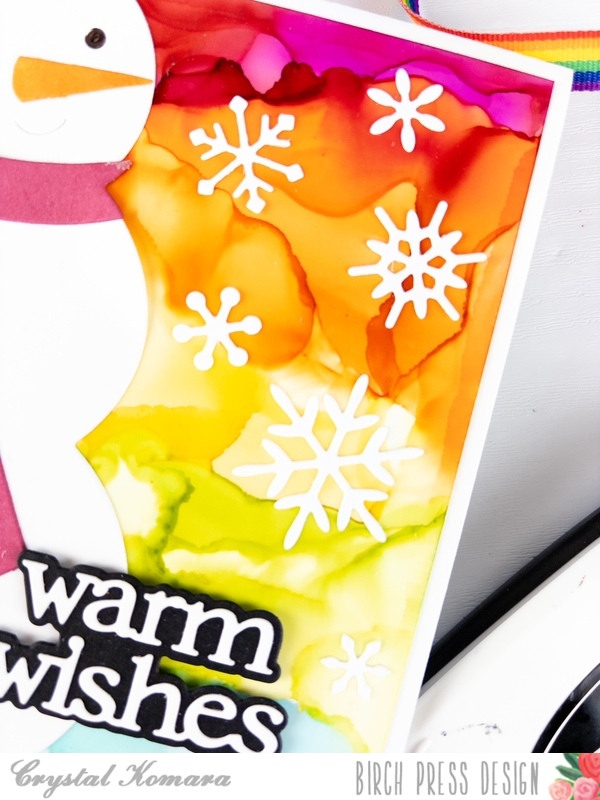
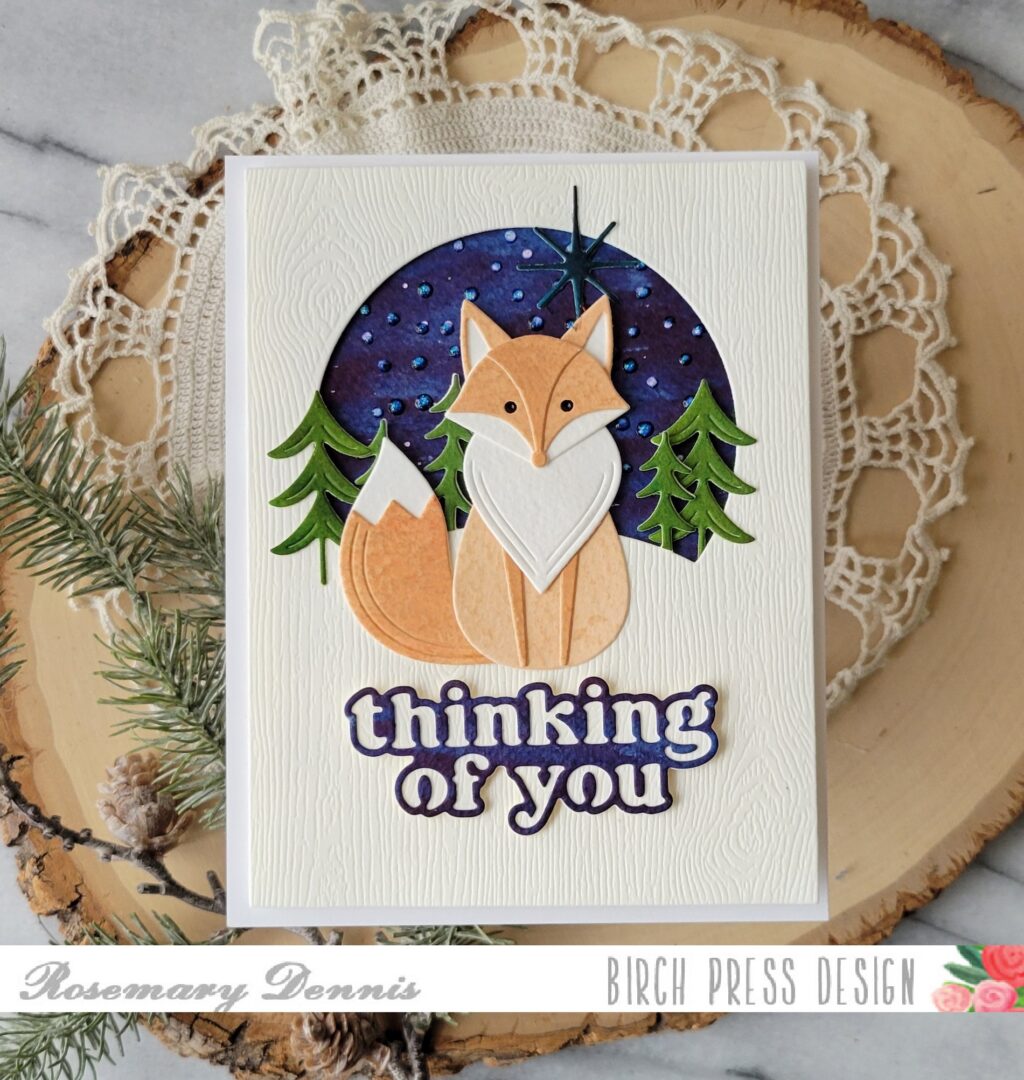
The larger trees were also die cut from scraps. The background panel was dry and so I tried adding some “stars” to the background. I discovered that the blue is so deep and intense that the white just disappeared into the background. So I added drops of Nuvo jewel drops in a clear glitter. Once the panel was dry I adhered it to the top panel using thin foam squares.
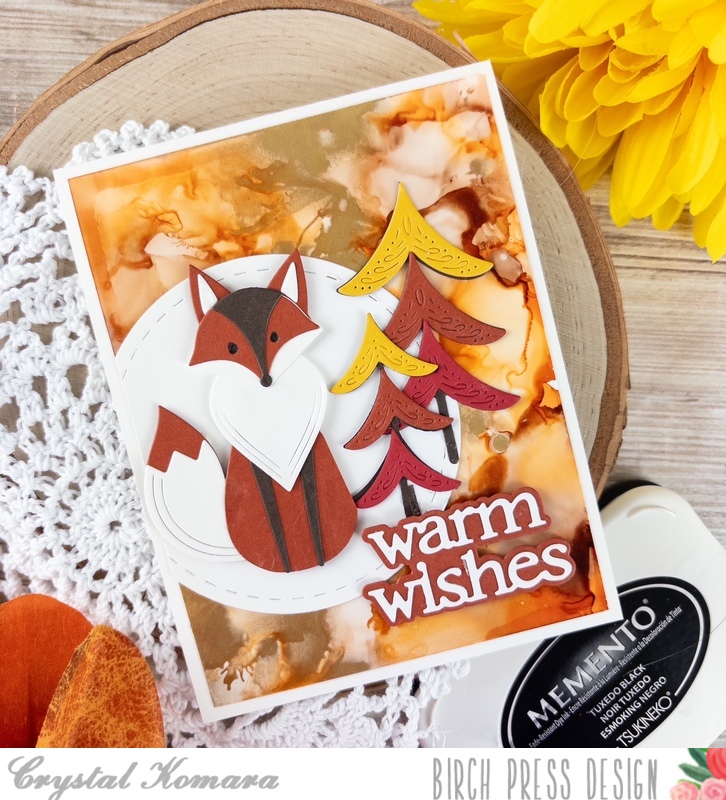
I then adhered the fox and the large trees using thin foam squares. I finished with the sentiment that I die cut from a strip of watercolor cardstock that I colored with the same blue Aqua Flow pen and the woodgrain cardstock. I adhered them together and added to the card front with thin foam squares.
That’s it for me! I hope you enjoyed today’s project. Thanks for coming by and have a lovely day.