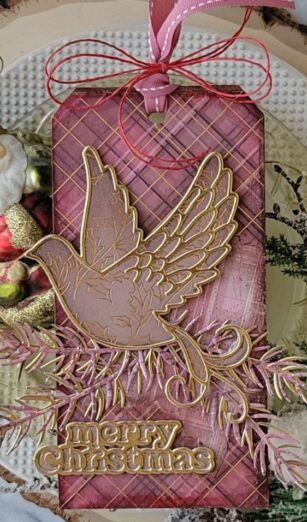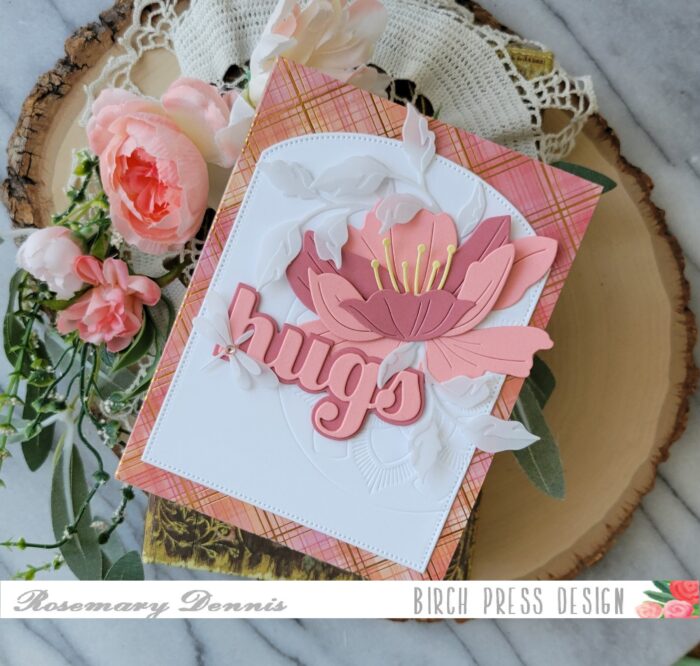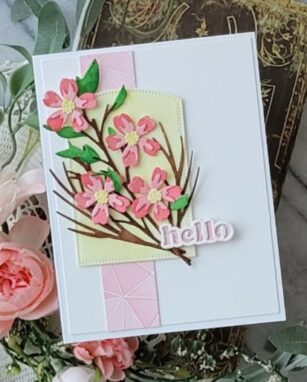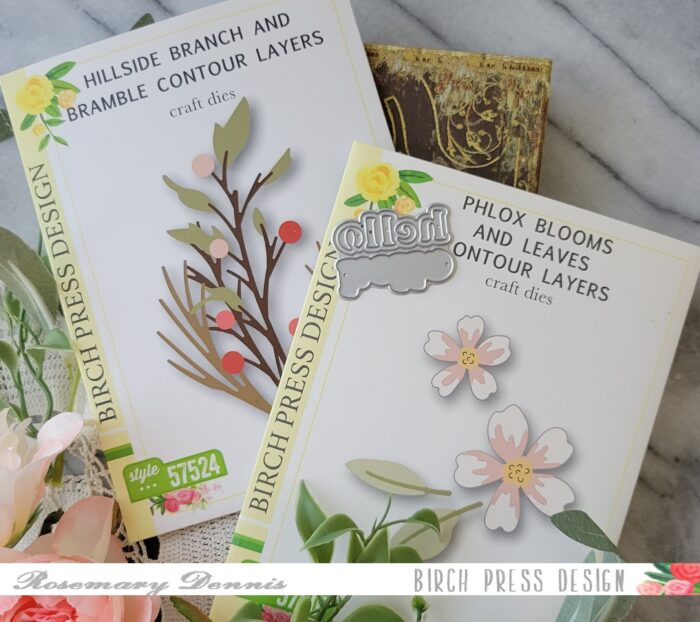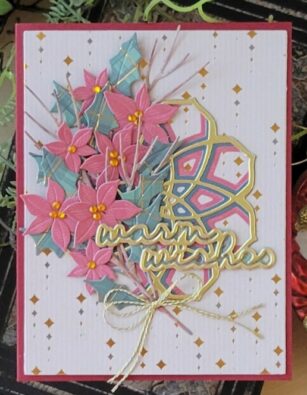
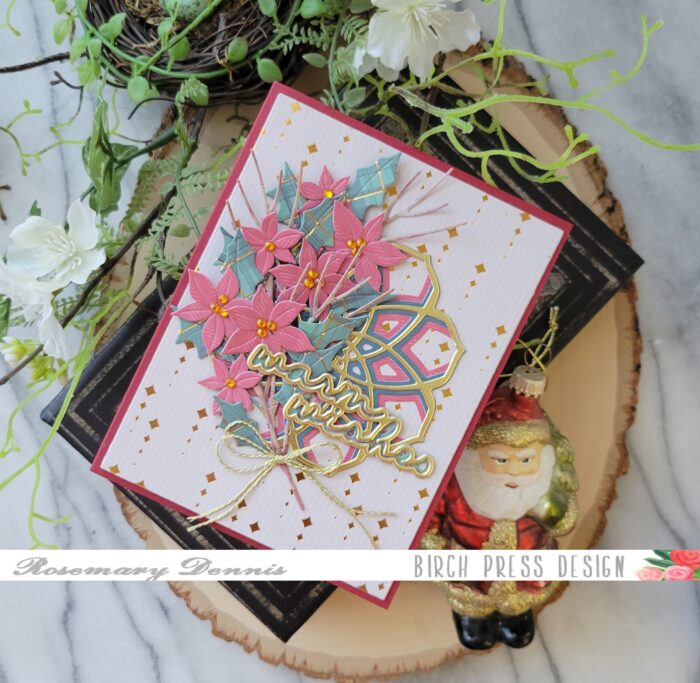
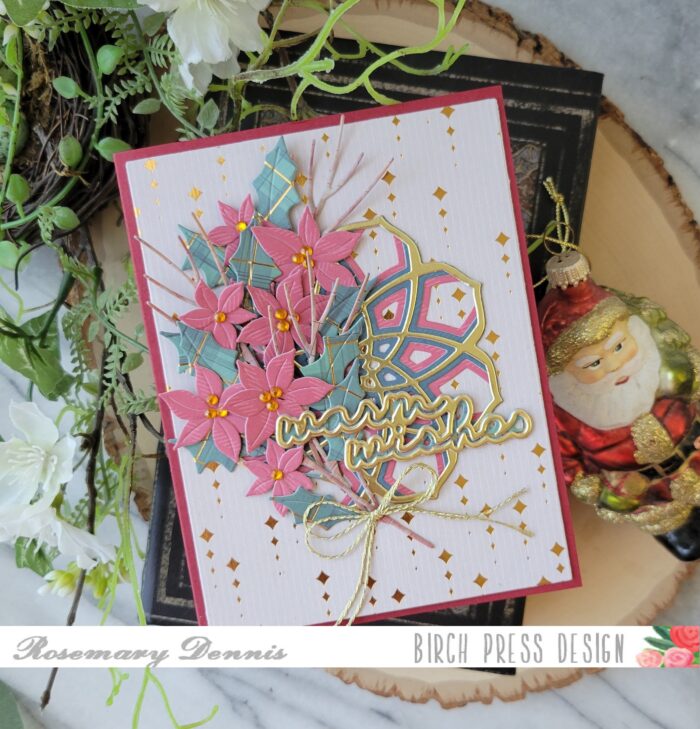
Hello, hello! Rosemary here today with a holiday card to share that I made using the following products from the new release: Holly Sprig Contour Layers, Little Poinsettia Flowers and Warm Wishes Confection Script. I also used the tried and true Cora Layering die set. Let’s have a look.
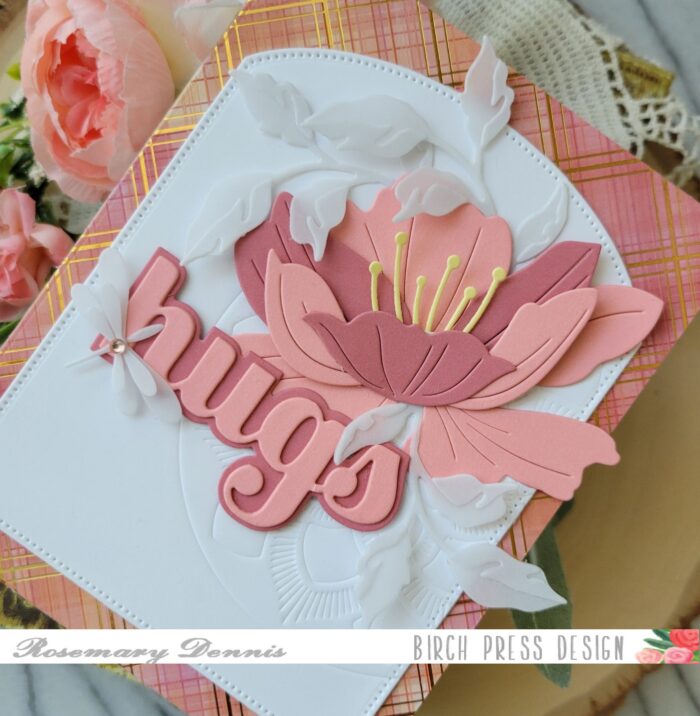
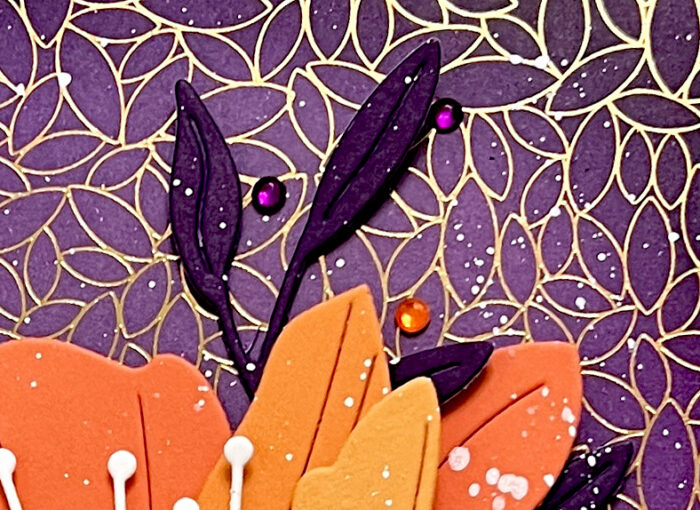
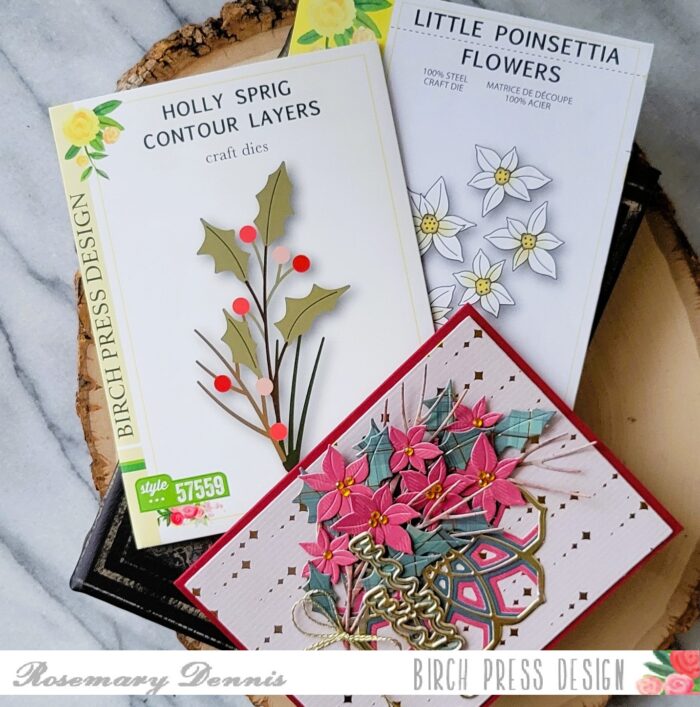
As I was looking through the new die set I noticed that the Little Poinsettia Flowers would work perfectly with the Holly Sprig Contour Layers die set. To create my little flowers I used patterned paper from the new Yuletide Cheer 6×6 pad from Memory Box. The die is all one piece allowing you to die cut as many flowers as you need very quickly. I cut the die twice in order to make enough flowers for three holly sprigs. I adhered the flowers using liquid adhesive and added yellow fairy jewels to the center of the flowers.

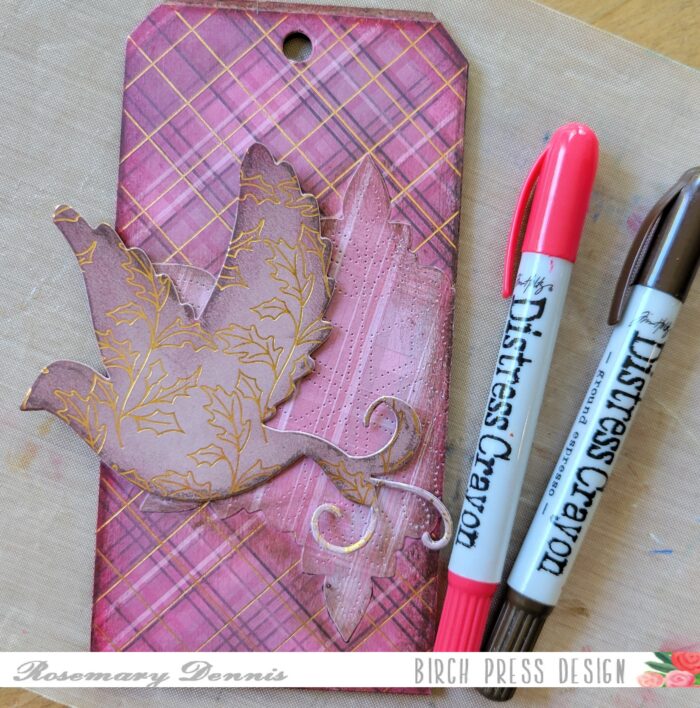
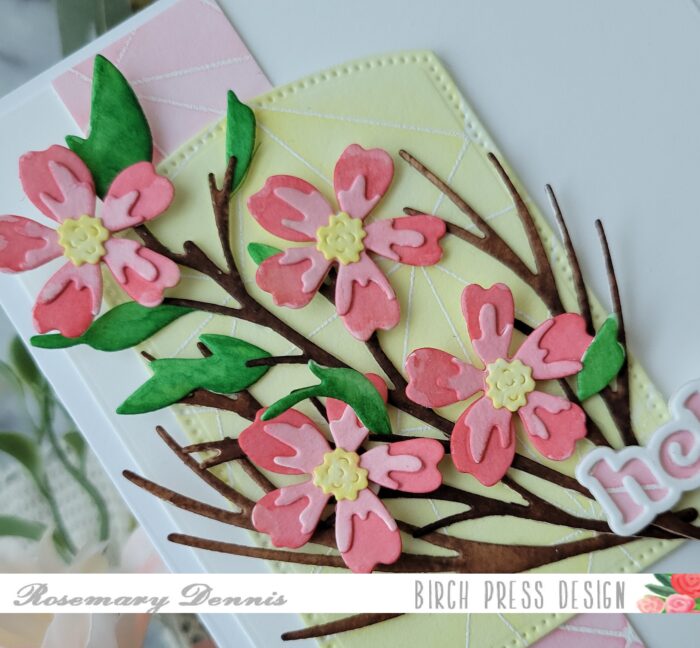
I then die cut the holly sprigs from a green plaid paper from the Memory Box Yuletide Plaid 6×6 pad. Since there are touches of gold foiling on all the papers I decided to die cut the sprigs from that side of the patterned paper for that little bit of added sparkle and shine. There are also little pine like sprigs in the Holly Sprig die set. I die cut those from the reverse side of another piece of Yuletide Plaid that had a brown hue to it. I adhered the flowers to the Holly Sprigs on the spots where the berries are supposed to be. I really like the look!
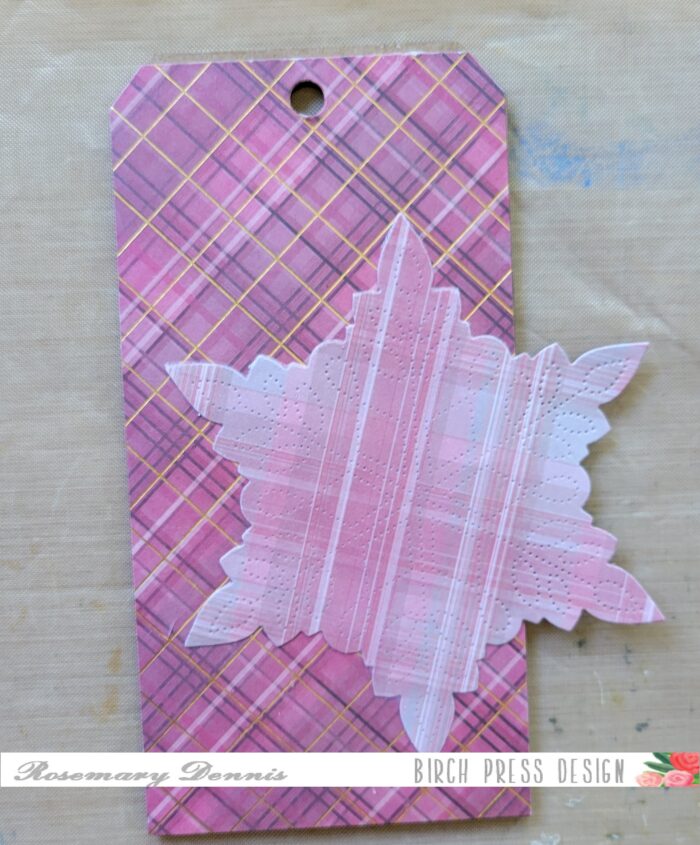
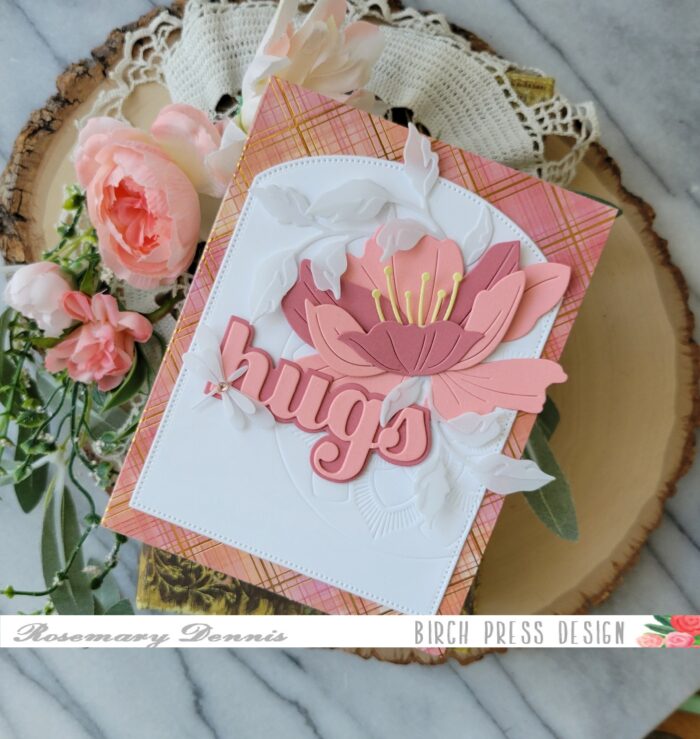
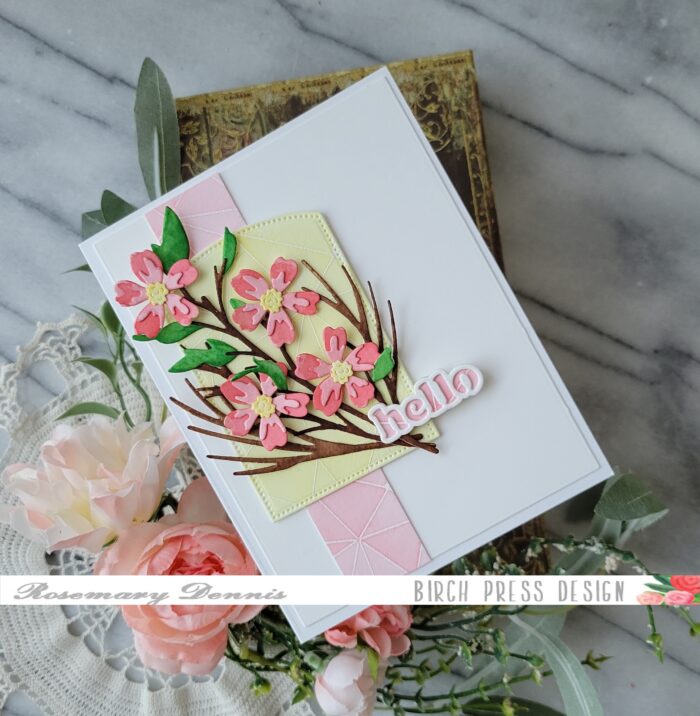
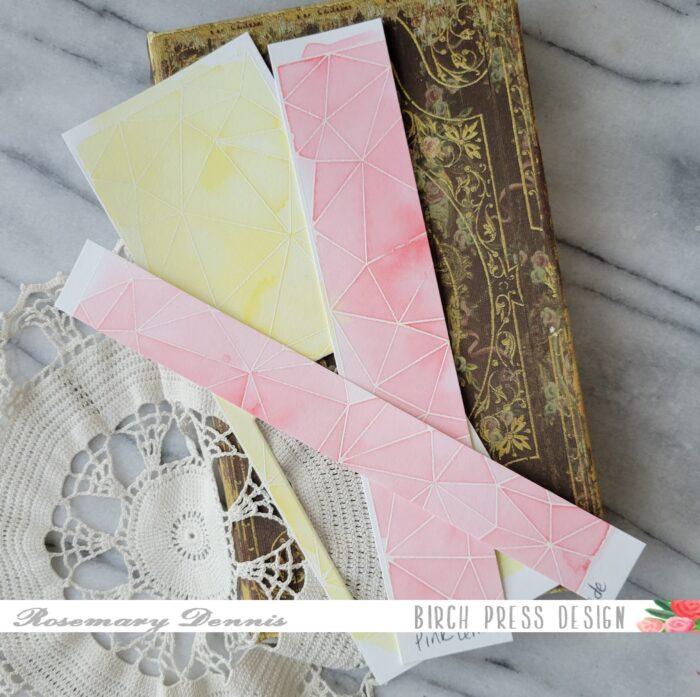
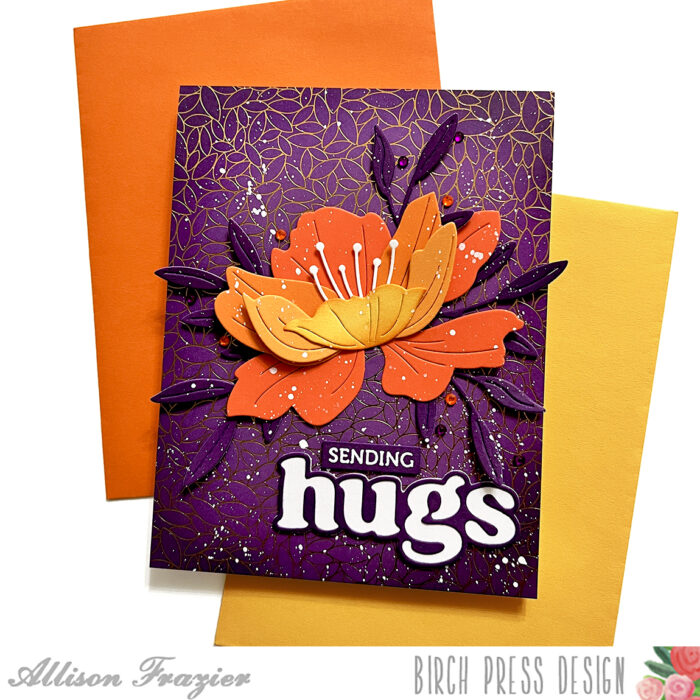
For the background I decided to use another piece of paper from the Yuletide Cheer pad that featured gold foiling. I tried just layering the three holly sprigs on to the background but decided I needed a little something else. So I went through my layering die sets and settled on the Cora Layering set. I die cut the bottom and middle layers from the patterned papers I used for the flowers and stems and the top layer from gold metallic cardstock. I adhered the layers with liquid adhesive and then added it to the background paper. Because the patterned paper is thin I die cut additional rectangles of the same size from white cardstock and adhered them behind the patterned paper rectangle using liquid adhesive. I weighted everything down so it would dry flat.
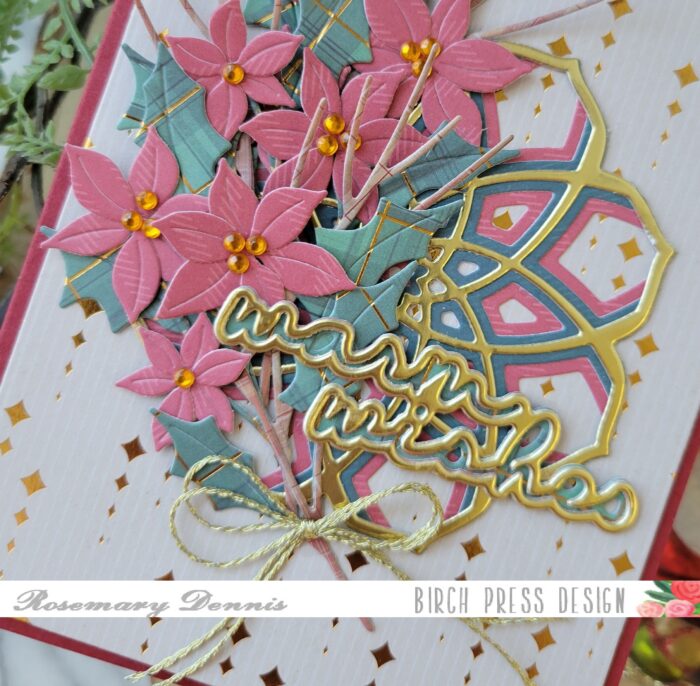
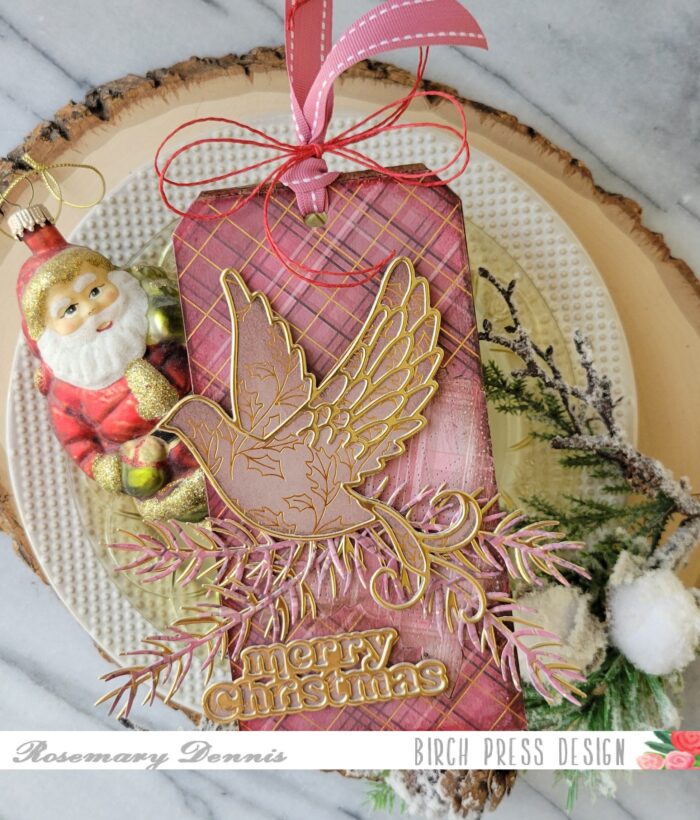
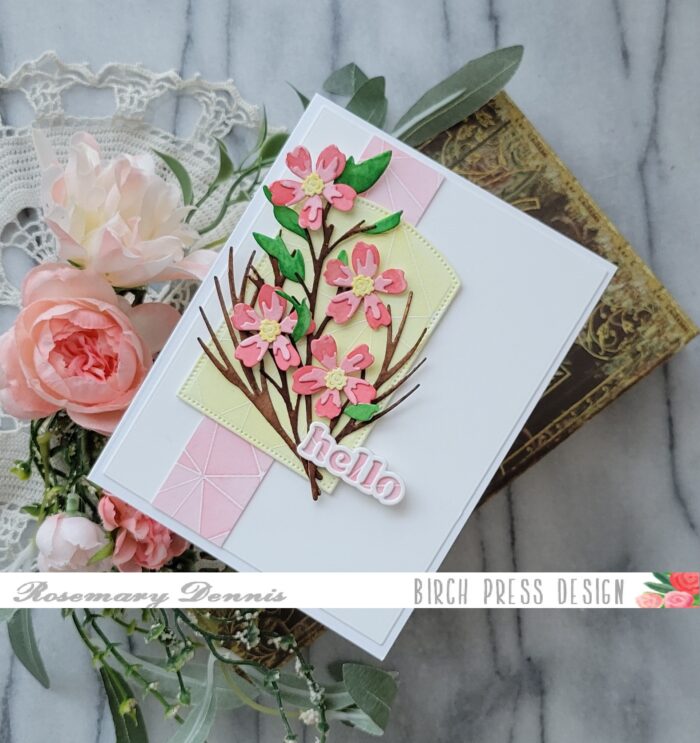
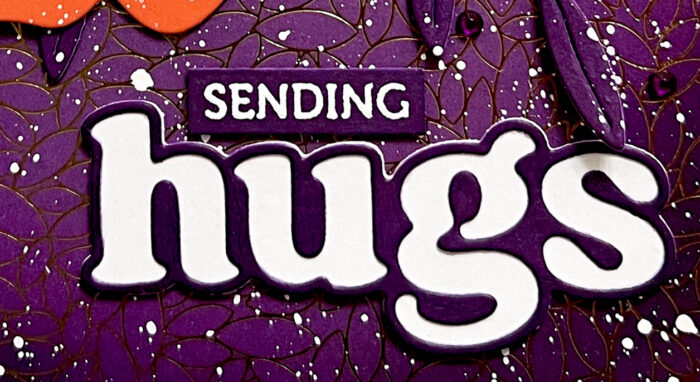
I die cut the Warm Wishes Confection Script from the green plaid paper, as well as from the gold metallic cardstock and adhered the layers together with liquid glue. Once the background was dry I layered on the holly sprigs that I created with liquid glue. I tucked some of the little pine sprigs into the arrangement at various points. I finished off the card with a bow tied from gold metallic thread and the sentiment.
I really like die cutting using patterned papers, especially papers with a subtle pattern to them, as it adds so much texture and interest to a card. I hope you enjoyed today’s card. Thanks for stopping by and have a wonderful day!

Supplies