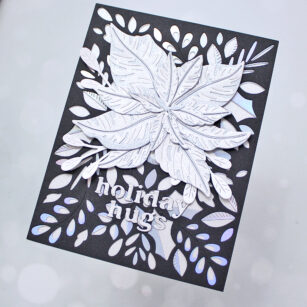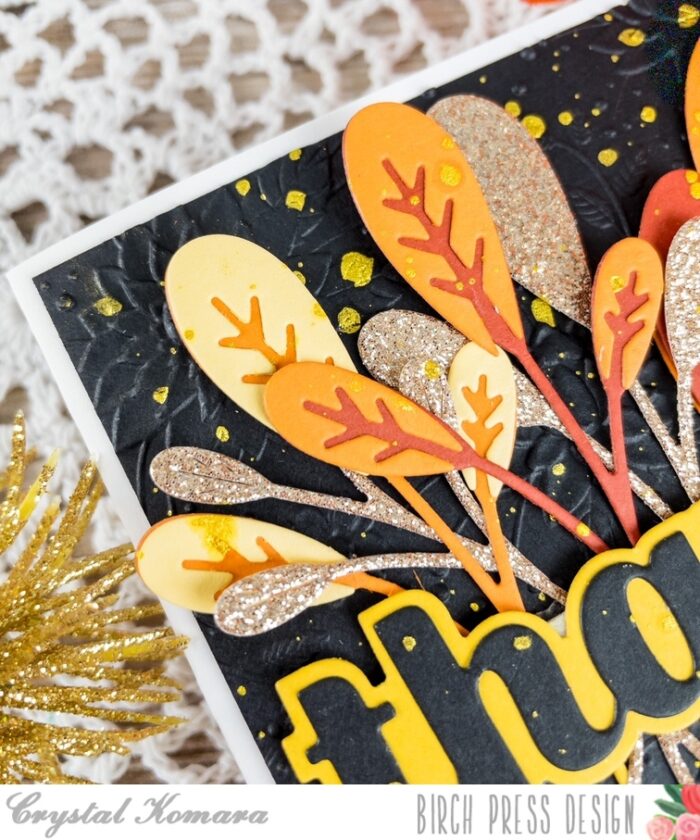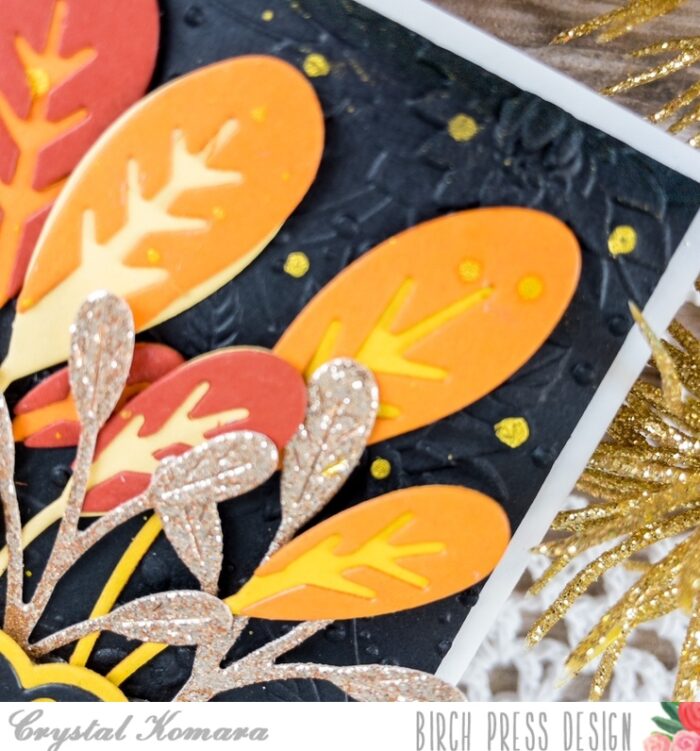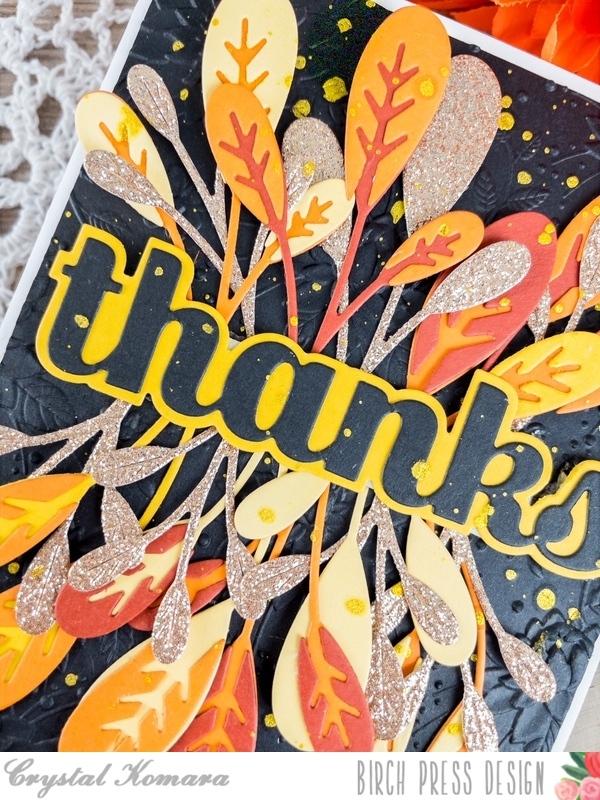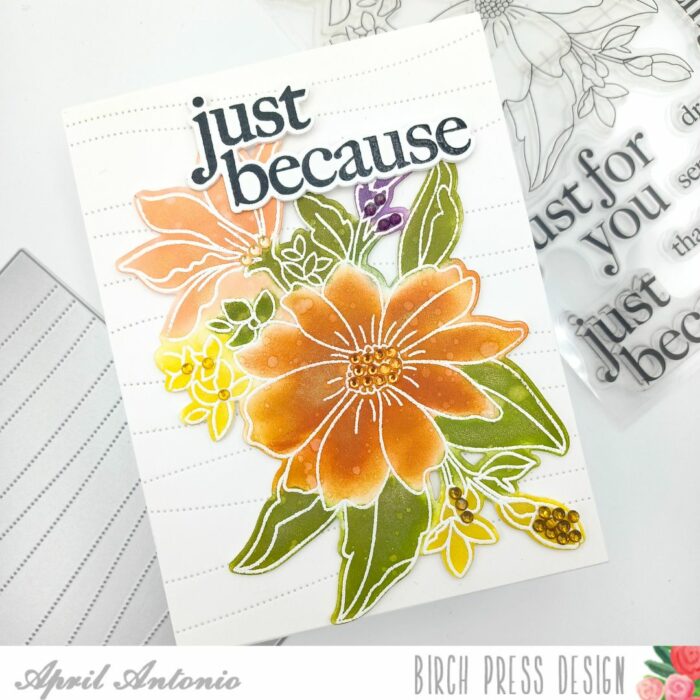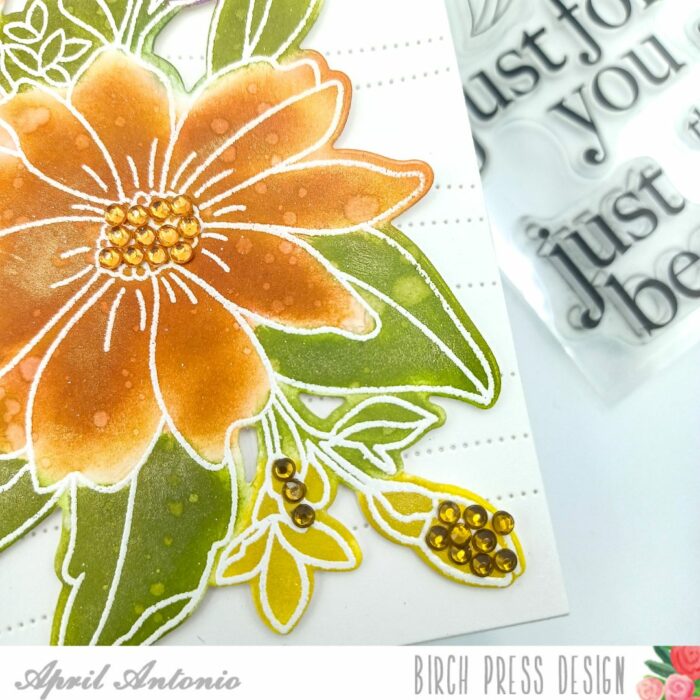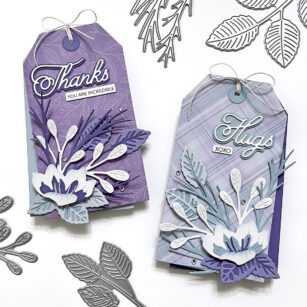
Hello, Birch Press friends. Today, I am sharing two tags that both feature the beautiful new Peeking Flower and Leaves Contour Layers set. But rather than use the leaves from that set, I used the new Rose Leaves set! I love how all of the floral Contour Layers sets can be mixed and matched together. You’ll see that there are some other sets mixed in there, as well!
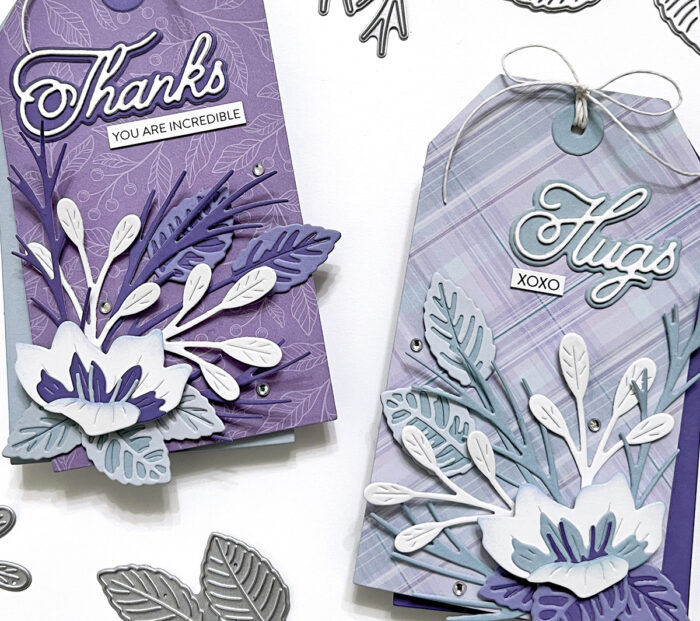
My inspiration for these tags came from the gorgeous new Anemone Plaid and Anemone Grove paper pads from Memory Box. I chose a pattern from each pad and used a basic die from my stash to cut the tags. From there, I chose a few coordinating blue and purple card stocks to cut the other elements.
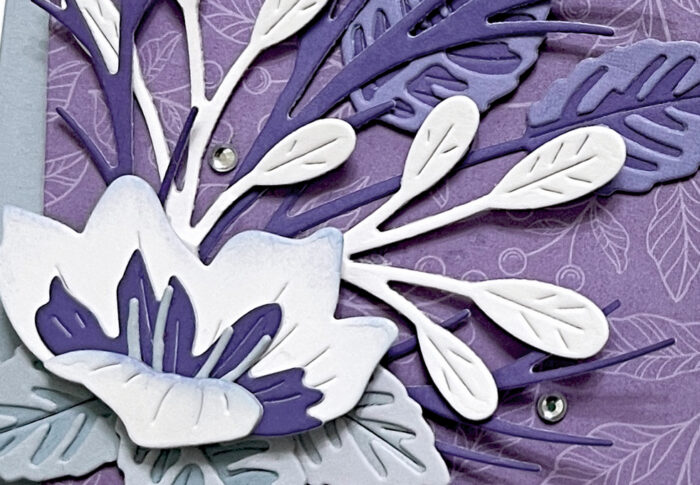
For the Peeking Flower on each tag, I chose white for the front and back pieces. I just added a little bit of shading at the top of those with some coordinating ink. I also cut the Oval Leaf Branches from white card stock. Otherwise, I used the blues and purples for the leaves and inside flower details. Assembling was easy, as I just used liquid glue and adhered the elements from the bottom up.
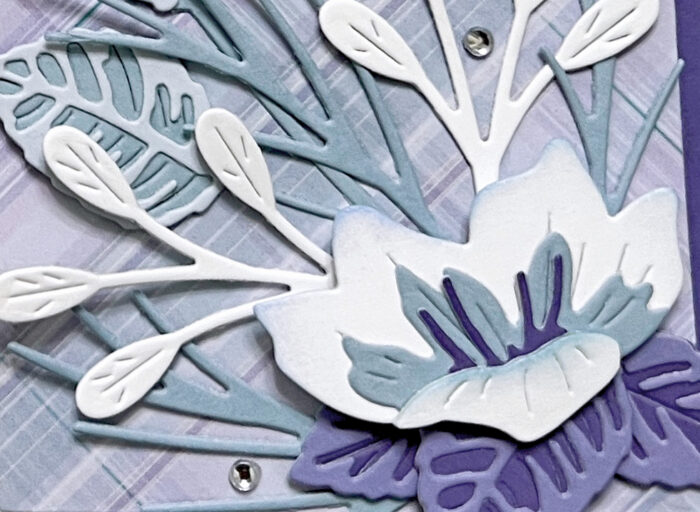
I chose the Handwritten Hugs and Handwritten Thanks dies for the main sentiments on the tags. I think that the beautiful script font on these dies goes perfectly with florals! The small sentiments came from my stash. Before tying a string through the tags, I added a solid tag behind each one. I also added a few clear jewels around the flowers.
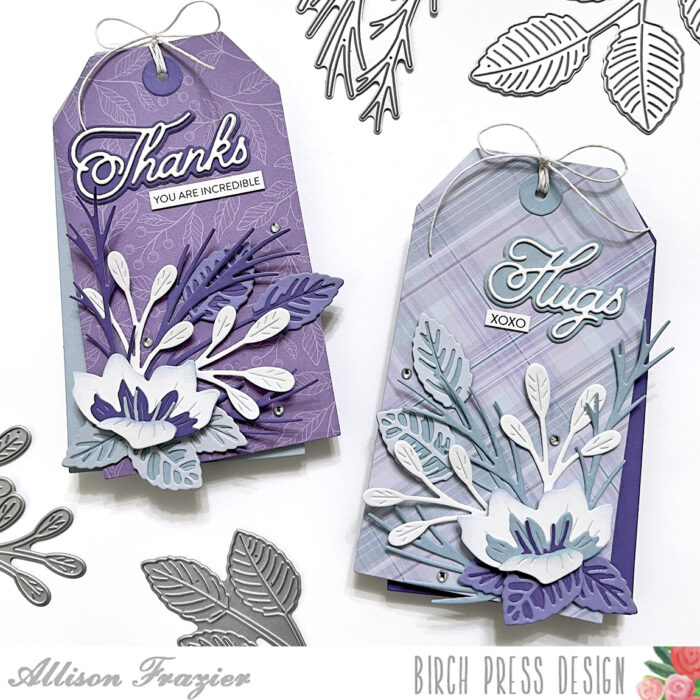
You may notice that I made these tags as mirror images of each other, or at least I tried! I hope they bring a smile to your face. Thank you so much for joining us today.

Supplies


Supplies