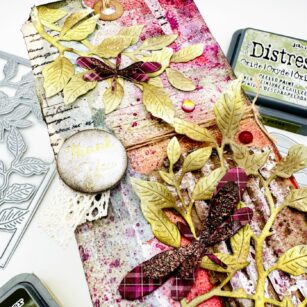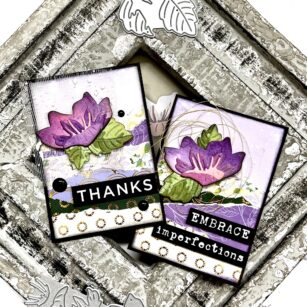
Hello Birch Press friends, it is design team member Natasha back on the blog today. Today I am sharing a colorful floral design with you using a few favorites from Birch Press! So let’s get started!
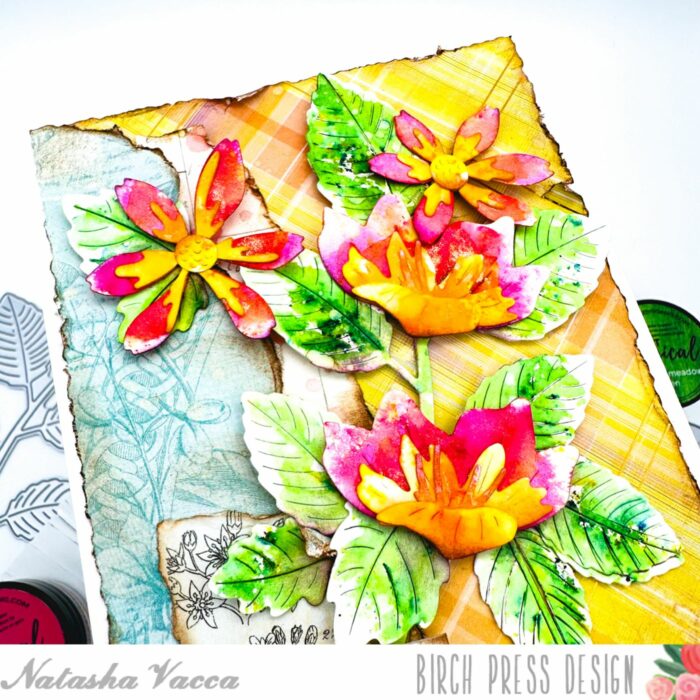
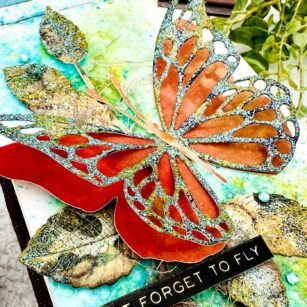
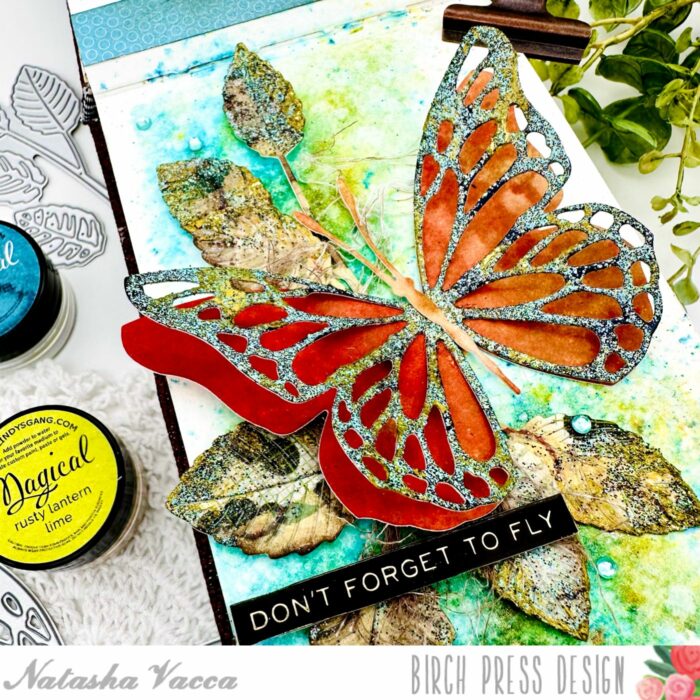
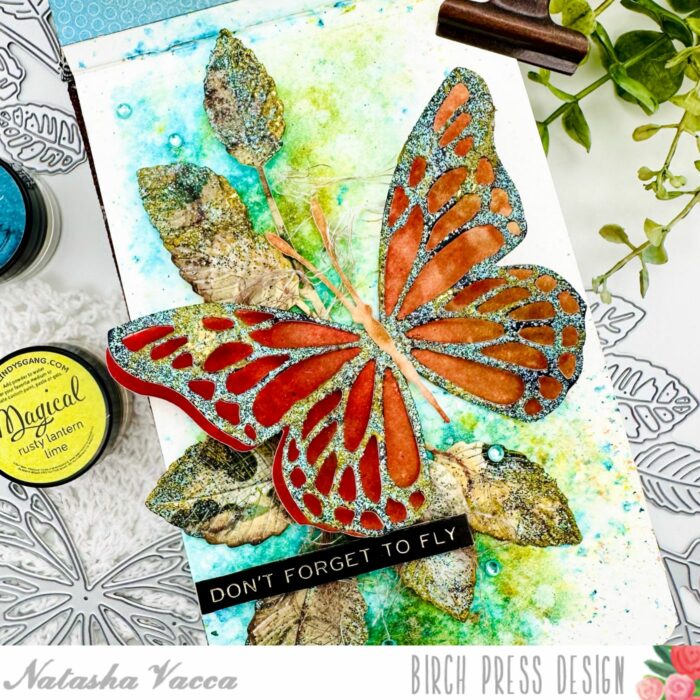
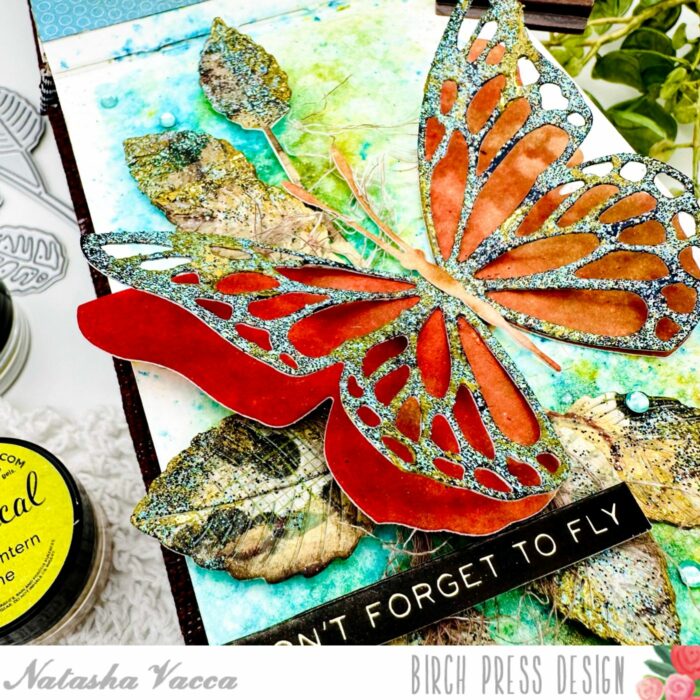
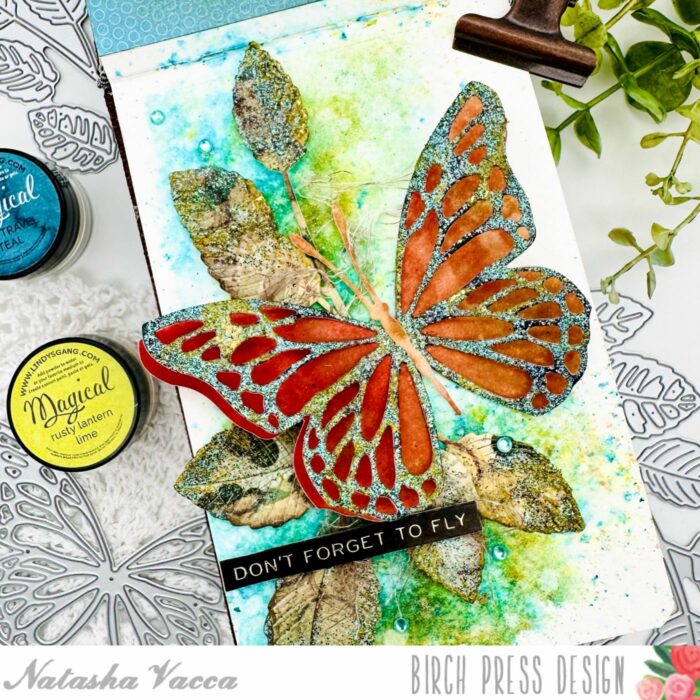
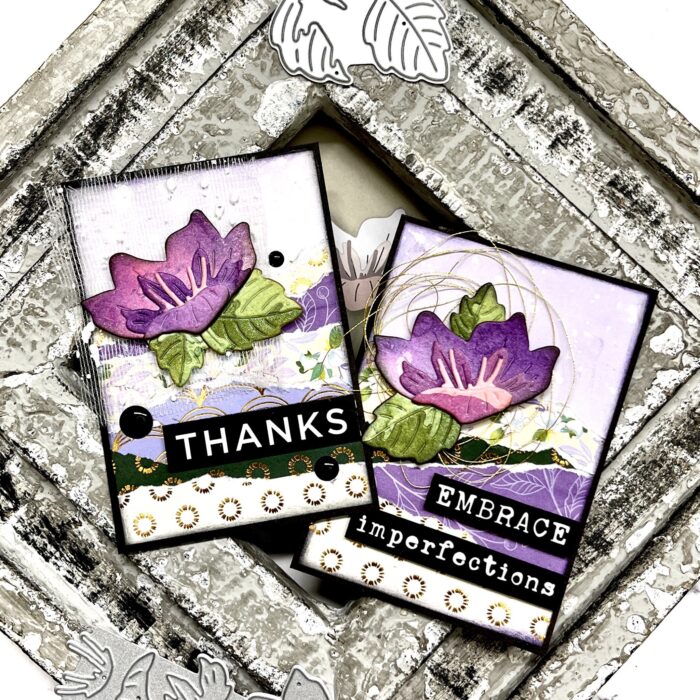
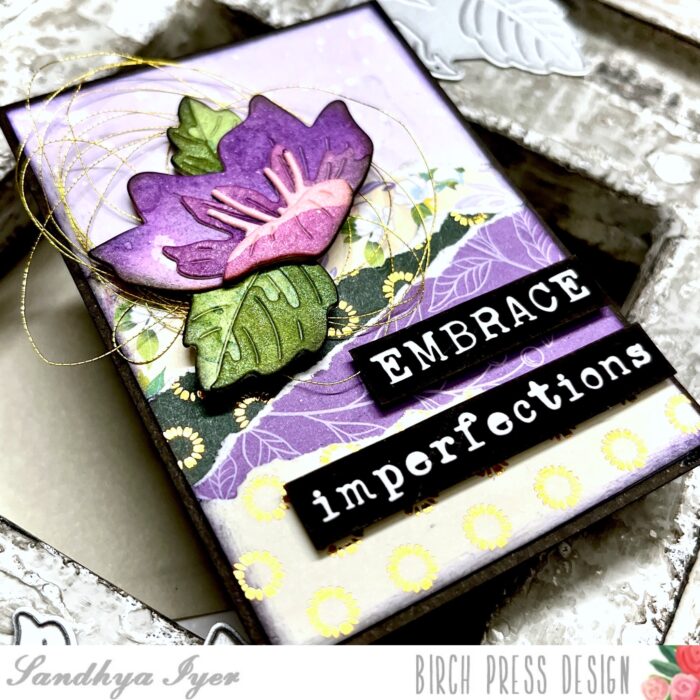
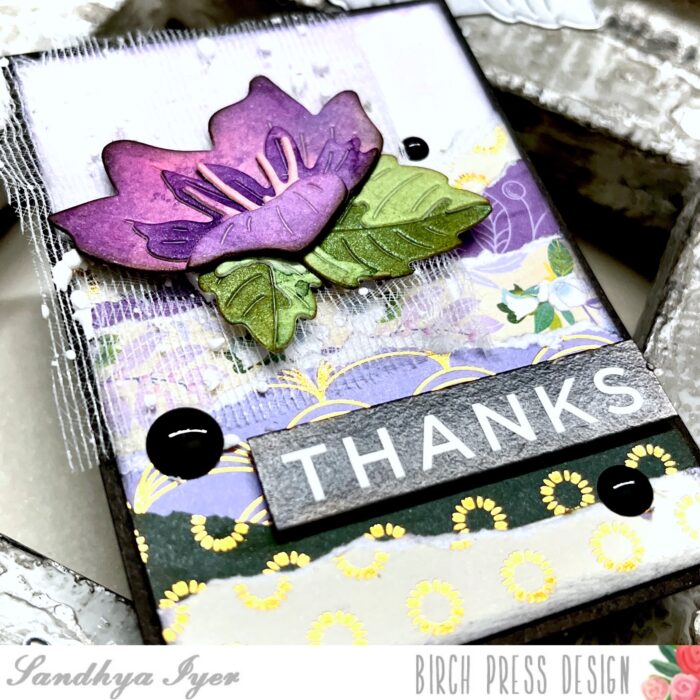
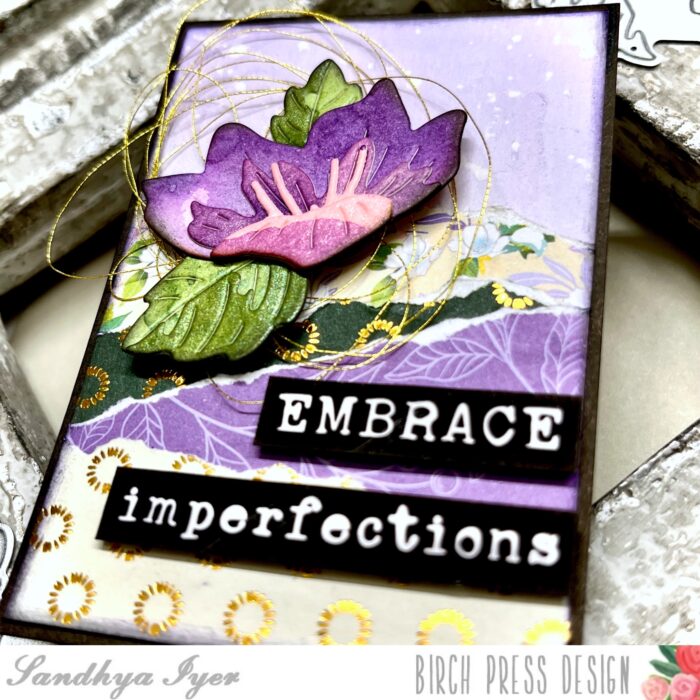
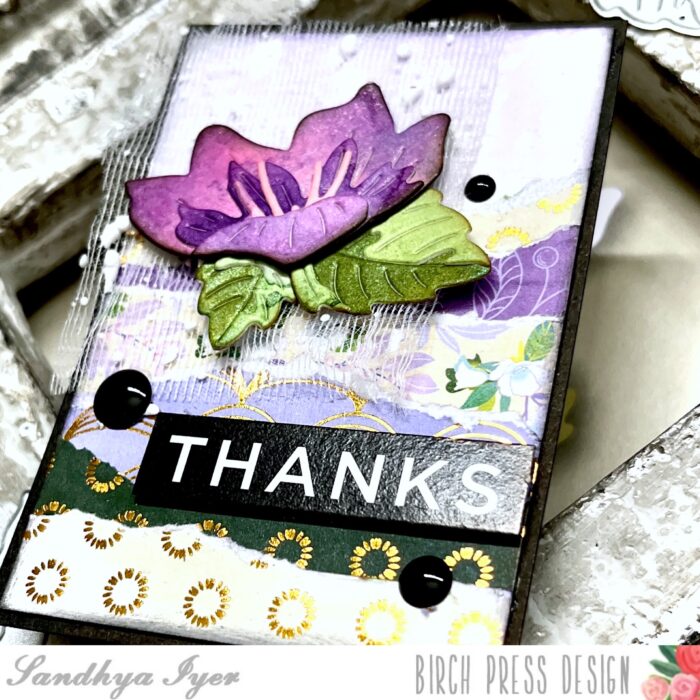
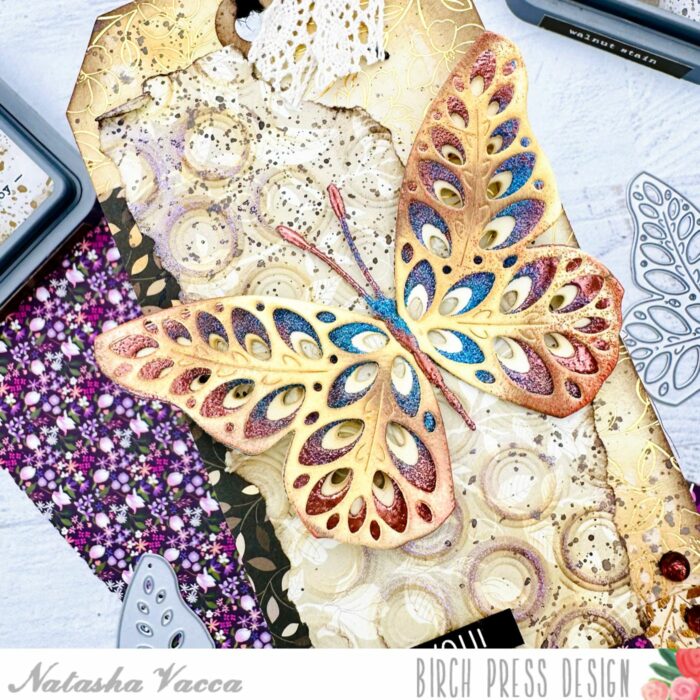
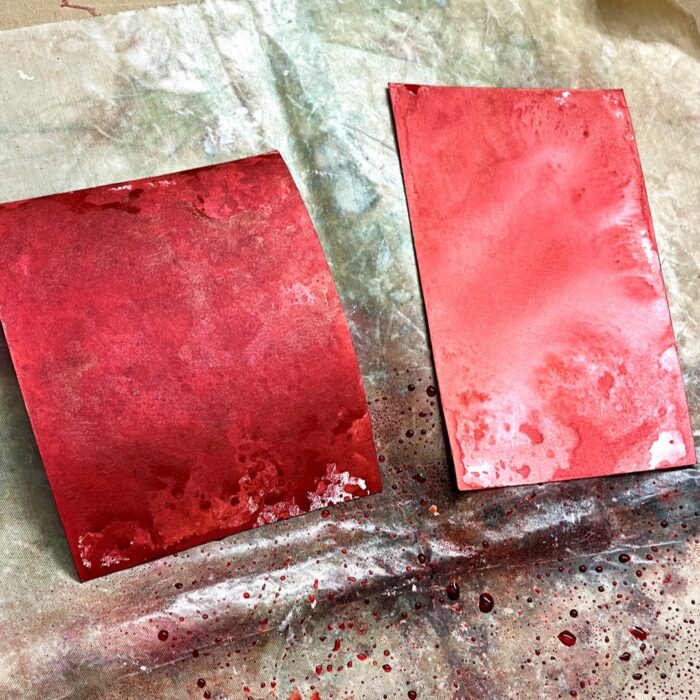
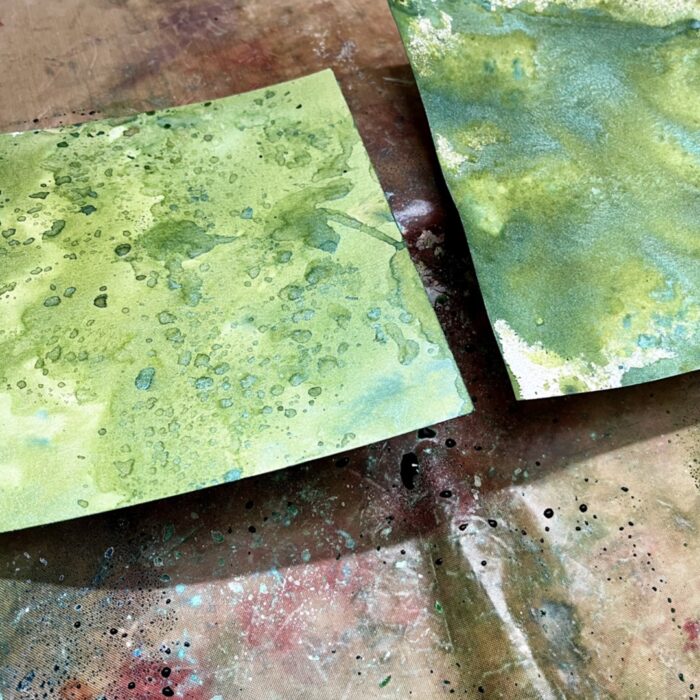
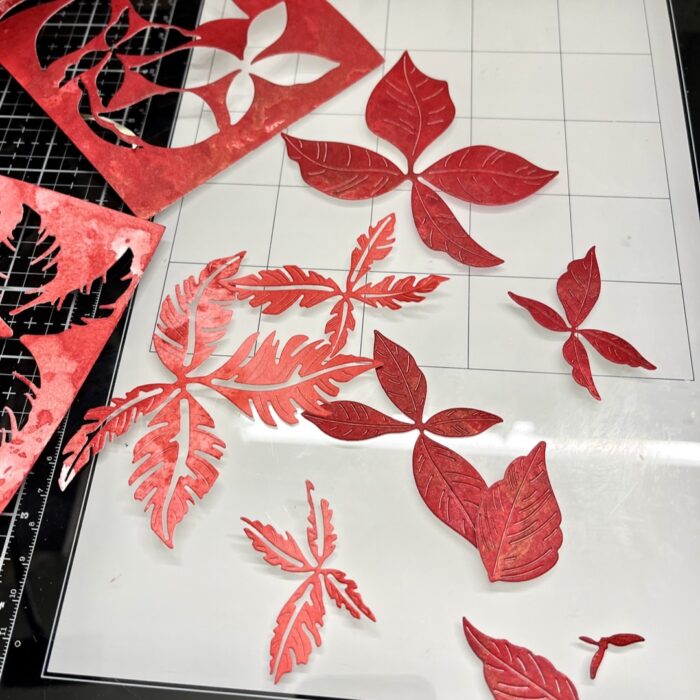
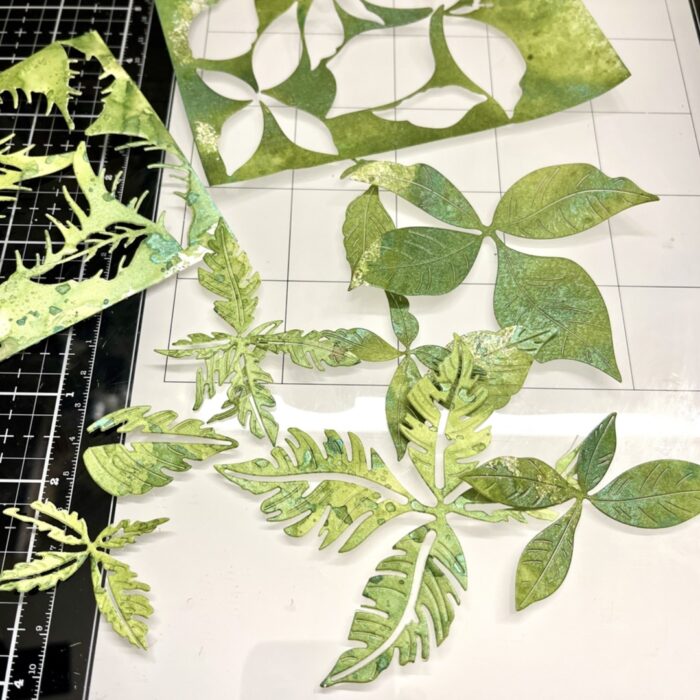
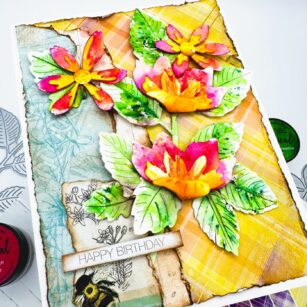
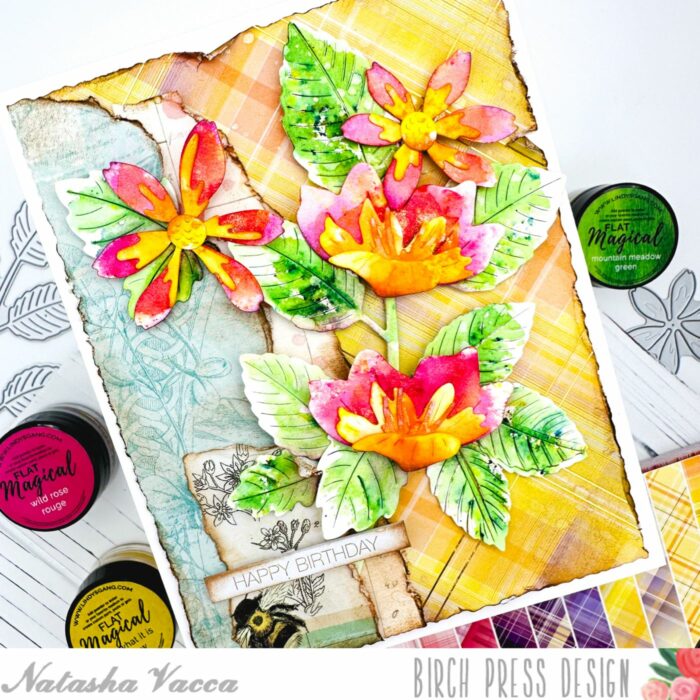
I started by die cutting 3 die sets: Star Flowers Contour Layers, Rose Leaves Contour Layers, and the Peeking Flower and Leaves set. I die cut each of these sets using watercolor cardstock. Once they were die cut I added color to each of the florals and leaves using Lindy’s Magicals. I allowed each layer to dry before adding more color. I then added shine to each of the layers using gold magicals.
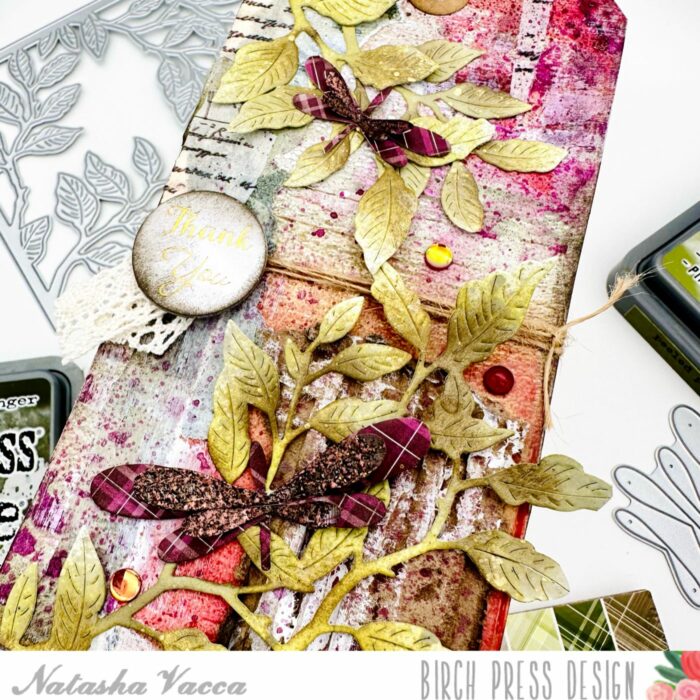
I made sure each layer was completely dry, then I added more depth to each layer by adding dye ink to the edges of the leaves, as well as the floral layers. I then adhered all the layers together using liquid glue. I added foam tape behind the large leaves and then set these aside to work on my card panel background.
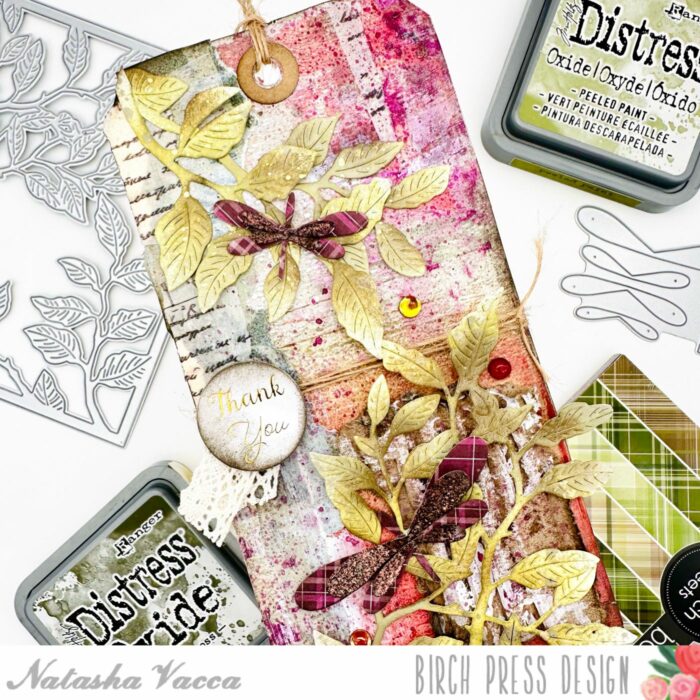
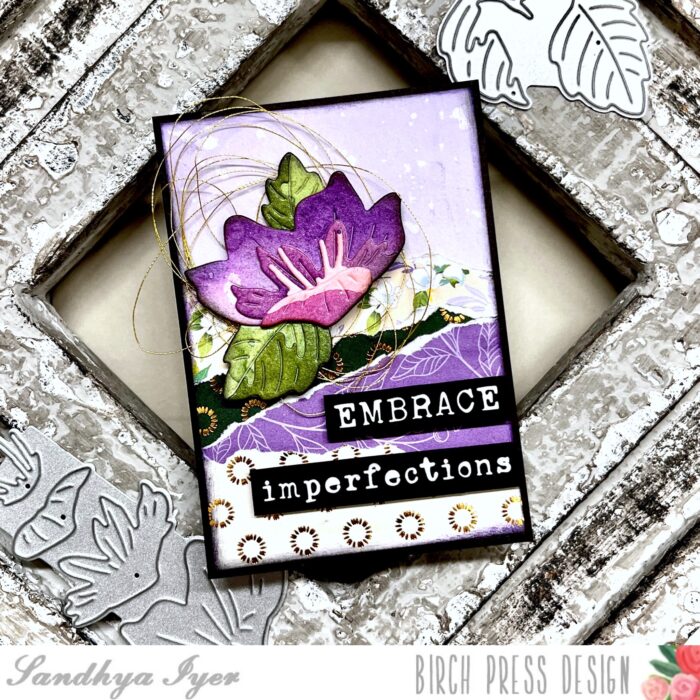
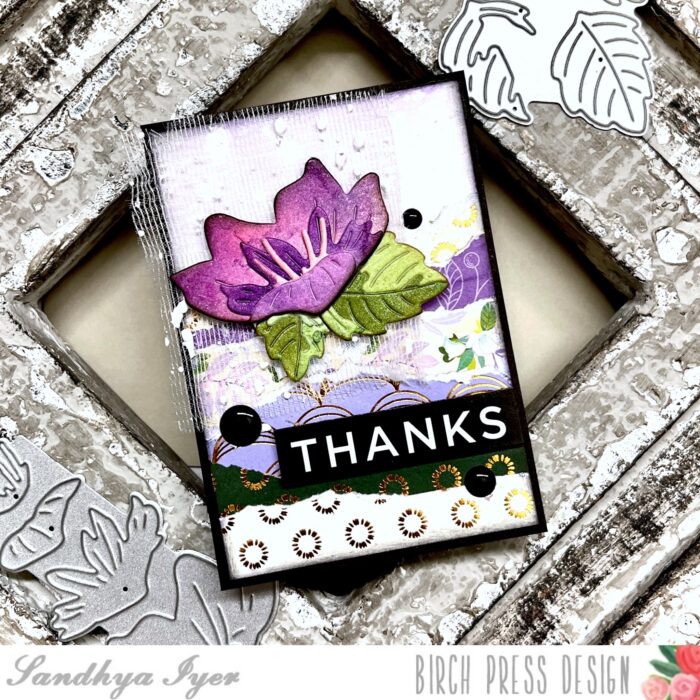
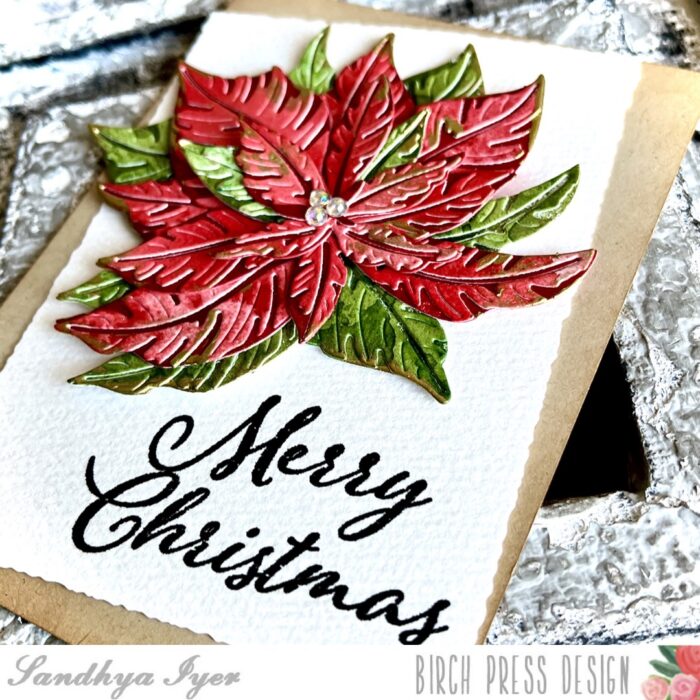
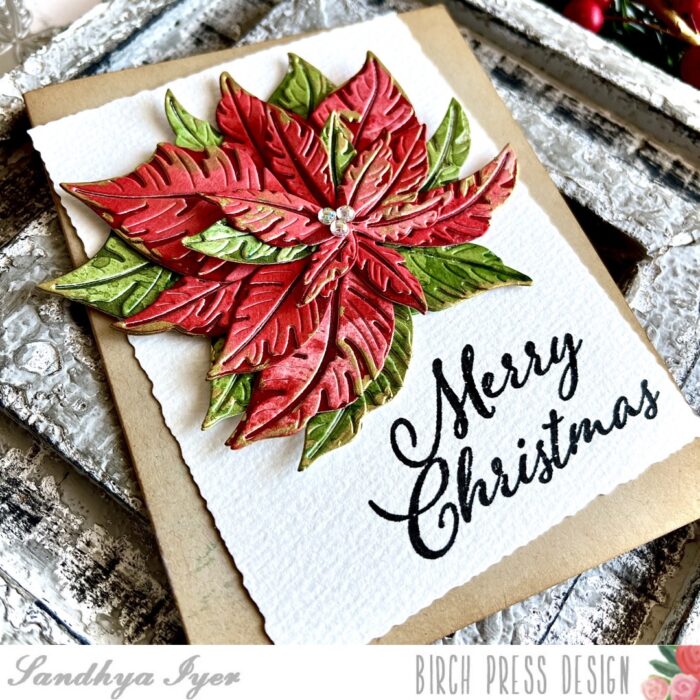
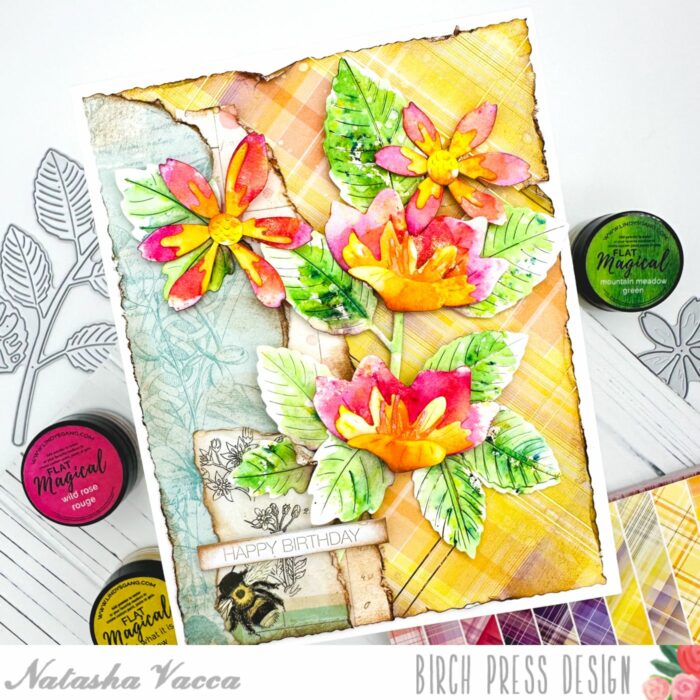
I started with a piece of pattern paper from the Gladiola Plaid paper pad from Memory box. I then found 2 coordinating pieces of paper from my stash. I ripped each of these peices for a distressed look and inked the edges using Vintage Photo distress ink. I adhered the layers of pattern paper together using liquid glue and then trimmed the panel with my deckle trimmer. I inked the edges using Vintage Photo Distress ink and then adhered the panel onto a top folding card base.
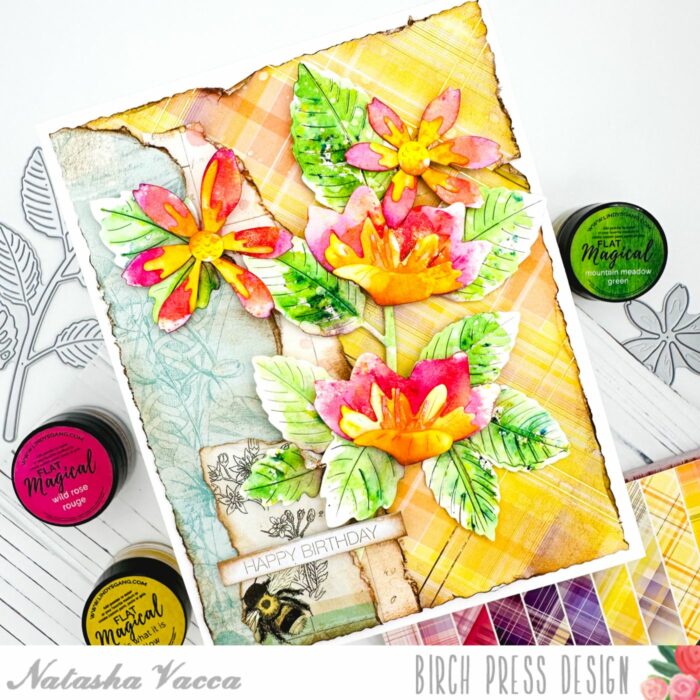
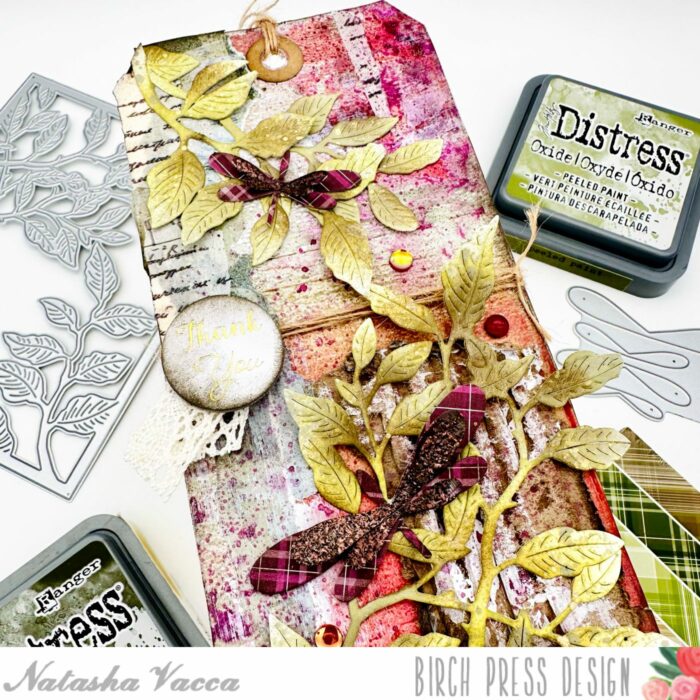
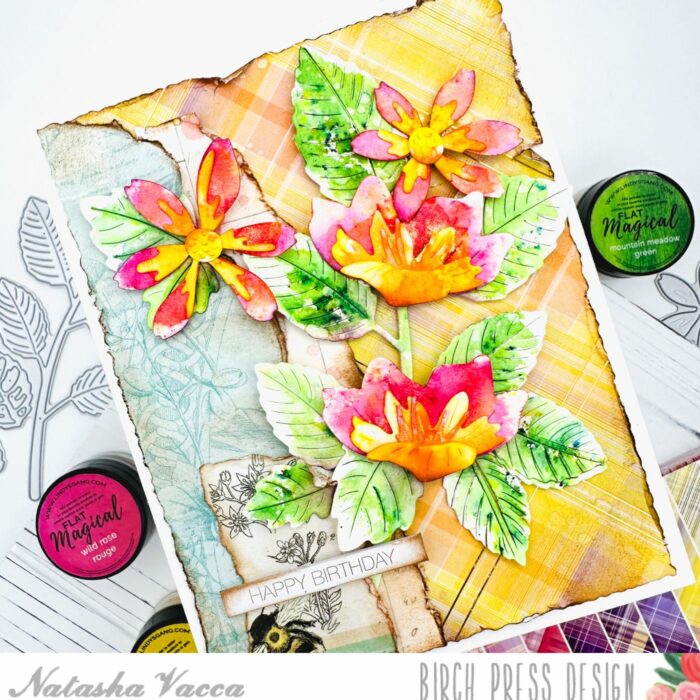
I then arranged the florals and leaves onto the card panel and once I was happy with the layout I adhered the layers using foam tape and liquid glue. I chose a Happy Birthday sentiment from the Happy Birthday Foil Greetings White Tabs set. I also inked the edge of the sentiment with Vintage Photo and then adhered this with foam tape. I had a lot of fun putting today’s card together and I hope this card inspires you to combine your die sets!
Thank you so much for stopping by! I will be back soon with more crafty inspiration!

Supplies


Supplies