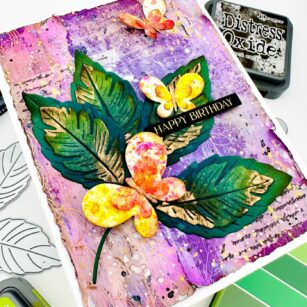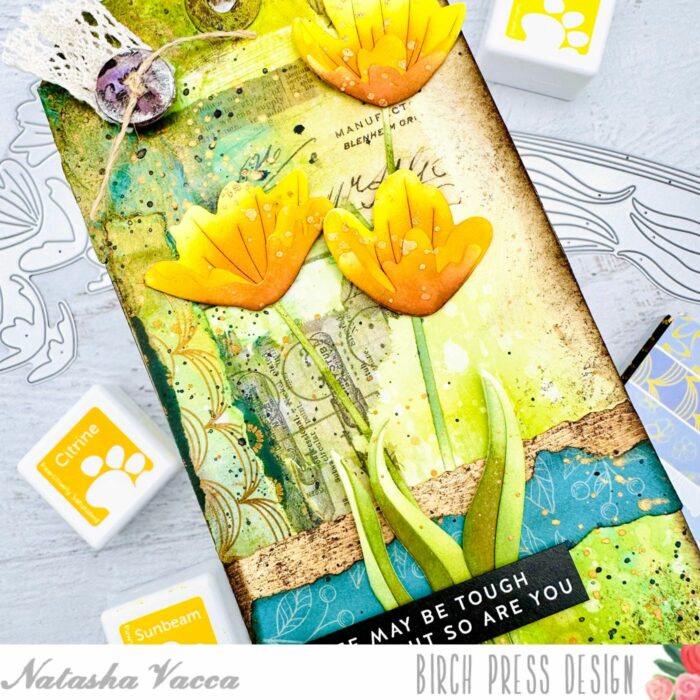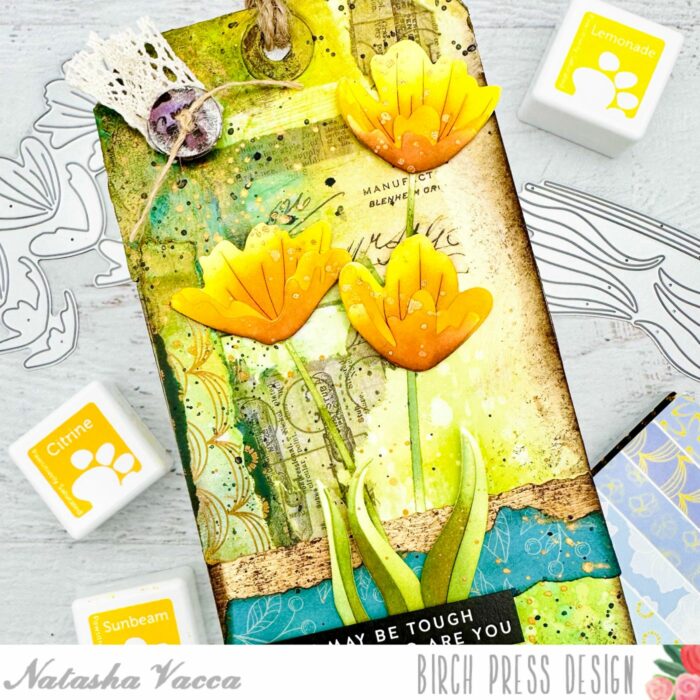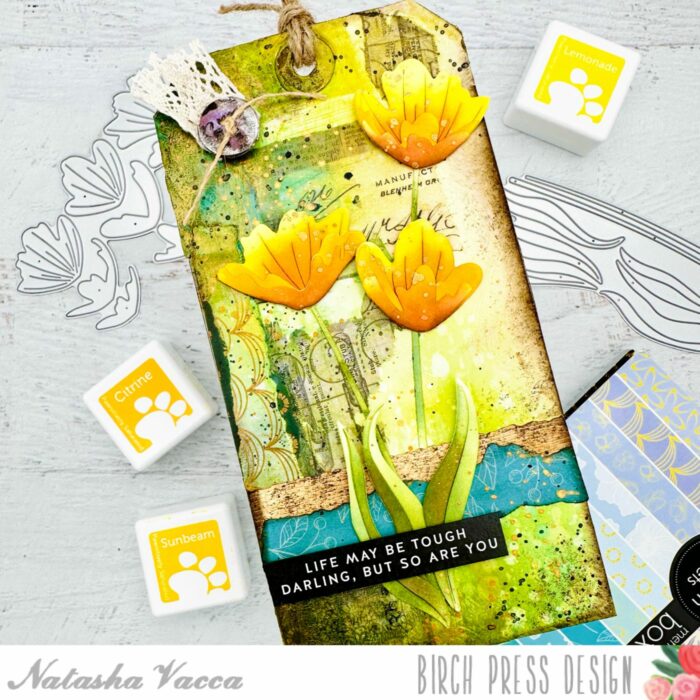
Hello Birch Press friends, I am excited to be back up on the blog today! I am sharing a fun mixed media tag using the Forest Canopy Layer die set to create a fun tag! So let’s get started!

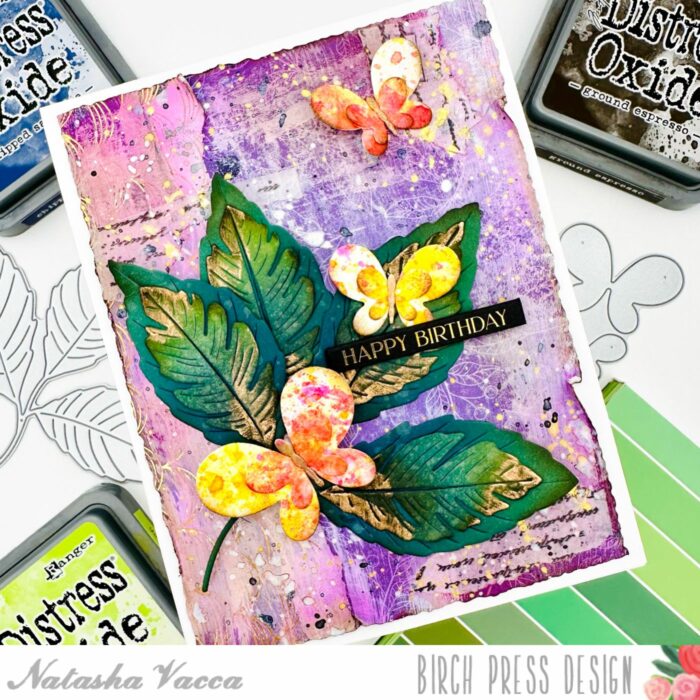
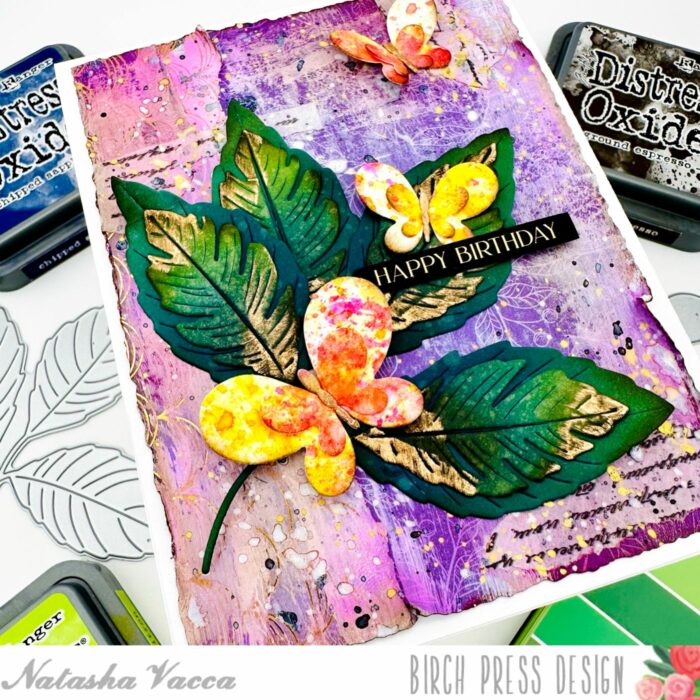
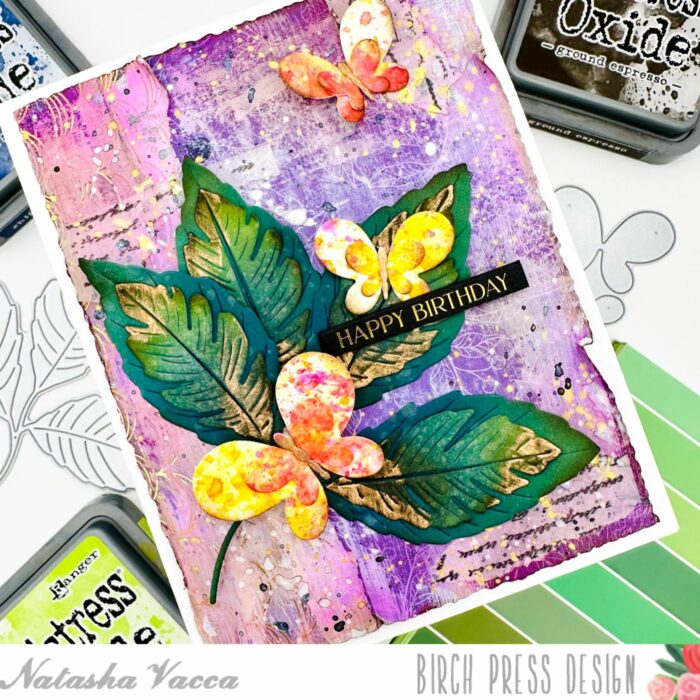
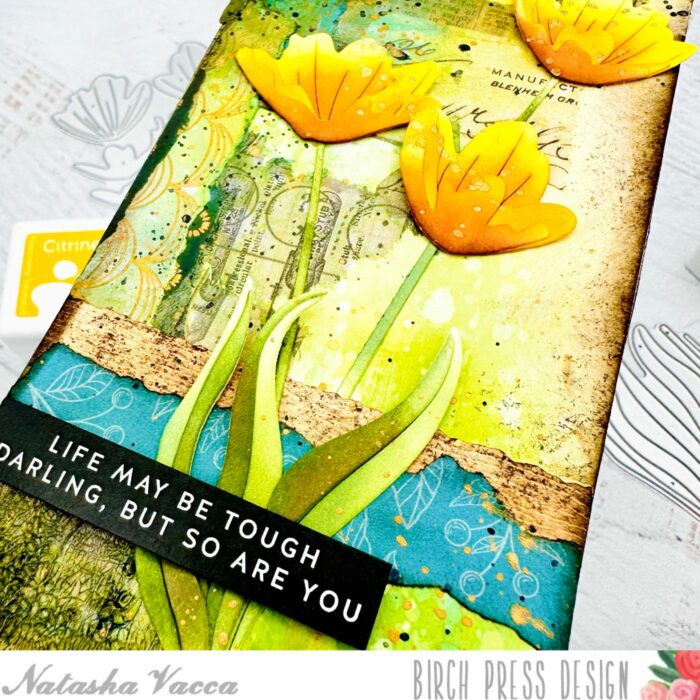
I started today’s project with a pre-made tag base. Next I chose gelli prints from my stash to create a layered background on the tag. I chose several prints, ripped them, then adhered them using liquid glue. Next I chose washi tape from my collection with a printed text. I added this to several sections of the tag background. I then added White Gesso to the background using a paintbrush to sections of the gelli print. I then used a brayer to spread the gesso a bit more.
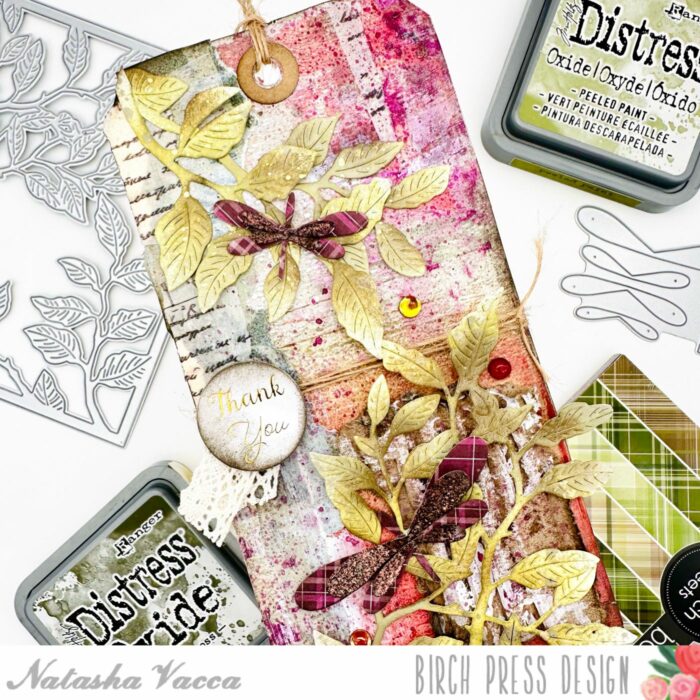
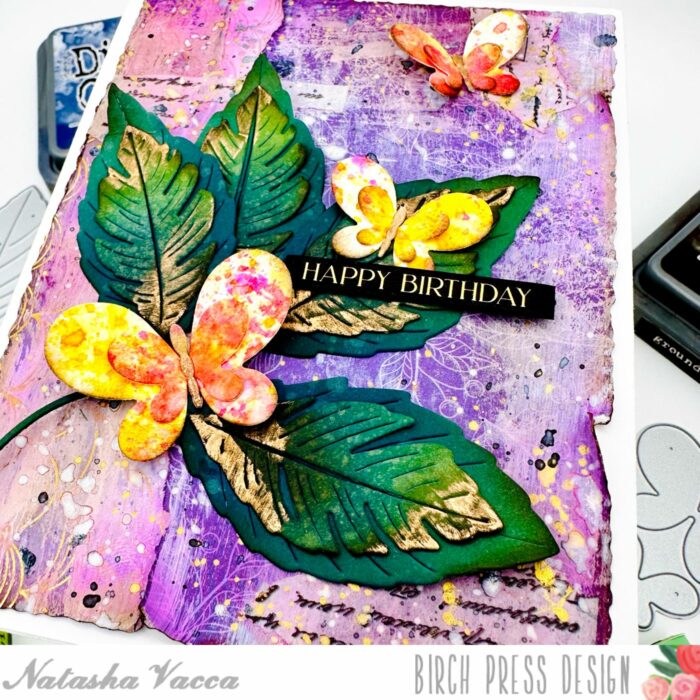
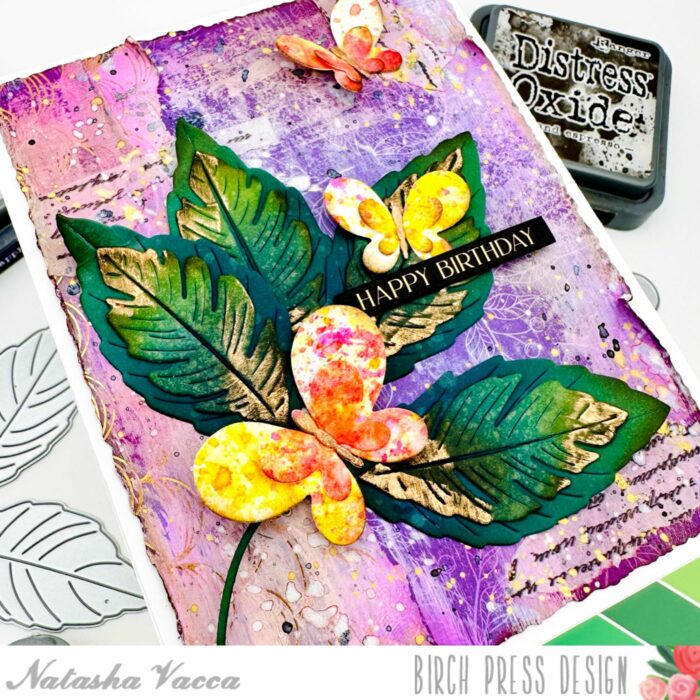
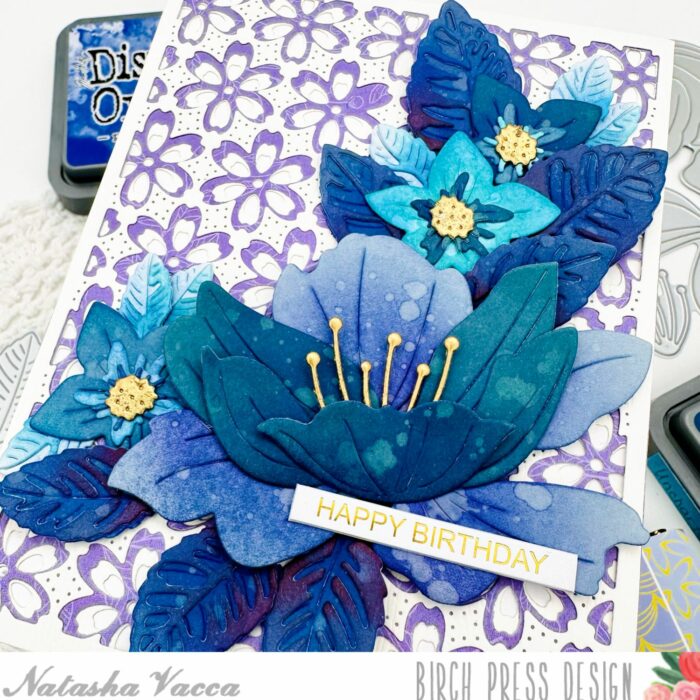
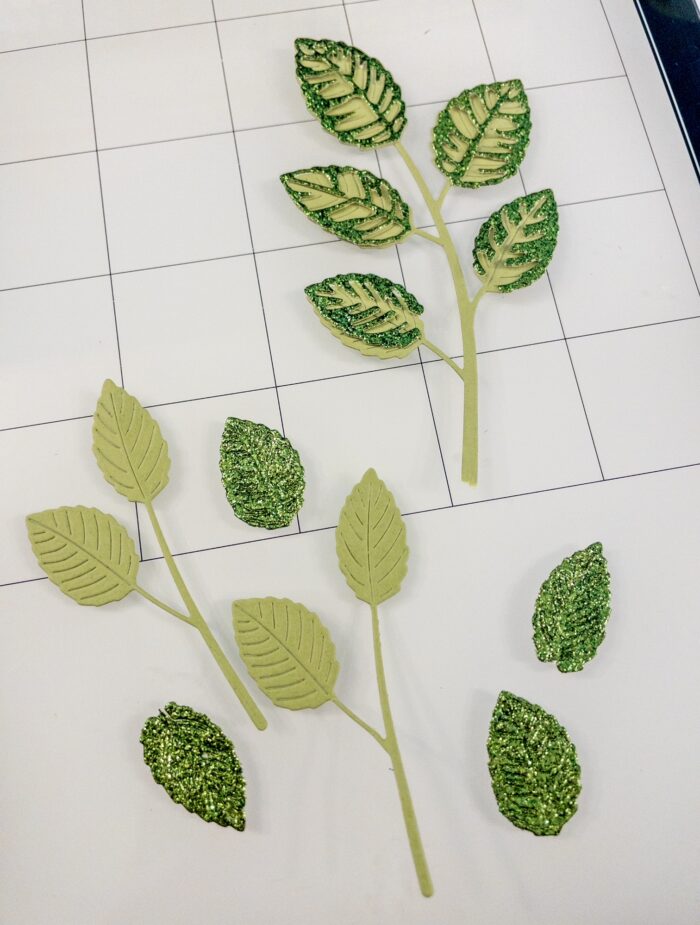
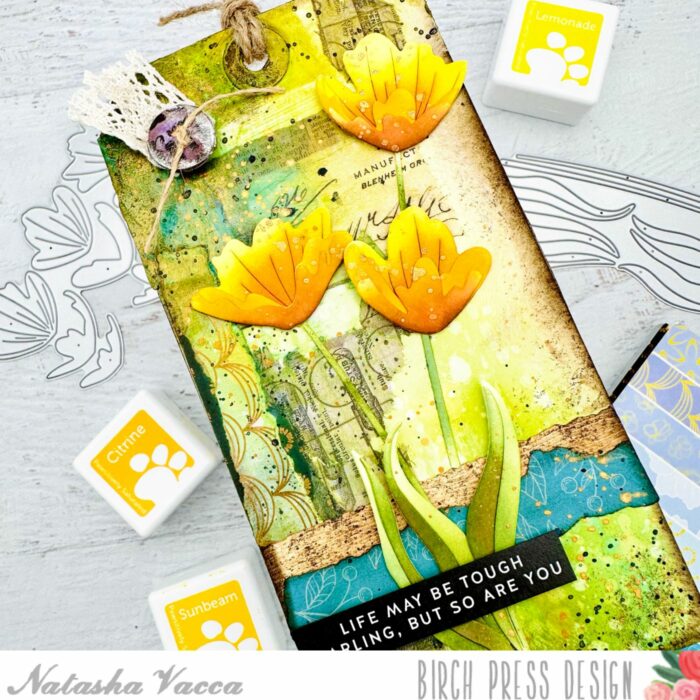
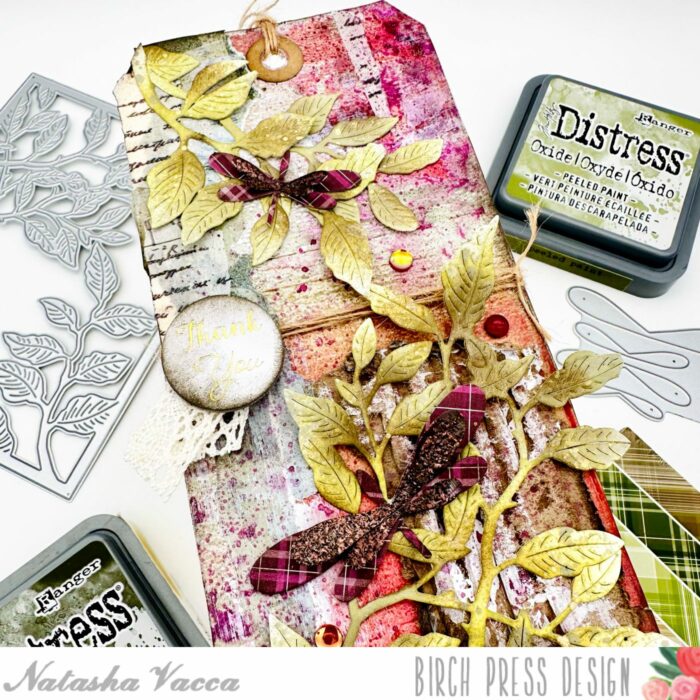
Next I die cut Layer B and C of the the Forest Layer Canopy die set. I used white cardstock to die cut each layer. (On today’s project I did only use Layer C). I then added color using Distress Oxide ink in Peeled Paint and Forest Moss. I added water droplets to the leaves and picked up the color with a paper towel. I then darkened the edges of the leaves using Espresso Ink. I applied the ink using a finger dauber. I also added gold metallic ink splatters, as well as an ink spray from my collection. I set these aside to dry.

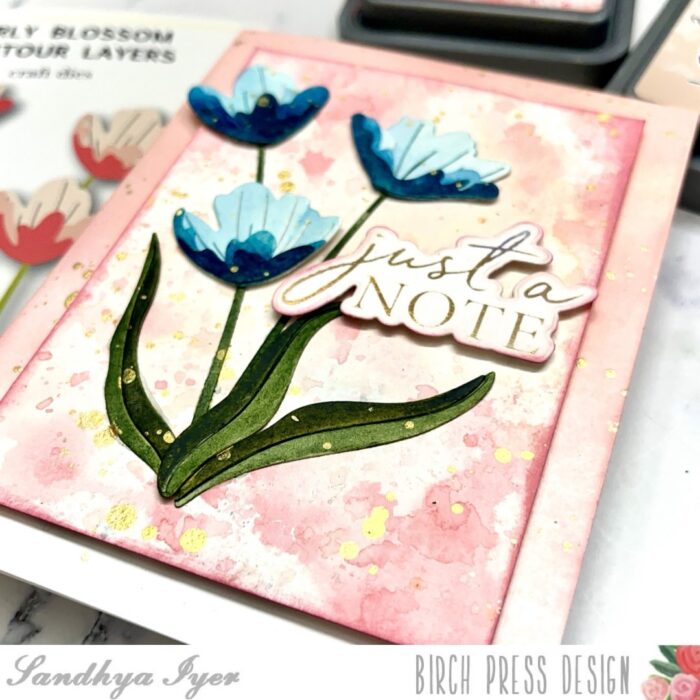
Next I die cut 2 dragonflies using the Magnolia Plaid paper pad with the Simple Dragonfly Contour Layers die set. I added embossing powder to the small section of the dragonflies. I then adhered all the layers together using liquid glue.
To complete my tag I added Distress Ink to the edge of tag using Distress Ink. I then added more texture using a spray in my stash. I added this to the tag background. Once this was dry, I added a piece of small cardboard to the bottom right of the tag. I added a bit of gesso and purple spray to the cardboard for added color and texture. I then adhered all the layers onto the tag using liquid glue (leaves, dragonfly). I added a Greeting Tab and gems to complete my tag, as well as twine, and ribbon.
Thanks so much for stopping by today! I will be back soon!

Supplies


Supplies