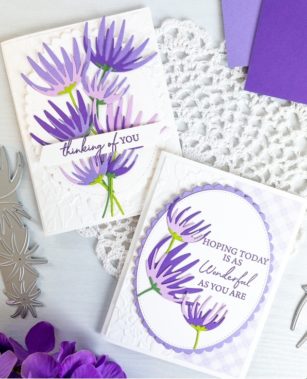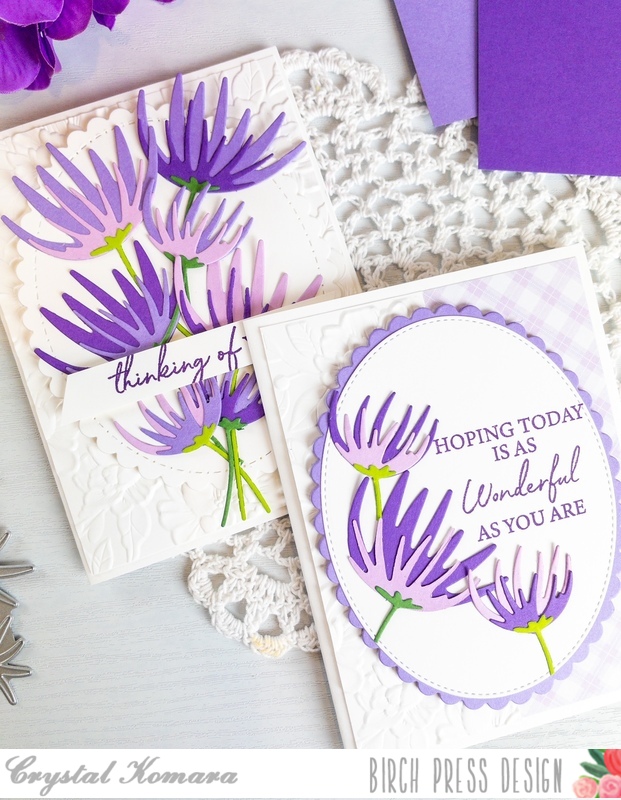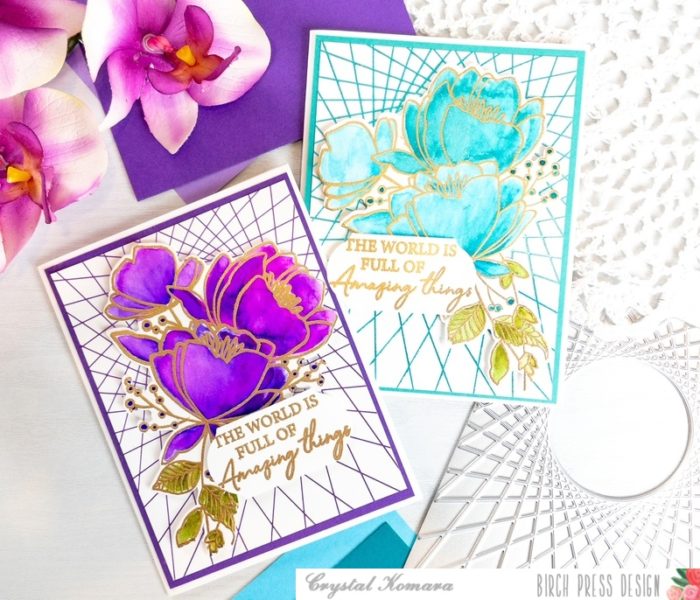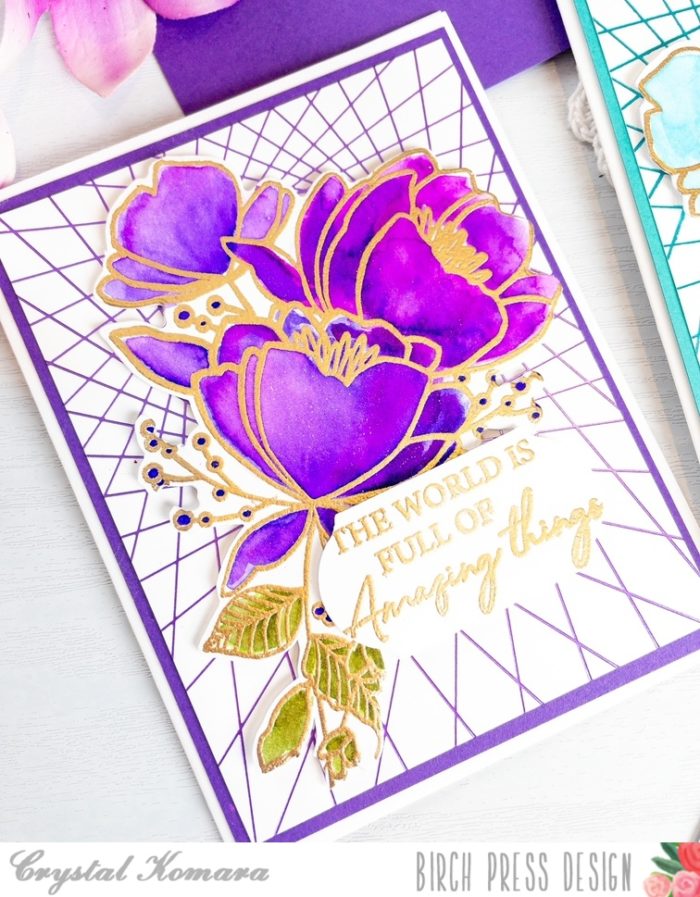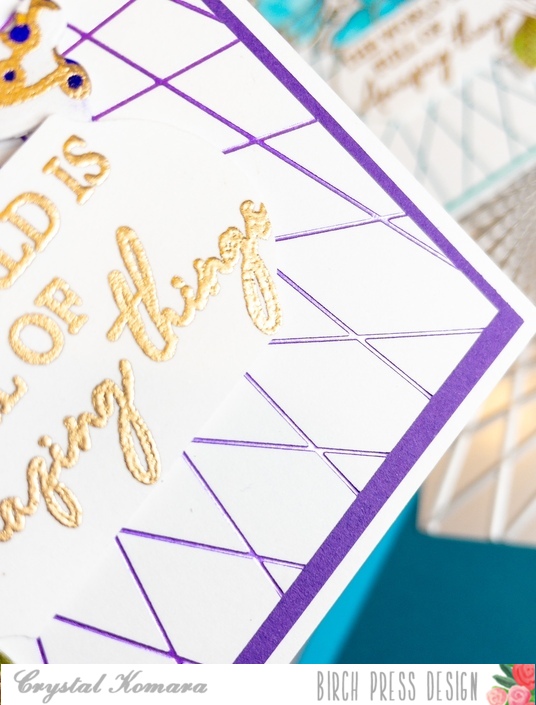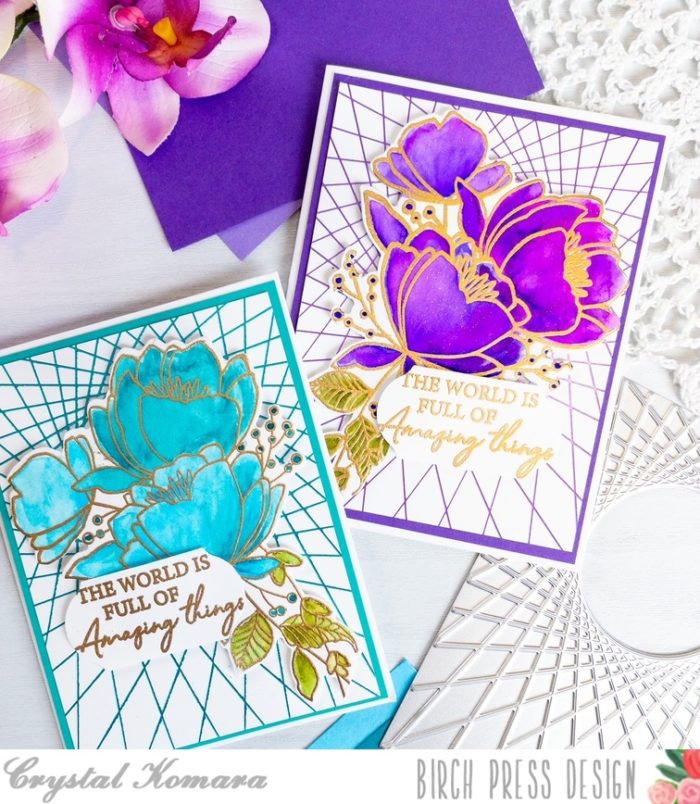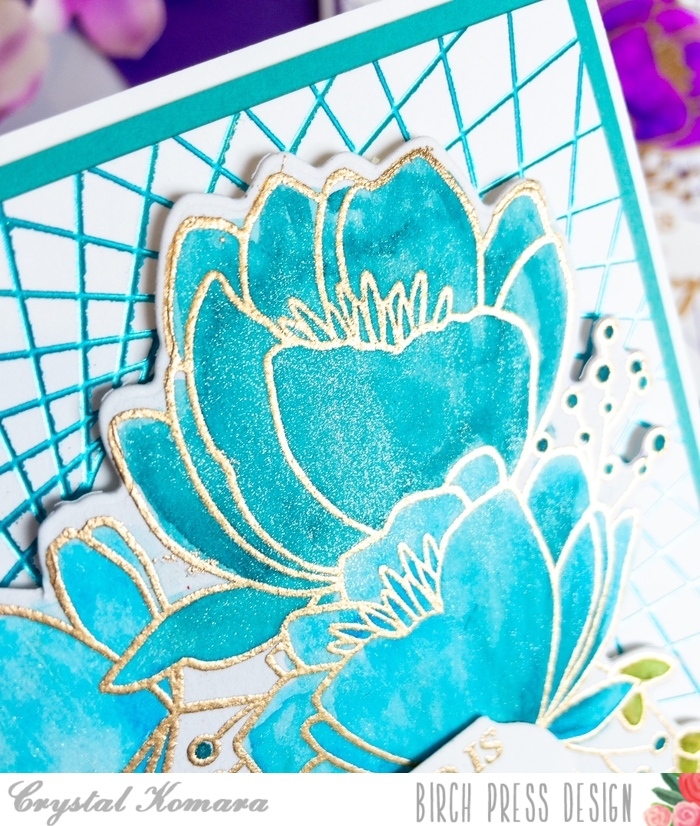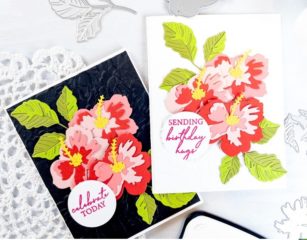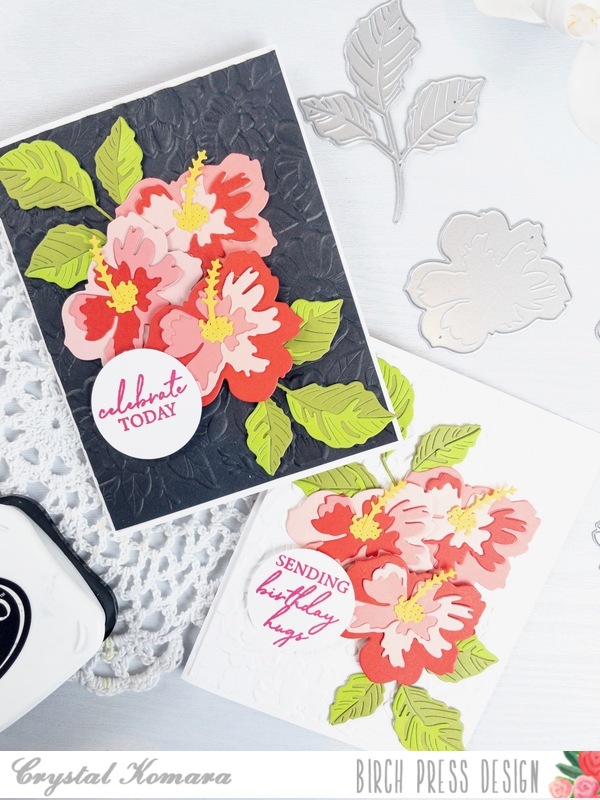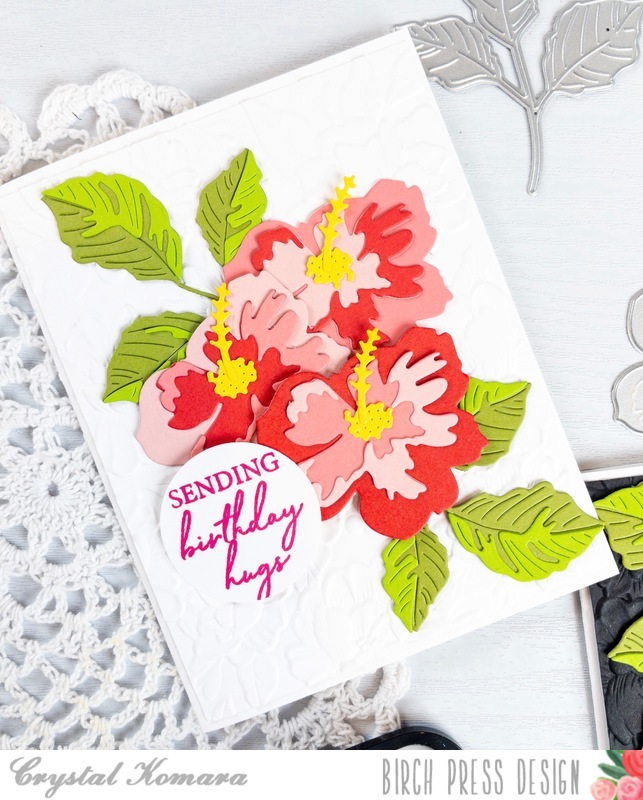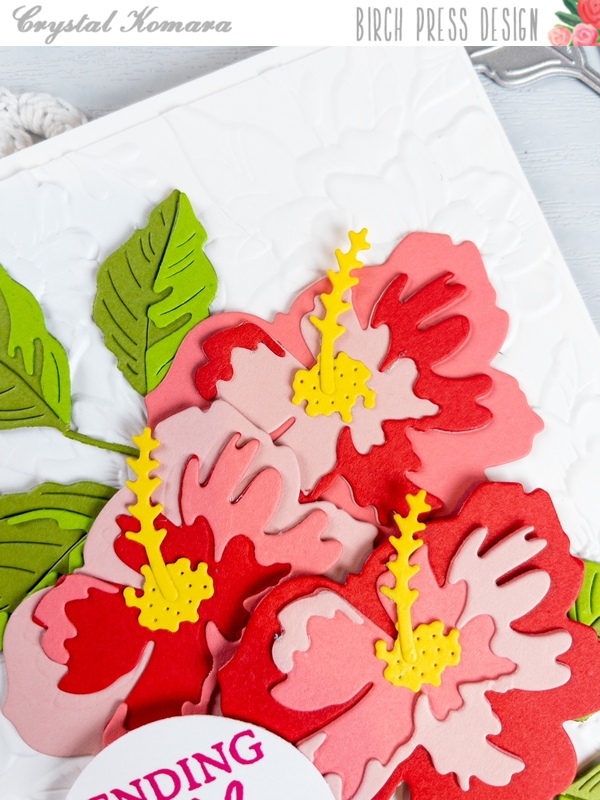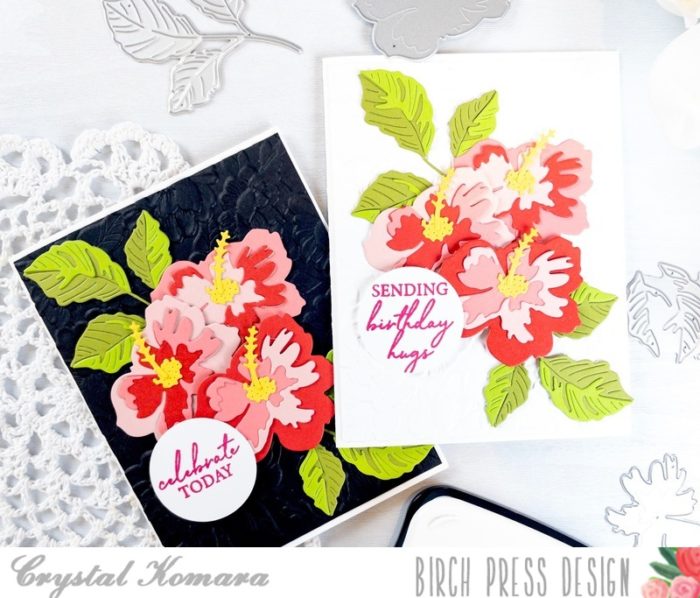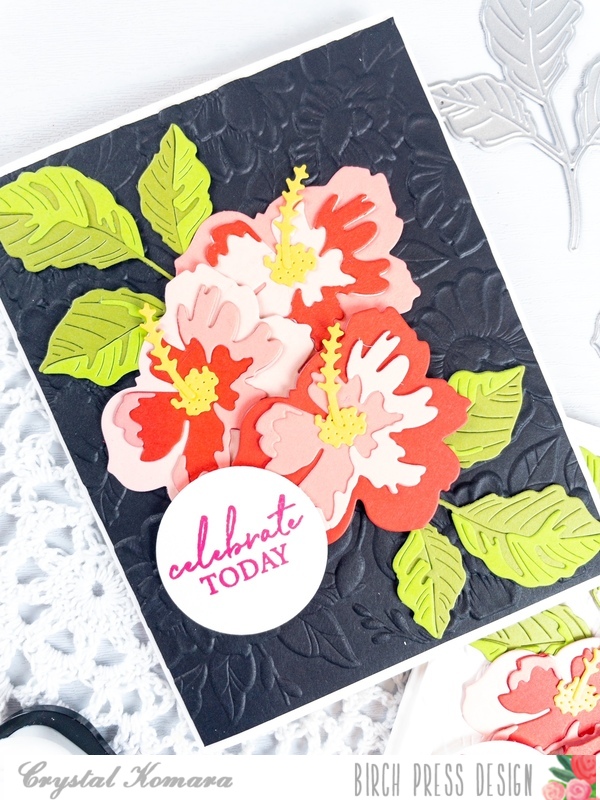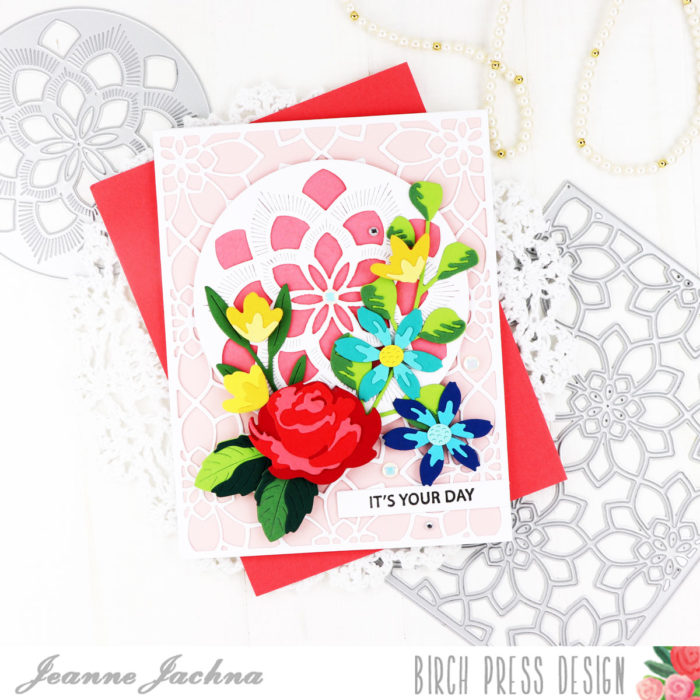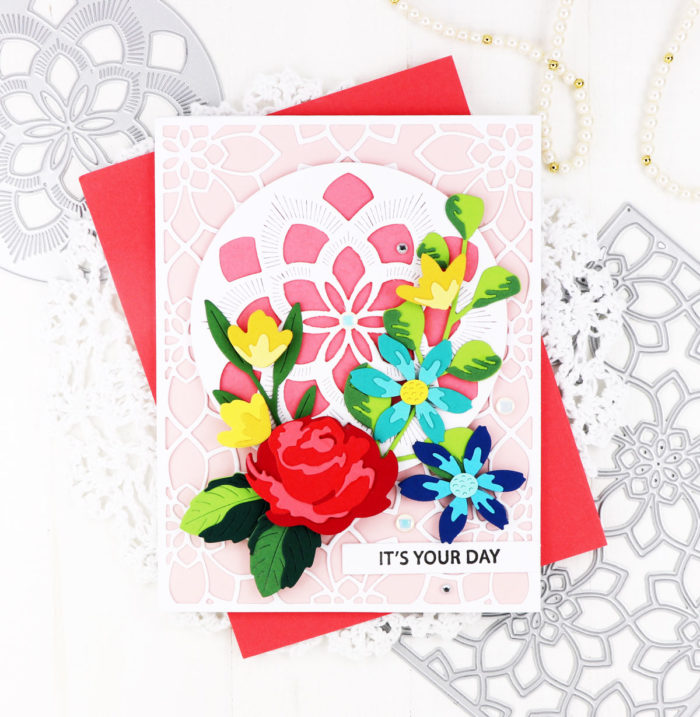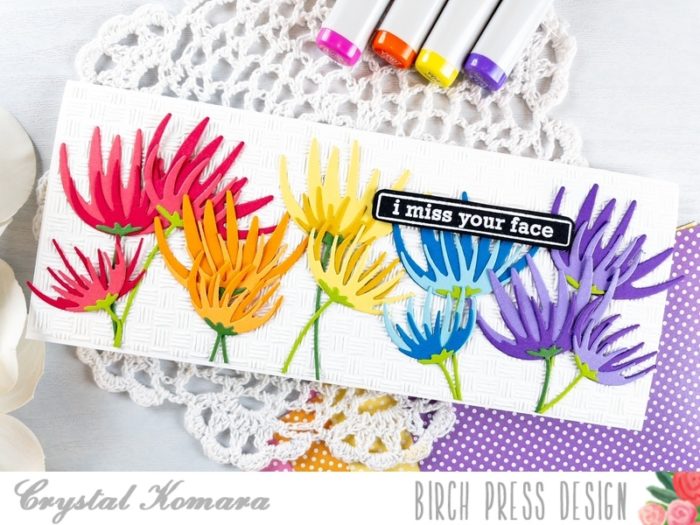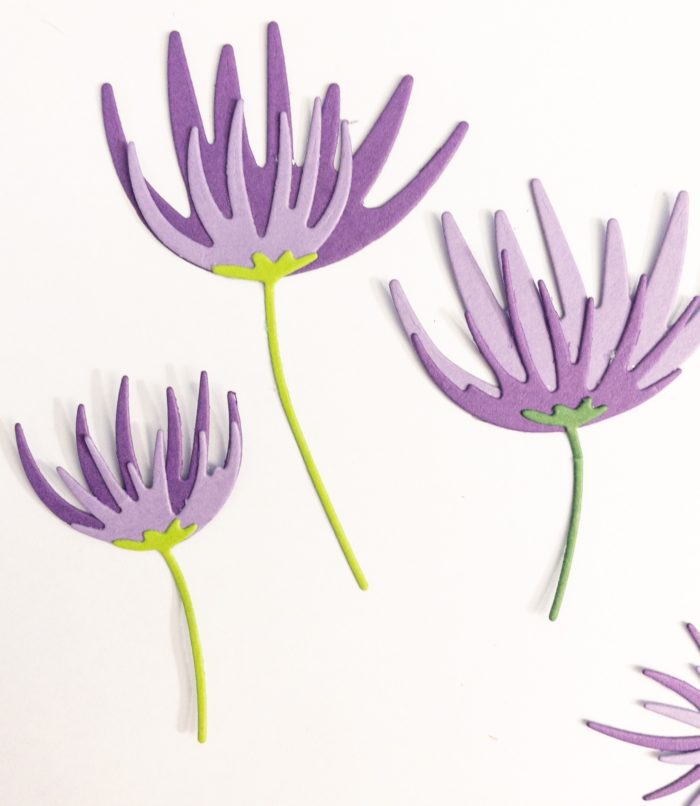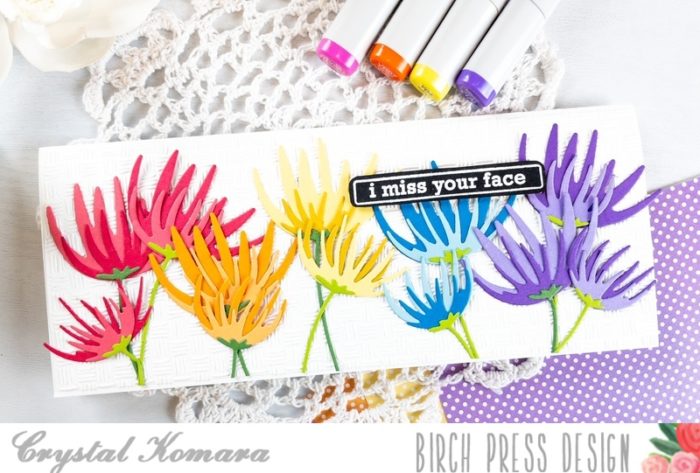
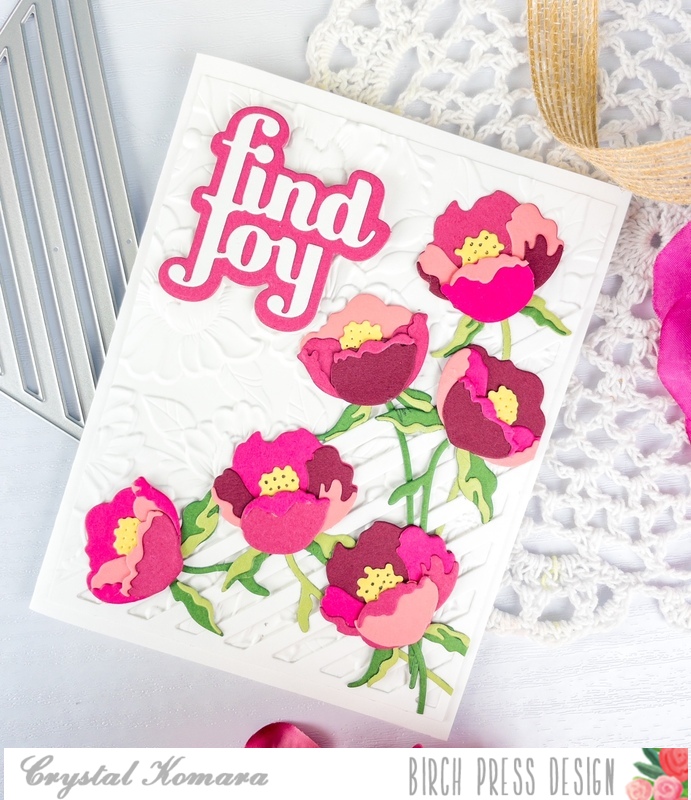
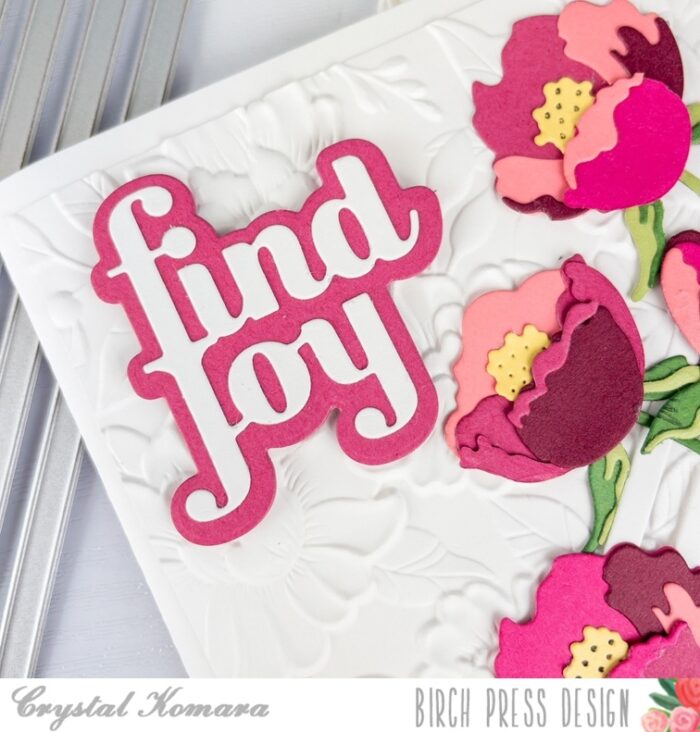
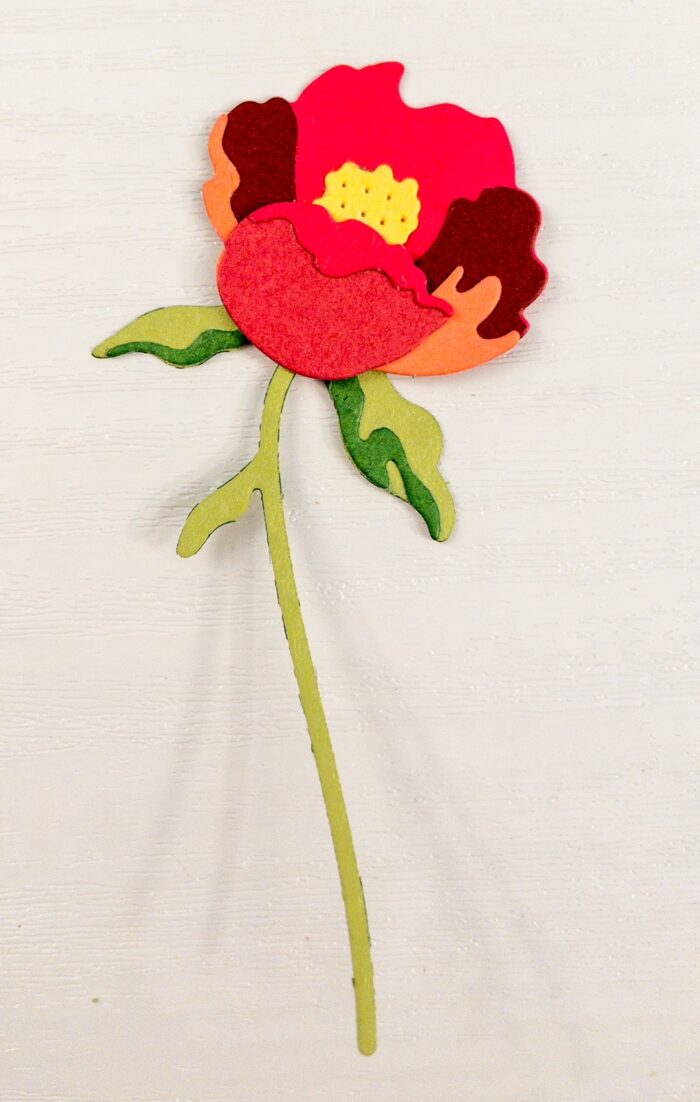
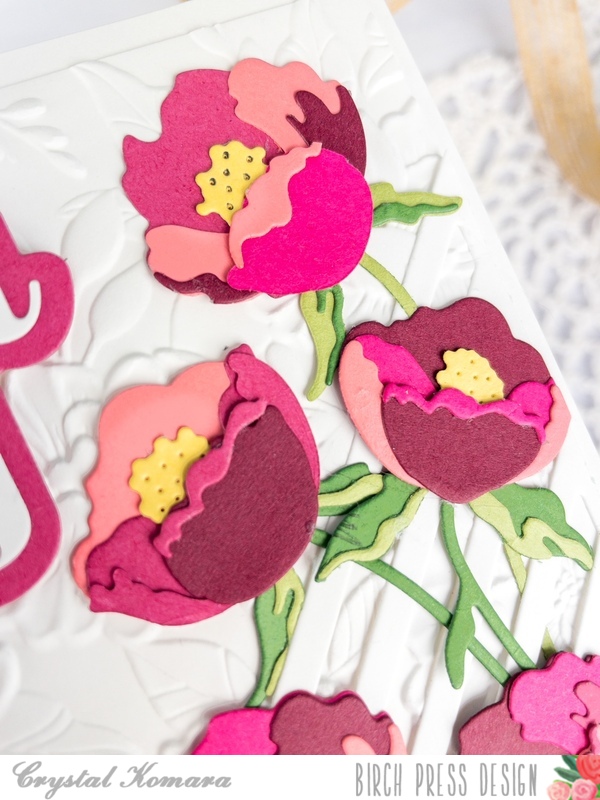
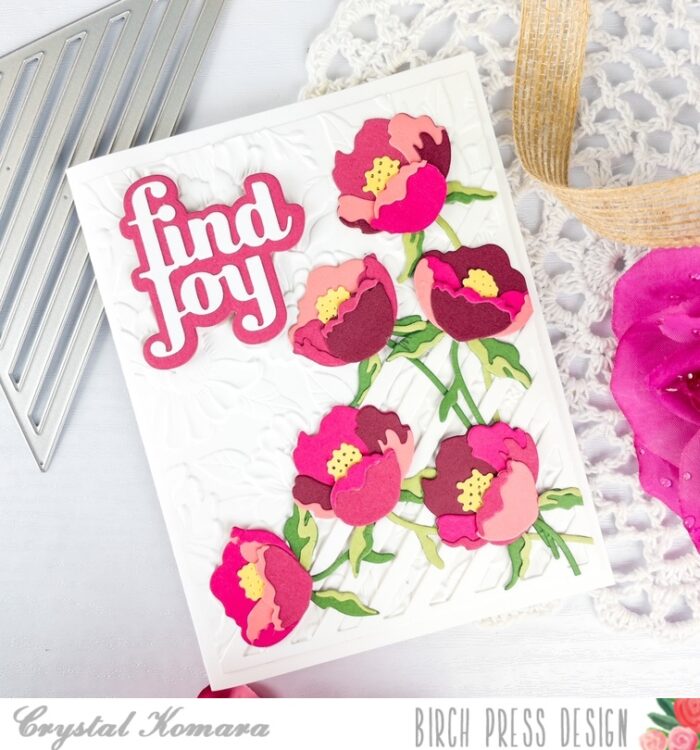
Hello readers and happy Friday to you! I hope you have fun (and creative) things planned for the weekend ahead. This is Design Team member Crystal Komara here with you today sharing this card using the Prime Peony Duo Contour Layers.
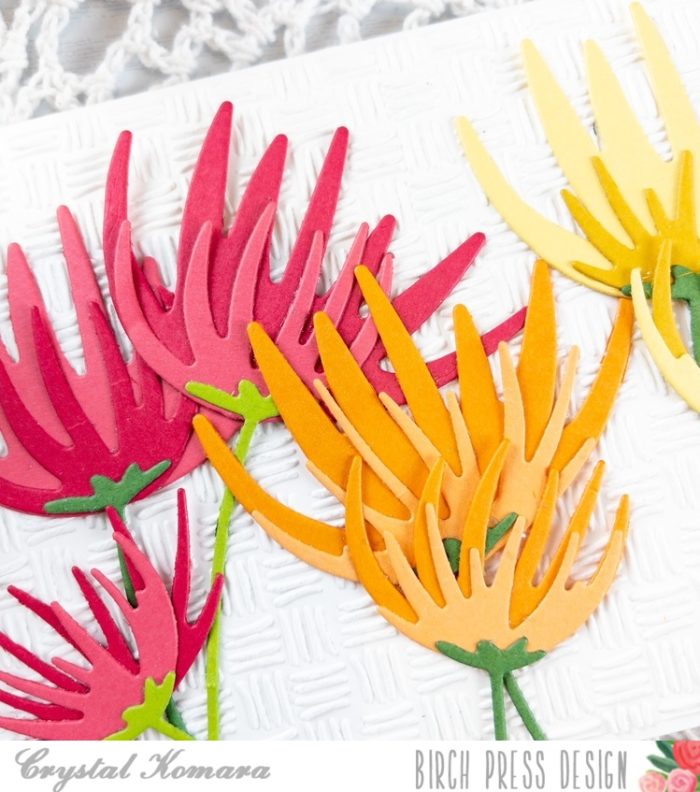
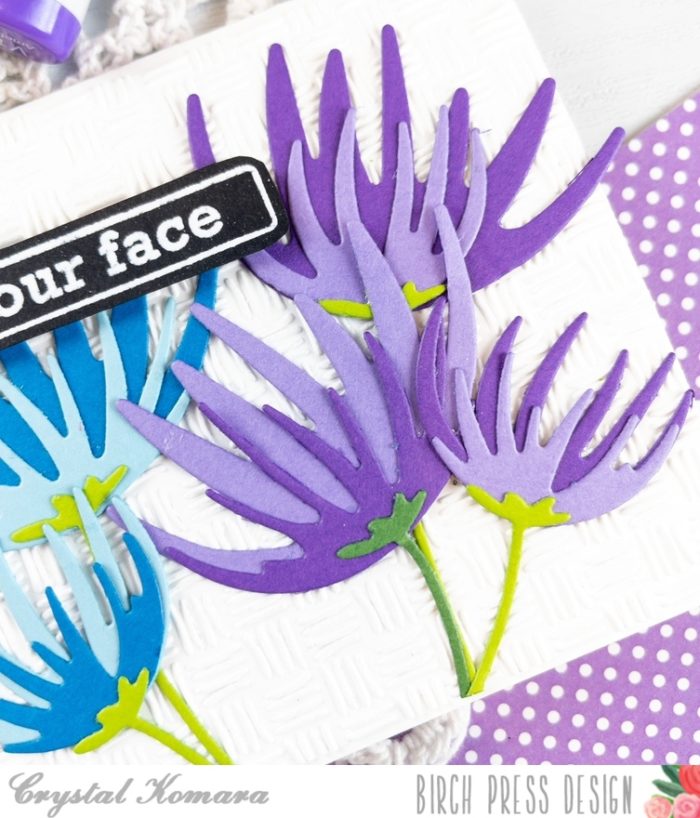
Now, before I get into the details of how I made this card, I want to take a minute to appreciate the intricate WORK and time commitment involved with contour layering dies! If you think you’re just going to throw a card like this together and also juggle cooking dinner, doing a load of towels, tending to a puking cat and watching Friends reruns, oh no, no, no, my friend, that ain’t gonna happen! Contour layering dies take an extreme amount of concentration, patience and precision. I lack all three. At best, I’m spastic in thought, I have the patience of a 5-year old and I’m of the philosophy that “done is better than perfect!!” So, for me, while contour layering dies (when completed) are absolutely gorgeous, the journey getting there is kinda sheer torture.
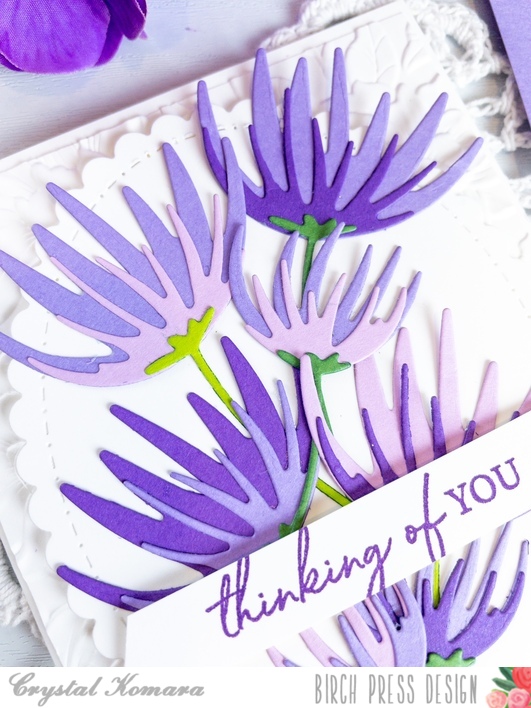
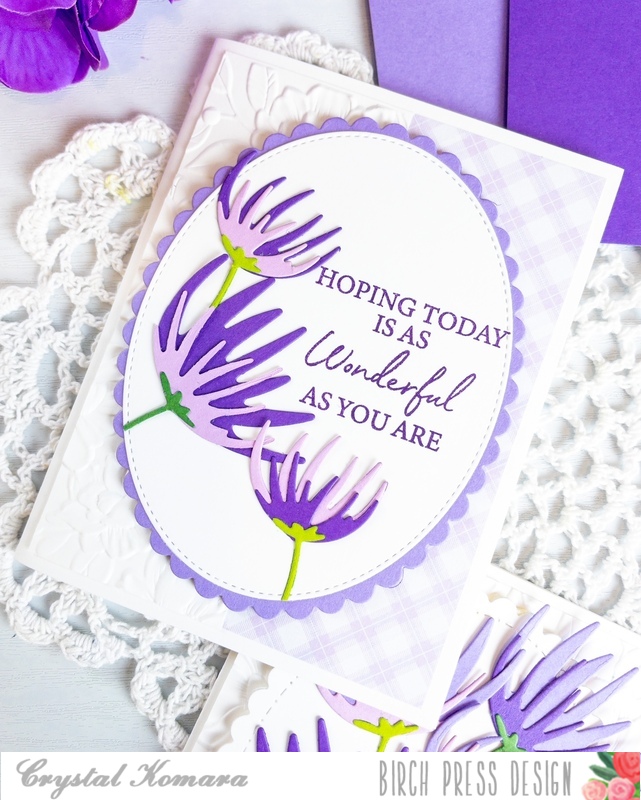
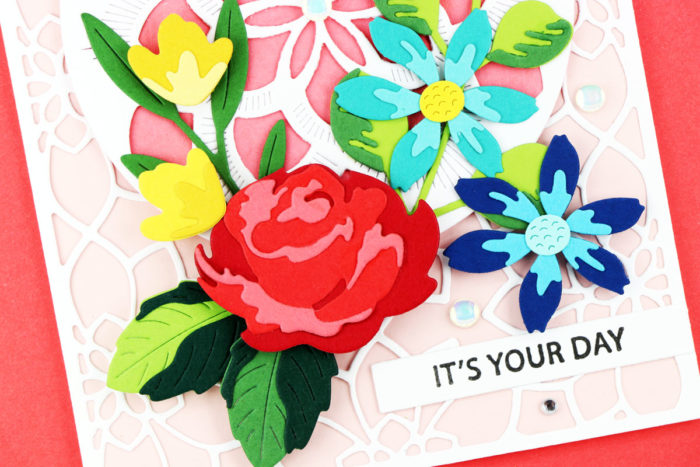
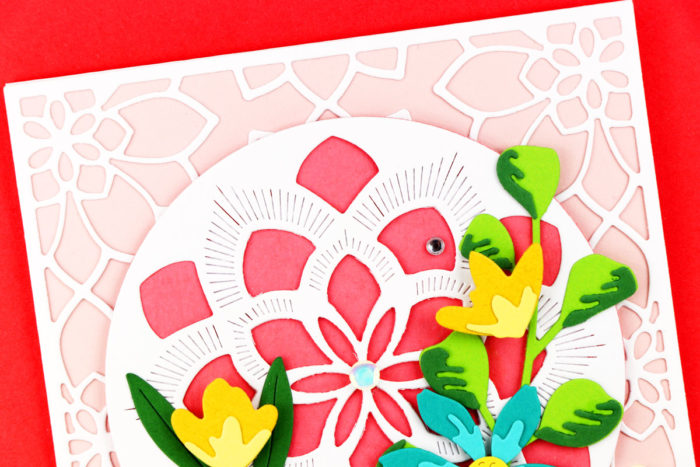
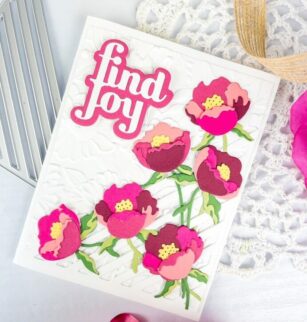
But, look at this card, ain’t she a beaut?!
But, I learned a few helpful tips while making this card I want to share with you to help make your contour layering dies journey less painful. First, we are going to make the peonies using a variety of pink cardstocks.
- Don’t be in a rush – contour layering dies take time and if you know this ahead of time, it’s half the battle
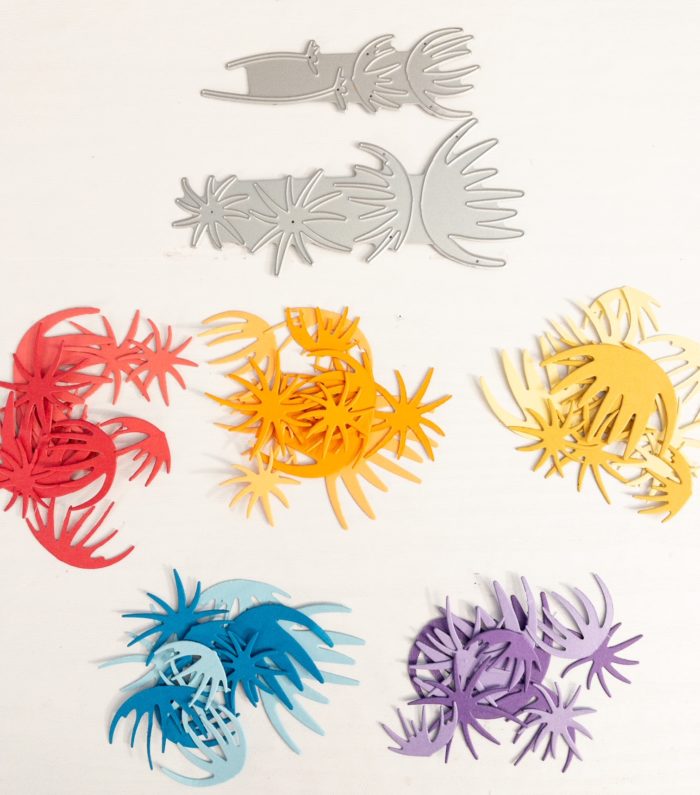
2. Organization – when you die cut the Prime Peony flowers, keep them in organized rows

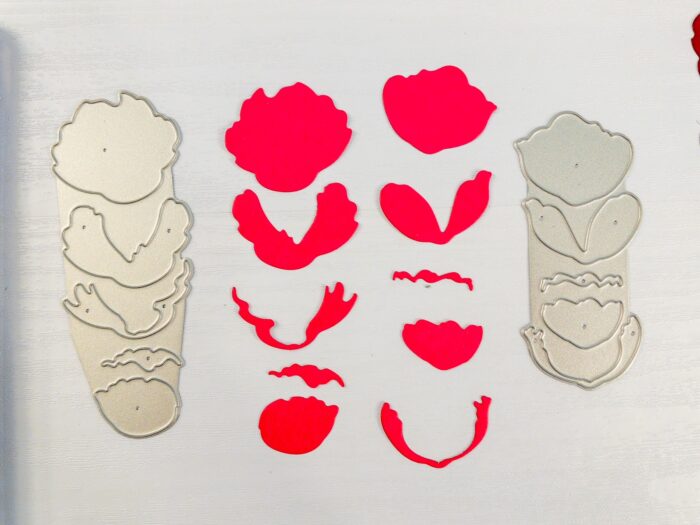
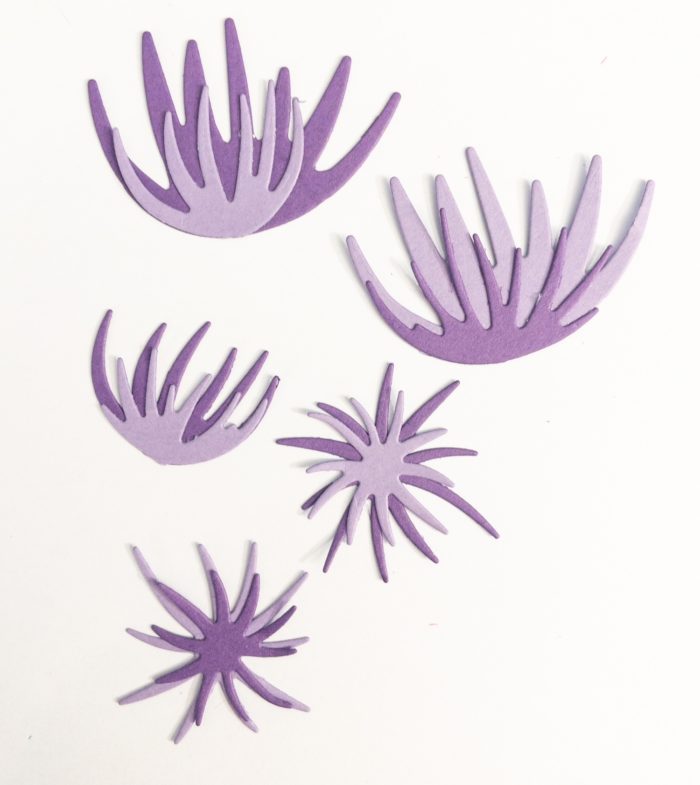
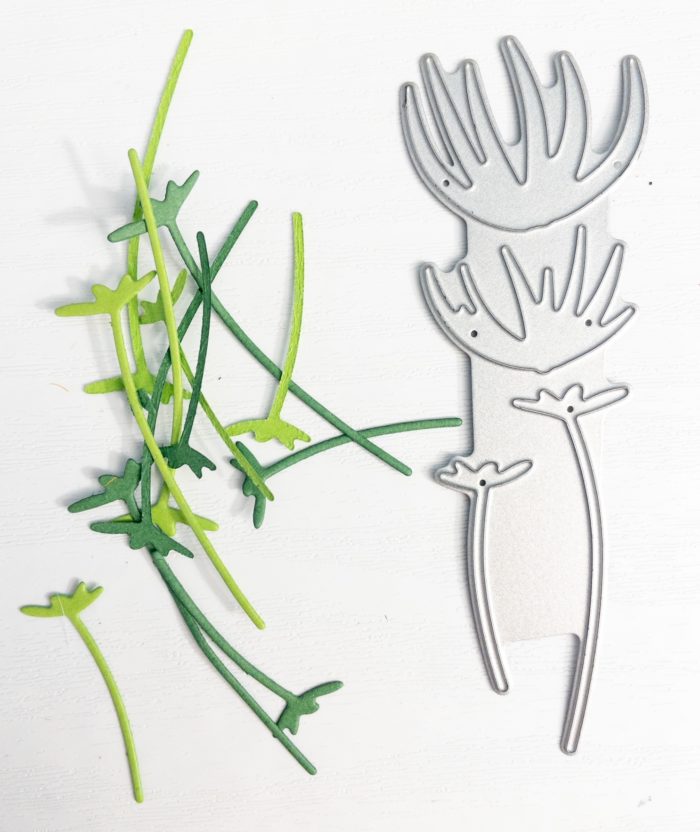
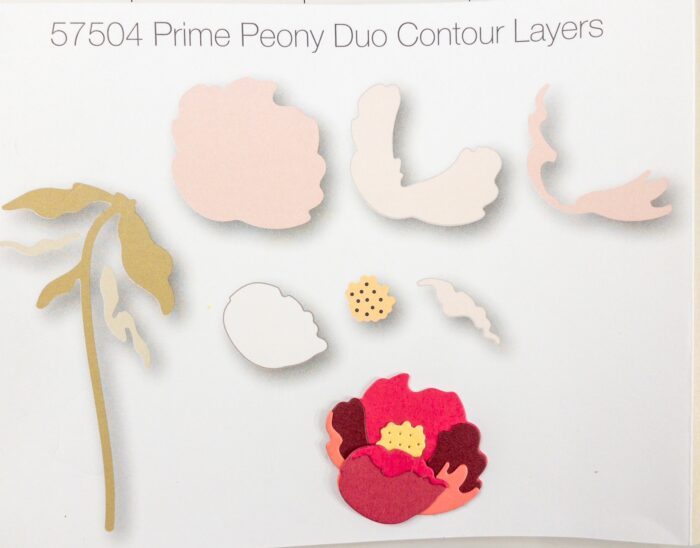
2. Follow the Directions (or the provided image) – they really do make sense in how you put the peony layers together!
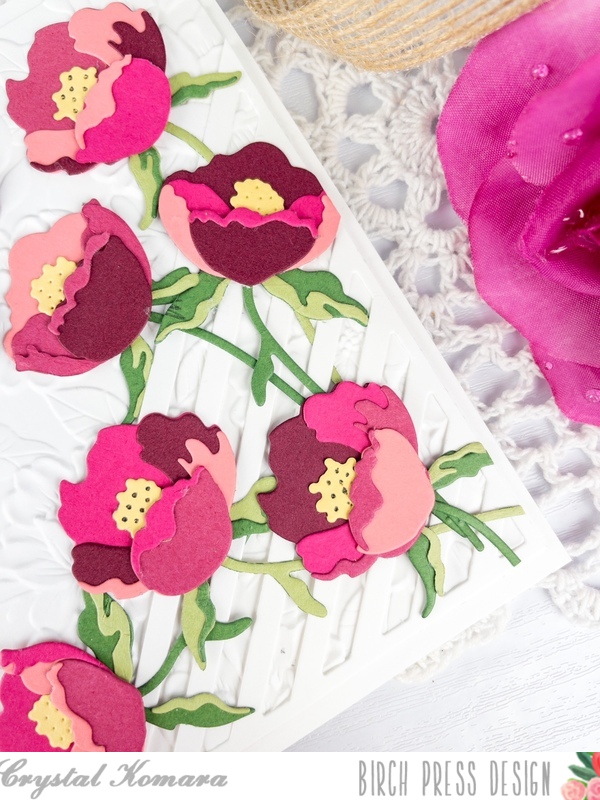
Because I had fully committed myself to making this one card (and not being interrupted by anything else) I found the process went much more smoothly. I love the end result SO much that I now intend to work more with the contour layering dies!
Thanks for visiting and have a wonderfully creative day!

Supplies