Tag: hot foiling

  • Just a Note | by Sandhya Iyer

    Just a Note | by Sandhya Iyer

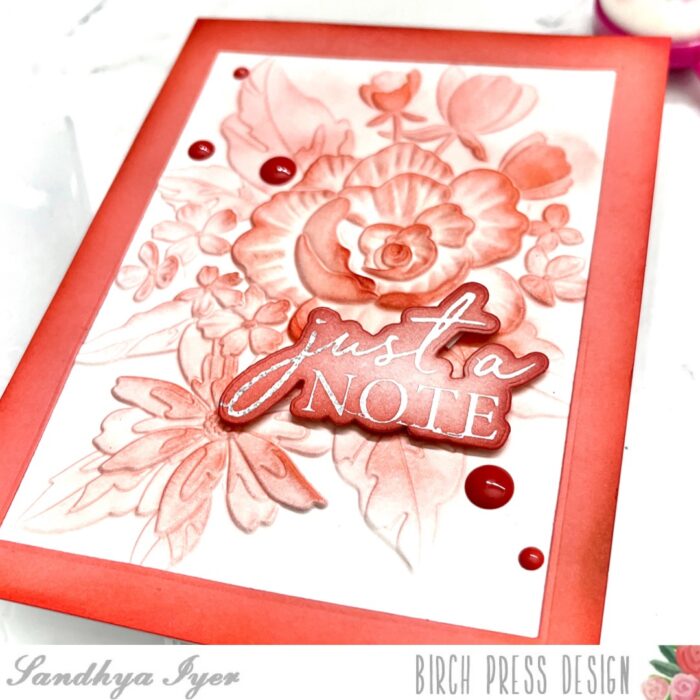
    Hello, friends! This is Design Team member, Sandhya Iyer, and today I am sharing a monochrome floral card. For this project, I used the gorgeous Cheerful Floral 3D Embossing Folder and Just a Note hot foil plate and die set.
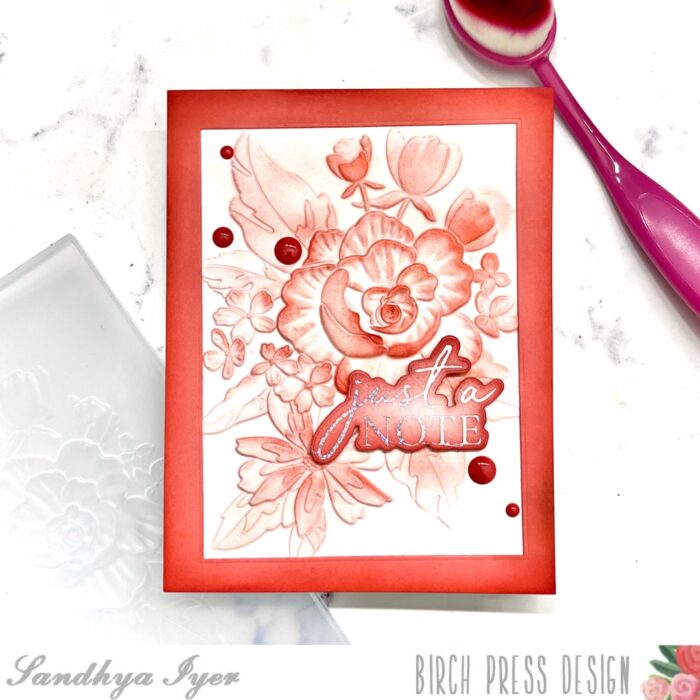
    I started by embossing a piece of watercolor cardstock using the the Cheerful Floral 3D Embossing Folder. Next, I pulled out dye inks in shades of peachy corals and used a blending brush to gently ink up the raised portion of the embossed panel.
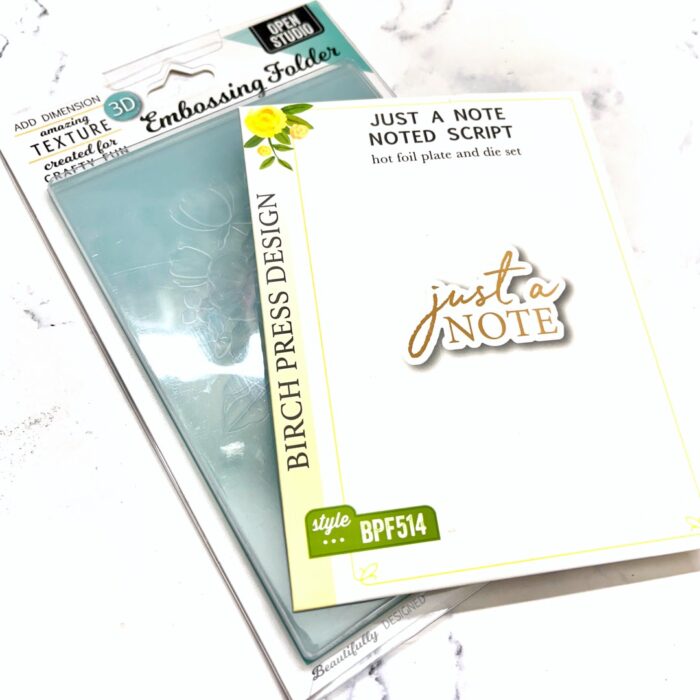
    Next, I ink cut out a rectangular frame from coral-colored cardstock. I inked around the edges to add more interest. Then, I adhered the frame over the embossed floral panel.
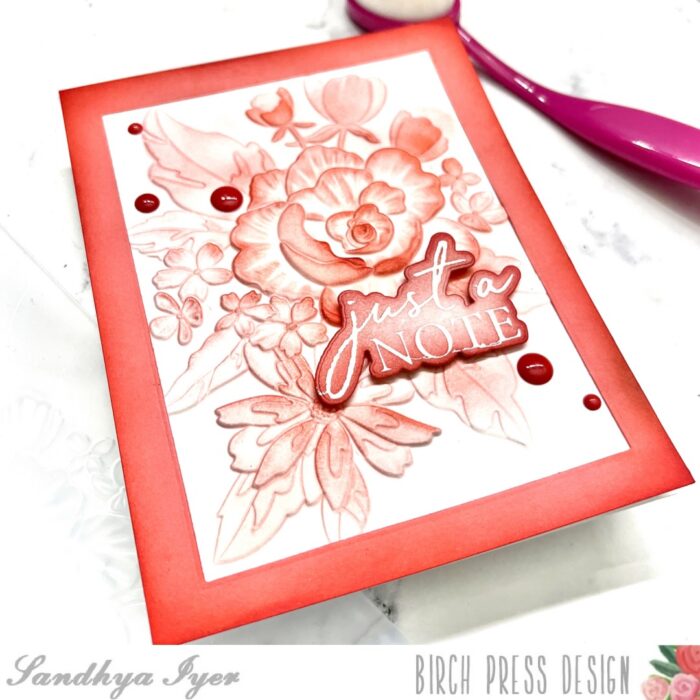
    Finally, I used the ‘just a note’ Hot Foil Plate and Die Set to create a glittery silver foiled sentiment die-cut. I inked around it in the same color and popped it over the floral panel with some foam tape. Then, I attached the panel to a white A2 card base and finished off with a few coordinating enamel dots.
    This brings us to the end of today’s post. Thank you so much for stopping by and I hope you have fun crafting today!

    Supplies:

  • You are the Best | by Sandhya Iyer

    You are the Best | by Sandhya Iyer

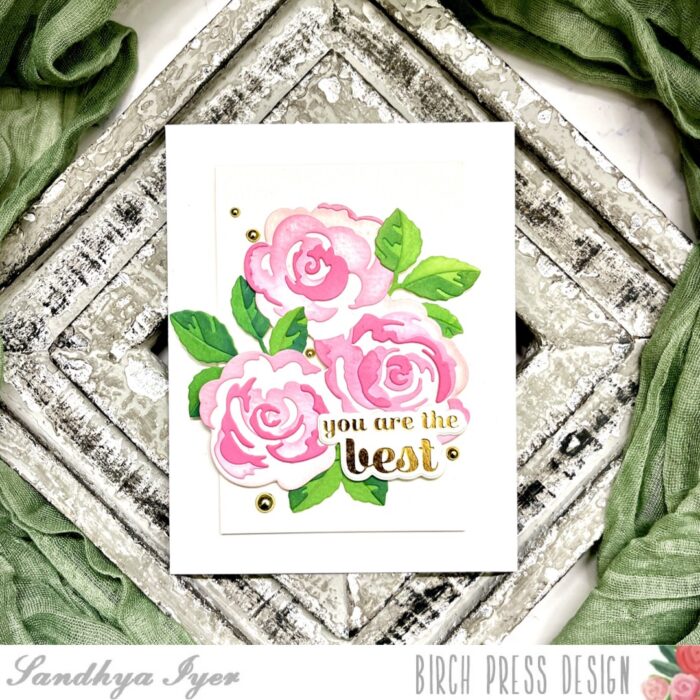
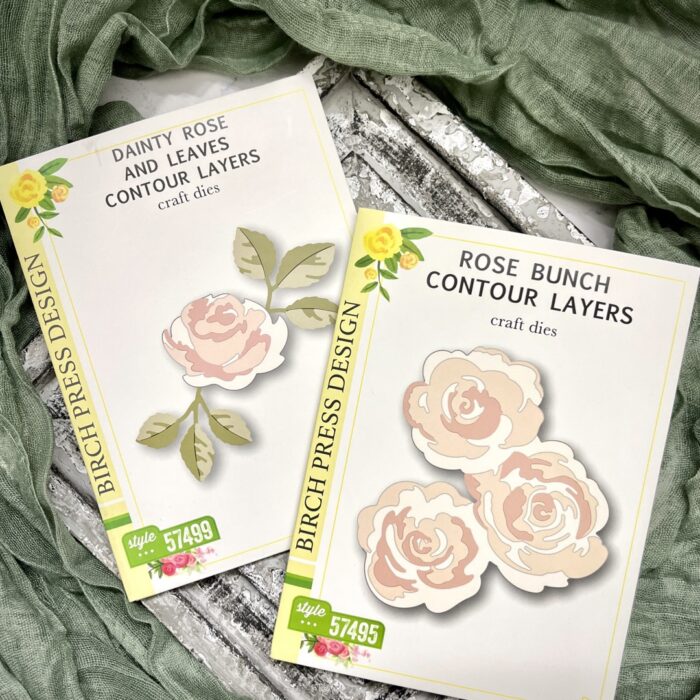
    Hello, friends! This is Design Team member, Sandhya Iyer, and today I am sharing a floral card featuring the gorgeous Rose Bunch Contour Layers and the Sugar Script Sentiments 2 Hot Foil Plate and Die Sets. Oh! And I did grab the Dainty Rose and Leaves Contour Layers set to create my greens.

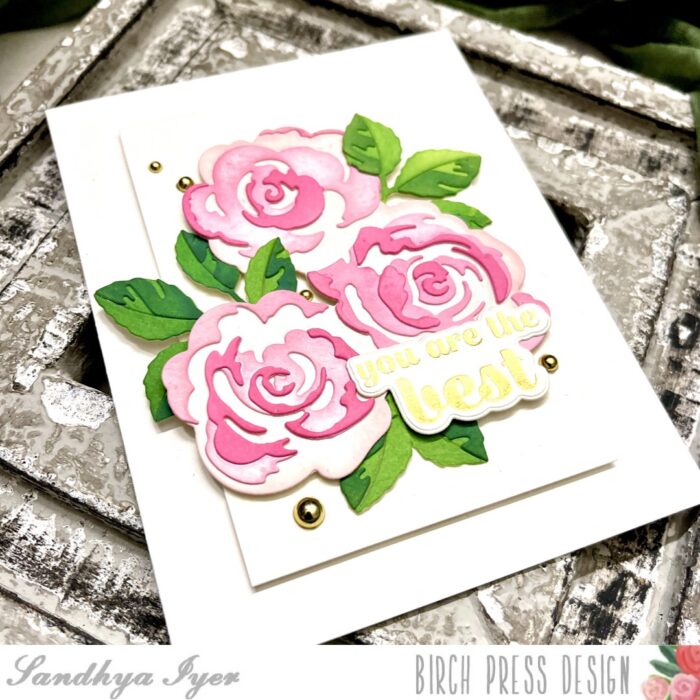
    I started by die-cutting the rose bunch contour layers out of watercolor cardstock. Next, I pulled out Distress Oxide inks in varying shades of pink and used a blending brush to ink up the rose layers. For the delicate and more detailed pieces, I leave them attached to the area around them after die-cutting and ink them before popping them out.

    I repeated the same process to create three sets of inked leaves from the Dainty Rose and Leaves Contour Layers. I arranged them to my liking and adhered them down to a small panel cut out of watercolor cardstock.

    Finally, I used the ‘you are the BEST’ sentiment from the Sugar Script Sentiments 2 Hot Foil Plate and Die Set to create a gold foiled sentiment die-cut. I popped it over the floral panel with some foam tape. Then, I attached the panel to a white A2 card base and finished off with a few gold embellishments.

    This brings us to the end of today’s post. Thank you so much for stopping by and I hope you have fun crafting today!

    Supplies:

  • Foiling Fun with Alcohol Inks | By Sandhya Iyer

    Foiling Fun with Alcohol Inks | By Sandhya Iyer

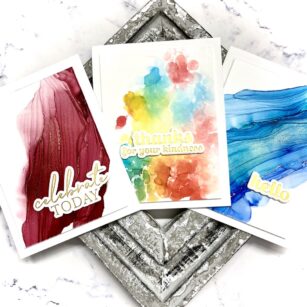
    Hello, friends! This is Design Team member, Sandhya Iyer. I welcome you to check out a set of cards featuring the latest sentiment hot foil plates and dies. After I created a bunch of gorgeous golden foiled sentiments, I was inspired to create a rich alcohol ink background with gold details.

    I used gold foil and my Glimmer machine to foil the Hello, thanks for your Kindness and Celebrate Today sentiments on white cardstock. I like to use Hammermill smooth cover stock for the best foiling results. Next, I used coordinating dies to cut out the sentiments and set them aside.

    Next, I used alcohol inks from my stash to create my colorful panels. While the alcohol ink brand doesn’t really matter, the gold lines work best only with Pinata Brass. I trimmed glossy photo paper to create my panels. Then I used a tiny fine-tipped bottle filled with 90% Isopropyl alcohol to drop alcohol diagonally across the panel. Next, I added 1-2 drops of alcohol ink and a drop of Brass on the little river of alcohol. Finally, I moved a hair dryer set to low heat gradually across the length of the alcohol pool. I went back and forth to create the ripple effect. For the final panel, I added few drops of alcohol inks on a piece of bubble wrap and spritzed it with isopropyl alcohol. I then gently stamped the pattern on the next panel.

    Finally, I attached the alcohol ink art panels to A2 card bases using foam tape. Then I finished off by popping on the foiled sentiments with more foam tape. This brings us to the end of today’s post. Thank you so much for stopping by and I hope you have fun crafting today!

    Supplies: