Happy Good Friday! As we enter what is an important weekend for so many, I wanted to create a card that honored the purity of this season. I used the beautifully layered Floral Cross Layer die set. Read on to find out how I pulled together this elegant, clean and simple card.
I cut layers A, B, and C from heavyweight white cardstock, and cut layer B a second time from green cardstock I pulled from the Memory Box Greenery 6×6 cardstock pack. I glued all the layers together using liquid glue.
I took the leaves and florals from each layer and angled them around the cross and glued the touch points with liquid glue. I glued the entire cross with florals to an A2 card front, and added some white leaves around it.
I glued silver jewels to the flower centers using the Memory Box Pastel jewel set.
I used “Easter” for the sentiment from the Blooming Spring stamp set to finish the card off. That is it! This was a very simple, but elegant card. I hope you have a relaxing and peaceful weekend!
Hello Birch Press friends, I am excited to be back up on the blog today! I am sharing a fun mixed media tag using the Forest Canopy Layer die set to create a fun tag! So let’s get started!
I started today’s project with a pre-made tag base. Next I chose gelli prints from my stash to create a layered background on the tag. I chose several prints, ripped them, then adhered them using liquid glue. Next I chose washi tape from my collection with a printed text. I added this to several sections of the tag background. I then added White Gesso to the background using a paintbrush to sections of the gelli print. I then used a brayer to spread the gesso a bit more.
Next I die cut Layer B and C of the the Forest Layer Canopy die set. I used white cardstock to die cut each layer. (On today’s project I did only use Layer C). I then added color using Distress Oxide ink in Peeled Paint and Forest Moss. I added water droplets to the leaves and picked up the color with a paper towel. I then darkened the edges of the leaves using Espresso Ink. I applied the ink using a finger dauber. I also added gold metallic ink splatters, as well as an ink spray from my collection. I set these aside to dry.
Next I die cut 2 dragonflies using the Magnolia Plaid paper pad with the Simple Dragonfly Contour Layers die set. I added embossing powder to the small section of the dragonflies. I then adhered all the layers together using liquid glue.
To complete my tag I added Distress Ink to the edge of tag using Distress Ink. I then added more texture using a spray in my stash. I added this to the tag background. Once this was dry, I added a piece of small cardboard to the bottom right of the tag. I added a bit of gesso and purple spray to the cardboard for added color and texture. I then adhered all the layers onto the tag using liquid glue (leaves, dragonfly). I added a Greeting Tab and gems to complete my tag, as well as twine, and ribbon.
Thanks so much for stopping by today! I will be back soon!
Hello friends! This is DT member Crystal Komara here with you today sharing more Easter inspiration using the beautiful new Floral Cross Layer Set. I have been enjoying playing around with these new dies and I can’t wait to see what my other team members create using it as well.
Card details:
The base of this A2 sized card is made from 80 lb. Neenah Solar White Smooth cardstock. I cut Layer A from the Flora Plate Layering Set using the same white cardstock and this became the first layer of the card adding some texture and design to the background. I die cut Layer A of the Floral Cross from white cardstock and Layer C (the bottom layer) from gold glitter cardstock. I layered the two together with a fine-tip liquid adhesive and then I adhered the cross to the card using 3M foam adhesive for added dimension.
For the large flower I used the Perky Bloom Contour Layer Set. I die cut this flower from peach, pink and yellow cardstock. I adhere all the layers together and then die cut the stamen from black cardstock. I adhered the flower to the base of the cross and added a couple green vines running up through the cross.
I am so happy with how this card came out and I am so in love with this elegant multi-layered cross and all its accompanying flowers and vines. I hope you will enjoy it too! Thanks for visiting and have a wonderfully crafty day!
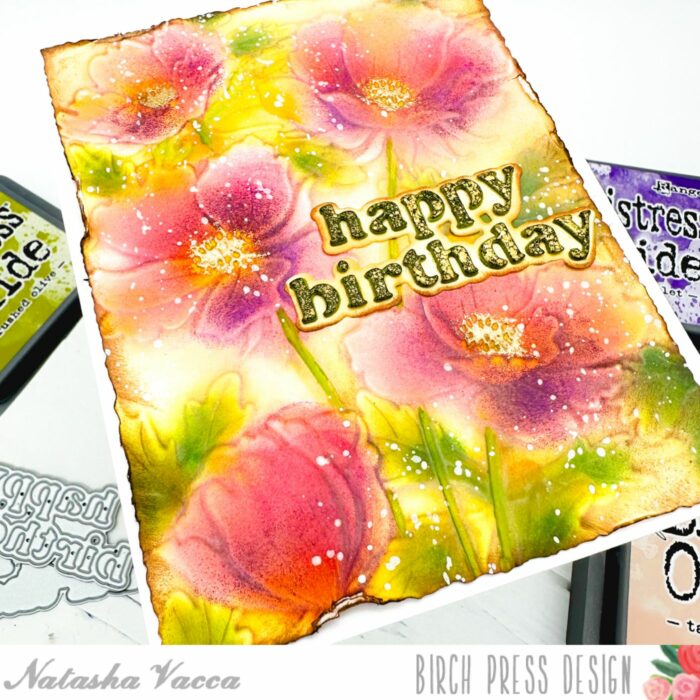
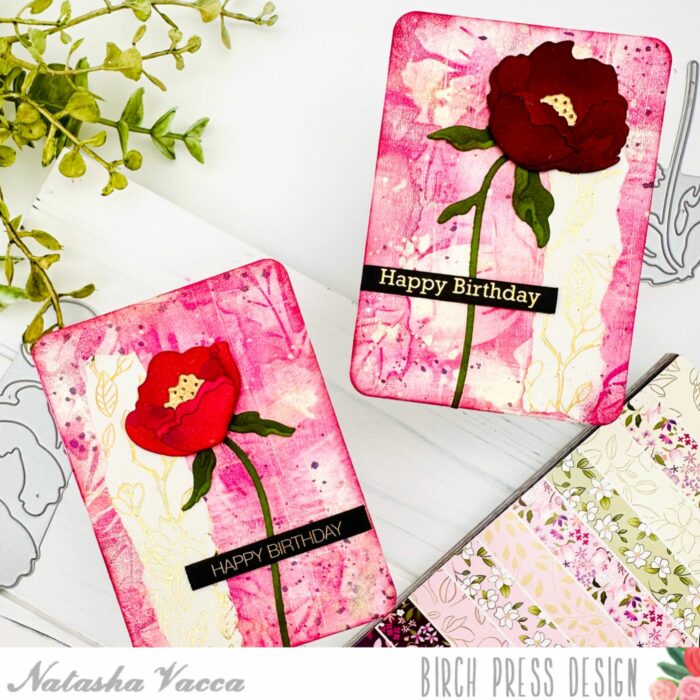
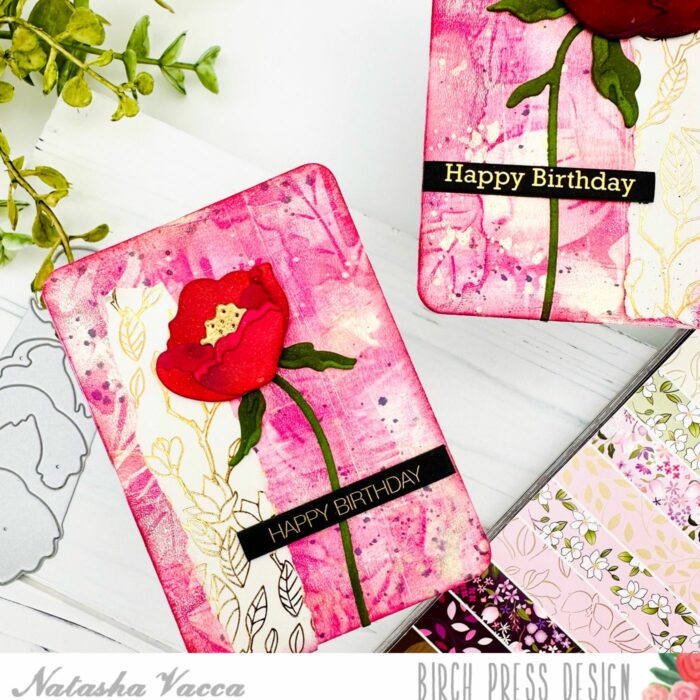
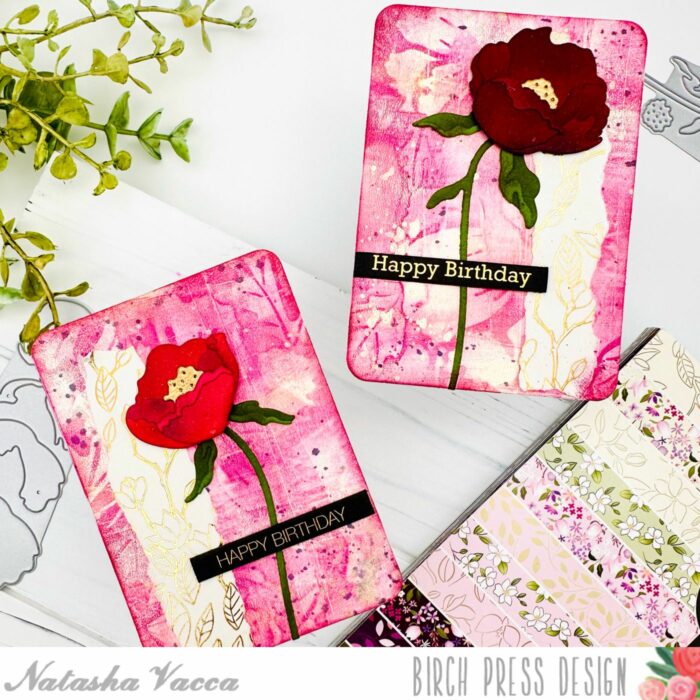
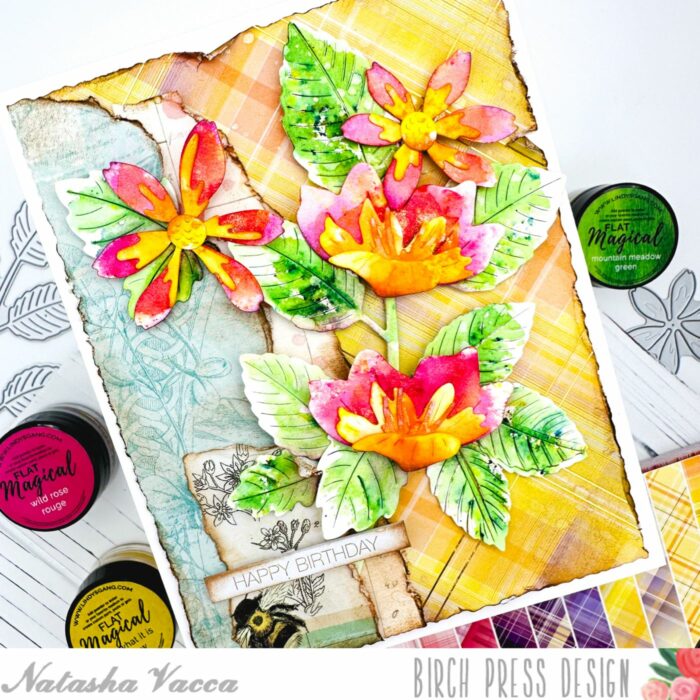
Hello Crafty friends, it is Natasha here and I am excited to be back today! Today I am sharing a gorgeous new die in the Birch Press Collection – Wiegela Leaf Contour Layers! I paired this with a few other favorites for a fun mixed media style card! So let’s get started!
I started with the Wiegela Leaf Contour Layers die set. I die cut 2 leaves using the new Greenery Solid Core Cardstock pack! I love these new pads! Once the leaf was die cut, I added Distress Oxide Inks to each layer of the leaf for added texture and color! I used: Pine Needles, Chipped Sapphire, Twisted Citron, & Ground Espresso. Once the inking was completed I added water droplets and picked up the color with a paper towel. Next I added Foundry Wax to sections of the leaf in the color Statue. I also darkened the edges of the leaves with a dye ink in brown. I then adhered these together with liquid glue and set them aside to dry.
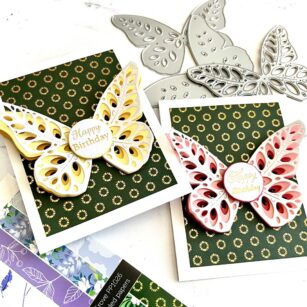
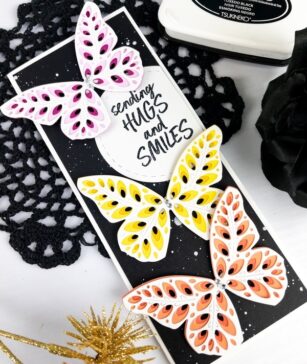
Next I die cut the butterflies using a leftover background I recently made using inks. I die cut 3 butterflies using Simple Butterfly Contour Layers. I added Foundry wax to the antennae as well for added texture. I also inked up the edges of the butterfly and adhered the layers together with liquid glue. I set these aside to work on my background.
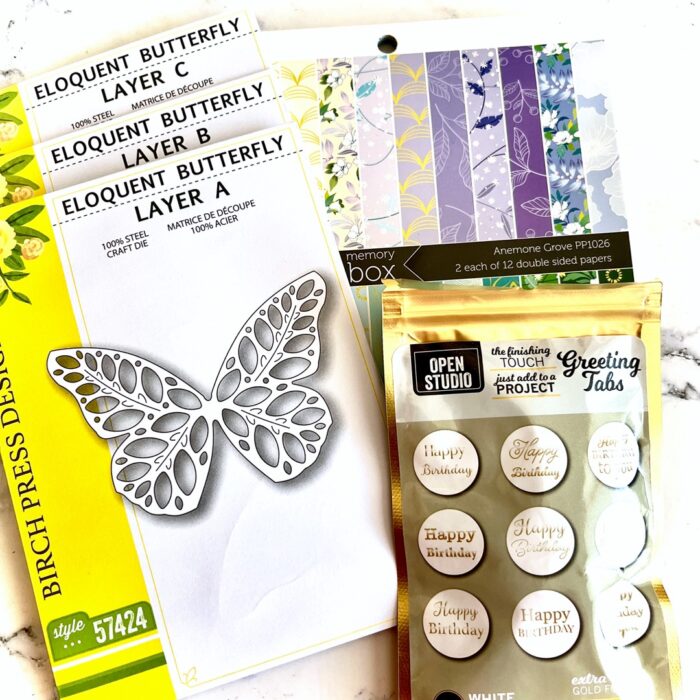
For the background I chose a few pieces of pattern paper from the Anemone Grove paper pad. I trimmed one panel to a bit smaller than an A2 card base. I then used my deckle trimmer on the edges for a worn look. I then tore a couple other pieces and adhered them to the left side of the panel. Next I applied White gesso to the panel in sections using a small paint brush and then a brayer. I apply the gesso in several directions for added texture. Next I added a few pieces of text washi tape on the panel. I then added ink blending to sections using Distress Oxide in Seedless Preserves.
Next I added splatter to my pattern paper background. I used a combination of black, white, and gold splatters. Once the panel was dry I adhered the pattern paper background to my A2 top folding card base. I then adhered the leaves and butterflies to my card front. I chose a birthday sentiment from the new Greeting Tabs from Memory Box – I love these so much!!!!! I love the black with foil lettering, there are several to choose from!
Thanks so much for stopping by today! I will be back soon with more crafty inspiration!
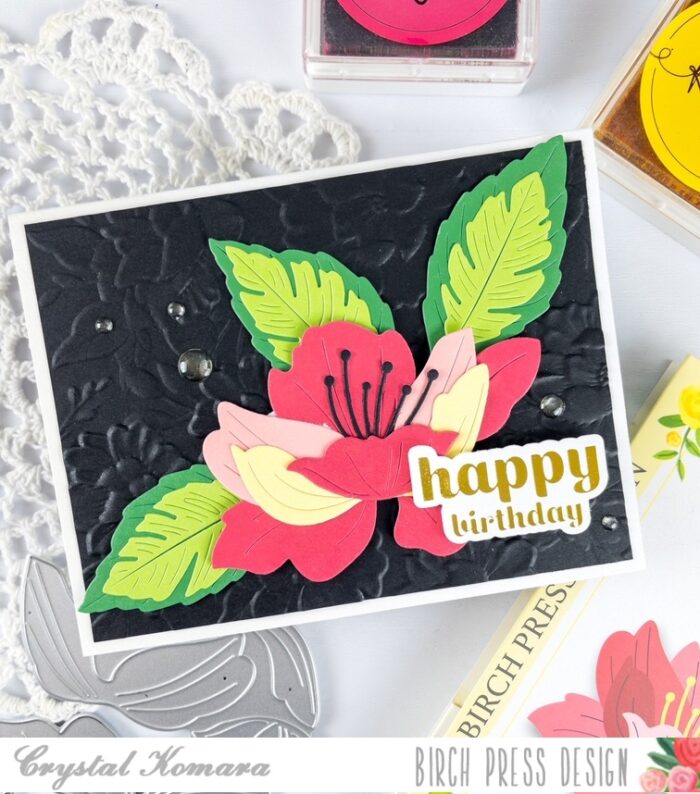
Hello and welcome! Seeka here and today I’m sharing a card featuring the Early Blossom Contour Layers die set.
I started off by cutting the three layers of blooms’ petals in peachy pink sorbet colors and the stems and leaves from a blue cardstock. I glued the layers of the flowers together and then set all the die cut pieces aside.
Next, I used the Pinpoint Radial Plate die to cut a piece of white cardstock. I trimmed the panel down to about 3.75 x 5″ and then used foam tape to adhere the flowers. Then I glued the stems and leaves in place.
To finish, I added a sentiment from my stash and used foam tape to adhere the card front to a light blue base.
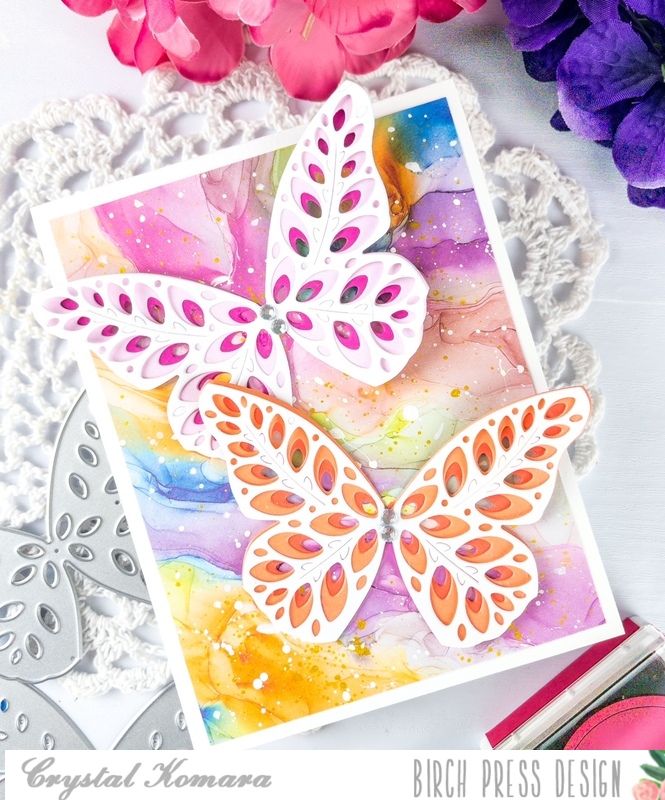
Hello friends and happy Fri-YAY! I hope you have fun things planned for the weekend ahead. This is DT member Crystal Komara here with you sharing some Easter inspiration using the beautiful Petal Egg Layering set. This is one of my go-to dies for many spring themed cards. For other Easter inspiration using this same layering die set, please check out these ideas here and here. If you’re looking for more Easter inspiration using alcohol inks too (like today’s card) then you’ll love this pair of cards in purple too!
Card details:
The base of this A2 sized card is made from 80 lb. Neenah Solar White Smooth cardstock. On a 5 1/4″ x 4″ piece of Yupo polysynthetic paper, I created the background using magenta alcohol ink. Once that background dried, I adhered it directly to the card base. To create the egg, I die cut Layer A (the top layer) from white cardstock. I die cut Layer B (the middle layer) from a light pink cardstock. I die cut Layer C (the bottom layer) from a darker pink cardstock. I adhered all three layers together with a fine-tip liquid adhesive. Then I adhered the entire egg to the card using 3M foam adhesive.
I stamped the sentiment “peace” in Versamark ink on dark pink cardstock. I heat embossed the sentiment with white embossing powder and then fussy cut the sentiment out. This sentiment is from the Glad Tidings stamp set. I also added butterflies surrounding the egg. The butterflies are from the Simple Butterflies Contour Layering dies. I die cut the butterflies from the same dark pink and white cardstock. The bodies/antenna of the butterflies was die cut from black cardstock.
Easter falls really early this year on March 31st. I’ll be back later this month with more Easter inspiration to share! Thanks for visiting and have a wonderfully creative day!
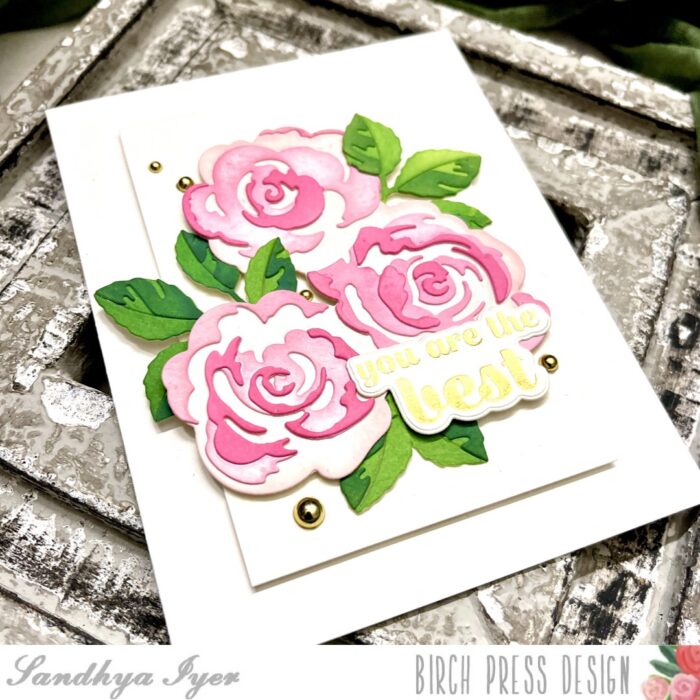
Hello, friends! This is Design Team member Sandhya Iyer here today and I am sharing a floral notecard. I used the Early Blossom Contour Layers die set to create my watercolored florals. The sentiment is a gorgeous scripted hot foil plate and die set called Just a Note.
I started by die-cutting the flowers and leaves out of Canson XL watercolor paper. Next, I used Rockwell Magic mineral watercolors to color the die-cut layers.
I assembled the layers to create my flowers and leaves. Then, I created an ink-smooshed background using Worn Lipstick and Tattered Rose Distress Oxide Inks. Next, I used the foil plate to add the sentiment to a piece of Hammermill heavy cardstock and die-cut it out.
Finally, I ink-blended using the same oxide ink combo on my card base and assembled the card. I also added gold splatters to add some glamour.
This brings us to the end of today’s post. Thank you so much for stopping by and I hope you have fun crafting today!
Hello friends and happy week after Valentine’s Day! This is Design Team member Crystal Komara, and, as per my usual, I’m a wee bit late to the game. But, even though Valentine’s Day has passed, every day is a day to celebrate love and today’s card could be shared all throughout the year.
Card details:
The base of this card is made from 80 lb. Neenah White Solar Smooth cardstock. Using a sheet of red cardstock, I die cut Layer A from the Kinsley Heart Layer Plate set. I adhere this directly to the card base. I heat foiled the sentiment “just a note” using the Just a Note Script Hot Foil Plate. I used gold foil on white cardstock.
To create the heart focal piece I used a layering heart die. Apparently the one I used must have retired, so might I suggest using the Caprice Heart Layering Die instead, which would yield da very similar look! I die cut Layer C from a bold pink cardstock, Layer B from a light pink cardstock and Layer C (the top layer) from red cardstock. I adhered all three layers together with a fine tip liquid glue. Once all three layers were adhered together, I placed the heart over a piece of gold glitter cardstock and trimmed it by hand to fit behind the entire heart.
I adhere the heart to the center of the card and then adhered the gold foiled sentiment just slightly off center using 3M adhesive. Lastly I added a couple clear rhinestone gems for added texture.
I hope you like this beautiful card! Thanks for visiting and have a wonderfully creative day!
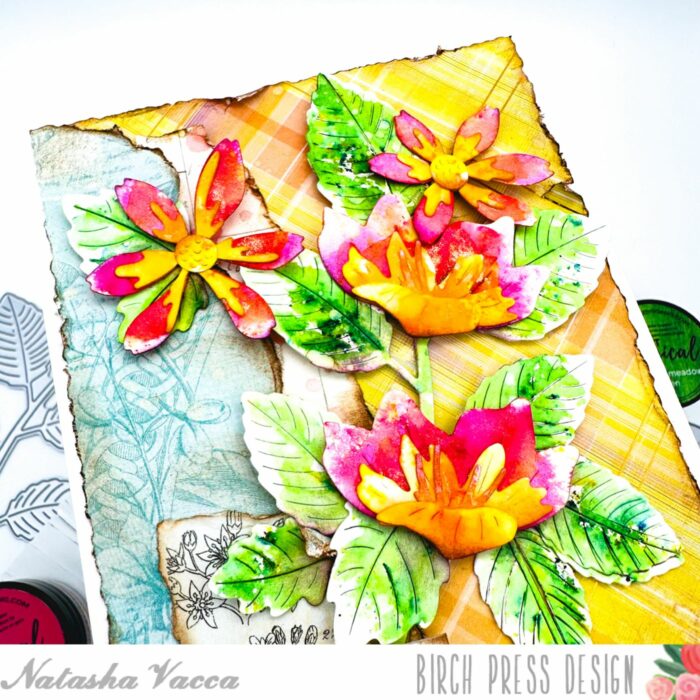
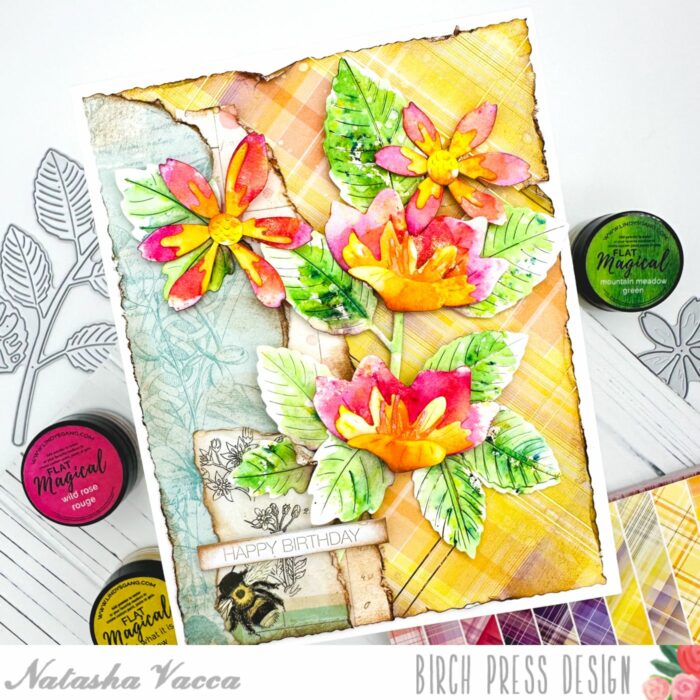
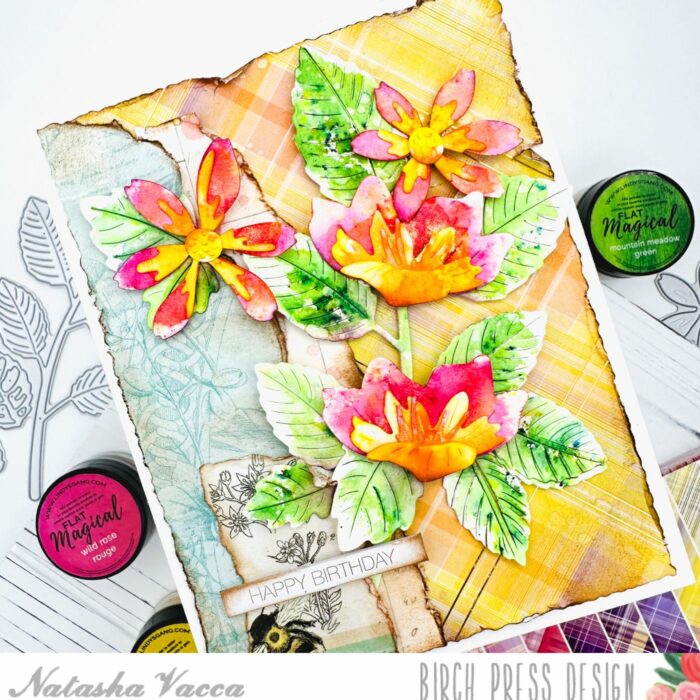
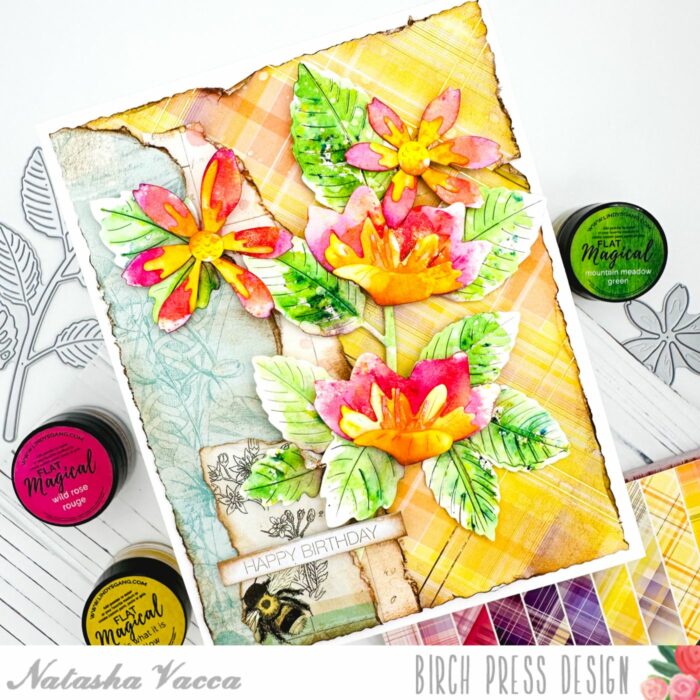
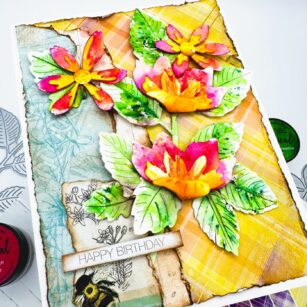
Hello Crafty Friends! I hope you had a great weekend! I am excited to be up on the blog today sharing a new release from Birch Press Designs with you – the beautiful Early Blossom Contour Layers die set! I love florals and these dies make it so easy to create with! So let’s get started!
I started by die cutting the florals using Hammermill white card stock. I then ink blended each of the layers using a combination of dye inks. Once all the inking was complete, I adhered each of the layers together using liquid glue.
Next I started to work on the background tag for my floral die cuts. I started with a pre-made tag then added papers and collage paper to the tag. I used the Anemone Grove Paper pad, as well as collage paper from my stash. I ripped pieces of paper for a distress look, then adhered them with collage medium. I allowed this to dry, then inked up the background using Distress Oxide Inks. I used: Antique Linen, Pumice Stone, Peacocks Feathers, Vintage Photo, Walnut Stain, and Mustard Seed. I layered these on, as well as splattered with water droplets for added texture.
Next I added Translucent Crackle Paint to sections of the tag, allowed this to dry, then applied Distress Crayons over the top of the crackle paint. I also added some paper glaze to sections for added texture. I then added splatters to the tag using black and gold. I then adhered all the layers together using liquid glue and foam tape. The wood grain paper paper in the center of the tag is from Memory Box and it is in the color cream. I applied ink and sponging to the paper for added texture.
I chose a pre-made sentiment from my stash and adhered this to my tag as well. I darkened the edges of the tag using Distress Ink in Ground Espresso using a blending tool, as well as additional texture using a sea sponge. The tag was completed with twine for the top, as well as lace and a button.
I had a lot of fun putting this together! I encourage you to use your pattern paper in new ways to add texture to your card bases and backgrounds too! Thanks so much for stopping by today! I will be back soon!
Hello, friends! This is Design Team member Sandhya Iyer here today and I’m excited to share a card along the Valentine’s Day theme. I used the Banner Heart Layering die set to create my focal point and added leaves from the Dainty Rose and Leaves Contour Layers. The sentiment is a gorgeous hot foil plate and die set called Just a Note noted script.
I started by die-cutting multiples of all 3 layers of the Banner Heart Die set out of Arteza watercolor paper. Next, I trimmed a watercolor panel using a deckled edge trimmer and watercolored my background. I let it dry and added pink and white gouache splatters.
Then, I die cut the leaves and assembled the layers. I watercolored the leaves with pinks and also added the same ombre painting to a piece of watercolor paper. Next, I used the foil plate to add the sentiment to the watercolored watercolor paper. I die-cut the foiled sentiment and assembled the card panel with the heart, leaves and the sentiment.
Finally, I added the panel to a watercolor card base to complete my card. This brings us to the end of today’s post. Thank you so much for stopping by and I hope you have fun crafting today!