Tag: Stamps

  • You Are Something Special | by Crystal Komara

    You Are Something Special | by Crystal Komara

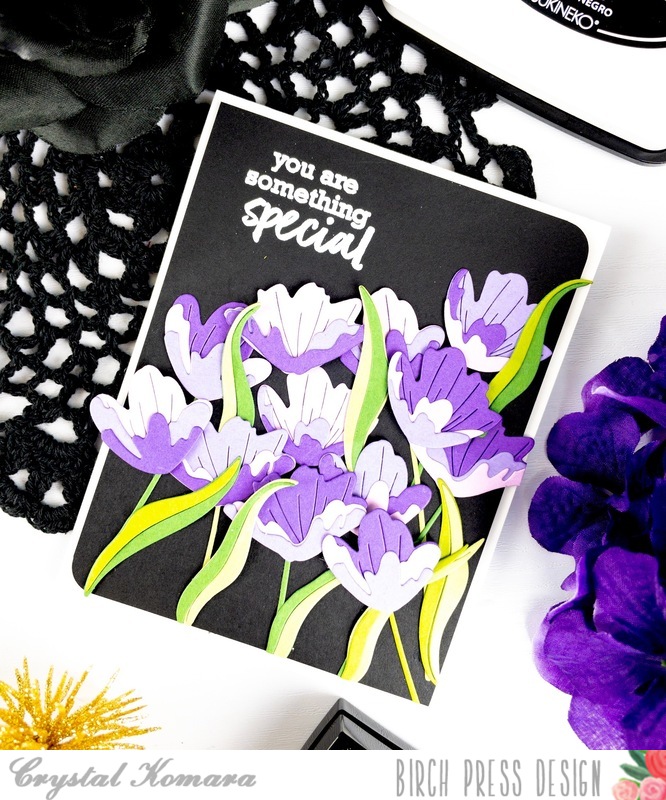
    Hello readers and happy 1st of July! Welcome to summer here in New England (or wherever you might live). This is Design Team member Crystal Komara here today sharing a floral card featuring the Early Blossom Contour Layer Dies in varying shades of purple.
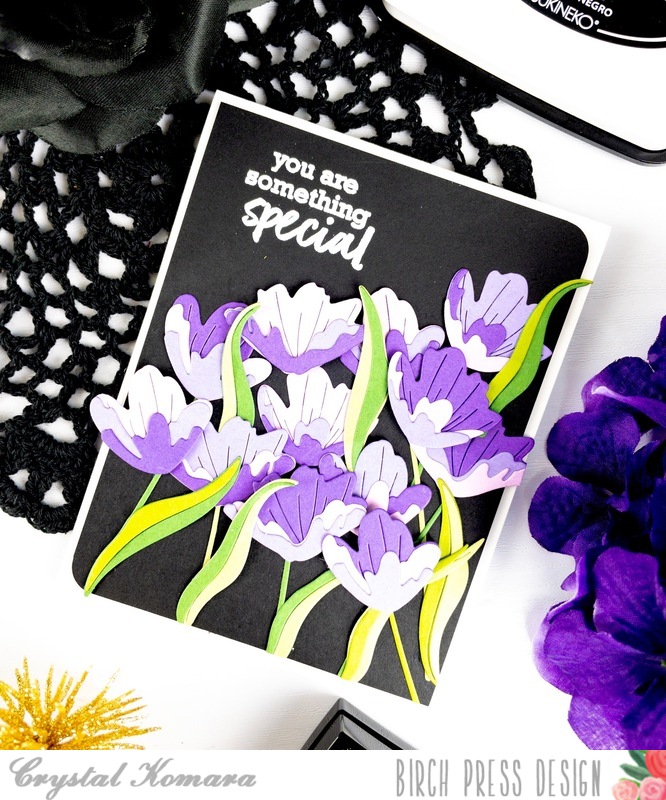
    I love placing colorful flowers against a black background. It really just makes the colors POP! And this card is a great example of how you can use any color palette you want to make a statement. Maybe purple isn’t your favorite color, these flowers would also look beautiful in pink, red, yellow or orange – the options are endless.
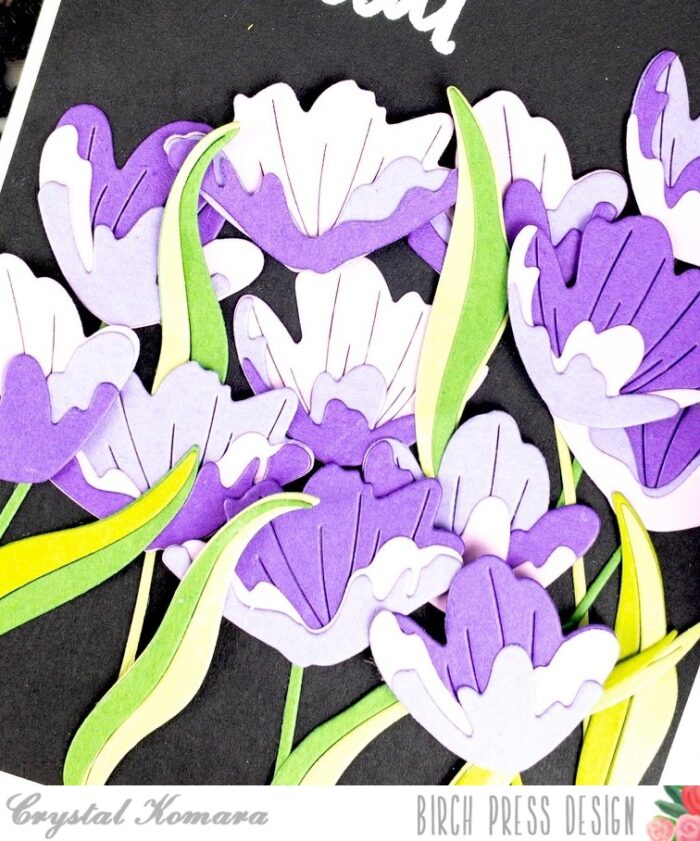
    Card details:

    The base of this A2 sized card is made from 80 lb. Neenah Solar White Smooth cardstock. I cut a 5 1/4″ x 4″ piece of black cardstock and adhered it directly to the card base. I stamped the sentiment in the upper left corner using the Brush Sentiments Clear Stamp Set. I stamped the sentiment in Versamark ink and heat embossed it using white embossing powder.

    Then I set out to die cut ALL those flowers using the Early Blossom Contour Layer set. There is no rhyme or reason to my die cutting madness, I simply just keep cutting flowers from three different colors of purple cardstock and leaves from two different colors of green cardstock! Yes, sometimes it seems like I just die cut flowers for minutes at a time! I don’t count, I don’t assemble as I go. Yes, typically this leaves me with lots of “extra” pieces leftover. I often use those extra pieces to decorate the inside of my card, or I save them in a scrap pile!
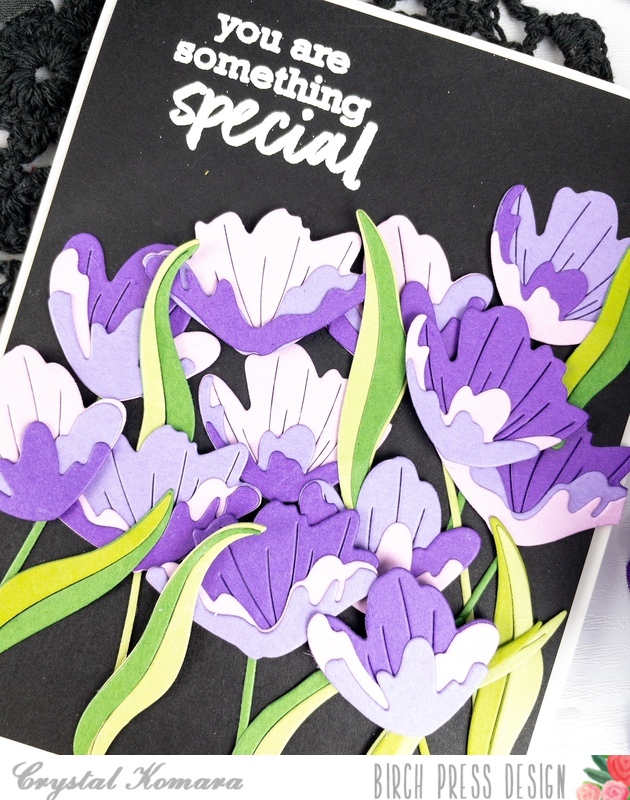
    Once all the die cut flowers are glued together (in this case, the Early Blossom Contour Layer has three layers), I then arranged all the flowers and leaves on the card in a pattern that looked pleasing to the eye before finally gluing them all down to the card.
    I hope you have enjoyed today’s vibrant floral card! Thanks for visiting and have a wonderfully creative day!

    Supplies
  • Arista Floral by Jeanne Jachna

    Arista Floral
    by Jeanne Jachna

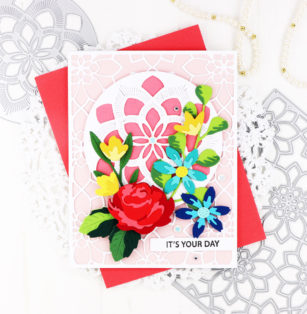
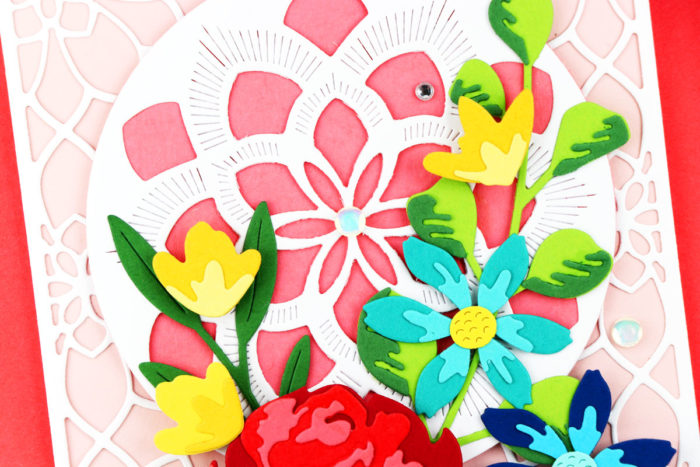
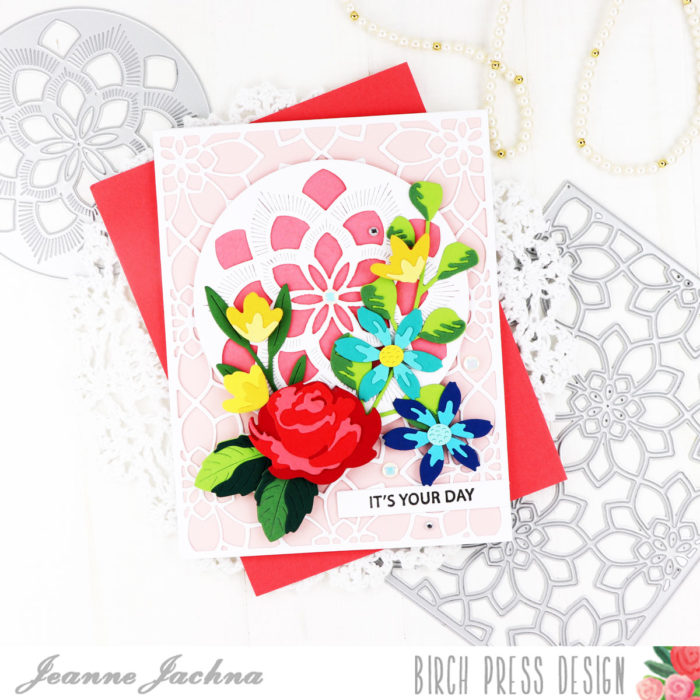
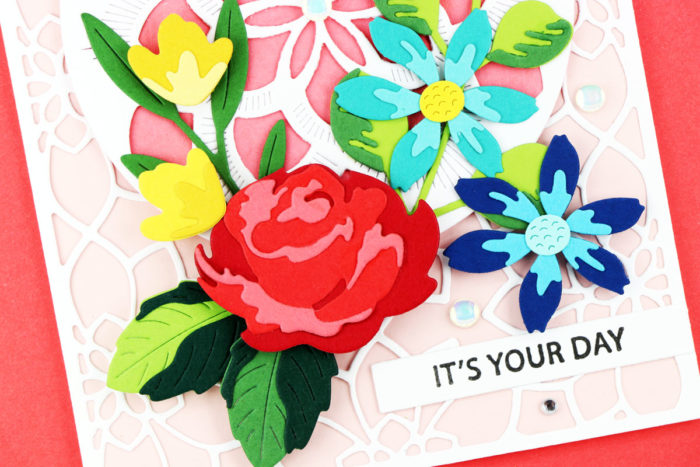
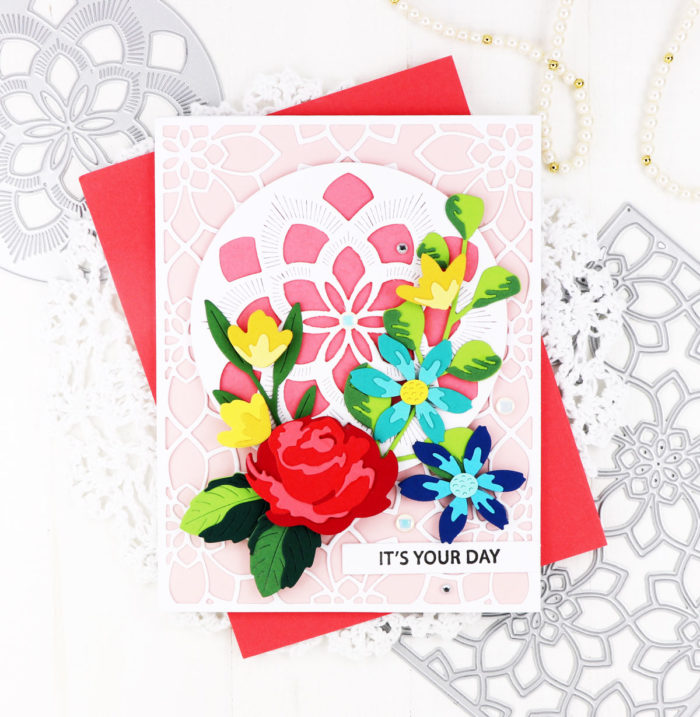
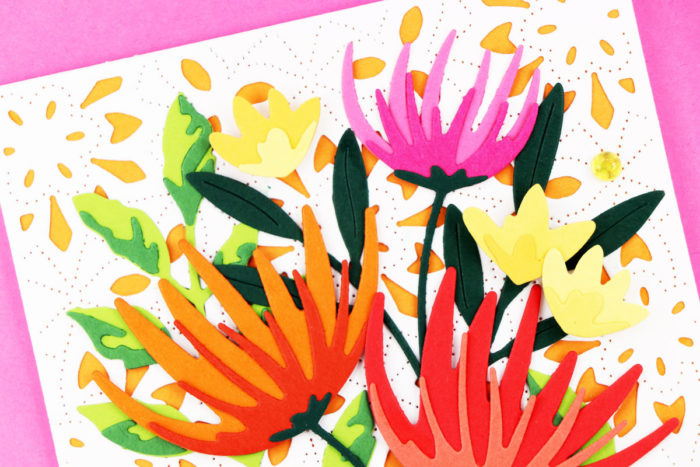
    I hope you’re having a good day! I love flowers! When it’s too cold outside to enjoy the garden, I’m happy to be making with them in my craft rooms so the new release makes me HAPPY!

    I like to cut lots of flowers in several different shades of cardstock all at the same time. When it comes time to making I have my choice of flowers to arrange. I lay them out on a clear piece of plastic the size of my card front before I commit and adhere them in place.

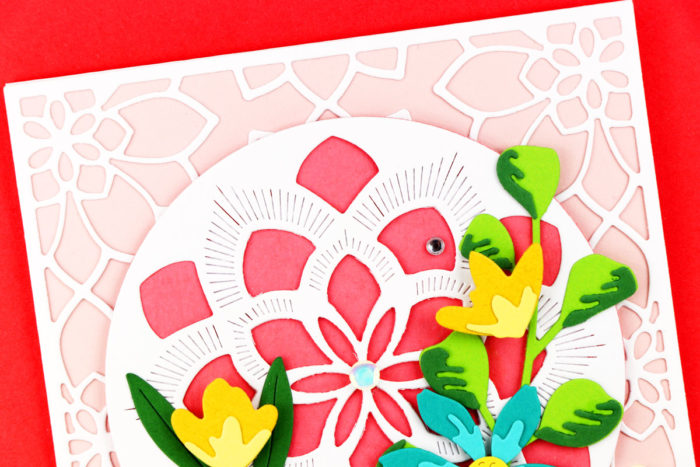
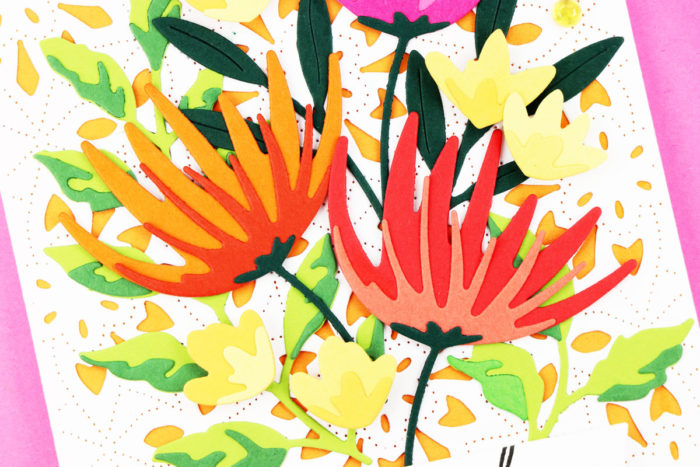
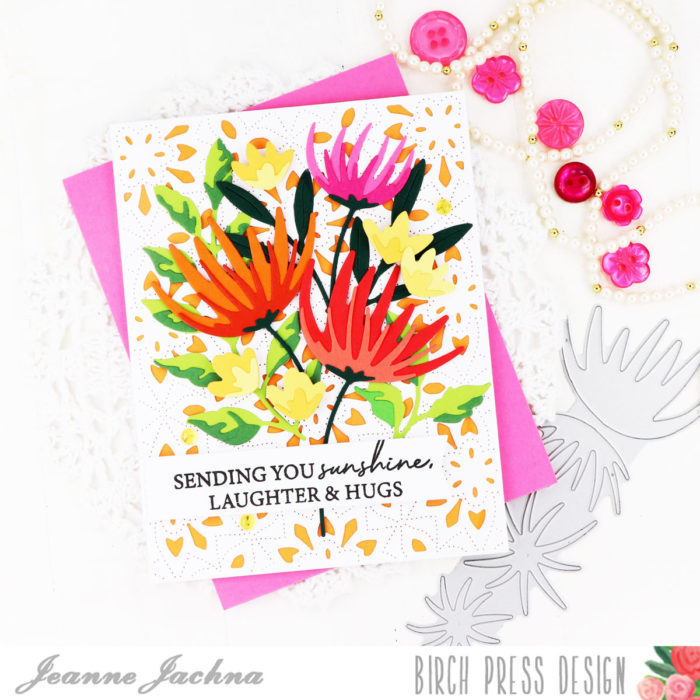
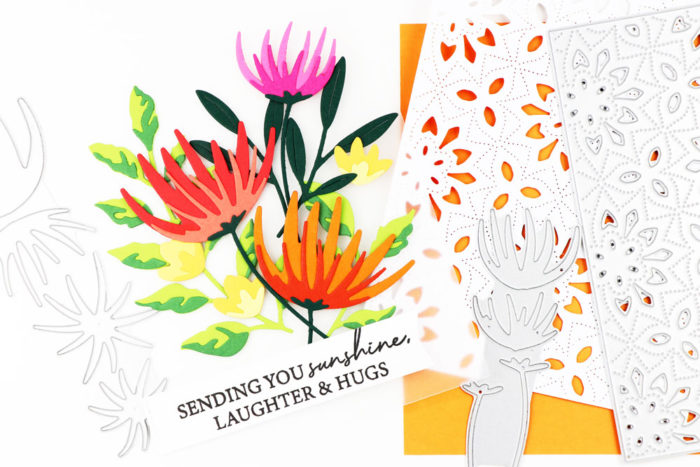
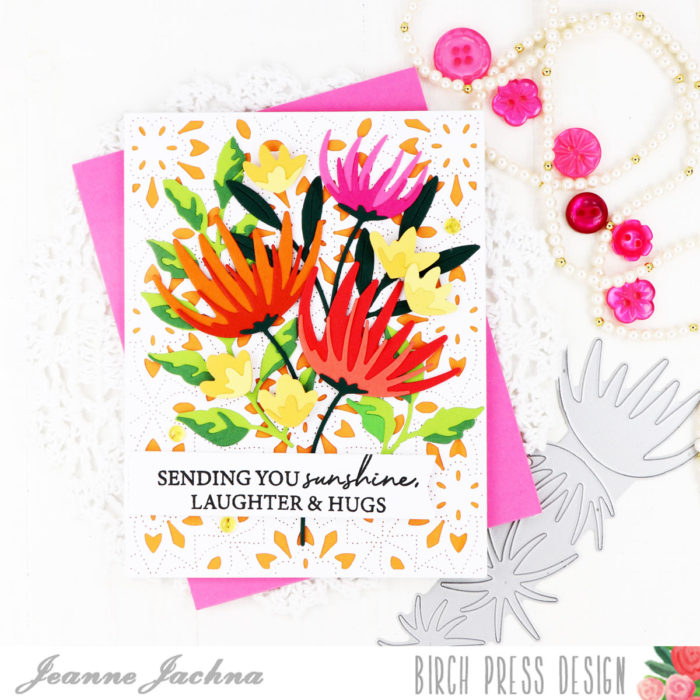
    Because the plastic is clear I can pick up the entire arrangement and layer it over different backgrounds. For this card I used Viola Plate Layer A. Using just one layer of the three layer background set allows more color and gives a lacy look to the background.

    To create a focal point I added an Arista Layer B die cut with a darker shade of pink adhered underneath. The foliage is adhered flat to the card base, and the florals are adhered with adhesive foam tape. This adds dimension.

    Remember when you’re making that there’s no right or wrong.. it’s all about what appeals to you. I hope you’ll mix and match your different sets and imagine your flowers in unexpected colors. I think you’ll be delighted with the results!

    Finished Size 4.25 x 5.5″

    Supplies
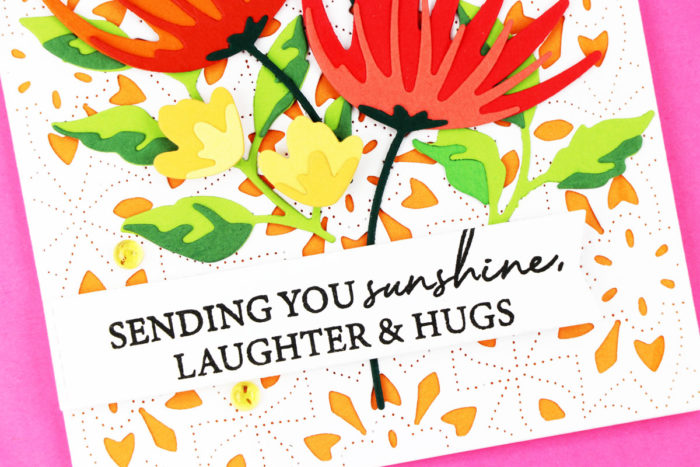
  • Sending Sunshine by Jeanne Jachna

    Sending Sunshine
    by Jeanne Jachna

    I’m so excited with the latest Birch Press Design Release because it’s all about FLOWERS! I am anxious for spring to arrive, and until I have some blooms of my own in the garden I’m making away in my craft room with these beauties.

    I love that the new florals are sized perfectly for arranging together. And each layered floral die set comes with a fold out graphic showing you how to assemble each one so there is no guessing.

    I always start by laying out images on a clear sheet of plastic the size of my card base. I can slide different color panels underneath to see exactly what the card will look like when it’s assembled.

    My card features the Wispy Blooms, Fuddled Leaf and Tiny Tuft Flowers. The sentiment is from the Kind Hearts stamp set that has a mixed pretty handwritten and print font.

    My background is just a single layer of the Viola Plate die trio background set. It’s gorgeous enough with it’s pinpoint print to leave all on it’s own.

    The new layered blooms are absolutely stunning and have you smiling like the real thing! The only thing you’ll miss is their fragrance!

    Finished size 4.25 x 5.5″

    Supplies
  • Pad To Paper Ink Blending for Shadow Dies By Ashlea Cornell

    Pad To Paper Ink Blending for Shadow Dies
    By Ashlea Cornell

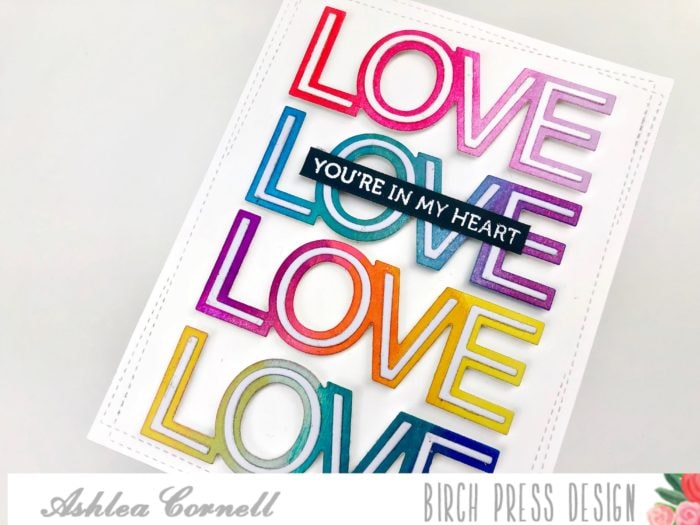
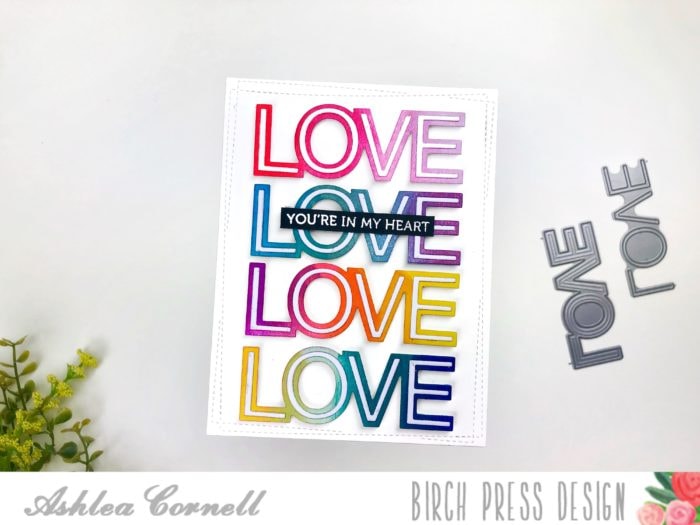
    Hello everyone! My name is Ashlea and I am so excited to be on the Birch Press Designs blog for the first time. I have always loved the Birch Press Designs style and quality of product, and I am thrilled to be a part of this team to help inspire and spark ideas! For my first post, I thought I’d focus on a simple but effective technique using shadow dies. Since Birch Press has many word and shadow dies, I wanted to provide ideas of different ways to use them as often as possible! I love the pad to paper technique of rubbing an ink pad onto a piece of card stock in order to transfer a very rich and vibrant color that you just can’t get from the traditional ink blenders. Here’s a video showing a detailed tutorial of how I achieved this look.
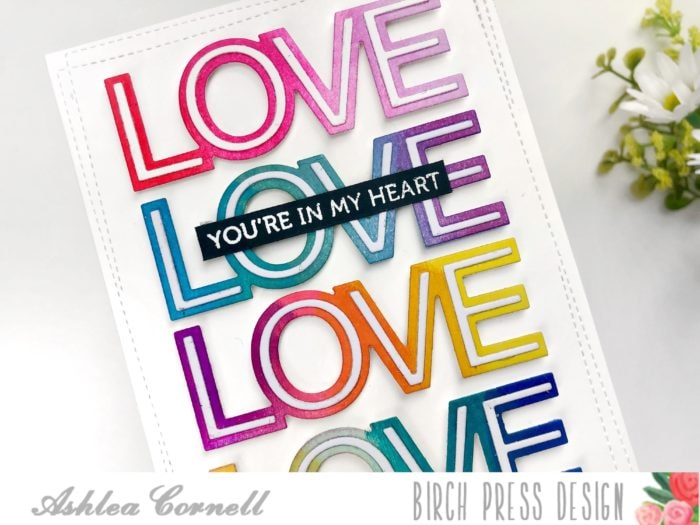
    I love this technique as it allows me to stretch my uses for these word and shadow dies. It’s super simple!

    First, you’ll want to pick 3-4 colors of ink pads that won’t turn “muddy” when the colors meet. Basically, you’ll want to choose colors close to each other on the color wheel. I used Catherine Pooler inks for my pad to paper technique here because I love her pads, especially for pad to paper techniques.

    Once I blended all of my colors and cut the shadow die out using the ink blended spaces, I adhered all of the letters to the shadow dies and adhered them to a card front cut with Memory Box Wrapped Stitched Rectangles dies to add a little interest to the border.

    Finally, I adhered all of the word dies to the card front with foam tape to add dimension and heat embossed the sentiment “You’re In My Heart” from the Lingo Love stamp set and adhered that over the second word die down.

    I hope that you’ve enjoyed learning a bit about how I created this card using the ink pad to paper technique. I hope you’ll try it out on your cards and enjoy it as much as I do! Thanks so much for stopping by and I’ll see you again soon!


    Supplies