Tag: Stencils

  • Gracious Florals | by Colleen Balija

    Gracious Florals | by Colleen Balija

    HI friends! Today I’m going to share an easy way to add color to your embossed images using the new Gracious Floral Embossing Folder, Stencil, Stamp, and die set by Memory Box. This set coordinates together to help you create TONS of unique cards! I’ve linked the Supply List at the end of my post if you’d like to purchase any of the items (and I think you will want this set!!!)

    First step was to create a colorful background to the embossed Gracious Florals. I applied shades of brown ink directly onto the flat side of the Gracious Florals embossing folder using my mini brayer. The brayer creates a unique pattern, and I change directions with it to get an even more playful, mixed media look (see the photo below). If you don’t have a brayer, use your ink pads directly onto the embossing folder and change directions with the ink pad. You’ll get a similar look!
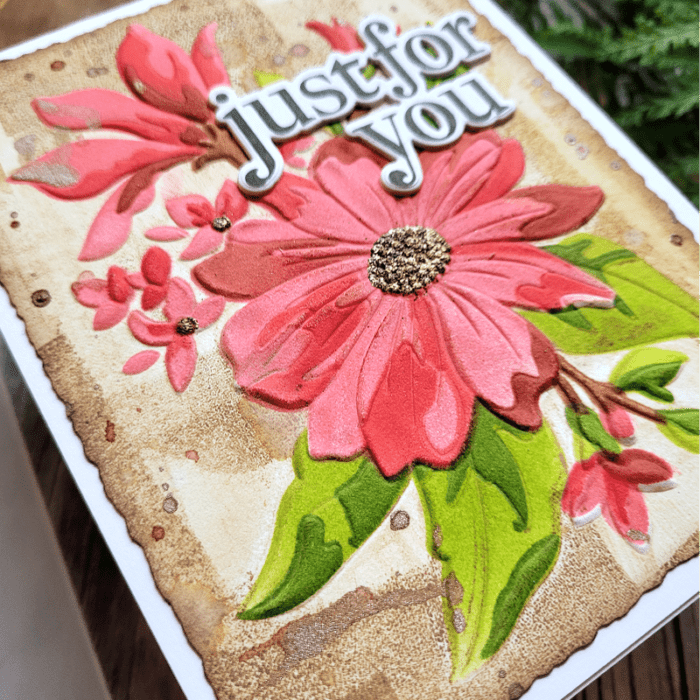
    Once I inked up the embossing folder, I added a white piece of heavy duty cardstock inside the embossing folder, closed it, and ran it through my die cut machine per the usual method of dry embossing. I was left with this awesome colorful background, but the flowers remained white!

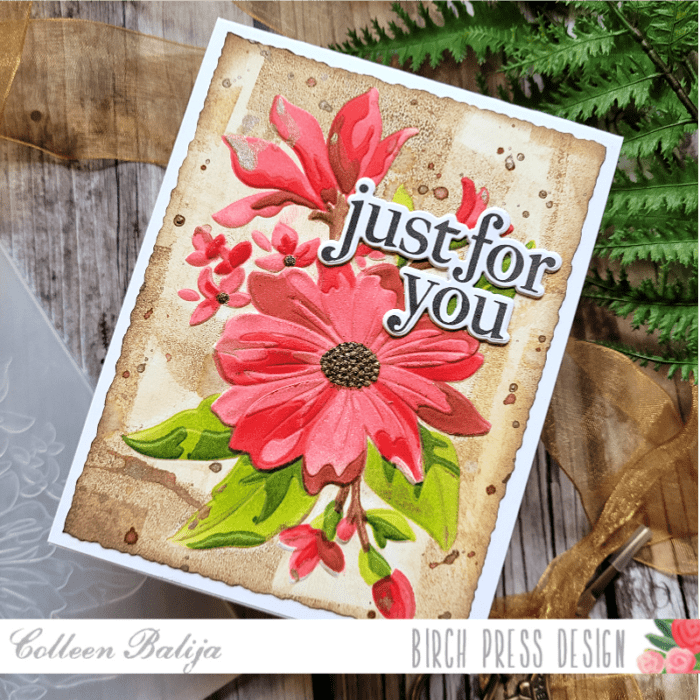
    Next, I stenciled the flowers using the coordinating stencil set from Gracious Florals.
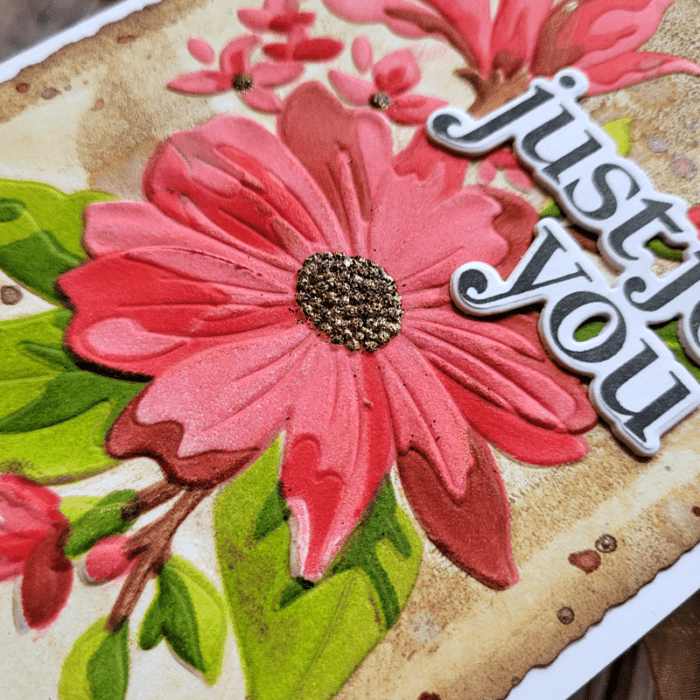
    The flowers are bold and absolutely BEAUTIFUL!!! The stamp set comes with the outline image of these flowers so you colorists will have a great time coloring the image! Getting back to my stenciling, I stenciled the layers using coral shades for the florals because they looked bold against the brown background. Then I stenciled the leaves in green and added gold embossing powder to the stamin for a touch of shine. I also added metallic gold splatters over the entire card panel for even more shine! Then I die cut the card panel using my deckled paper trimmer, added brown ink to the edges of the panel, and adhered it over a white 5.5×4.25 card base.
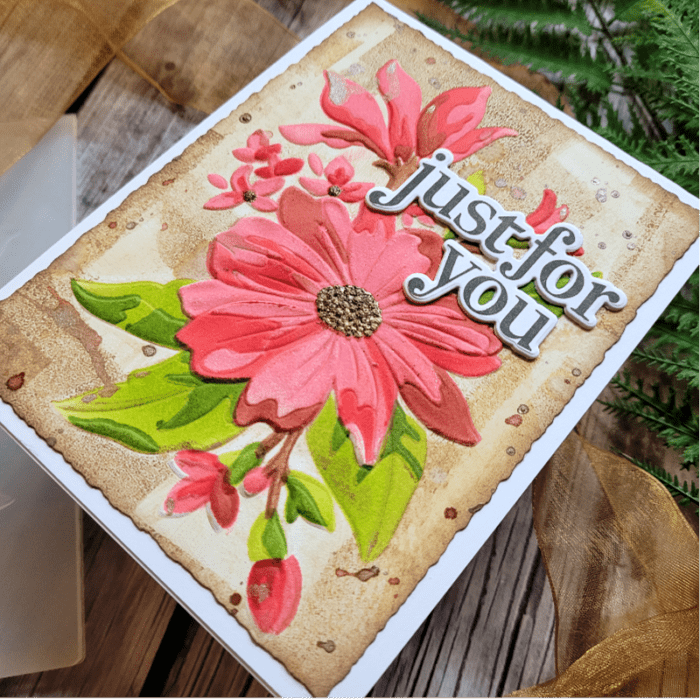
    The last step was to add the sentiment from the Gracious Floral stamp. The sentiments are bold and amazing, and I love how the die cuts right around the wording! I kept the sentiment simple in black and white so that the floral remained the focal point.

    I love how the brown background seemed to surround and embrace the florals! I hope you enjoyed today’s post and thank you for visiting me!
     

    Supplies
     

  • Use Your BPD Layered Dies as Stencils | by Colleen Balija

    Use Your BPD Layered Dies as Stencils | by Colleen Balija

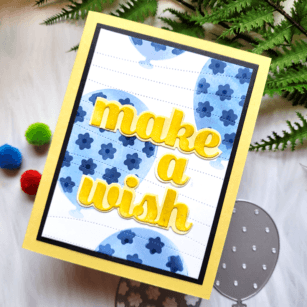
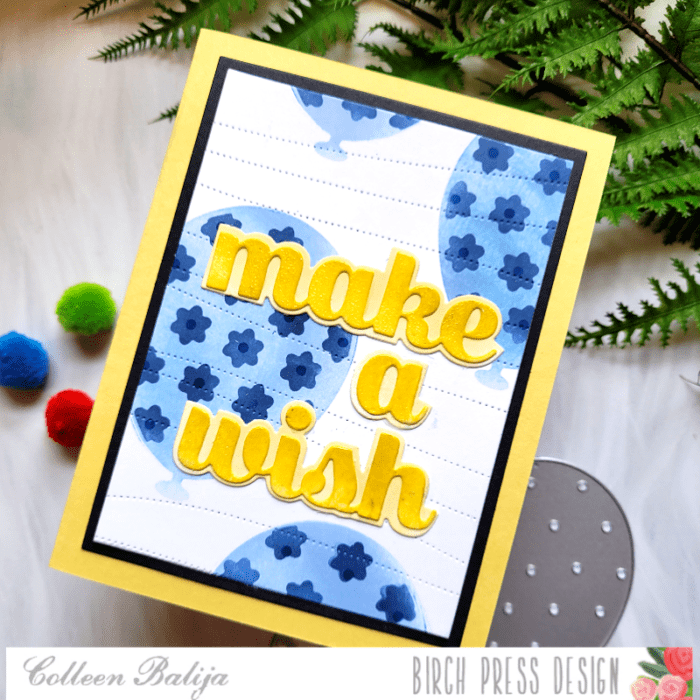
    Hi friends! Do you ever look for creative ways to use your BPD layered dies other than their original intention? Well, today I want to show you how to use them as stencils! We’ll be using Make a Splash Sugar Script die, Pinpoint Contour Plate, and Floral Balloon Layered dies, and I’ll include links to these supplies at the end of my post. Let’s get started!

    Creating stencils from your dies is easy! You’ll need the dies, of course, and masking paper. I use the Gina K Designs Masking Magic, but you can find masking paper just about anywhere! I recommend you buy 5×7 or 8×10 in size so you can die cut larger dies for this technique!

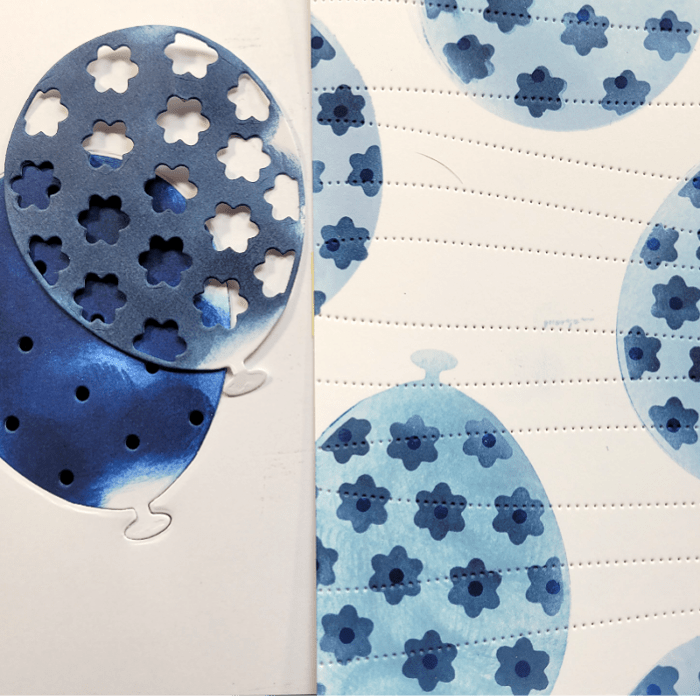
    First step is to create the mask by die cutting the layered dies using the masking paper.

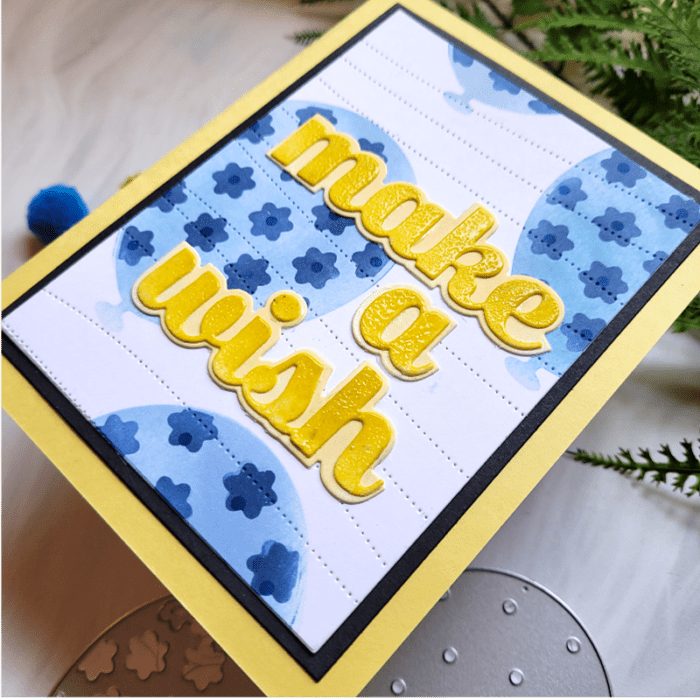
    Using both the positive (the image) and negative (the outline) pieces of the mask, I placed them over the white card panel to protect the panel from getting ink where I didn’t want it. Then I ink blended just like I would with a regular stencil! I used shades of blue and went from light to dark as I built the layers of the balloons with my handmade stencil. If you’re not sure how to build the layers, think about how the die would look if you adhered the layers of the die together and use it the same way as a stencil. You can see in the photo above how I created the stencil and then inked up the white card panel (stencil is on the left and inked up panel on the right)!

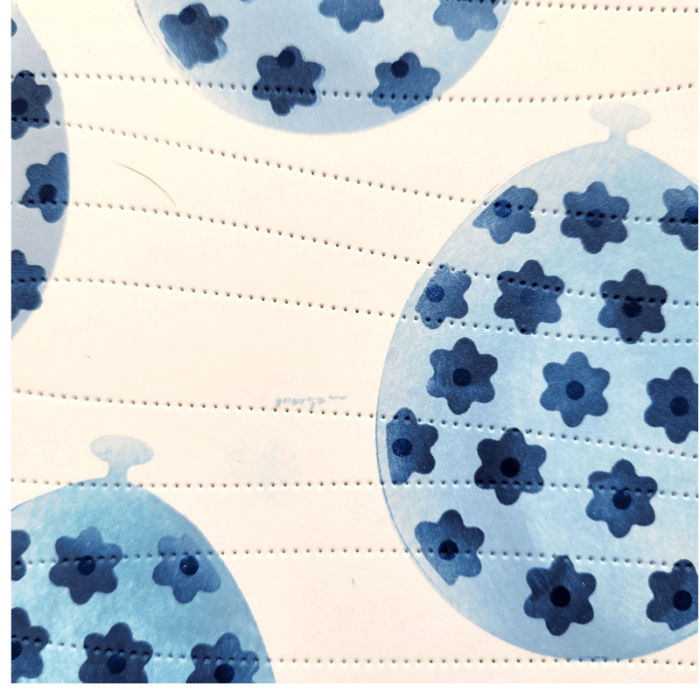
    Once the background was finished, I added another element of detail to it by die cutting the Pinpoint Contour Plate over the entire panel. I like this cover plate because it adds interest without stealing the show from the focal point!

    Then, I trimmed down the panel with a rectangle nesting die, along with a black card panel that was slightly larger. I adhered them together and placed them over a yellow card base, sized 5.5×4.25

    Next up, the sentiment!

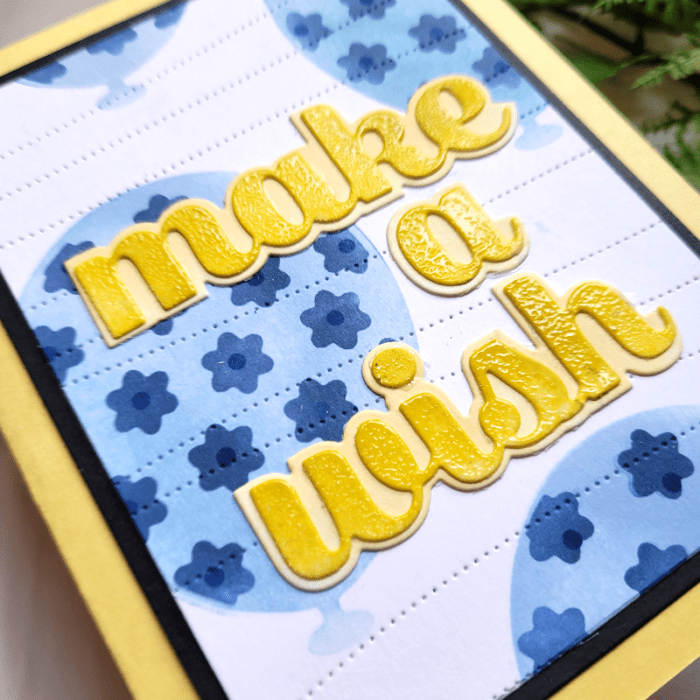
    I chose the Make A Wish Sugar Script sentiment, which is 2 layers. I die cut each layer and then inked them up using 2 shades of yellow. To help the top layer pop even more, I heat embossed over it with a clear embossing powder. That adds shine and makes the color even more bold! Then I adhered the sentiment over the balloon background!

    Below is a closer image of the entire card when finished!

    To summarize, grab any of your BPD layered dies and masking paper of choice, create a stencil by die cutting onto the masking paper, and then use it as a stencil! You can keep the stencil for future use by storing it with your dies, too!!!

    YThanks for stopping by!

    Supplies

  • Gilded Grace Christmas | By Seeka

    Gilded Grace Christmas | By Seeka

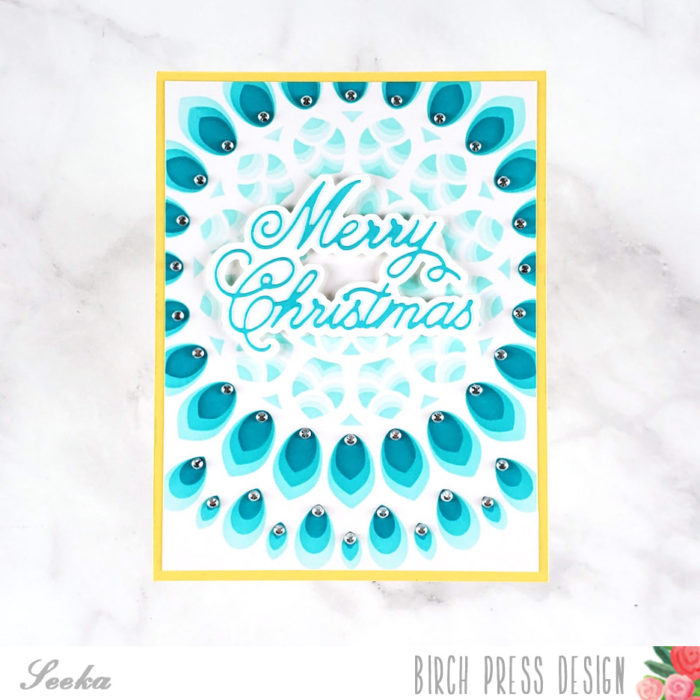
    Hello and welcome! Seeka here and today I’m sharing a Christmas card that features the Gilded Grace Inside and Outside stencil sets. If non-traditional holiday colors aren’t your style, swap out the sentiment to use these colors for another occasion, or swap out the colors!

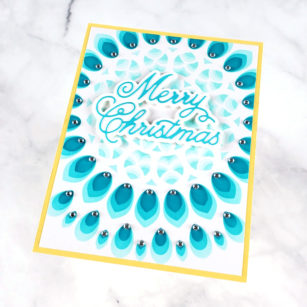
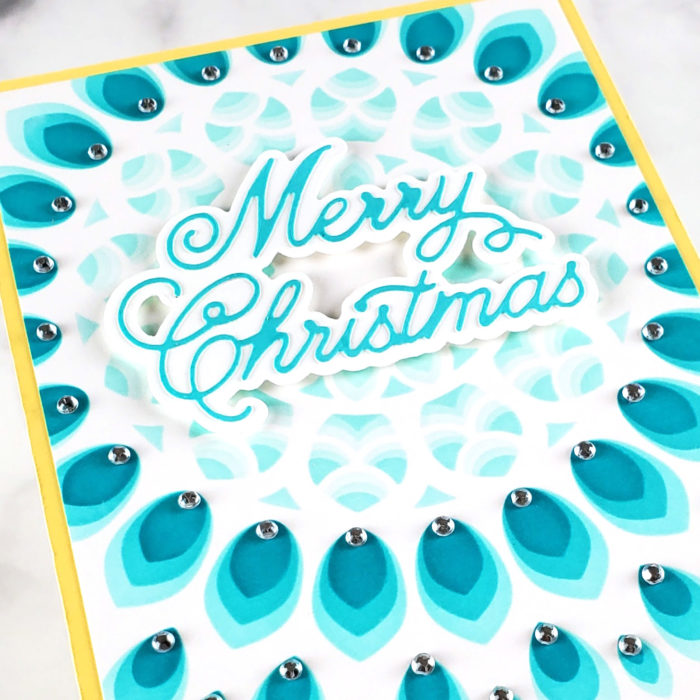
    I started off by stenciling the three bold outer layers in three shades of aqua. These layers are very easy to line up so this was very quick to do. Next, I stenciled the three lighter inner layers in similar shades of aqua. Then, I trimmed the panel to 4″ x 5.25″ inch and glued it to a 4.25″ x 5.5″ panel of golden yellow cardstock.

    For the sentiment, I cut the shadow layer of the Handwritten Merry Christmas And Outline die set from white cardstock and the detail layer from a piece of cardstock that I’d colored with the same aqua inks that I used for stenciling. I glued the pieces together and then used foam tape to adhere the sentiment to the center of the stencilled pattern. To finish, I glued the card front to a card base and embellished with clear Fairy Jewels.

    Thank you so much for visiting!

    Supplies

  • You Are the Best | by Tracey McNeely

    You Are the Best | by Tracey McNeely

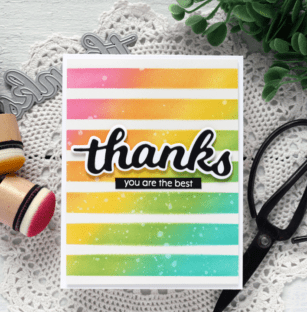
    Hi there, it’s Tracey back today with an ink blended thank you card created with the new Bold Stripes stencil. I also have a process video to share how I created this bright and cheery card.

    I placed the stencil over a panel of Bristol Smooth cardstock and then blended a rainbow of Distress Oxide inks–Picked Raspberry, Spiced Marmalade, More Mustard, Mowed Lawn and Peacock Feathers. Once the stencil was removed I splattered some clean water onto the panel and lifted some of the colour with a paper towel.

    The blended panel was trimmed down to 5 1/4″ x 4″ and then attached to the card base with foam tape for dimension. The large sentiment was cut from the new Honey Script Thanks dies. Thanks was cut from white cardstock for the base and black cardstock for the actual word. It was adhered to the card front with foam tape to make it really pop.

    The second line of the sentiment is from the You Are Awesome stamp set. I stamped and white embossed the phrase ‘You are the Best’ on a thin strip of black cardstock that was adhered directly to the card front underneath the word thanks.

    The black and white sentiments have a really big impact against the bright rainbow background!

    Thanks so much for stopping in today and I hope that you mind is spinning with all the colour combinations that you could create with the Bold Stripes stencil.

    Supplies