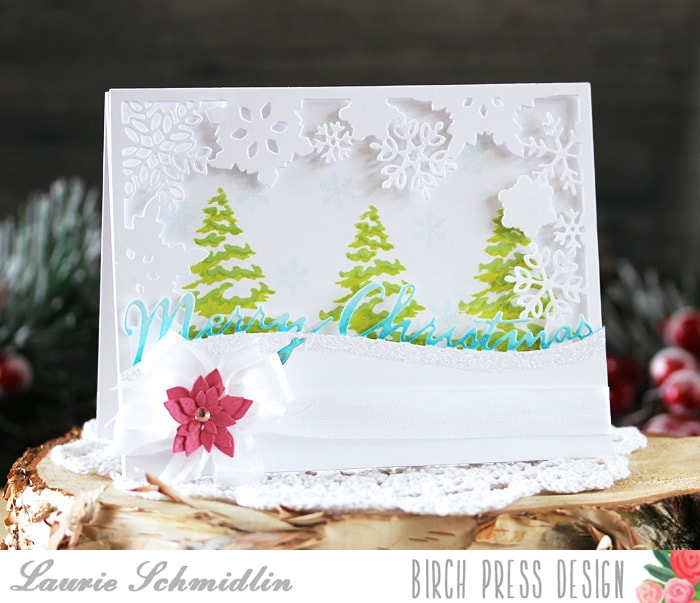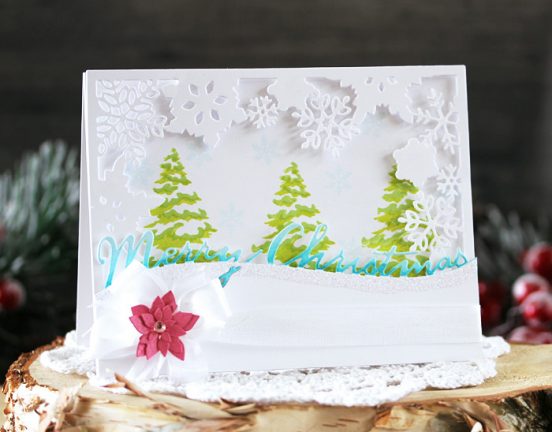
Nothing says Christmas quite like beautiful snowflakes and frosty trees! Today I’m sharing a card that I created using a combination of stamps and dies from the Birch Press Design store. I especially love how so many of the dies and stamps work so well together!

I really love the look of white on white, but I was concerned that the gorgeous detail of the Chalet Snowflake Frame die would be lost. My solution was to pop up the die cut snowflake frame giving the card depth and more importantly, allowing the beauty of the frame to stand out. It’s the perfect frame for my stamped, snowy background. Using three different colors of green ink, I stamped the trees from the Let it Snow stamp set. I also stamped one of the snowflake images in a very pale blue, giving it some more color but not competing with the snowflake frame.

For the sentiment, I die cut the Merry Christmas Noted die and added it to the bottom of my card. I wanted to add to the snowy feel, so I added a strip of fine glitter underneath the words.

Here is a photo showing how I sponged just the words in the sentiment layer. I die cut an additional sentiment panel, identical to the one in my card. To create the mask, I cut off all of the letters, leaving only the curvy part. I then placed this over the layer I was going to sponge so that only the letters of the original die cut panel was showing. I used two different aqua ink pads to create the ombre sponged look. If you try this, make sure you save that mask that you have created so that it can be used again in the future! I store mine in the same envelope as the die.

For embellishment, I added a die cut poinsettia flower to a white ribbon bow. This was so easy to create! I die cut the Mini Poinsettia die set out of dark pink cardstock and then glued the different layers together. I just adore all of the detail that this flower has!
Thanks so much for joining us here this week! Make sure to stop back by next Tuesday for some more crafty inspiration!


Comments
2 responses to “Merry Christmas | by Laurie Schmidlin”
Laurie, what a stunning card! Love your step by step tutorial.
Laurie
Those snowflakes jump right off the card! It makes me wish for cooler weather and a big snow. The tutorial was so detailed and inspiring.
Thanks for sharing your amazing card and techniques.