
Maybe Jennifer McGuire made you do it too? She’s inspired lots of people to get out their alcohol inks and start blending! You can see her original tutorial here. I too hadn’t given much thought to my alcohol inks lately. It’s really addictive once you start playing. All you need is some glossy or YUPO paper and alcohol inks. You can use any brand of alcohol inks – maybe you have some marker refill’s handy.
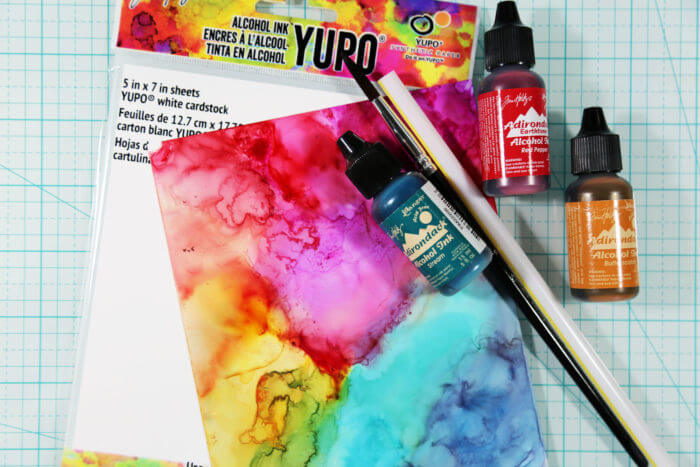
I wet my YUPO paper with alcohol ink before adding the drops of color to give me more play time and to soften the colors. Alcohol ink dries very quickly! The backgrounds are bold and beautiful, but a few things you might want to keep in mind… work in a well ventilated area. The smell from the rubbing alcohol is quite strong. You’ll also want to be careful to not get the ink on your clothing – it will stain. I worked on a glass craft mat. This made clean up really easy. The ink left on the mat is easy to remove with a cotton ball and rubbing alcohol.
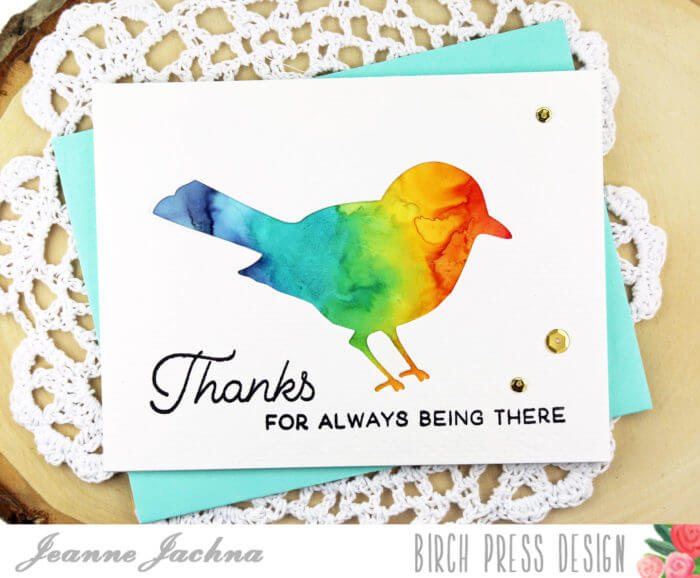
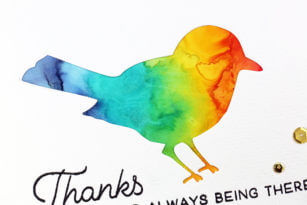
For this clean graphic design I die cut the morning bird from watercolor paper and used the negative cut. I saved the actual bird die cut for a second project. The added thickness of the watercolor paper adds rich texture and an expensive heavy weight feel to the card. You can die cut the cover of your card panel and adhere the blended backdrop to the inside cover of your card so it shows through the open die cut window.
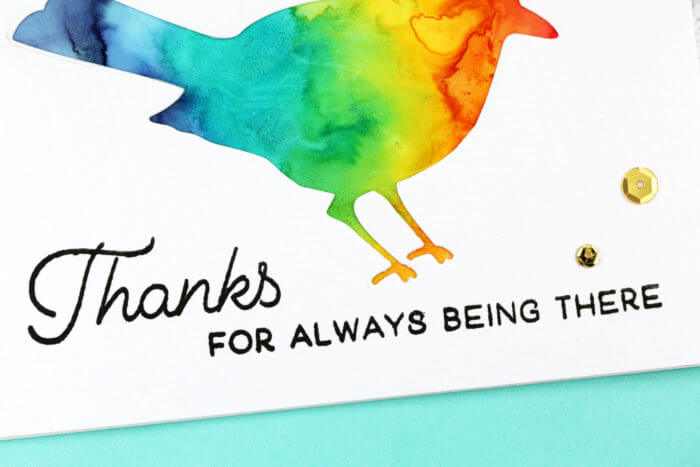
The sentiment from the Just Because Clear Stamp Set was stamped with Versafine Onyx Black Ink. I used a stamping tool to double stamp the sentiment. The watercolor paper is uneven and I wanted to be sure it was stamped clearly. I added a few gold sequins from the Not So Heavy Metal mix for some sparkle and shine. There’s lots of new sequins in the store! You can find them here!

You”ll love the beautiful backgrounds you can make with alcohol inks!
Supplies


Comments
One response to “Alcohol Ink Bird | By Jeanne Jachna”
That’s a great card ! I love the design of the bird.