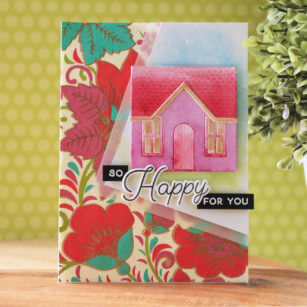
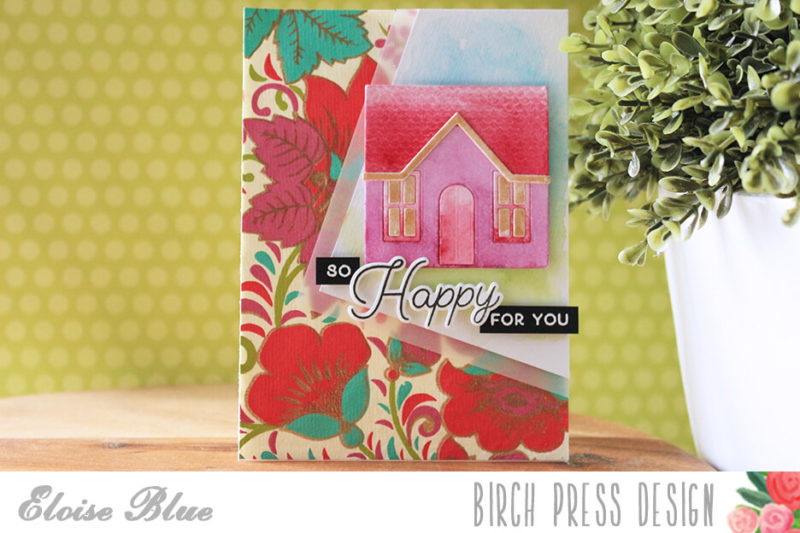
Hi friends, Eloise here and today I have a moving house themed card for you all. I’ll be using the Home Sweet Home dies, along with Sending Love and Time to Celebrate stamp sets. I’ll also be pulling in this gorgeous handmade paper called Bouquet Handmade for my base and colour inspiration for the rest of my project.
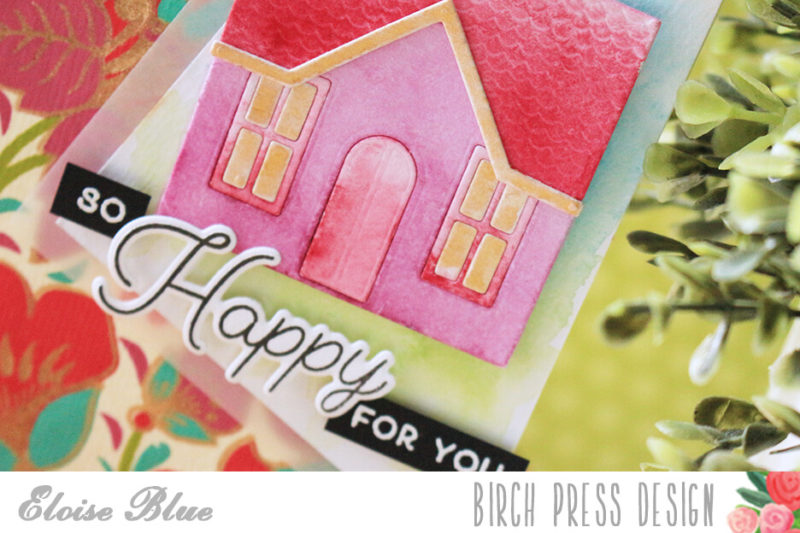
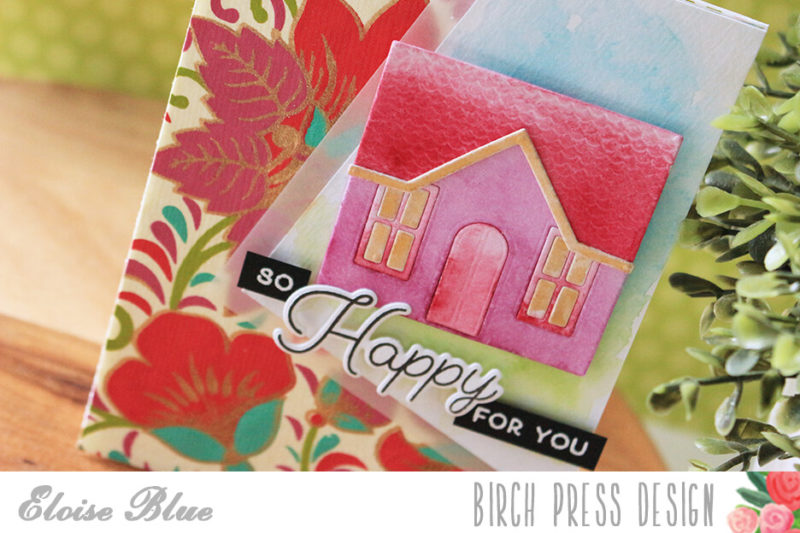
To begin my card today, I first started off with die cutting my Home Sweet Home die. I cut it from some watercolour cardstock and separated all the pieces. Then, I watercoloured each of the pieces using my Mijello Misson Gold palette. I used the colours for inspiration from the paper. I coloured the base of my house with a purpley-pink colour, then the roof and window frames with a pink. Then using the Kurtake Gansai Starry Colors palette, I coloured the inside of the windows, and the roof trimmings with a gold. I set them off to the side to dry and worked on my other elements.
Next, I took a piece of vellum and cut it down to 4″ wide by 5 1/2″ tall, set that off to the side and then cut down another piece of watercolour paper a 1/4″ smaller, so it could fit on top of the vellum. I then used the same Mijello Misson Gold palette and water-coloured a blue sky and green land, so my house could be adhered to something grounded. Once it was watercolored, I used my heat tool to speed up the drying time.
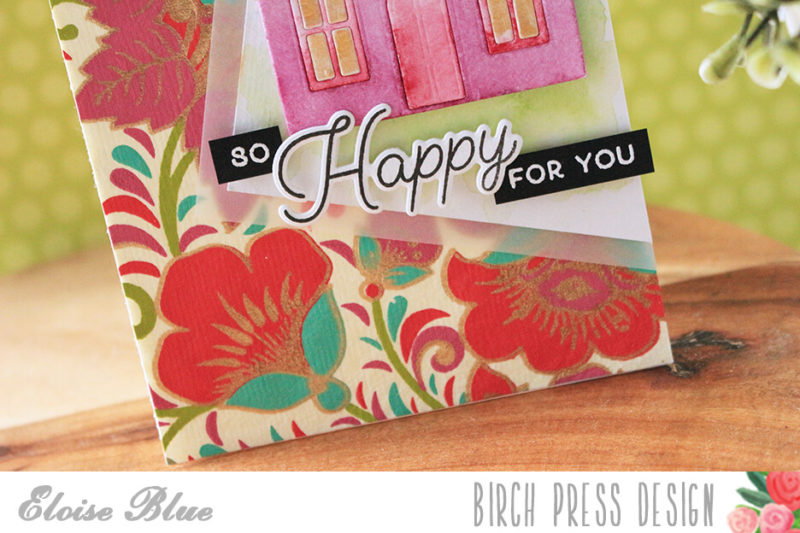
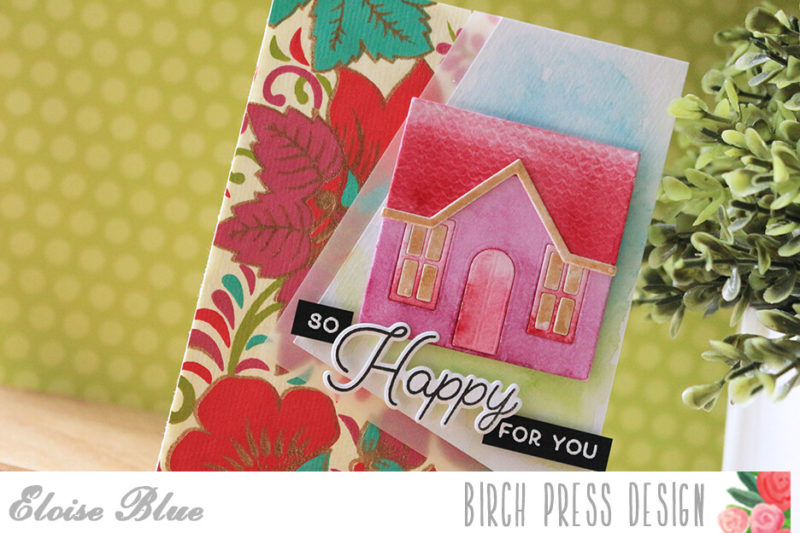
Now that all my elements were ready I could adhere them into place. I cut down my Bouquet Handmade paper to 4″ wide by 5 1/2″ tall and adhered it down to a white card base of the same size. Then, I adhered my water-coloured panel on top of my vellum, leaving a 1/4″ gap around two edges. Then, I adhered that panel onto my paper at a slight angle, as I thought that would be a fun design element and also, it lets that gorgeous paper shine through even more. I then used my scissors to cut off the excess around the two remaining edges. I decided at this point my house was too large for the area, so I decided to cut off the second storey of the house and adhere the roof over top to hide the cut edges. Worked out perfectly and I love altering dies to fit my designs better. I then used foam tape and adhered my house into place.
For my sentiment, I pulled both the Time to Celebrate and Sending Love stamp sets and used those together for my sentiment. I used the Happy from Sending Love, stamped it onto some white cardstock and die cut it out using the coordinating dies. Then, I used the ‘So Happy For You’ from the Time to Celebrate set, masked off the ‘happy’ word and white heat embossed that sentiment on a thin strip of black cardstock. Last step was to then used foam squares on the back of all three pieces and adhere them under my house die.
So that finished up my card for today, I hope you enjoyed and were inspired. The video is linked down below if you would like to watch it.
Thanks so much for stopping by today, and I’ll catch you all next time!

Supplies


Comments
One response to “So Happy For You | By Eloise Blue”
I would never have thought to put all of the colors and patterns together that you did, but it created such a happy, upbeat card! It really makes me think of spring.