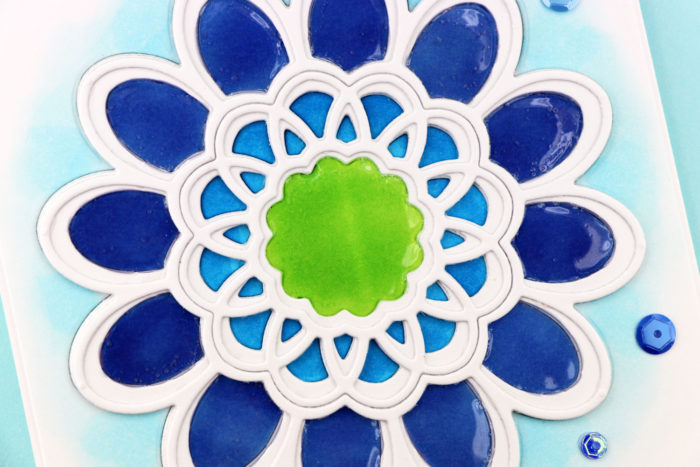
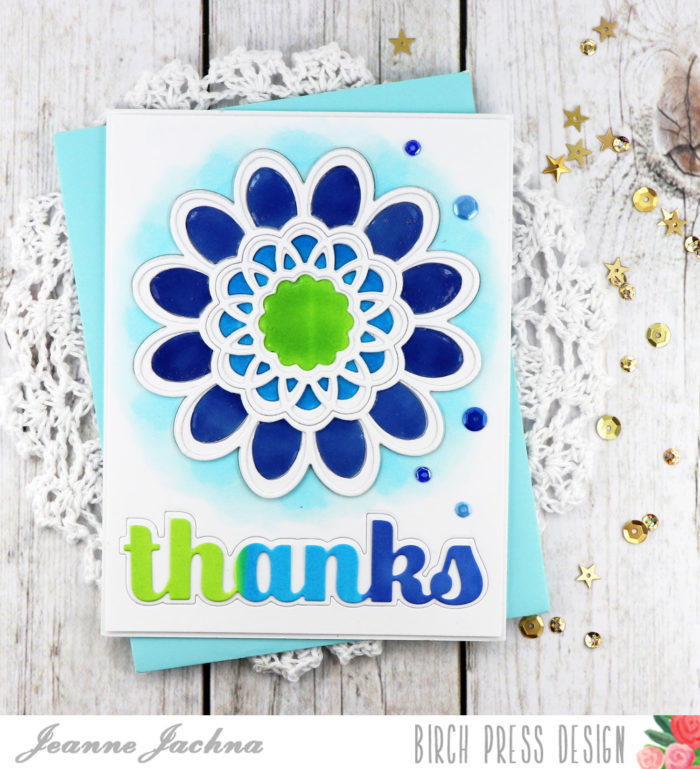
Thanks for stopping by! I’m so glad you made time for a visit! I’m playing with Glossy Accents today to show you how to add some glossy shine and dimension to your die cutting projects. Here’s what my finished project looks like..
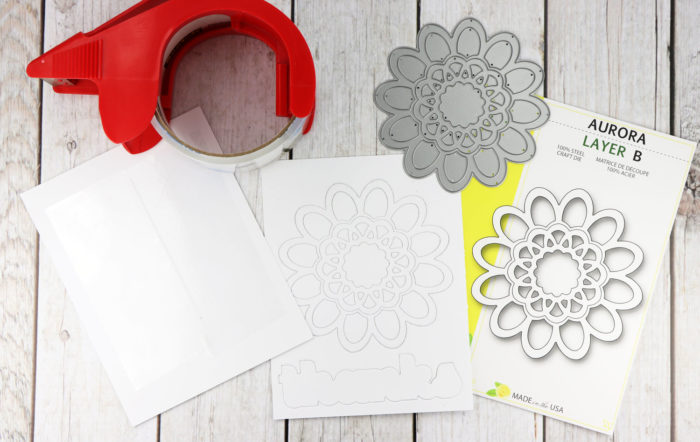
 I started by cutting the Aurora B die from a panel of card stock. I didn’t want it to cut all the way through. I wanted to create an outline of the die on the card panel that I could color. I added some clear packing tape to the back of my card stock panel before cutting the die on the front of the panel. The packing tape helps keep the die together so no pieces fall out.
Next I colored up the design with Copic markers. You DONT want to use a water based marker because the liquid Glossy Accents will activate the color and it will bleed into the medium, Copic markers are alcohol so they will not blend into the Glossy Accents. When everything is colored to your liking cut a second Aurora Layer B die from white card stock and adhere it over the die cut on your panel. The die cut will cover all the places you went “out of the lines”. 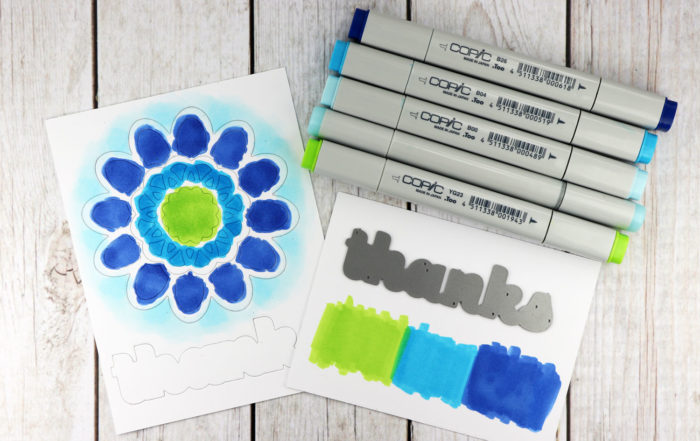 Fill in the die cut openings with Glossy Accents. I used a needle to move it around and get into all the corners. It’s also convenient for breaking any bubbles you might see. This is a time consuming technique but the shine is worth it. TIP: Use a die cut with large openings to make this process easier. I chose the Aurora die for this reason.
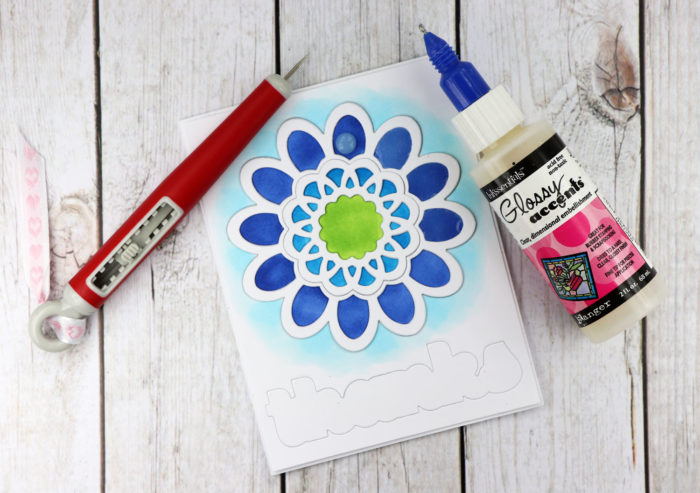 I only applied glossy accents to the outer rings and the center circle. When the glossy accents is dry add a die cut Aurora Layer A die cut to the design.

I used Copic markers to color a piece of scrap paper before cutting the Big Sugar Script Thanks. I love the ombre look!
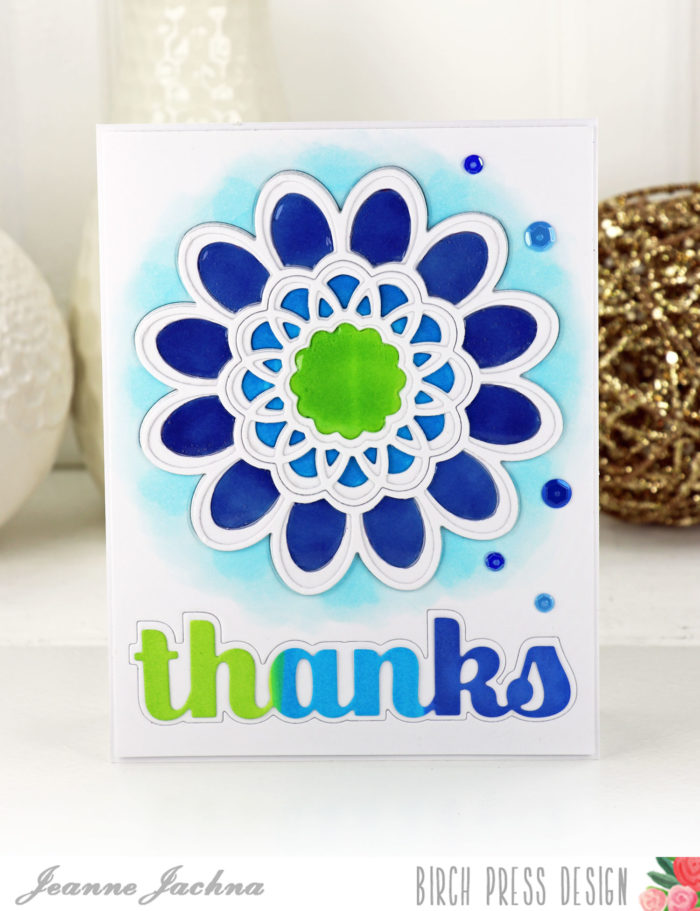
The dry glossy accents reminds me of candy! This was a fun technique that I will use again. I hope you’ll give it a try!
 Finished Size 4.25 x 5.5″
Supplies


Comments
One response to “Aurora Thanks
by Jeanne Jachna”
Jeanne, This card is beautiful. Love the colors. ..