Hello Everyone!
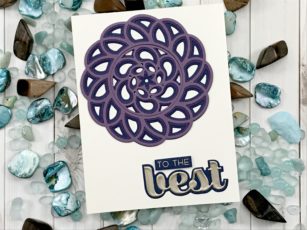
Let’s layer some cardstock together! I am just amazed at how this looks on a card… It is coming out of the card or going in, it does not matter, it is just beautiful, RIGHT?
So let’s make one together! You want to first chose your cardstock so you can see just how the colors will look together. I chose to stay in a cool tone and chose a dark blue and then two shades of purple. I made my card base ivory, so the colors would not be so bright. Ivory will help to tone them down.
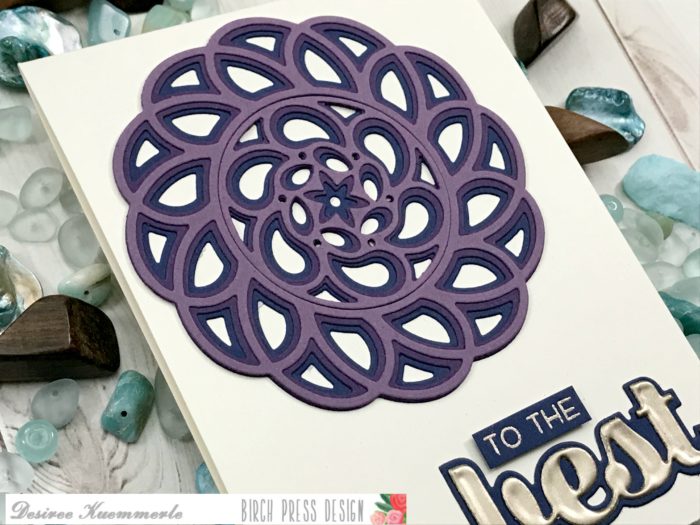
Next let’s get out our die cutting machine and let’s go to town! You want to make sure you have matched up the card stock with the proper die! And while we are there let’s cut out our sentiment to get it ready as well! With this die you will have a total of 6 pieces, 2 for each color. You will have the outer ring and then the center circle… What is great is you can decide which piece you want to use for your card! Of course, I chose EVERYTHING! LOL
I used a liquid glue to adhere all my focal pieces together and set it aside under an acrylic block to make sure they adhered together! While that is drying let’s work on our sentiment. I chose the Best Friend Clear Stamp Set along with the Big Best Sugar Script Die Set.
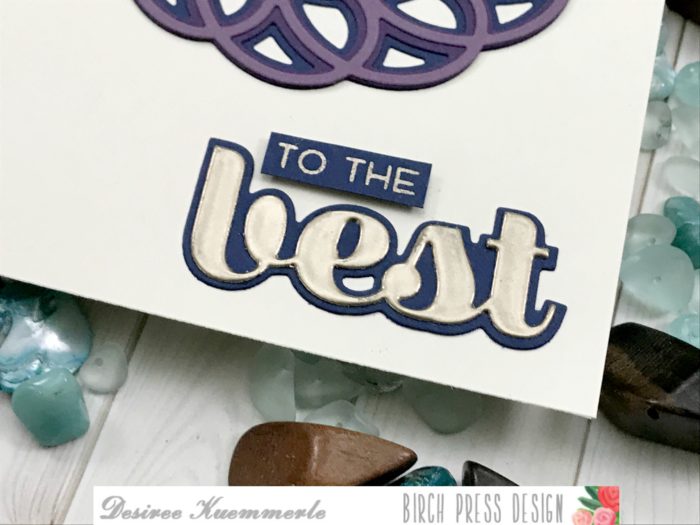
I die cut my background of my sentiment our of the same dark blue card stock used previously and an ivory for ‘best’. Now it really does not matter which color you make this since we will be using our embossing powder to completely cover it! Yup that’s right, pull out your clear embossing ink and over that die cut! Cover it with your embossing powder of choice. I chose Liquid Platinum. Heat set and repeat! I actually did this process twice so I could get the look of metal for my sentiment. I stamped my top portion of my sentiment on a piece of scrap dark blue card stock and heat embossed that as well in Liquid Platinum.
Once everything is dry its time to put our card together! I pulled out a Standard A2 size card base and placed my Splash Die cut in the upper left-hand corner again placing an acrylic block to make sure it stays secured to my card. I then grabbed my sentiments and positioned them down in the bottom-right hand corner. I placed the larger sentiment first and then layered the smaller just above.
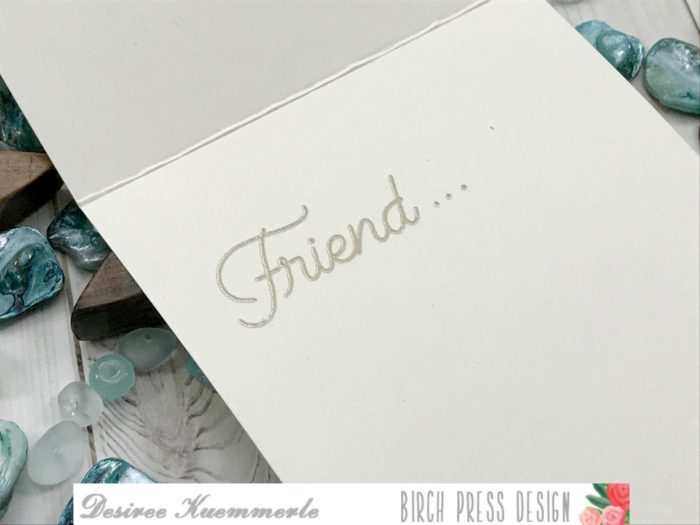
But I also wanted to add a sentiment on the inside. I chose “Friend”. I thought it kinda completed the thought of the card.
If you want to see more details just click on the video below and see our project come together step by step! Along with a few laughs of course!
I hope you enjoyed today’s project… Make sure you stay tuned for more wonderful projects coming soon! Have a great day and always remember… Be Creative!

Supplies


Comments
One response to “A Sentimental Splash! | By Desiree Kuemmerle”
Love the colors. Beautiful card!