
Hi there, it’s Tracey back this week with another post using fabulous Birch Press Design along with the fun 3D Embossing Folders from Memory Box Open Source.
I started off by embossing a piece of Bristol Smooth cardstock using the Memory Box Open Source Crysanthemum Fields Embossing Folder. I have never used these thick embossing folders before and I was a big perplexed as to what sandwich to use in my Gemini Jr. die cutting machine. Through a bit of Internet research and a bit of trial and error I found a sandwich that worked in both my Gemini Jr. and my Big Shot! These amazing 3D Embossing Folders work with the same sandwich! Today I used the panel embossed with the Gemini Jr. die cutting machine using this sandwich:
1. Bottom plate
2. Magnetic sheet
3. Embossing folder with paper inside (no top plate!)

I ran it through the machine and got a gorgeous embossed/debossed impression.
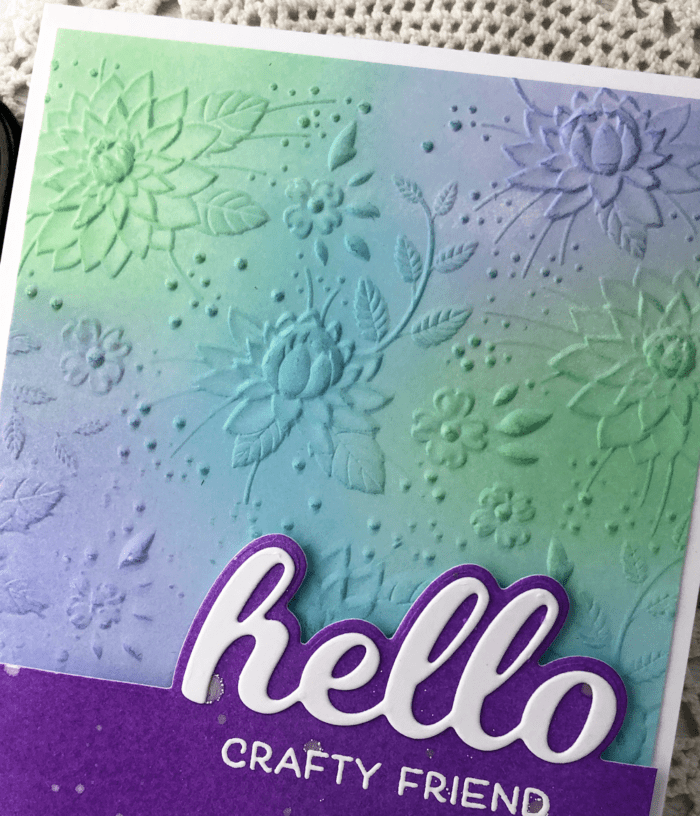
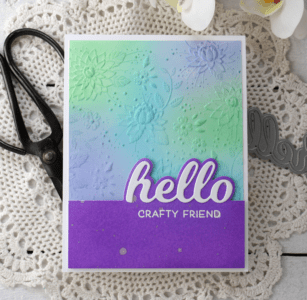
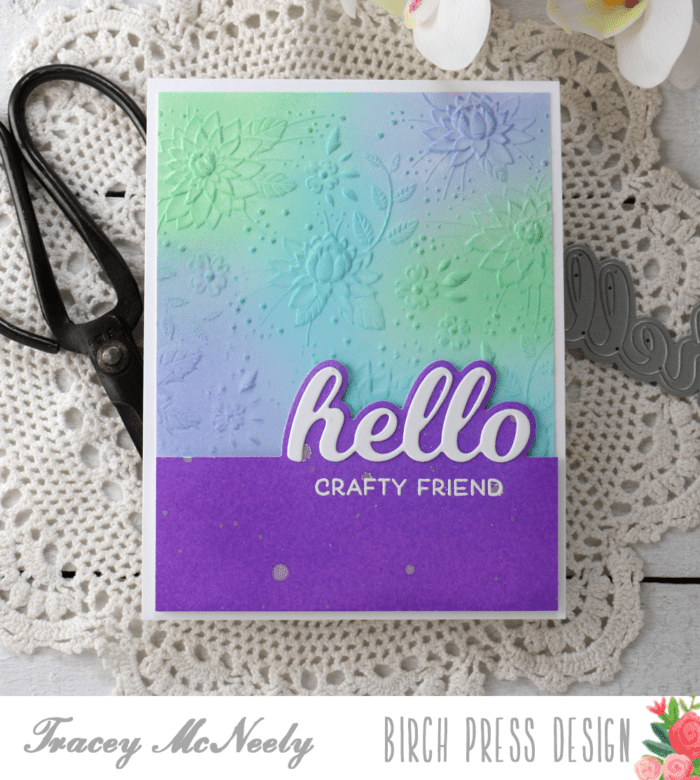
I chose to use the embossed side of the panel and used blending brushes to lightly add colour over the raised images. I set the panel aside while I worked on the other elements for my card. Using another piece of Bristol Smooth cardstock and I ink blended the Distress Oxide inks a little more heavily to create a solid panel to co-ordinate for the bottom of my card. I flicked some white gold pigment watercolor onto the bottom panel.

I trimmed the embossed panel down to 5 1/4″ x 4″ and then adhered it to a white card base using tape runner. Once the other ink blended panel was dry I used the Hello Topper die to cut across the top. Then I cut the word die ‘hello’ from white cardstock and added in into place with liquid glue.
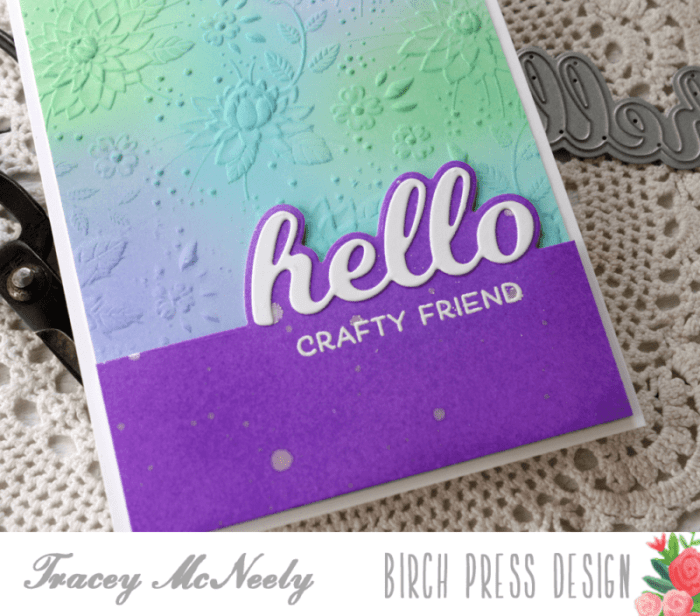
The sentiment ‘crafty friend’ from the Just Because stamp set was white embossed direct to the panel underneath the word hello. The whole ink blended panel was trimmed down to 1 1/2″ high, not including the bump up for the word hello. I was added to the bottom of the card with with foam tape for dimension.

Thank you so much for stopping in today to craft along with me. I hope you are staying well and that I have inspired you to make something beautiful today.

Supplies


Comments
3 responses to “Using Thick Embossing Plates | by Tracey McNeely”
Beautiful card! I love the design of the embossing folder and the colors you used!
Wonderful detail from the embossing folder and such pretty colors!
WOW, this is beautiful!