![](https://i2.wp.com/blog.birchpressdesign.com/wp-content/uploads/2020/07/sqshakerwm.jpg?fit=700%2C700&ssl=1)
Good morning! Ardyth here with a fun, edgeless shaker card using the stencil.
![](https://i2.wp.com/blog.birchpressdesign.com/wp-content/uploads/2020/07/jul20step1.jpg?resize=700%2C700&ssl=1)
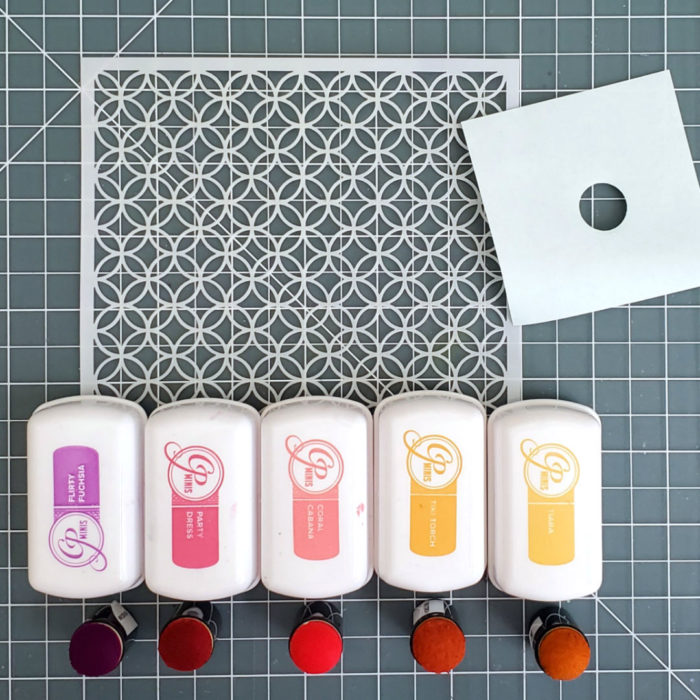
I started by gathering my supplies: the stencil, 5 ink colours, and 5 circle masks cut from sticky notes (one for each colour).
![](https://i1.wp.com/blog.birchpressdesign.com/wp-content/uploads/2020/07/jul20step2.jpg?resize=700%2C700&ssl=1)
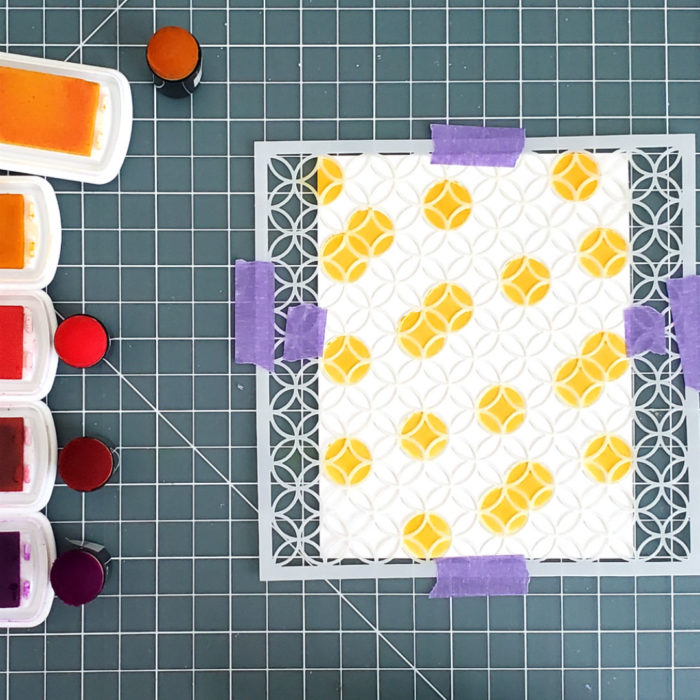
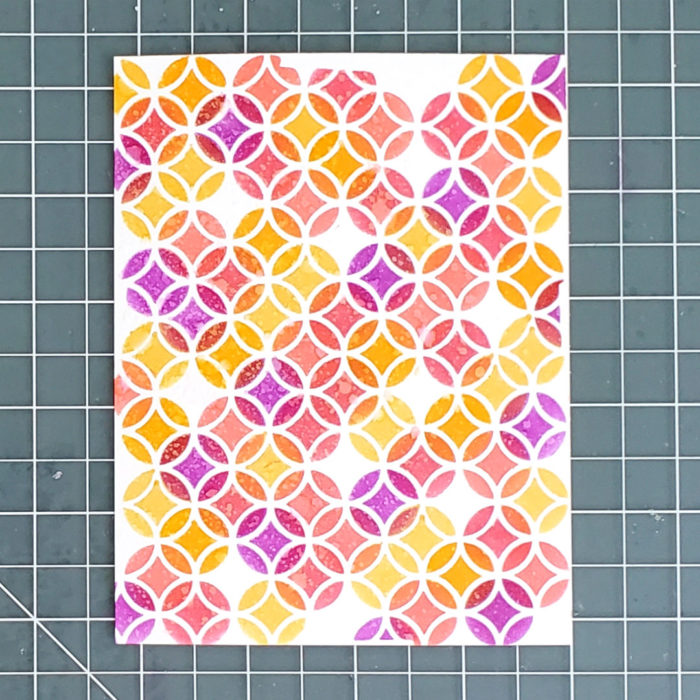
I used sponge daubers and the masks to blend ink into the circular shapes on the stencil. I tried to make sure that they were spaced out randomly over the panel of white cardstock.
![](https://i0.wp.com/blog.birchpressdesign.com/wp-content/uploads/2020/07/july20step3.jpg?resize=700%2C700&ssl=1)
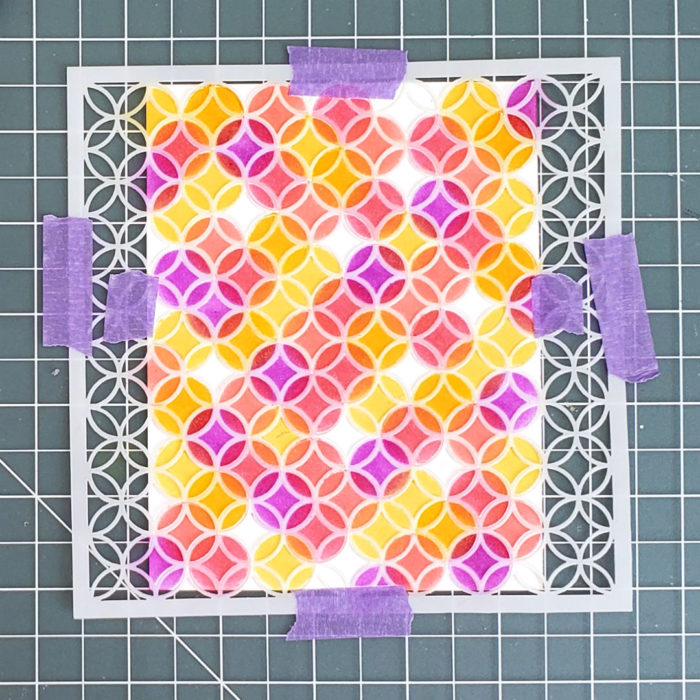
I worked through all 5 colours, and left some areas white for some breathing space.
![](https://i1.wp.com/blog.birchpressdesign.com/wp-content/uploads/2020/07/july20step4.jpg?resize=700%2C700&ssl=1)
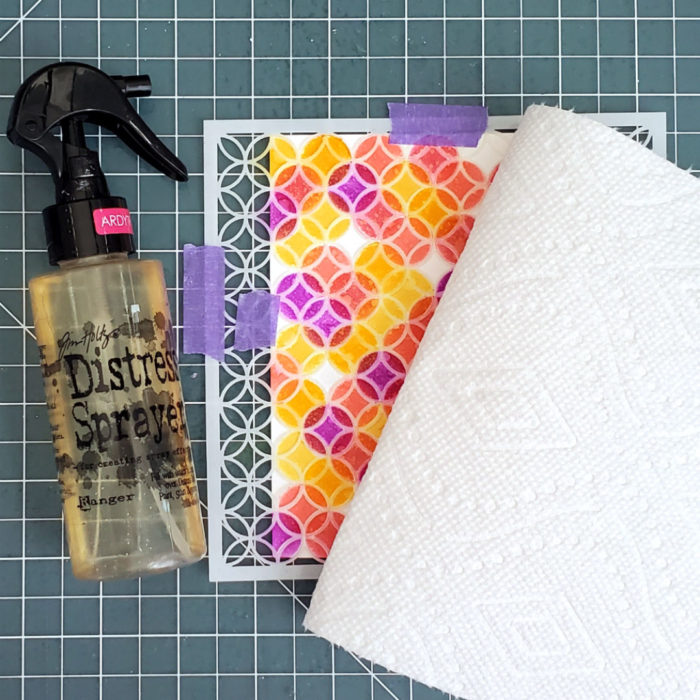
I added texture by spritzing the panel with water and lifting the colour with a paper towel.
![](https://i1.wp.com/blog.birchpressdesign.com/wp-content/uploads/2020/07/july20step5.jpg?resize=700%2C700&ssl=1)
![](https://i2.wp.com/blog.birchpressdesign.com/wp-content/uploads/2020/07/july20step5a.jpg?resize=700%2C700&ssl=1)
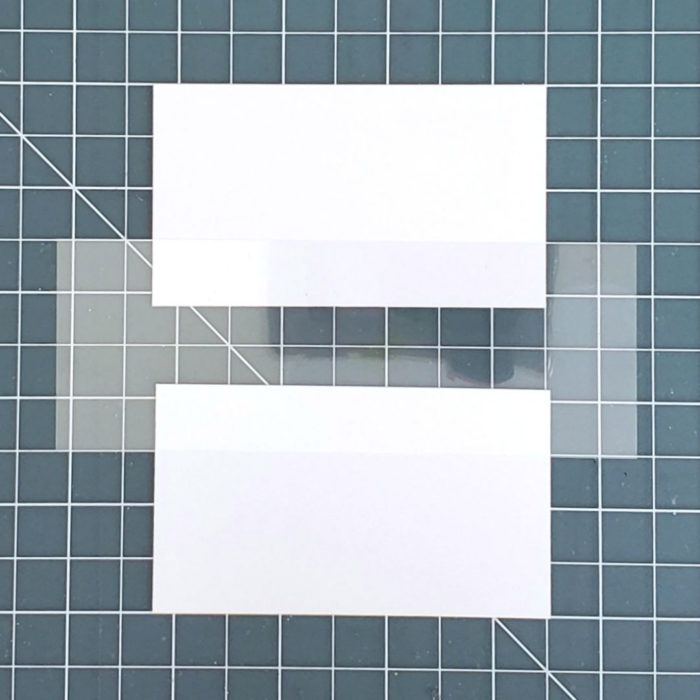
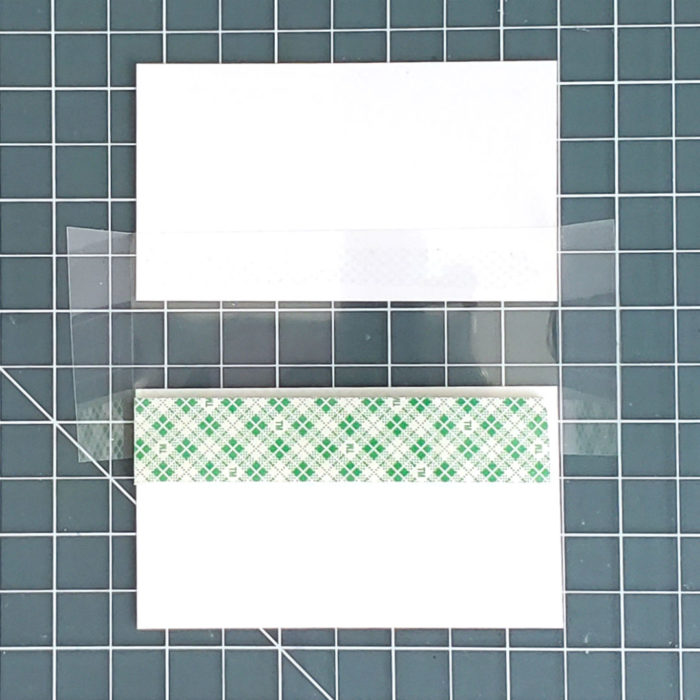
I trimmed the panel into 2 pieces and flipped it over on my work surface. I cut a piece of acetate so that it was wider than my panel so I can create flaps.
![](https://i2.wp.com/blog.birchpressdesign.com/wp-content/uploads/2020/07/july20step5b.jpg?resize=700%2C700&ssl=1)
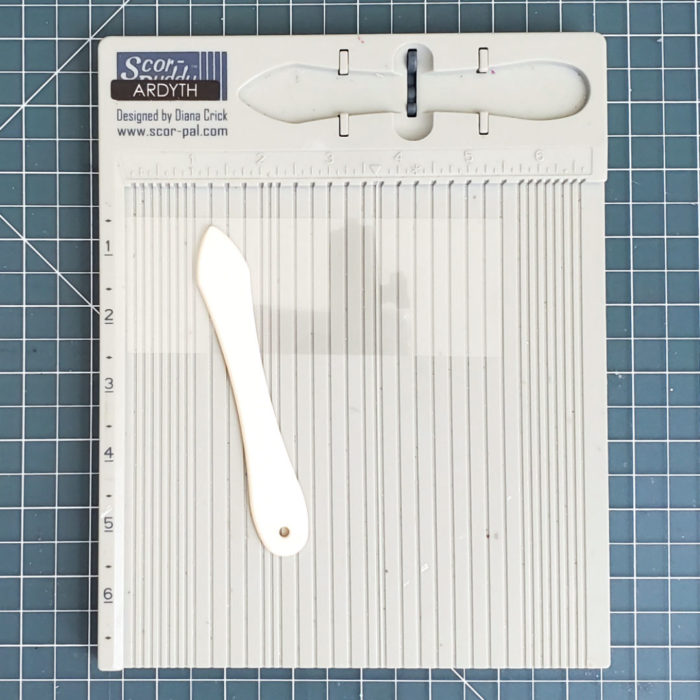
I scored the acetate twice on each end, about 1/8 inch apart, and about an inch from the end.
![](https://i2.wp.com/blog.birchpressdesign.com/wp-content/uploads/2020/07/july20step5c.jpg?resize=700%2C700&ssl=1)
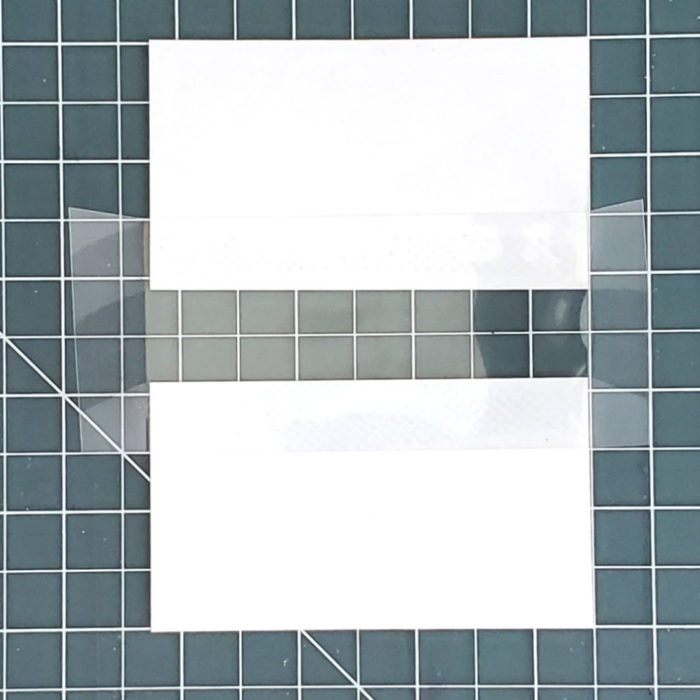
I glued the acetate to the panel pieces – here you can see the 1/8 inch ‘walls’ and the flaps.
![](https://i2.wp.com/blog.birchpressdesign.com/wp-content/uploads/2020/07/july20step5d.jpg?resize=700%2C700&ssl=1)
I added strips of doubled-up foam tape to create the rest of the walls, and to support the panel.
![](https://i0.wp.com/blog.birchpressdesign.com/wp-content/uploads/2020/07/july20step6.jpg?resize=700%2C700&ssl=1)
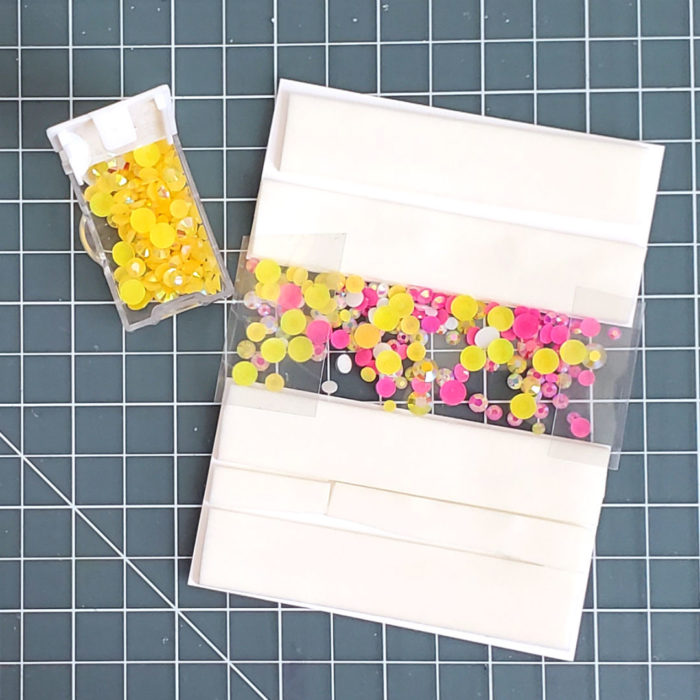
I filled the shaker area with gems and removed the release paper from the foam tape. I left the flaps standing up for the next step.
![](https://i0.wp.com/blog.birchpressdesign.com/wp-content/uploads/2020/07/july20step7.jpg?resize=700%2C700&ssl=1)
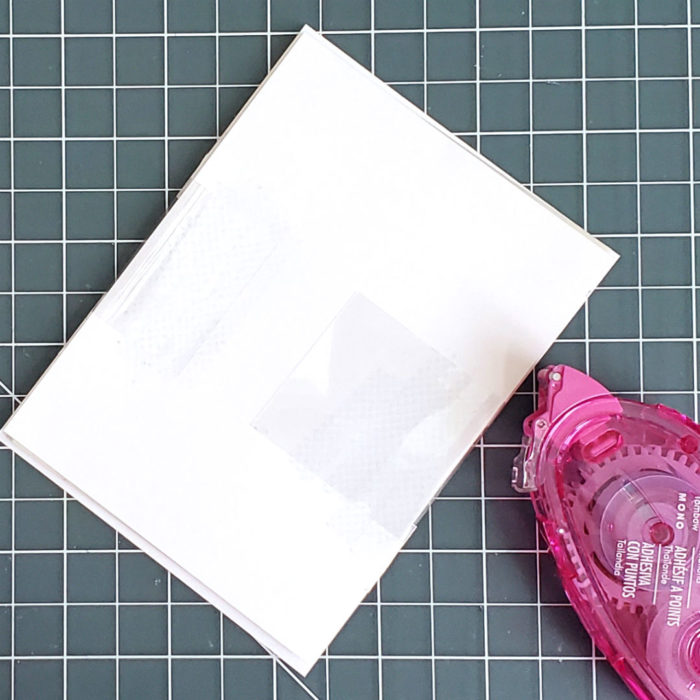
I placed a white panel of cardstock over the back, and then glued the acetate flaps down .
![](https://i1.wp.com/blog.birchpressdesign.com/wp-content/uploads/2020/07/feature.jpg?resize=700%2C700&ssl=1)
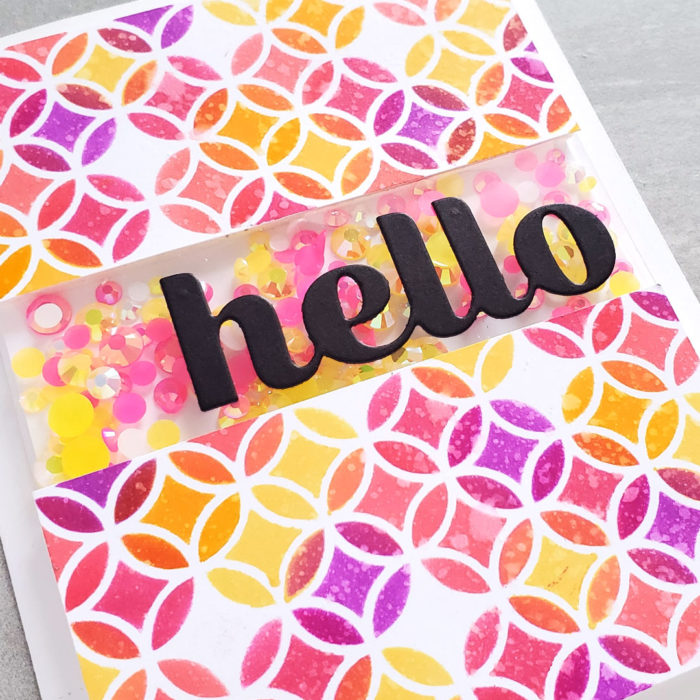
I attached the shaker panel to a white cardbase, and added the Big Sugar Script Hello die, cut from black cardstock.
![](https://i0.wp.com/blog.birchpressdesign.com/wp-content/uploads/2020/07/july20step8.jpg?resize=700%2C700&ssl=1)
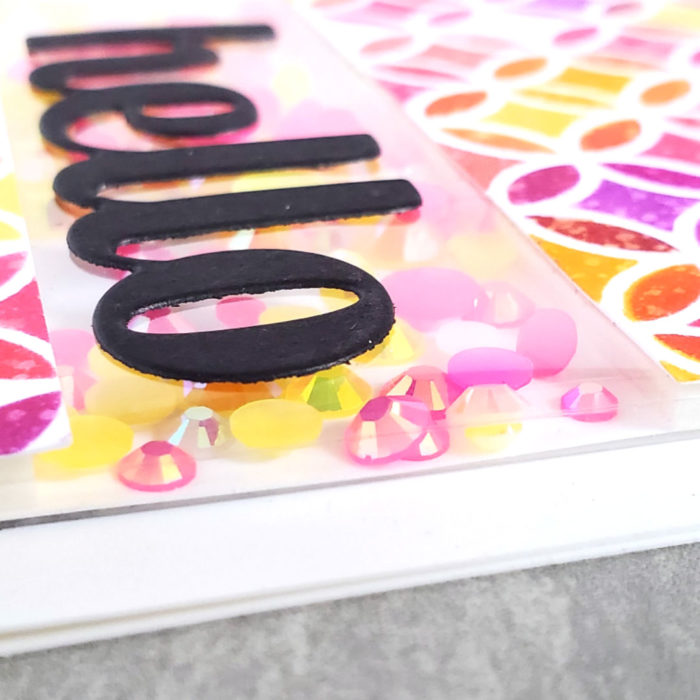
Here’s how the edge of the shaker looks.
And of course, I made a second card using the leftover ink from the stencil.
![](https://i1.wp.com/blog.birchpressdesign.com/wp-content/uploads/2020/07/sqbpwhitehellowm.jpg?fit=700%2C700&ssl=1)
An edgeless shaker has big wow factor, but it’s easier than it looks – I hope you’ll give it a try!
Supplies
Comments by birch press
Two Cards from One Die Cut | by Tracey McNeely
"Thanks Lisa! Do you know which one was my original idea? lol"
Light-Up Christmas Cards with Layering Dies | by Ardyth Percy-Robb
"Thanks so much! The lights are from PearBlossom Press."
2 for 1 Rainbow Thank You Card Design | by Ardyth Percy-Robb
"Brilliant inking Ardyth! These cards are stunning!"
Lovely Butterflies Card | By Leigh Houston
"Thank you so much, Andre!"
Gate Fold Thank You | by Kimberly Wiener
"I love the tri fold card.. what a treat waiting inside!..."