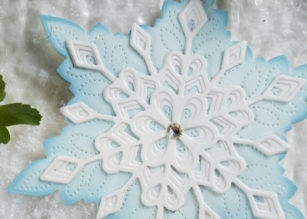
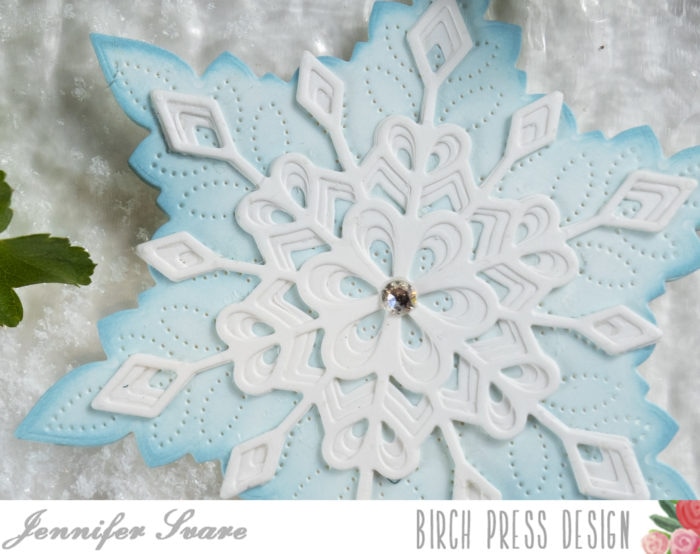
Hello! Today I’ve combined the new Frosty Flake layers along with the Pinpoint Snowflake used as a background to create a mini card or gift tag. The gorgeous layers were white-on-white, with a soft dusting of blue distress oxide gradient on the bottom layer.
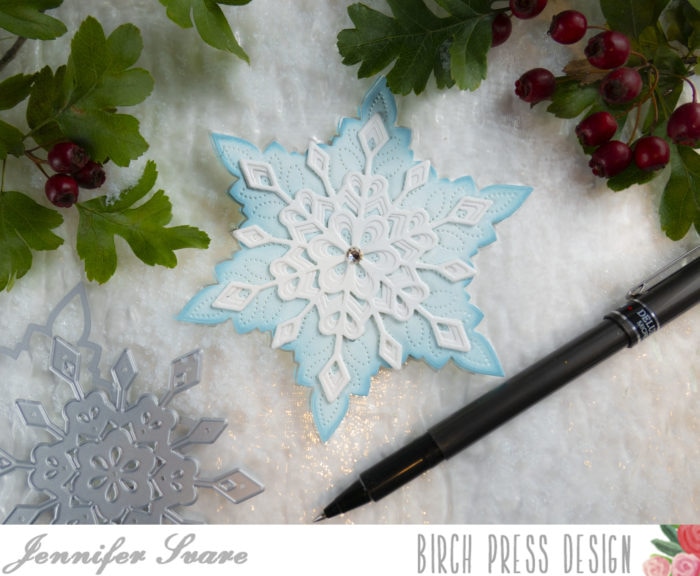
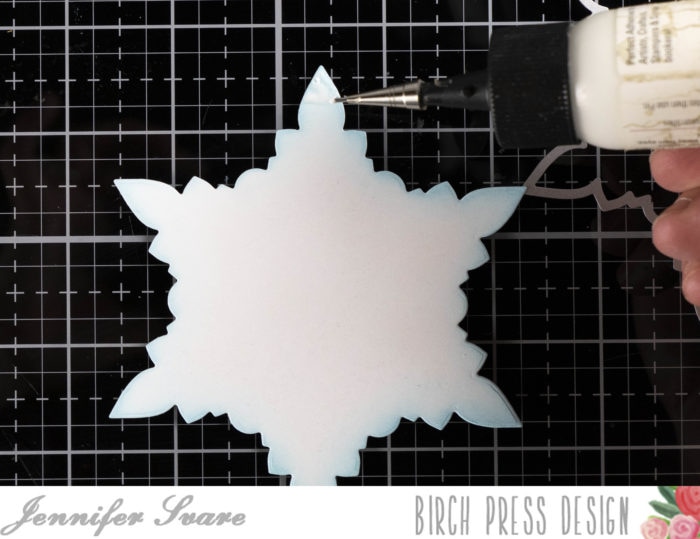
I call it a “mini card” because it’s smaller than a standard A2 size, but it’s not tiny. It’s perfect for a small card or tag. See the reference to the pen above. This would still fit nicely in an A2 envelope when used as a card.
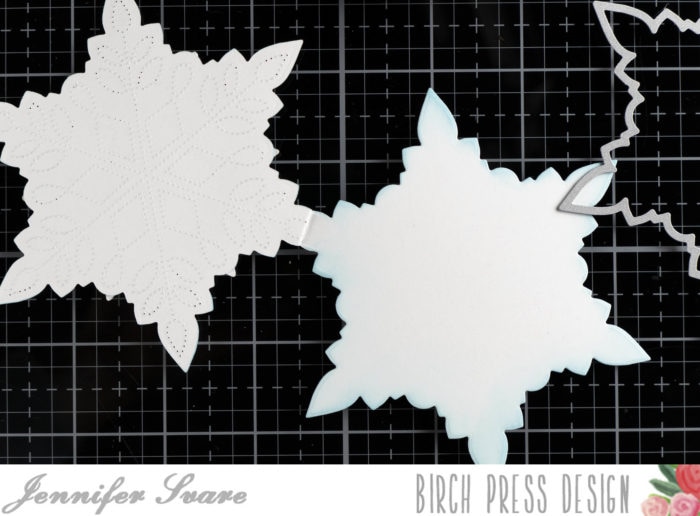
I love how the Pinpoint Snowflake comes with an outer shape die as well as the pinpoint interior plate. This allows a lot of versatility with the design. I die cut two of the basic shapes (above), and glued the very tip of the flakes together. This gives me a shaped card that has no embossed pinpoints on the interior for writing. The outside was embossed with the pinpoint plate for a beautiful background. The interior also has a soft gradient of blue sponged on as well.
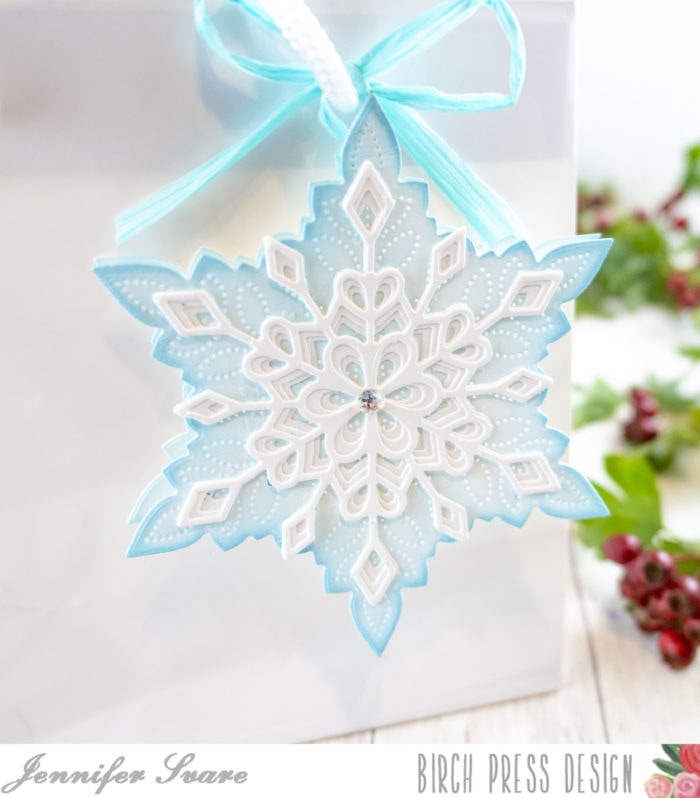
The photo above shows it being used as a gift tag on a plain white gift bag. So pretty and I love how the light shines through the pinpoints. The top layers are made from all layers of the Frosty Flake die set. Paired with the pinpoint background, it’s simple, but yet has so much beautiful detail. To use it as a tag, I simply tied ribbon through the inside. No gluing or holes needed and it stays perfectly secure!
These could be done in so many different colors, and given as a gift tag or card set. Snowflakes last all winter, not just the holidays! What about thank you cards in January? Or a Happy New Year greeting written inside?
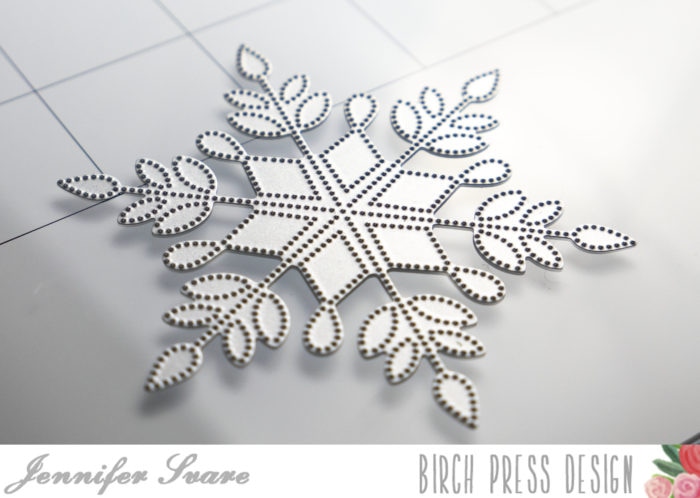
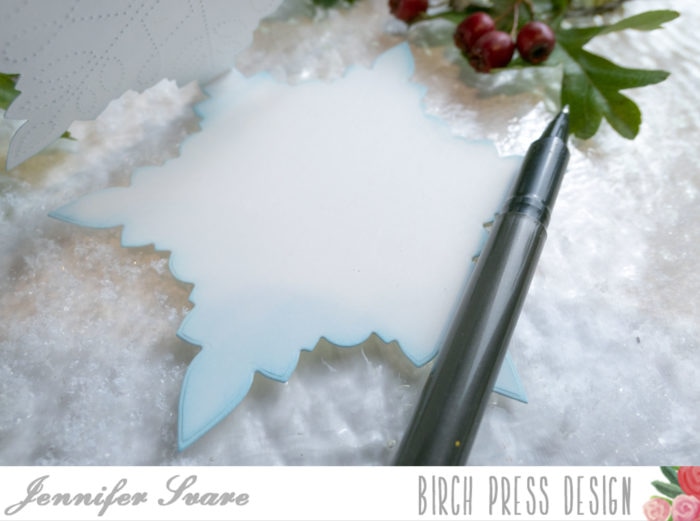
The above photo shows the pinpoint die from the Pinpoint Snowflake set. This can be used alone for many different background effects. I used this for the exterior background of my card.
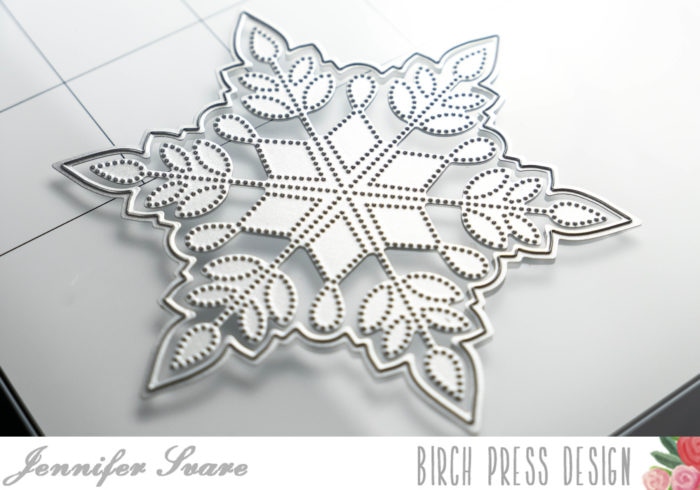
The outline die cuts around the edge, leaving a nice border around the pinpoint design. I die cut one as shown above, and one using just the outline die, as shown below:
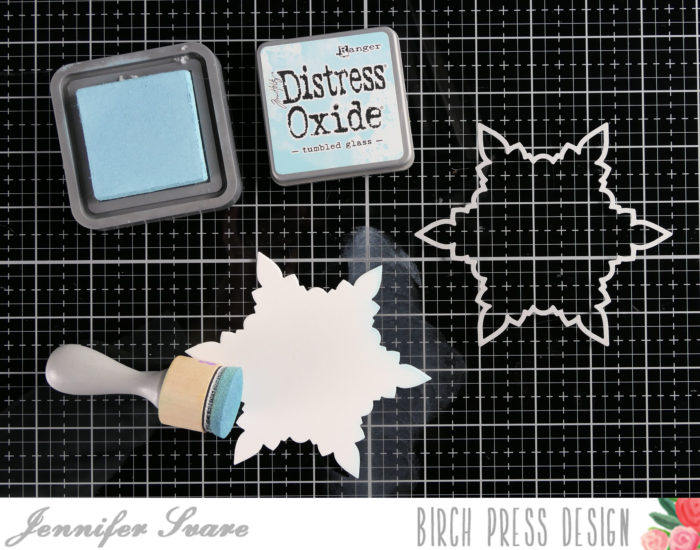
For both the top and bottom, I went around the edges with Tumbled Glass Distress Oxide ink, following through to a soft gradient on the inside of the snowflake.
Once the inside had shading done, I applied glue to the top portion of the snowflake and glued the front and back together to form the card. This creates an area that the card can bend and be opened. Because I glued approximately 1/2″ down, the card is not fragile when opened.
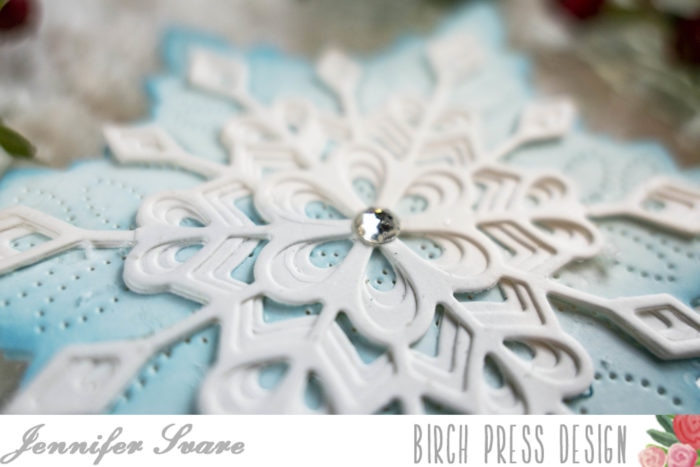
Layers A, B, and C of the Frosted Flake set were glued together, and then glued over top of the pinpoint layer on the front. A crystal was added to the center. This was a fast, easy project with a big “wow” factor! So pretty. I hope you have a great day!

Supplies

