
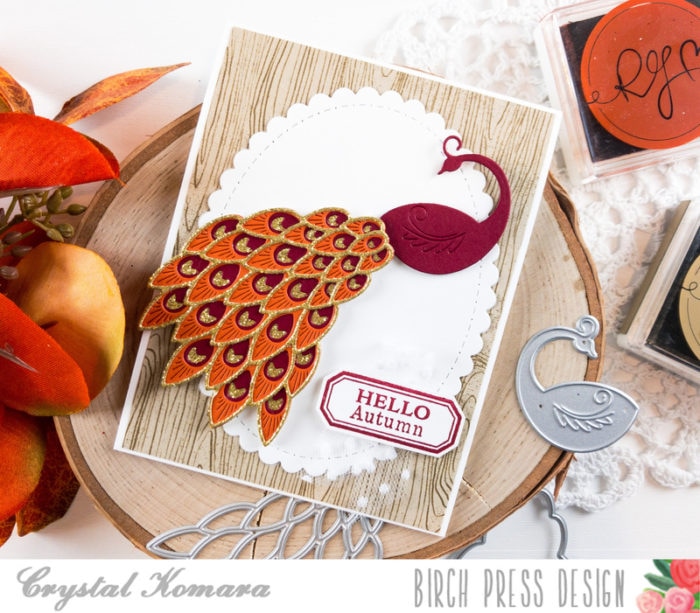
Happy Thursday readers! This is Crystal here with you today. I know that you have been seeing lots of beautiful Christmas inspiration here on the Birch Press Design blog recently, but admittedly I’m kind of a Grinch, so I don’t “do” Christmas until December 1! : ) I will stretch out fall (MY favorite season) for as long as I possibly can. Today’s card is a great example, because I’m not even sure that “fall peacock’s” are a thing, but I’m starting the movement. (I’m also side-Googling if any other peacock colors exist other than the blue-green hues we traditionally see). . . And if not, they do now!
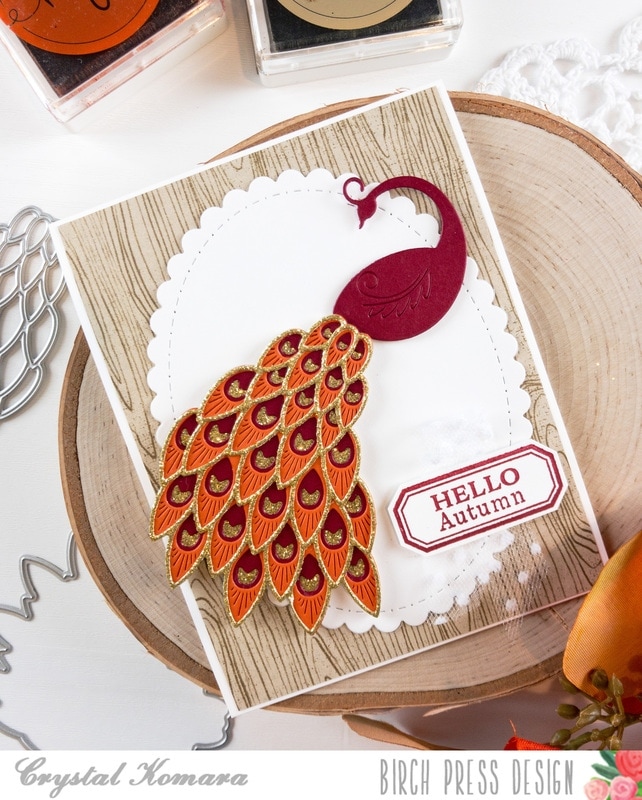
The base of this A2 sized card is made from 80 lb. Neenah White Solar Smooth cardstock. This is my go-to white cardstock that I use for everything from card bases, die cutting, stamping and Copic coloring. The first 5 1/4″ x 4″ mat is a piece of miscellaneous woodgrain foil paper. I die cut a large white oval from white cardstock and adhered it to the center of the card using a Tombow Permanent Dot Runner.
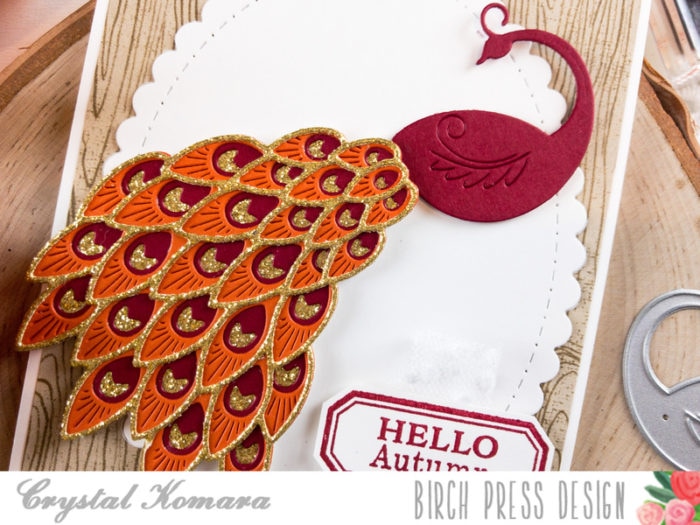
Using the Regal Peacock Layering dies, I die cut the bottom layer (Layer D) from gold glitter cardstock. I die cut Layer C from cherry cardstock. I die cut Layer B from rust cardstock and finally Layer A was also cut from gold glitter cardstock. I also cut the body of the peacock from cherry cardstock.
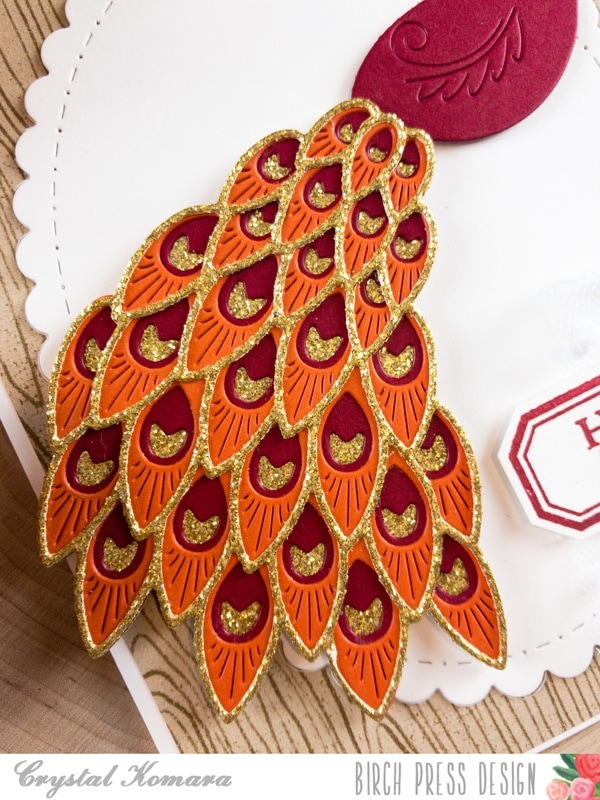
I adhered all four layers of the Regal Peacock together using LineCo ph bookbinding glue. This glue is my preferred liquid glue and holds glitter paper together much better than a dot runner. I adhered the completed peacock to the center of the oval using foam adhesive for added dimension. Lastly, I stamped the sentiment on white cardstock (using the Christmas Ornament Labels stamp set) in cherry ink and die cut it using the coordinating die. I adhered the sentiment to the lower right side of the card using foam adhesive.

Hopefully I’ve convinced you that with a little imagination, peacocks can look beautiful in any color – even if it’s not “real.”
Thanks for visiting and have a wonderfully creative day!

Supplies


