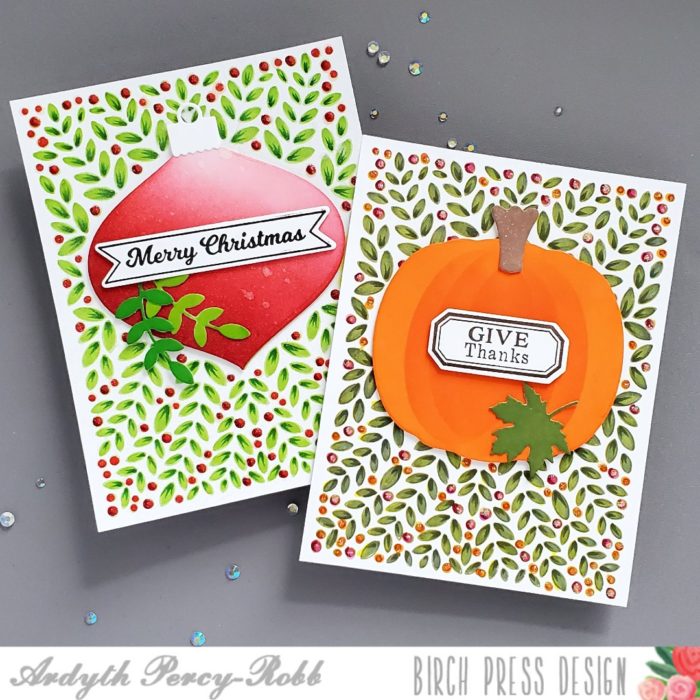
Good morning! Ardyth here with an easy way to get more from the gorgeous leafy background in the Christmas Ornament and Labels stamp set.

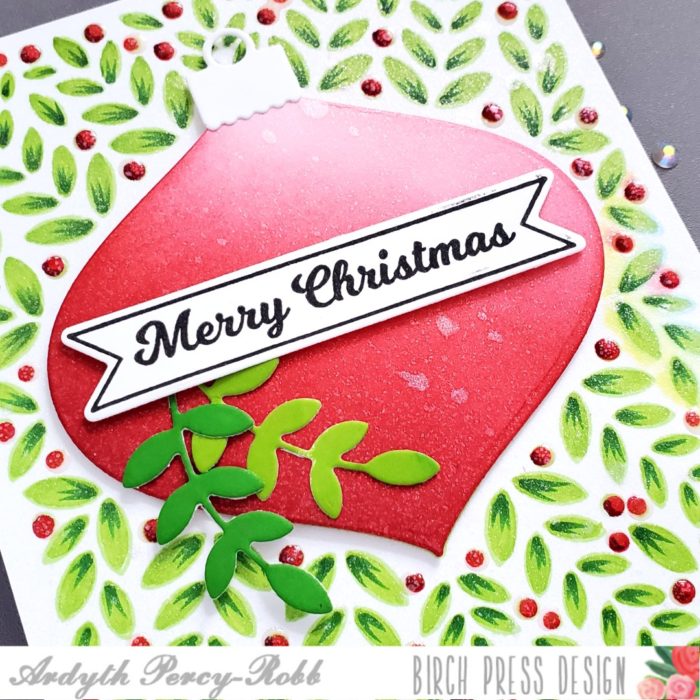
First, I stamped the background with green ink and did some no-line colouring with alcohol markers. I die cut an ornament and blended it with red ink, leaving a lighter area on the top right as a highlight. I popped it up on the card right over the ornament outline that is part of the stamped background.
I stamped one of the banner sentiments and cut it out, and popped it up over two of the branches, cut with the die included with the set. I added Nuvo Clear Crystal Drops to my red berries.

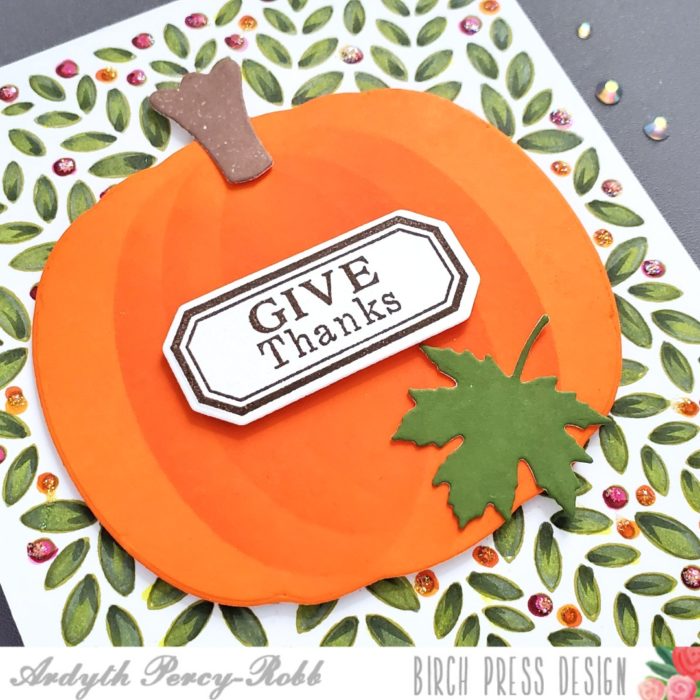
Then, I did it all again! This time, I chose a darker, warmer green colour for my leaves, and orange and pink for my berries.
I covered the stamped ornament outline with a die cut pumpkin from the Pumpkin Lacework stamp set. I blended orange ink over it, using the edge of the negative portion of my die cut, to give some dimension.
I stamped one of the included sentiments, cut it out and popped it up on the pumpkin, along with the stem and a maple leaf.
I hope you’re inspired to look at your stamps and dies to see how you can change them up and get more from them!
Supplies


