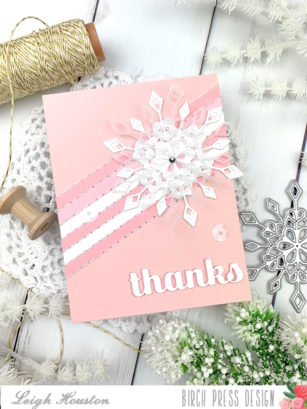
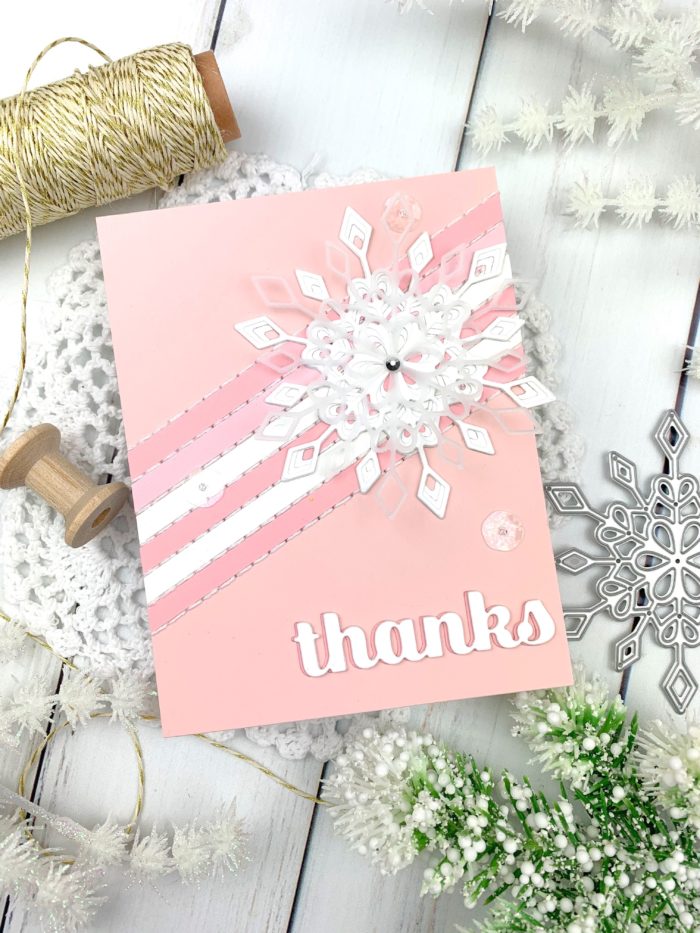
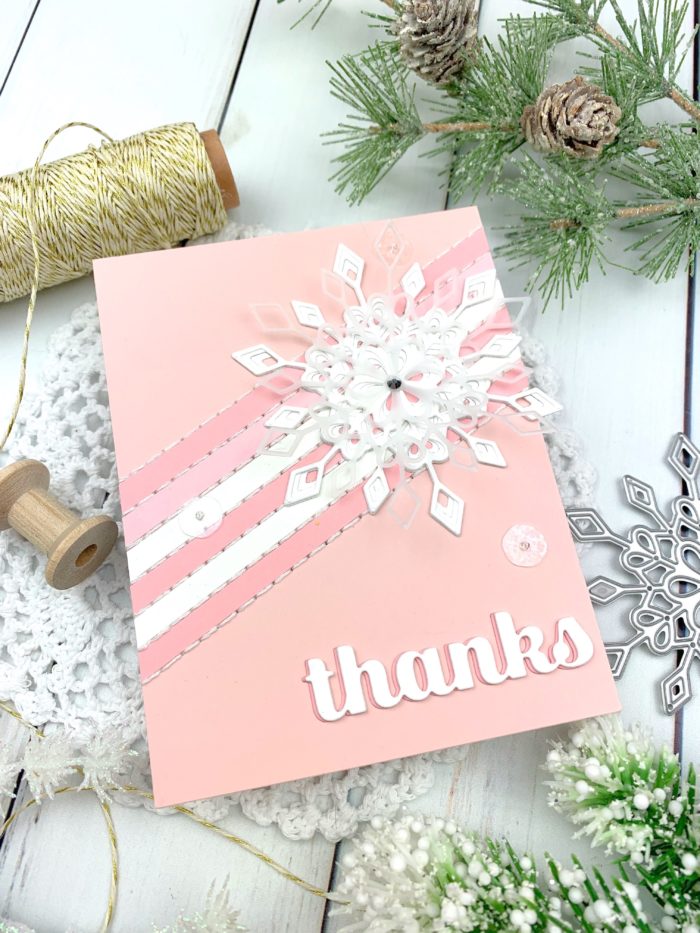
Hello, friends! Thank you for stopping by today! I’m here sharing this card featuring Birch Press Designs’s Frosty Flake layering dies. I accented this perfect snowflake with a stitched stripe background, and I’ll walk you through the process today!
I started my card with my background. I cut an A2-sized panel of blush cardstock and some coordinating 1/4″ strips of coordinating pink and white cardstock. To create the background, I would glue one strip down at a time and then add a quick and simple line of backstitching down its side before adhering the next strip. I did the stitching by hand, but this would be equally easy to do with a sewing machine.
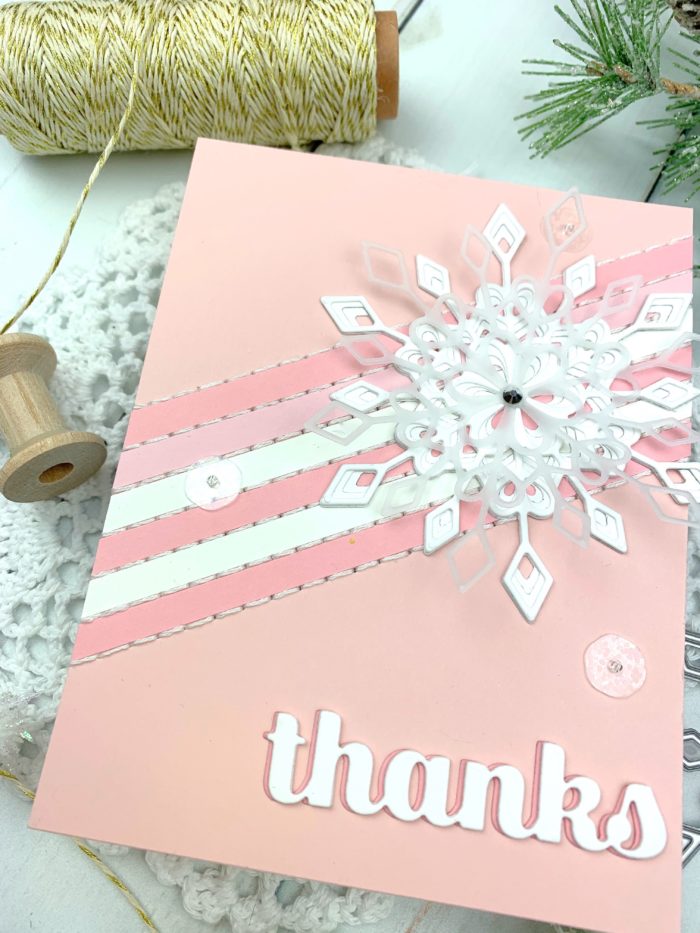
To make the snowflake, I die cut all three layers of the Frosty Flake layering dies from white cardstock, adhering them together with liquid glue. I then cut an additional layer A from heavy 110# vellum, adhering it on top of the snowflake only in the center to allow the edges to raise up for some dimension. I finished the snowflake by adhering a silver gem in the center.
To finish the card, I die cut my “thanks” sentiment from the Thanks Sugar Script die (die cutting it from white and a darker pink, slightly offsetting the white on top to create a shadow). A few glittery sequins and this card was finished!
I hope you enjoyed this project. Links to the products I used are below. Thanks again for stopping by and I’ll see you again soon with another Birch Press Designs’s project!
Supplies