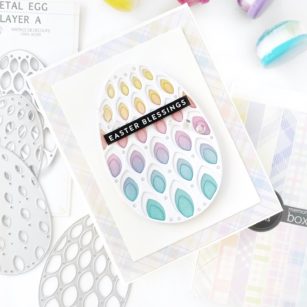
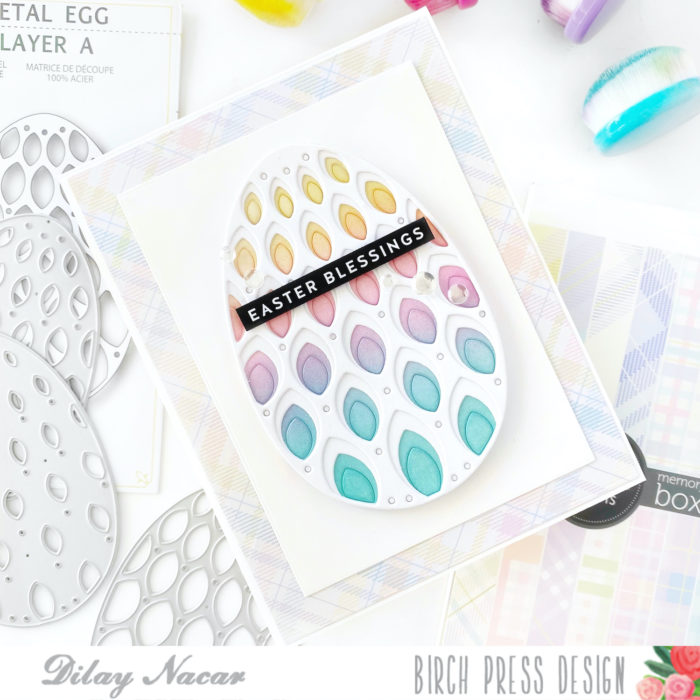
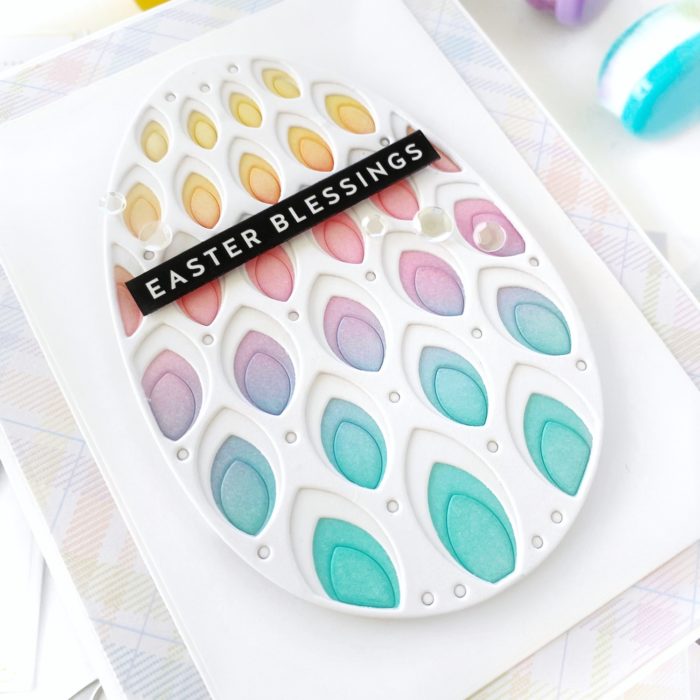
Welcome, friends! Dilay here and today I am sharing a sweet and simple Easter card featuring the brand new Petal Egg layering die combined with the new Memory Box Spring Plaid 6×6 paper pad!
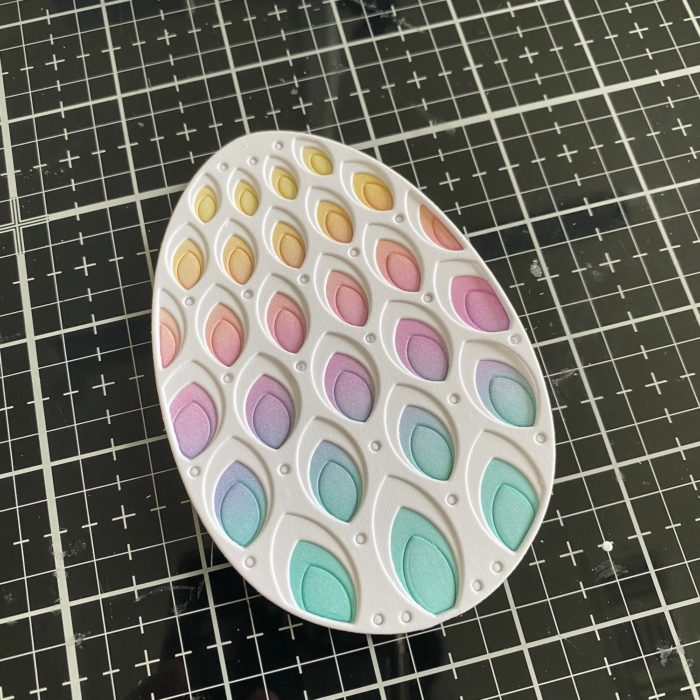
For this card, I began by die cutting each layer (A, B, and C) of the Petal Egg die in white cardstock. For the bottom layer (C), I kept all of the negative pieces together with low tack tape placed on the back of the panel before removing it from the die.
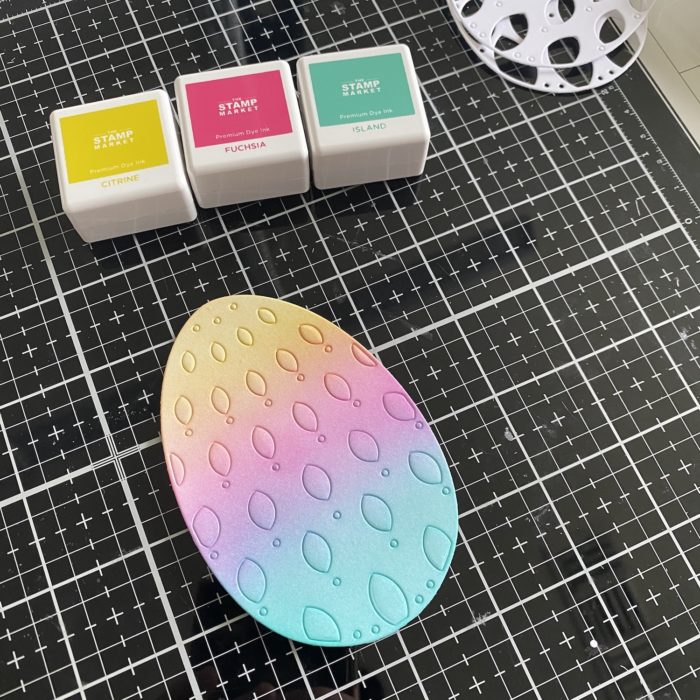
Next, I picked out a selection of pastel inks and ink blended (in rainbow order) layer C then adhered layers B and A on top. I added a simple sentiment strip from my stash to the center of the egg and set it aside to begin working on the background.
For this step, I die cut a piece of patterned paper from the new Memory Box Spring Plaid 6×6 paper pad down to an A2 size and adhered it onto a top-folding white card base. Next, I cut down a piece of white cardstock to 3” x 4.25” and adhered that to the center of the patterned paper. Finally, I added the egg using a thin layer of foam tape and added a few clear sequins for some sparkle!
I hope that you enjoyed this post and found some inspiration! Be sure to tag @birchpressdesign and me @dilaynacar on Instagram so that we can see all of your beautiful creations! Thanks so much for stopping by!


