Hello Everyone and Welcome Back!
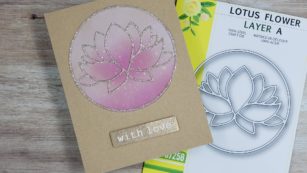
The project I have for today features the Lotus die but the A layer only, some glitter paper and some super cool wood grain paper.
I started by die cutting the Lotus Flower Layer A out of a 4 1/4″ x 5 1/2″ panel of some wood grain paper as well as some glitter paper 6 x 6 glitter Holiday Glitter Pad. I know it isn’t anywhere near those normally sparkly holidays but this paper works any time of year!
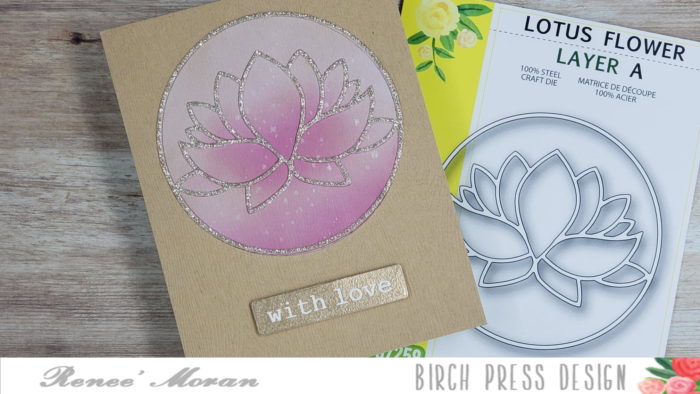
After I die cut the two pieces I ink blended over the wood grain flower with some light pink ink and some more intense pink ink. I wanted to add some softness and color to this gorgeous flower.
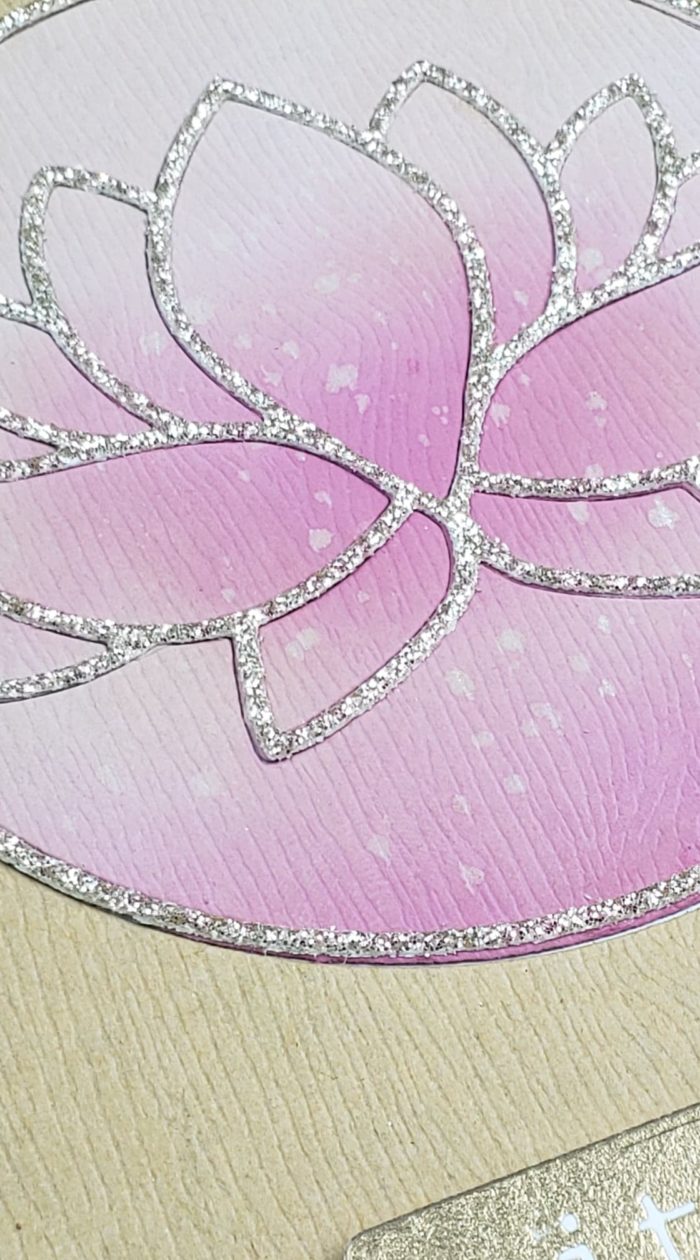
I only used the outline from the glitter die cut. I layered it over the ink blended die cut image and inlaid it inside the original panel. What a beautiful way to finish a die cut design!
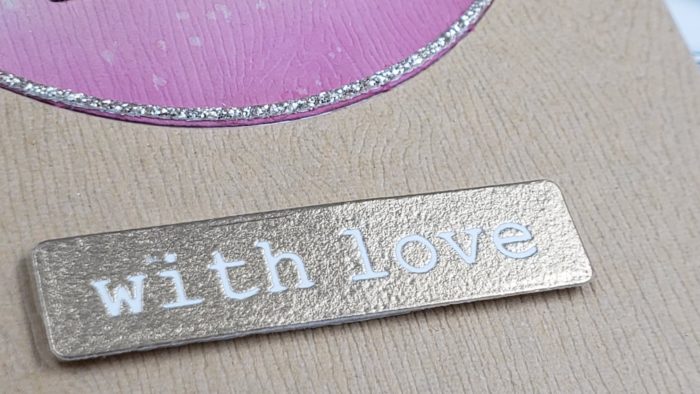
I heat embossed my sentiment and mounted it center below my die cut image. I mounted everything on a top folding A2 card base.
Thank you for stopping by and as I always say, Give Cards Generously!
If you’d like to see how this card came together, you can check it out by clicking the video below.
Supplies