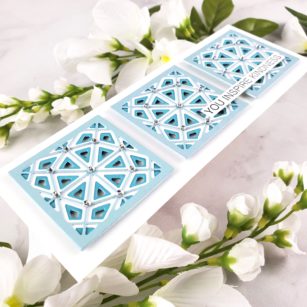
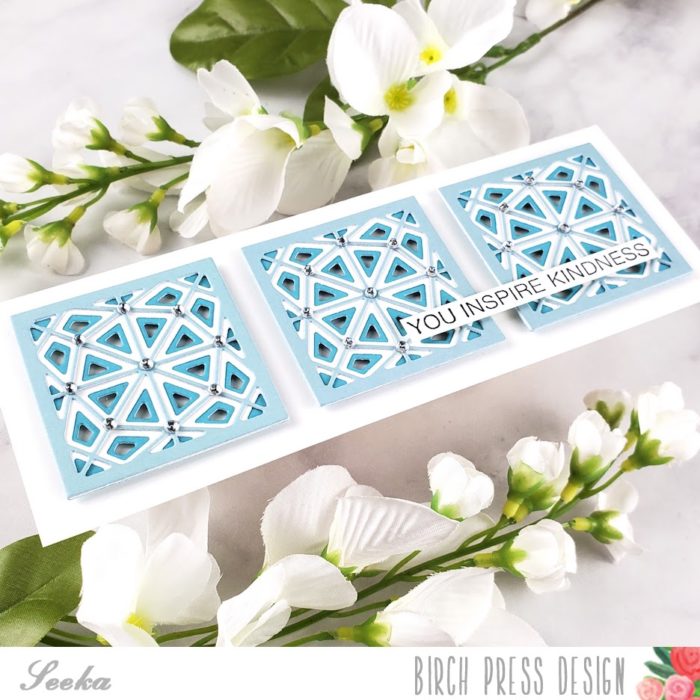
Hello! Seeka here and today I have a slimline card featuring the Splendor Mini Tile Layer Set and some pretty shades of blue and teal cardstock from the Fresh Aqua 6×6 cardstock pack.
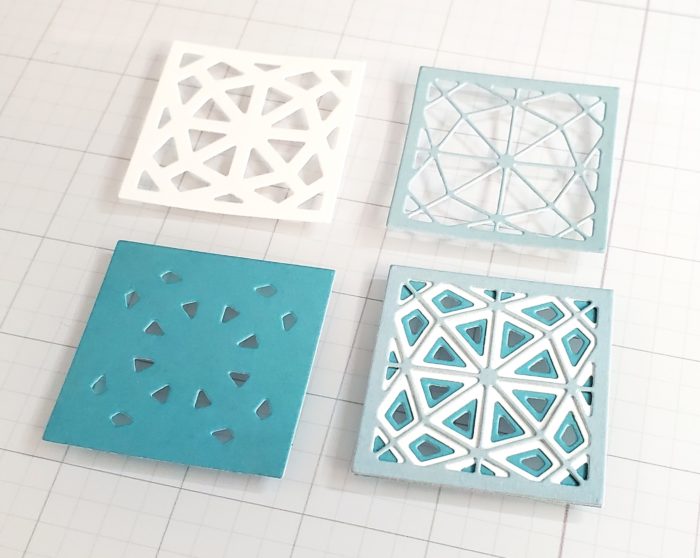
I started off by die cutting each layer of the die set in different shades of cardstock, cutting the bottom layer from a medium teal, the middle layer from white, and the top layer from a light blue. I repeated this two more times to create enough pieces for three tiles.
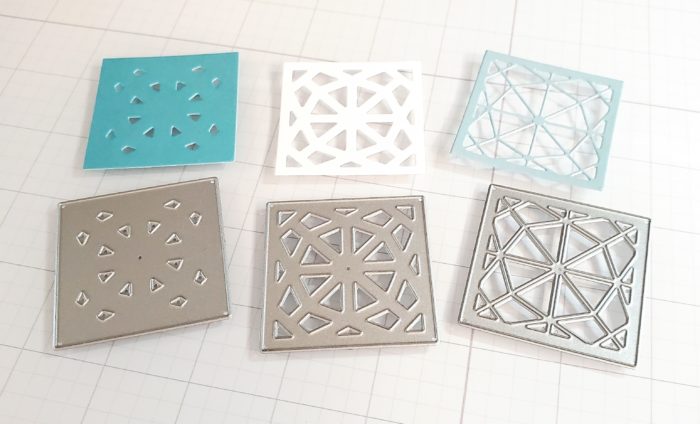
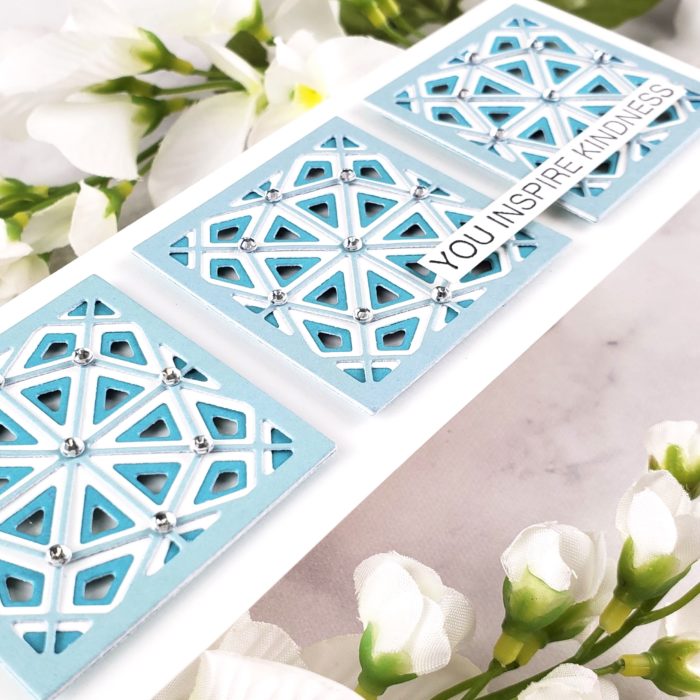
Next, I stacked and adhered the three layers together to create a tile, and then repeated two more times to complete the other tiles.
Then, I stamped a sentiment from the Awesome Ticker Tape Messages stamp set in black ink onto white cardstock. I trimmed the sentiment into a strip, trimming off the black outline that’s part of the stamp in the process.
To assemble the card, I used glue to adhere the three tiles to a 2.5″ x 7″ white card base and then I adhered the sentiment strip using foam tape.
For additional embellishment, I added self-adhesive Clear Jewels from Memory Box.
Thank you so much for visiting!

Supplies


Comments
One response to “Tiled Slimline Card | By Seeka”
What a gorgeous card! I love the colors you used with the dies. 🙂