Hello everyone. It’s Amanda from Twiddler’s Nook joining you today with card featuring a few of the newest products in the shop!
This new butterfly basics die set is absolutely amazing! There are so many possibilities, I feel like I could be making butterflies for ages without duplicating anything! Let’s get started on today’s card.
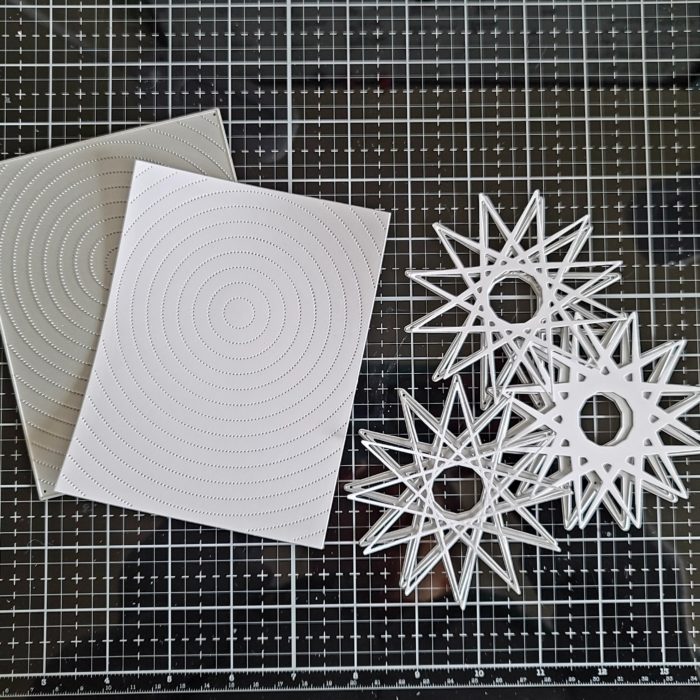
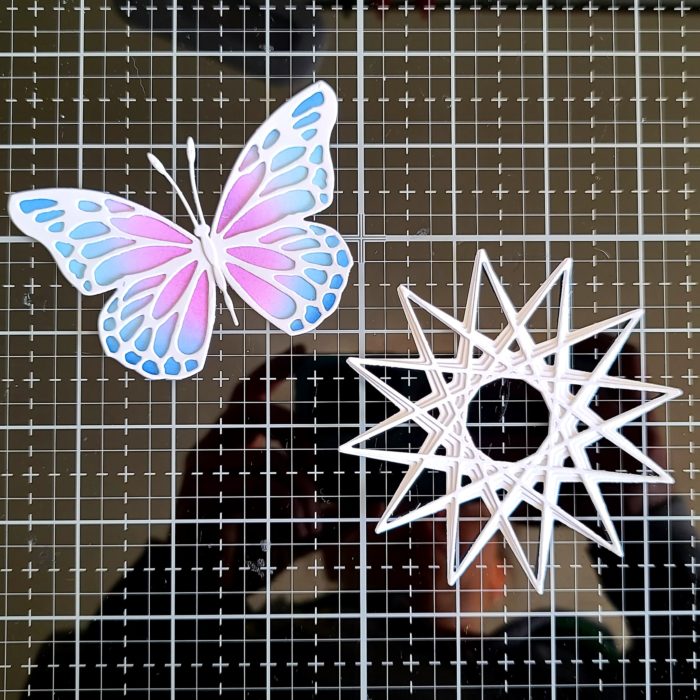
From white cardstock I die cut the starburst layers and radial pinpoint plate first.
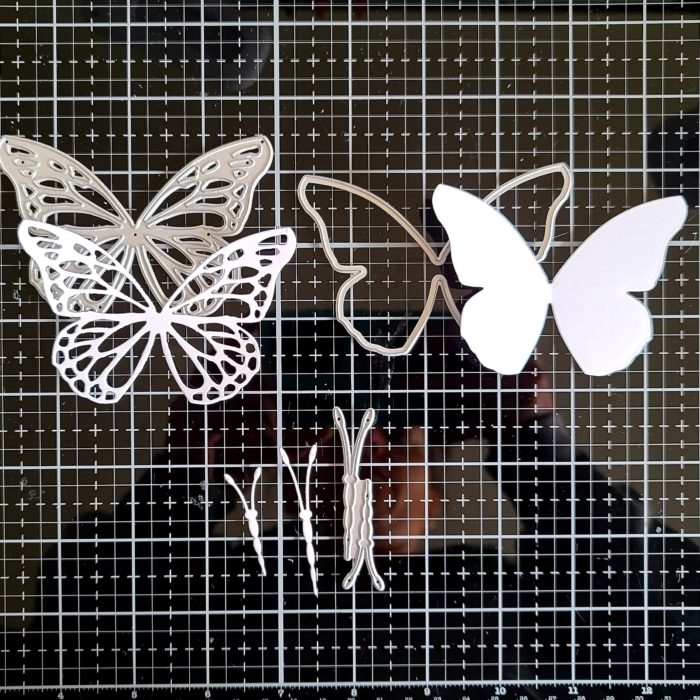
Next, I pulled out the butterfly basics and die cut the pieces shown from white cardstock as well. There are two body sizes in the same die for the butterflies so I just put the one I didn’t use back in the envelope for next time.
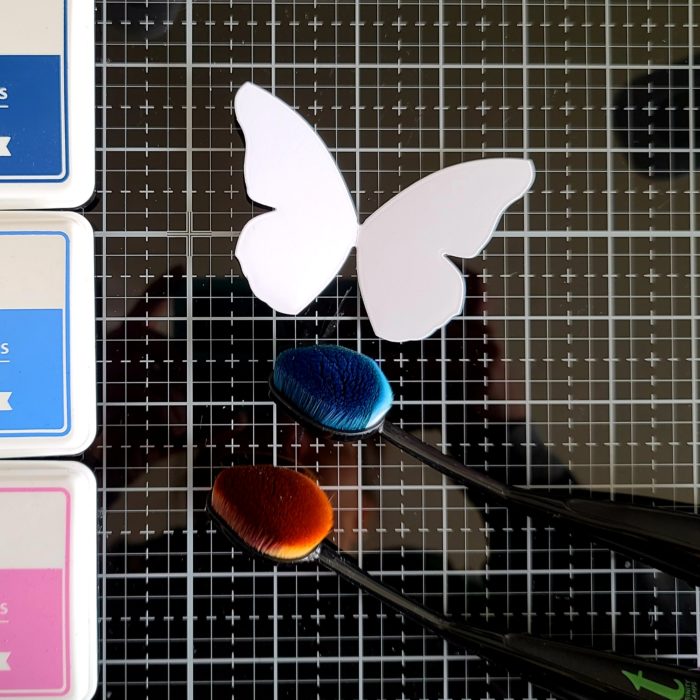
Next I grabbed my blending brushes and some dye inks and inked up the solid butterfly die cut.
I used liquid glue and adhered the starburst layers together along with assembling the butterfly.
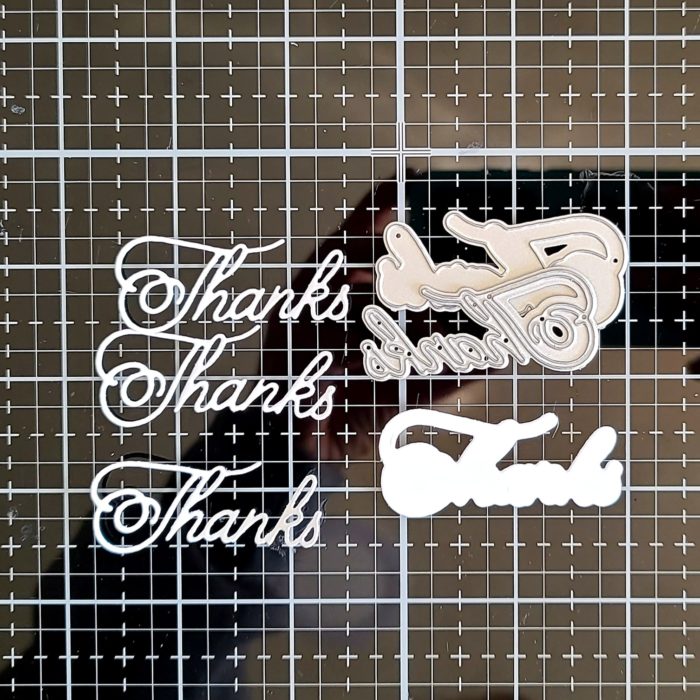
I chose the handwritten thanks die for my sentiment on this card. I cut the shadow once and the word 3 times. I used ink left in my blending brushes and inked up the top layer of the word die so it stands out just a little. Then I used liquid glue to adhere the layers all together.
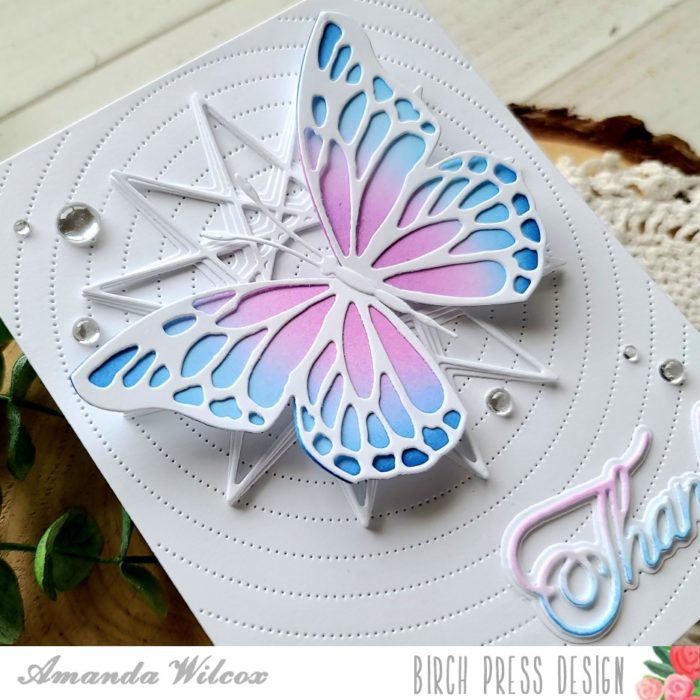
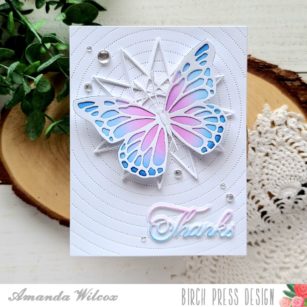
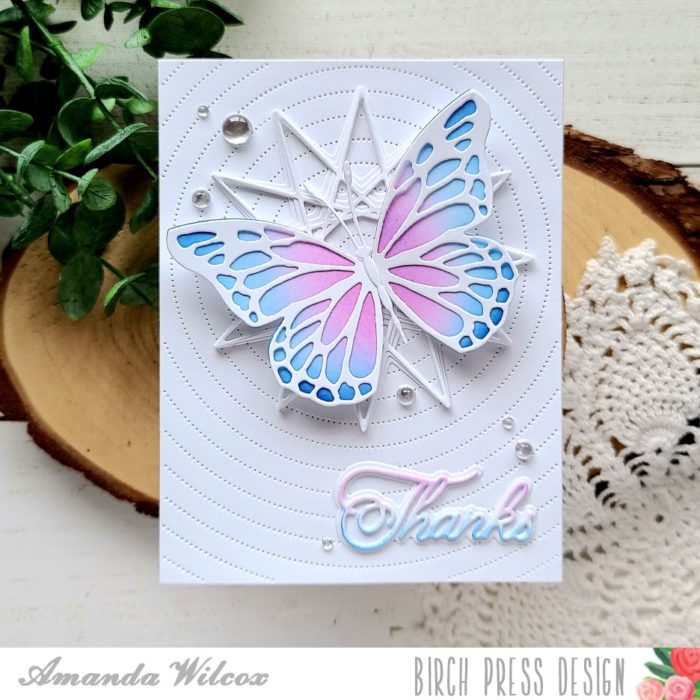
For assembly, I used liquid glue to adhere the radial background to a white card base, then the starburst to that. I put one foam square in the middle of the butterfly body and stuck it down a little off center of the starburst.
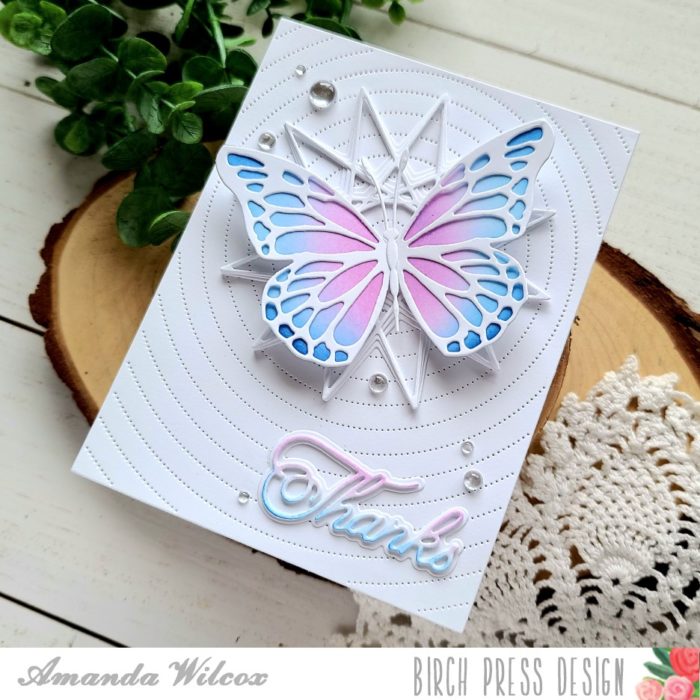
Last, I added the thanks sentiment to the bottom right and finished things off with a scattering of fairy drops in all three sizes.
Be sure to head to the shop and take a look at the new products! There are lots and they are all incredible!
I appreciate you sharing your time with me. Have a fabulous day!

Supplies


