
Hello Everyone and Welcome Back!
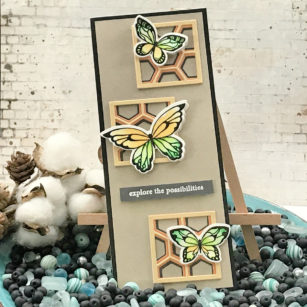
Today’s project I will be featuring the Lovely Butterflies Stamp and Die Set and also the Mini Honey Comb Tile Layering Die!
I chose the Memory Box 6×6 Solid Card Stock Paper Pads in Earth Neutrals and Sunny Oranges and die cut all my layers and adhered them with my liquid adhesive and set them aside to dry.
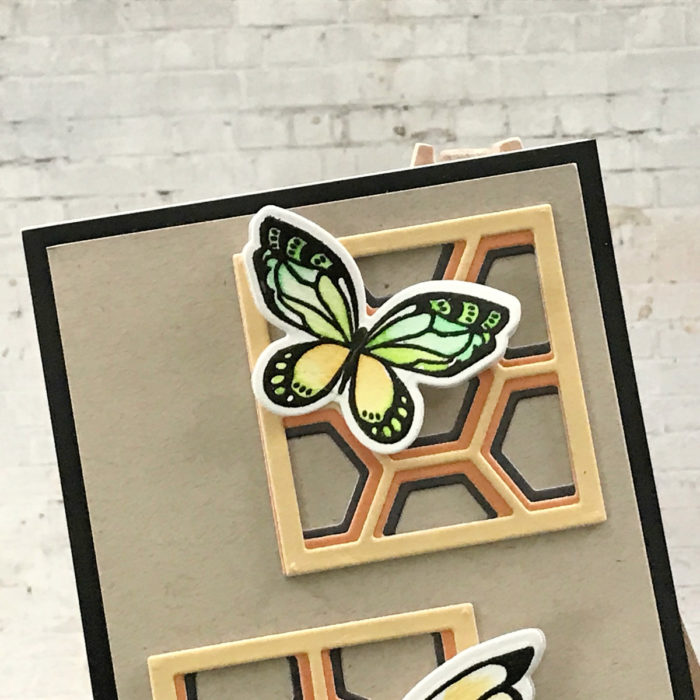
I stamped the three butterflies for my slimline card onto Bristol Card stock since I was going to be using watercolor brushes for my coloring today. My images were stamped using VersaFine Black ink and then heat embossed with clear embossing powder.
For the coloring, I added water to the image first then the watercolor to allow it to flow in the water. Once my butterflies were dry, I used the dies to cut them out!
Now we can put our card together!
I cut two bases, the first in black and measures 3 ½ in x 8 ½ in. The second panel measures 3 ¼ in x 8 ¼ in. Layered these two panels on top of each other and then applied my layered tiles. I made sure they were staggered along the card. Once they were in place, I added the butterflies with foam squares to give more dimension.
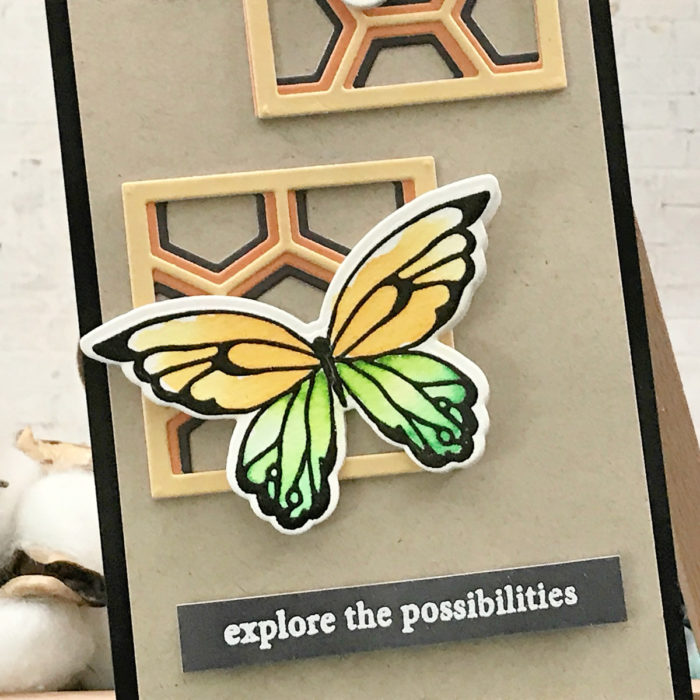
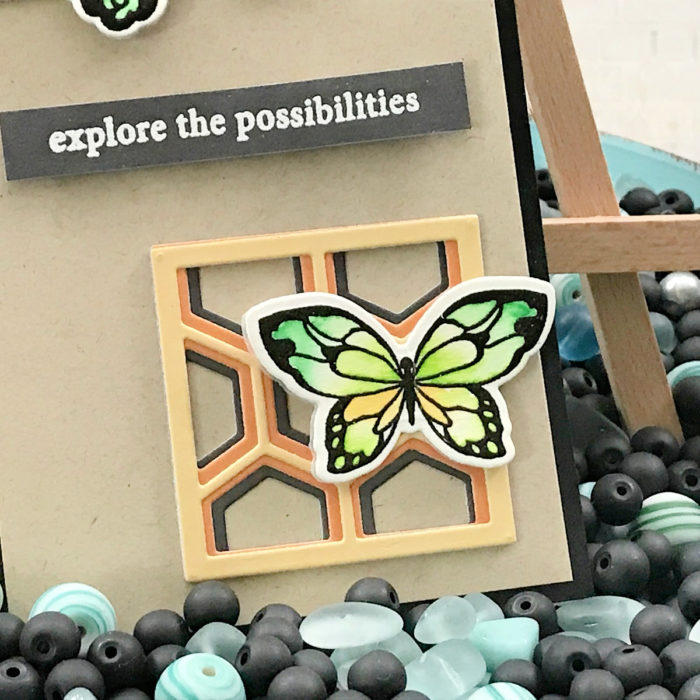
I added my sentiment between the bottom two tiles.
As always, I hope you enjoyed today’s project… and if you want to see more details just click on the video below and see how these projects come together step by step!
Make sure you stay tuned for more wonderful projects coming soon! Have a great day and always remember… Be Creative!

Supplies


