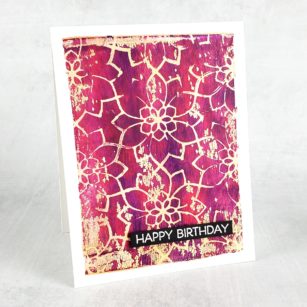
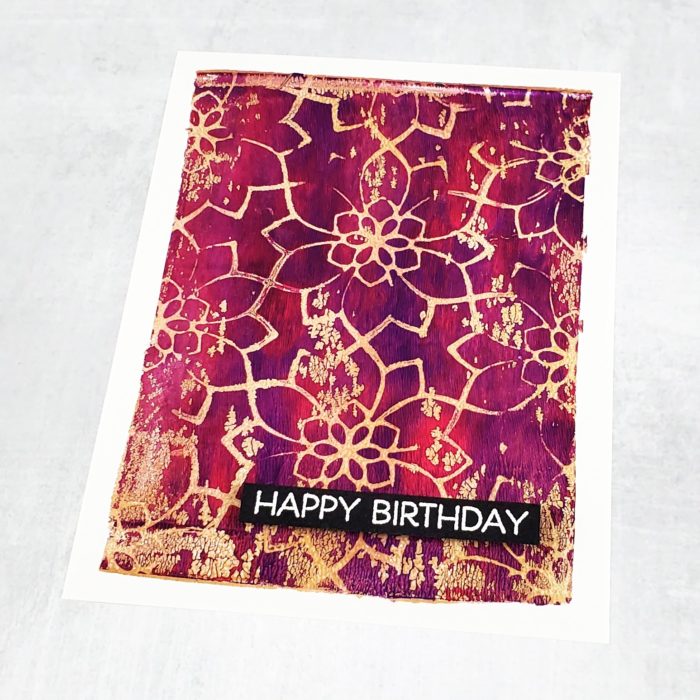
Hello and welcome! Seeka here and today I’m sharing a card featuring the Viola Plate Layer A die and a gel press technique. This is a very different style for me and I’m having a lot of fun with it!
I started by using the cover die to cut a piece of heavy white cardstock. This piece will be used to create the pattern on the finished background but won’t itself be used on the final card.
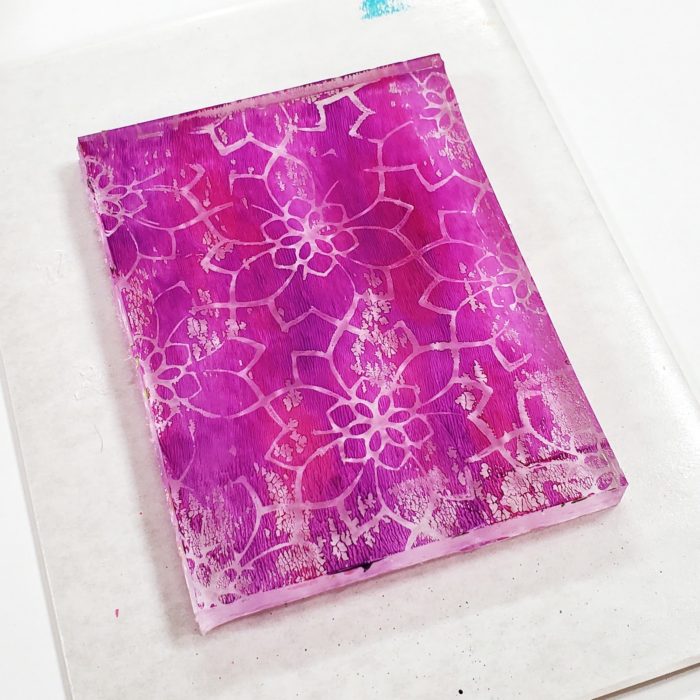
Next, I put a few small blobs of two acrylic paint colors onto a gel press plate. I used two jewel-toned colors for this card: Dina Wakley’s Fuchsia and Blackberry Acrylic Paint.

Next, I used a brayer to spread and blend the two colors. I purposefully did not completely blend the colors together because I wanted to maintain a mottled color variation on the final piece.
Immediately after spreading the paint, I placed the die cut panel over the plate and used a craft pick to gently tap over it to press the piece into the paint. It’s important to make sure that the die cut makes contact with the paint to ensure that, when you pull the die cut away, the paint it touches is lifted away from the gel press plate. After I’d pressed over multiple areas of the die cut, I lifted it away.
During this process, some of the paint also beads up as if the gel press plate is resisting the paint. This is what creates the slightly distressed look on the finished panel. I’ve found that this happens inconsistently and that sometimes the color and the brand of paint can make a difference.
I let this layer dry for several minutes until when I gently touched it, no paint transferred to my finger. Then I put a few dabs of an iridescent gold acrylic paint (I used Golden Iridescent Bright Gold Fine) onto the plate and used a brayer to spread it into a very thin layer.
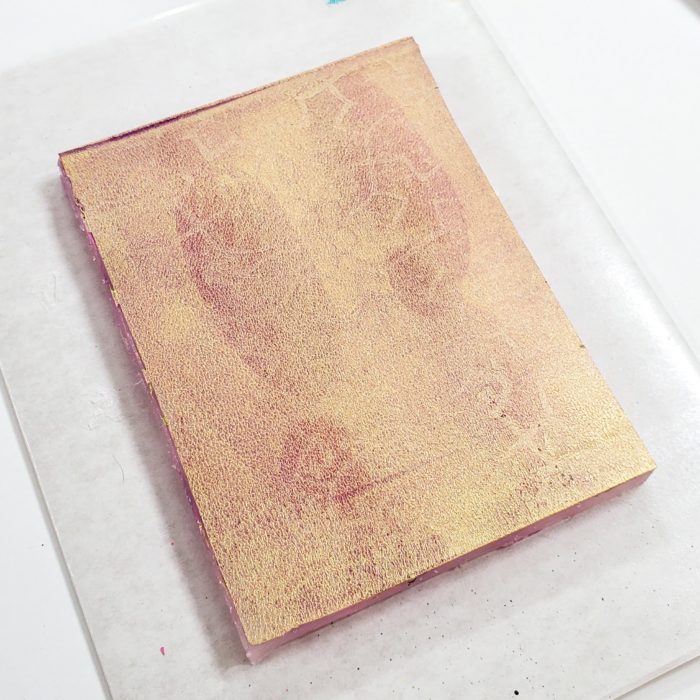
Immediately, while the gold layer was wet, I placed a piece of Neenah Solar White 80# Classic Crest cardstock over the gel press plate and used the palms of my hands to press it into the plate. Then I peeled it away which lifted the two layers of paint with it.
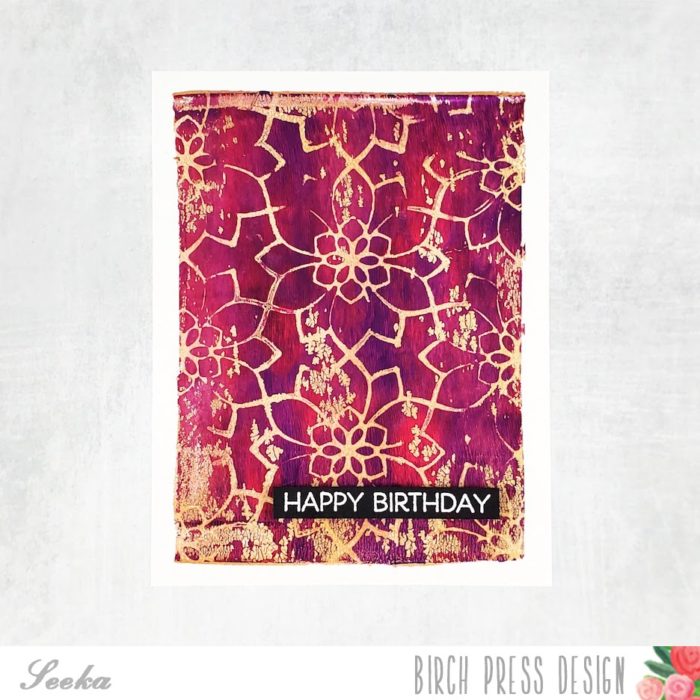
While the panel was drying, I heat embossed a sentiment from the Happy Lingo stamp set onto black cardstock.
To assemble the card, I trimmed the background to 4.25″ x 5.5″ and then used foam tape to adhere the sentiment. I finished by adhering the card front to a card base.
Thank you so much for visiting!

Supplies


Comments
One response to “Gel Press Viola Background | By Seeka”
I love that this card now lives with me … gel printing perfection.