Happy Wednesday everyone! Rosemary here with two cards featuring foiling! Do you like to foil? I absolutely love foiling and the bit of glamour that it adds to my projects. There are several ways to foil including hot foiling and that is what I have done on my cards.
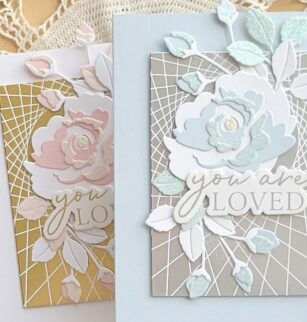
When I started my cards I hot foiled the String Art Frame hot foil plate using matte silver and gold foils. I die cut the pieces down in preparation to use them on my cards. However, as I got further into the process, I changed my mind and I decided to use the leftover foil to do some reverse foiling. I will explain that a little further on in this post. After I did the initial foiling, I decided to use light pink and light blue cardstocks along with light blue and pink glitter cardstock from the Memory Box Delicate Pastel Glitter pad.
After I foiled the String Art Frame I foiled the new You Are Loved Noted Scrip foil plate with the same silver and gold matte foils and die cut them with the matching dies. Then I started in on die cutting all the pieces for my roses using the new Morning Rose and Triple Buds Contour Layers dies. I love how the dies emboss the lines so you know exactly where to place each layer of the flower. For the large rose I used a base of white cardstock for each flower.
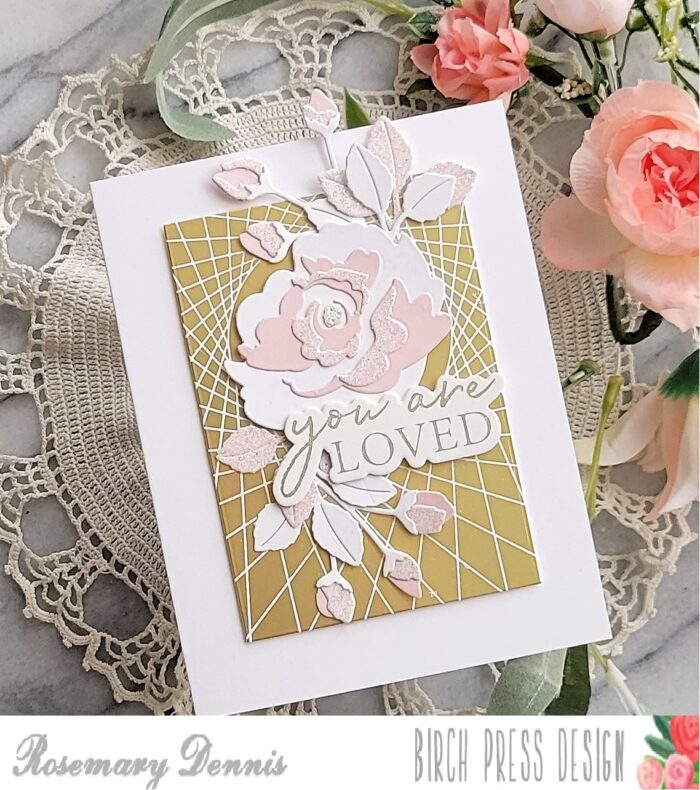
Then I started adding all the layers finishing with the glitter layer on top. My idea was to have a somewhat monochromatic color scheme for the flowers, but did add a little pop of yellow glitter cardstock to the center of the large flower. The same process was used for the bud stems. Now it was time to start putting the card together and that is where I started to change my mind about things.
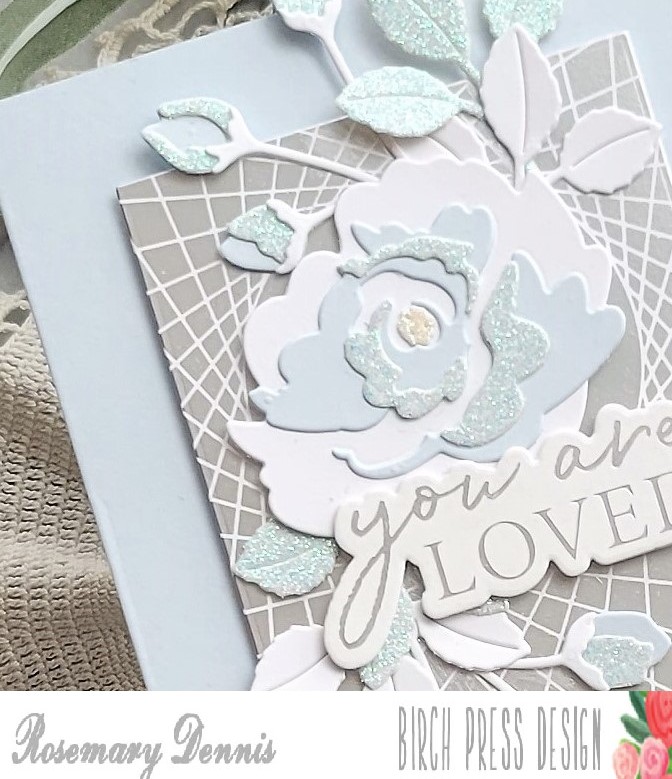
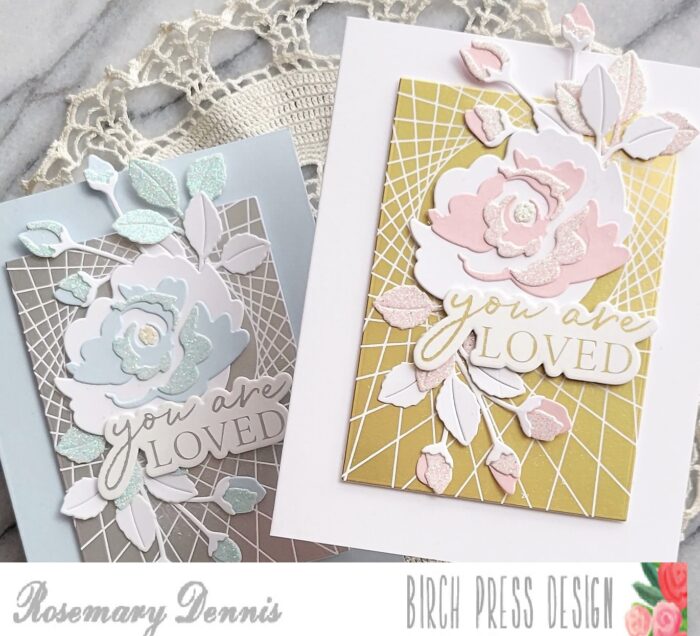
As I layerd the roses and buds on to the card fronts that I had foiled I didn’t like how busy things looked to me. I tried, but I just wasn’t happy with what I saw. So I decided to reverse foil the leftover foil. To reverse foil you need a large flat foil plate and the negative foiled image. You heat up the flat foil plate on your machine and when it is ready, lay the foil on top (pretty side on the plate), add your cardstock and then proceed with the foiling process. When you end up with is what you see on my cards.

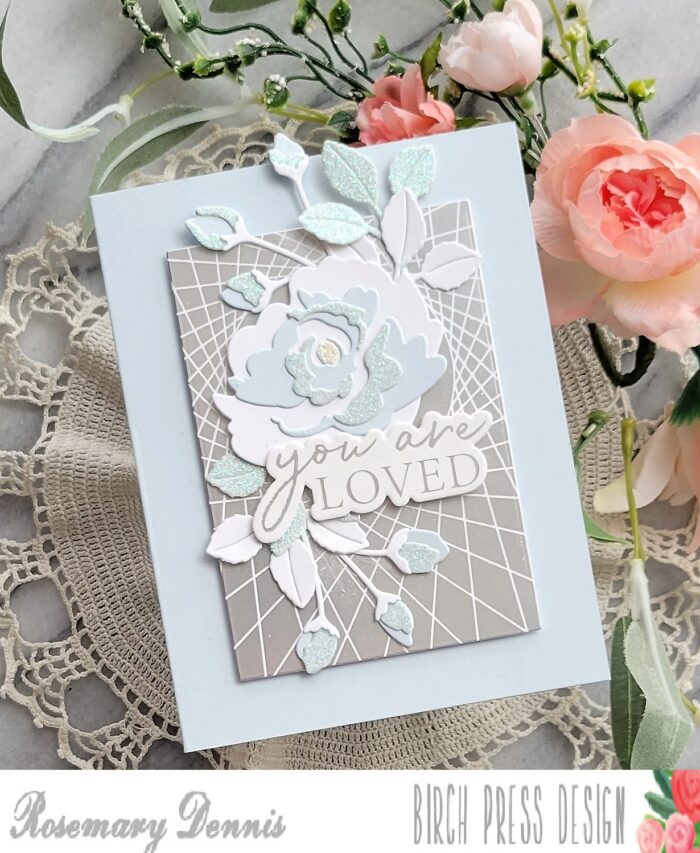
The reverse foiling wasn’t perfect, so I just die cut out the parts that didn’t turn out and moved forward with completing the cards. I thought the floral swags I created needed to be a little fuller, so I added some leaves from the Dainty Rose and Leaves Contour Layers dies. When I was assembling the flowers, I used liquid adhesive. For the assembly of the cards, I used a combination of liquid adhesive and foam squares. The large flower was adhered with foam squares so I could tuck the flower buds and leaves under the flower using liquid adhesive. The sentiments were adhered with a combination of liquid adhesive and foam squares.

I hope you enjoyed my projects today. Reverse foiling can add so much to your projects so I hope you will consider giving it a try if you have a hot foiling systems. The possibilities are endless!

D7
Supplies


Comments
2 responses to “Foiled Love | by Rosemary Dennis”
WOW! Your cards are absolutely stunning, Rosemary!
So elegant with the reverse foiling and layered flowers, Rosemary!! Especially love the gold version but the soft blue looks gorgeous too!!