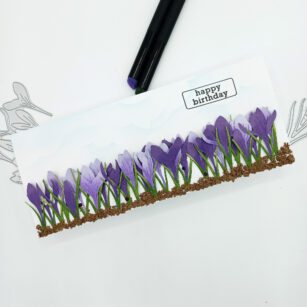
Happy Monday! I am happy to be back on the Birch Press blog today sharing a new project using the newly released Sprouting Crocus layering die set.
I began this card wanting to show a beautiful row of of the crocuses, and so started by die cutting the flowers and stems multiple times from white cardstock.
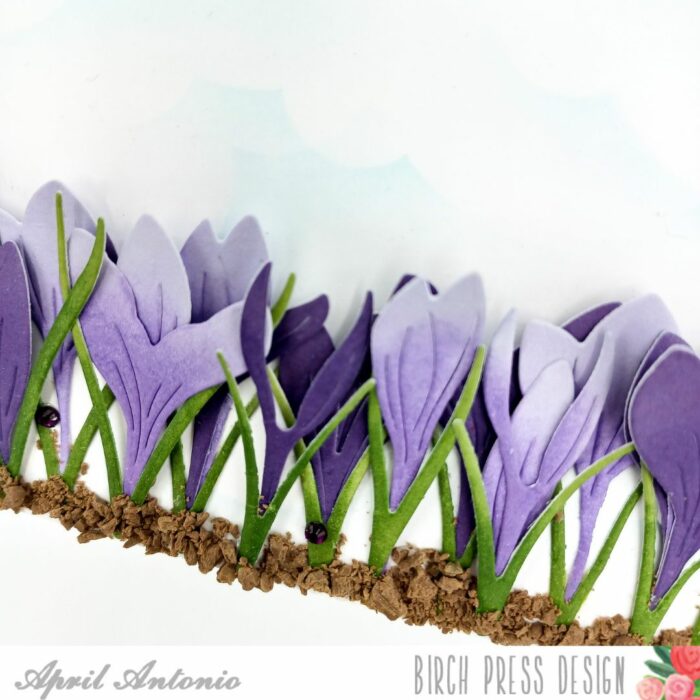
I used mini blender brushes and pigment ink in a couple of shades of purple and green to ink blend each piece. I started with the darker color towards the bottom, and then blended in the lighter color towards the top of the flower. I then assembled the flowers by gluing together the different sprouts, buds and stems.
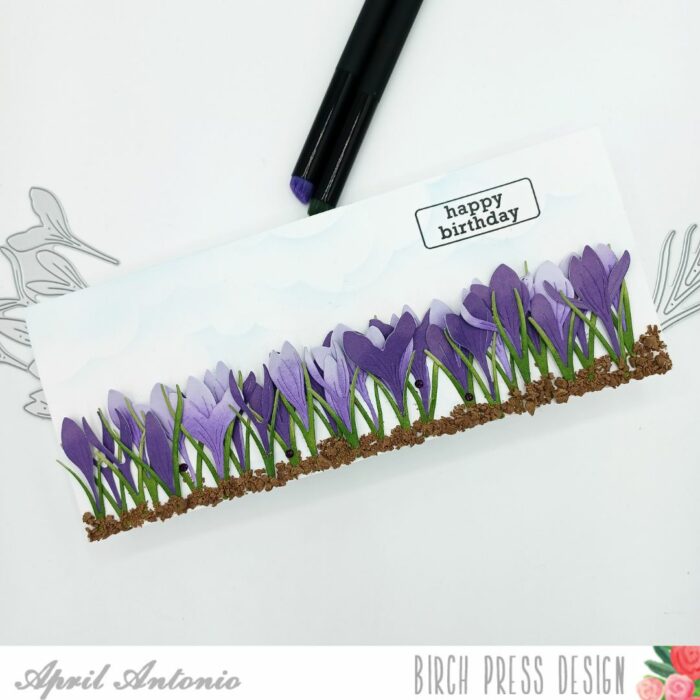
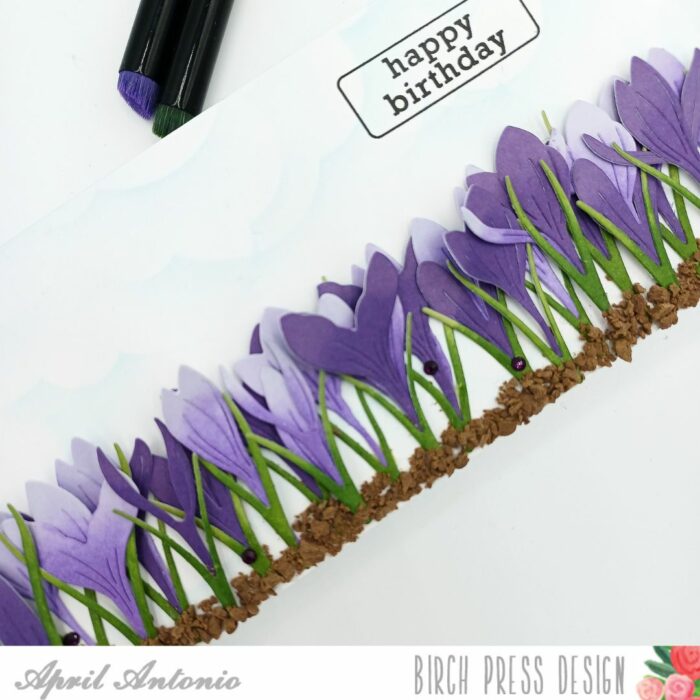
To be able to show the longest line of flowers I chose a slimline card design, using a white colored base. I used a cloud stencil to lightly add some clouds to the background.
Assembly
I assembled this card by adding one row of crocuses across the card. I then went back and added another row, filling in the blank spots to try and add some depth. I then went back a third time and filled in a few remaining spots to add even more depth.
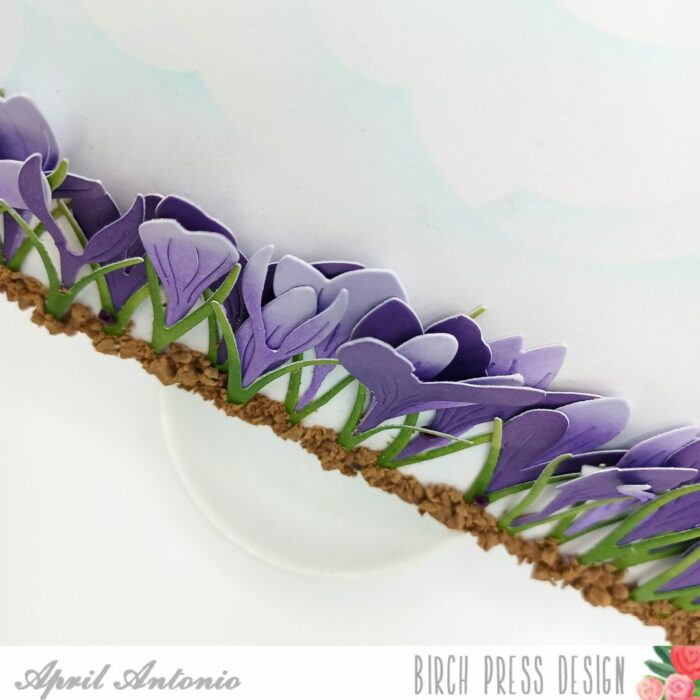
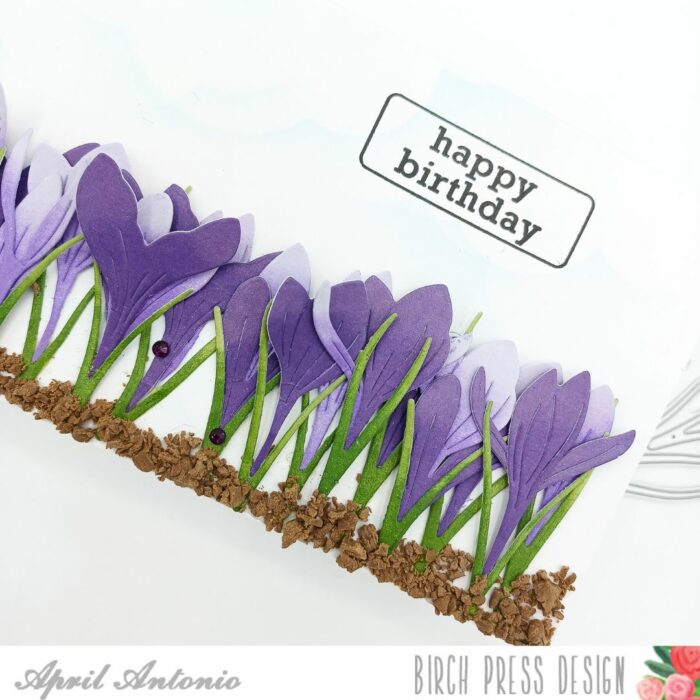
Pro Tip: When gluing flowers, to give them more dimension, only glue part of the flower from the bottom moving up, and leave some of the top off the page. Once dry, go back and carefully curl out the flower petals so they ‘jump off the page’ and look more lifelike.
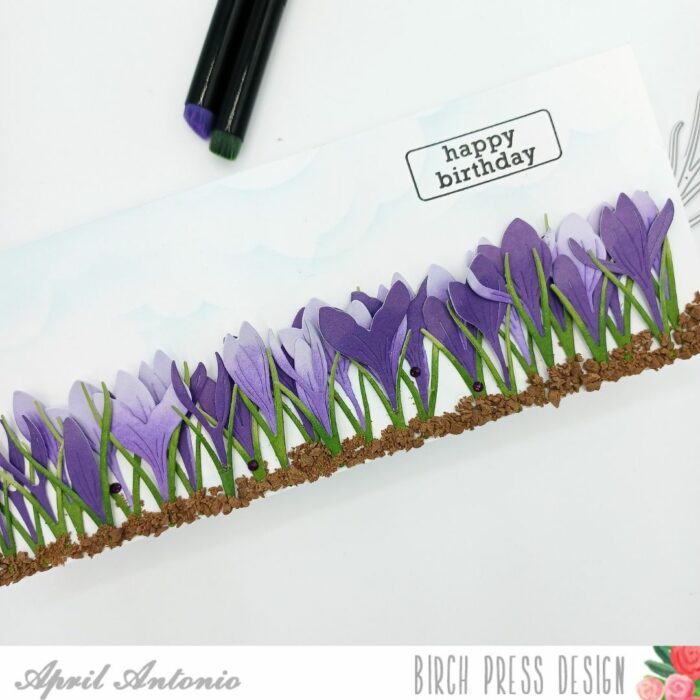
To create the look of ‘dirt’ I used some fake polymer clay ‘chocolate’ chunks I had on hand. They made perfect ‘dirt’ to cover the bottom of my flowers. I used liquid glue to add a layer, let it dry, then added some additional layers.
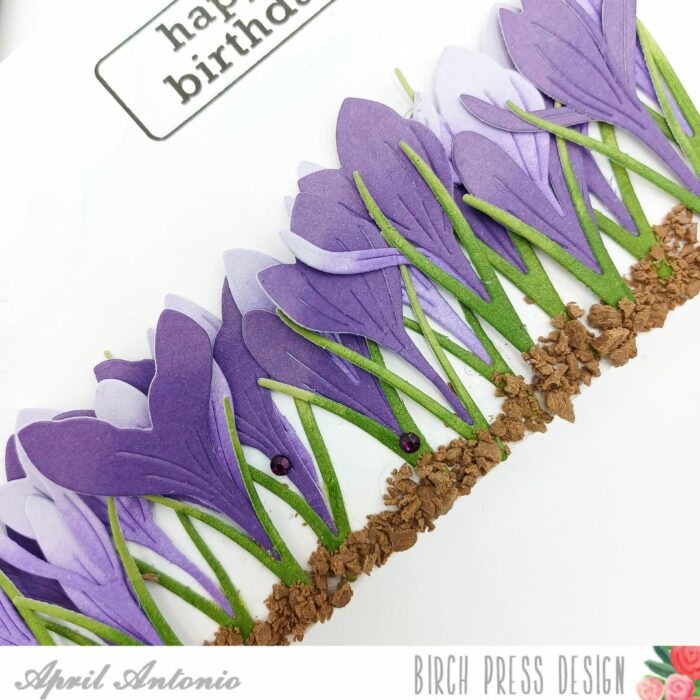
Lastly, I stamped the happy Birthday using the Contempo Greetings clear stamp set and added a few purple jewels from the Bright Jewels pack.

Supplies


Supplies
