
Hi friends! Today I want to share a Clean and Simple Spring Floral card!
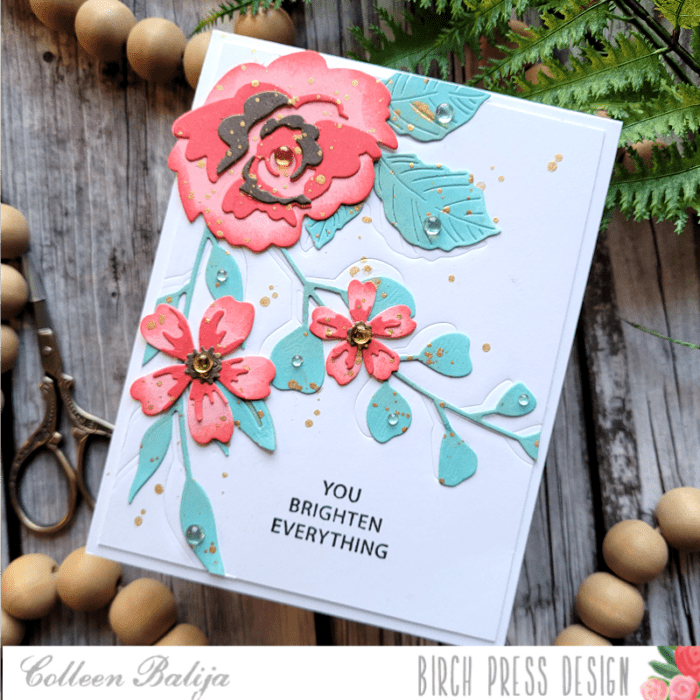
A good Clean and Simple card utilizes white space creatively. And it’s hard to add detail and interest without over-doing it!!! I tend to create cards that are filled from top to bottom with details, but I fall in love with designers like Dee Nacar and her expert use of white space, so I’m giving it a try today, and I hope you like it!
Today I’ll be using Morning Rose & Triple Buds die, Eucalyptus Stem & Berries die, Phlox Blooms & Leaves die, Sylvan Berries & Leaves die, and Rainbow Days stamp. All of these items will be linked at the bottom of my post!
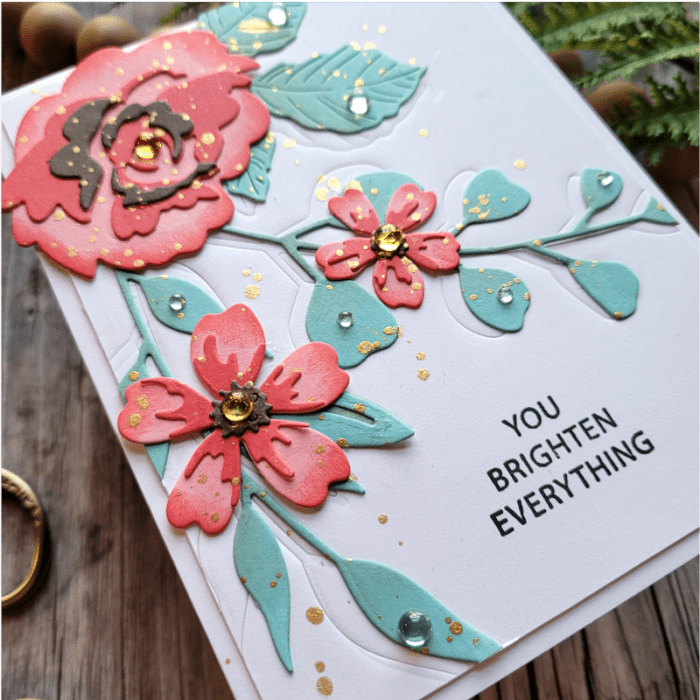
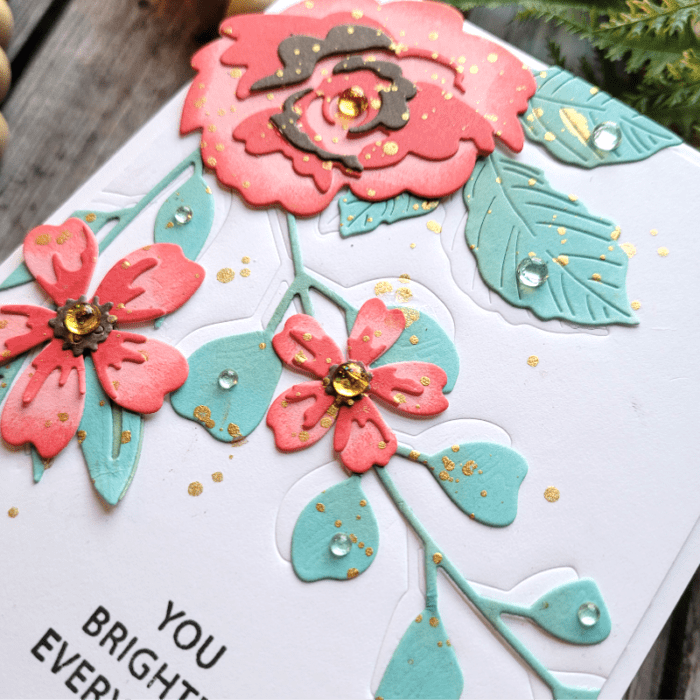
First step was to decide on the layout for my card panel. Once that was decided upon, I die cut my floral pieces and ink blended each piece with shades of coral and mint green. While it’s easier to ink blend a card panel first and then die cut second, I like to do the opposite because I can add more depth this way. I create an ombre effect with color that brings my flowers to life. And that’s one of the details you’ll need in a Clean and Simple card! Take a look at the photo above to see what I mean about adding depth.

Next, I added more detail to my white background card panel by using the same die cuts from earlier as an embossing tool. To do this, I placed the die cuts where I wanted them on the card panel, taped them into place so they wouldn’t move, and then ran them through my die cut machine with an embossing pad that comes with my machine (each machine is different, so look for an embossing pad that goes with your die cut machine). The embossing pad allows the image to be embedded into the card panel without cutting all the way through. This is another fun and creative way to use your die cuts! Look at the photo above and below to see the embossed images peeking out from behind the flowers and leaves!
Another option to add detail to a white card panel is embossing with embossing folders. You’re adding detail without losing the white space. It’s a great technique!
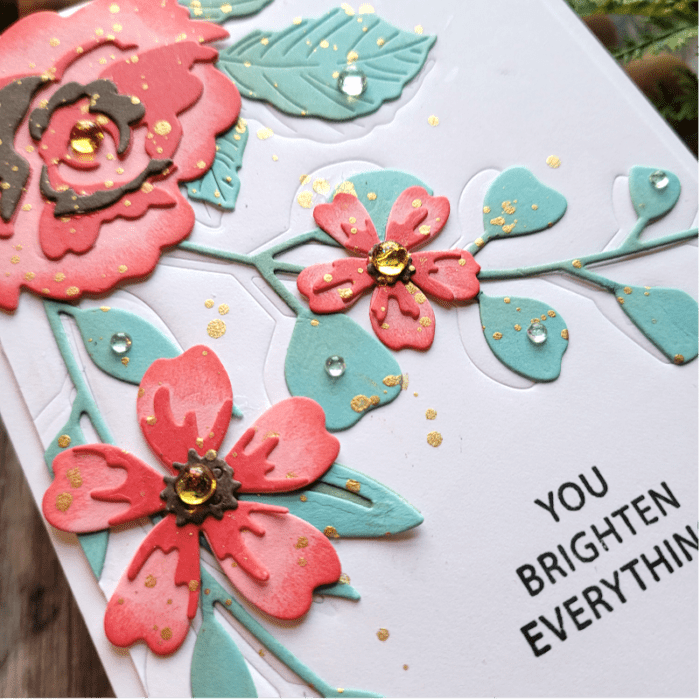
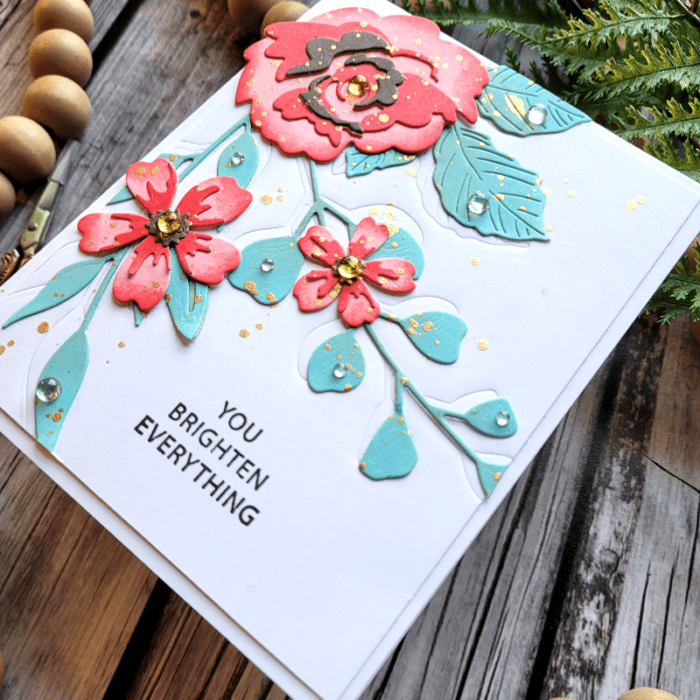
The final step was to place the flowers and leaves where I wanted them, along with the sentiment. I wanted to keep the sentiment simple, so I went with a stamped one rather than die cut one. The leaves are placed off-center from the embossed image so that a tiny bit of the embossed image peeks out from behind them. Then I added gold metallic splatters and sequins to add shine! You can see the splatters and sequins in the photo below. Some of the sequins are clear to look like rain drops on the leaves. The splatters and sequins are another subtle way to add detail without busying up the card panel! I was careful only to splatter around the flowers and leaves, leaving a good part of the white card panel alone.
I’m pleased with how this Clean and Simple card turned out! To summarize, here are a few pointers to keep in mind when creating Clean and Simple designs:
- Emboss the white card panel with embossing folders or dies
- Use splatters sparingly to add interest without overwhelming the card panel
- Add detail to the focal point by ink blending to create depth and life to your florals
- Keep the sentiment simple and small
- Add sequins or a Nuvo Shimmer pen to add shine and shimmer to your focal point
- Keep one half to one quarter of the card panel white and untouched
Thanks for stopping by today!

Supplies


