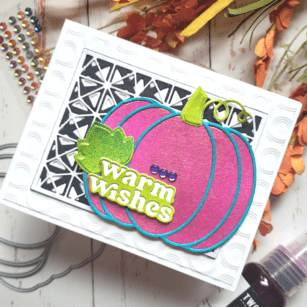
Hi friends! As we near the end of summer and welcome fall into (most of) our lives, I wanted to share a card using the NEW Adornment Pumpkin. But…I am adding a playful twist by experimenting with color! So today I will share my version of the ideal pumpkin using Adornment Pumpkin die set, Splendor Bevel Plates, Memory Box Ringadings embossing folder, and Warm Wishes sentiment die!

The first step was to decide on the color of my pumpkin. Using my Hero Arts shimmer sprays as inspiration, I created a fuchsia and aqua pumpkin with shimmery green foliage! To achieve that fun pop of color, I die cut the pumpkin layers onto white watercolor paper, placed them in a box that I use solely for my sprays (keeps the mess down!), and sprayed the pumpkin layers with the fuchsia and aqua sprays. When they dried, I adhered the layers together. Also, to give the pumpkin more depth and support, I die cut the base layer 2 more times and adhered them all together. Here is a closer look at the shimmer and shine of that pumpkin!!!
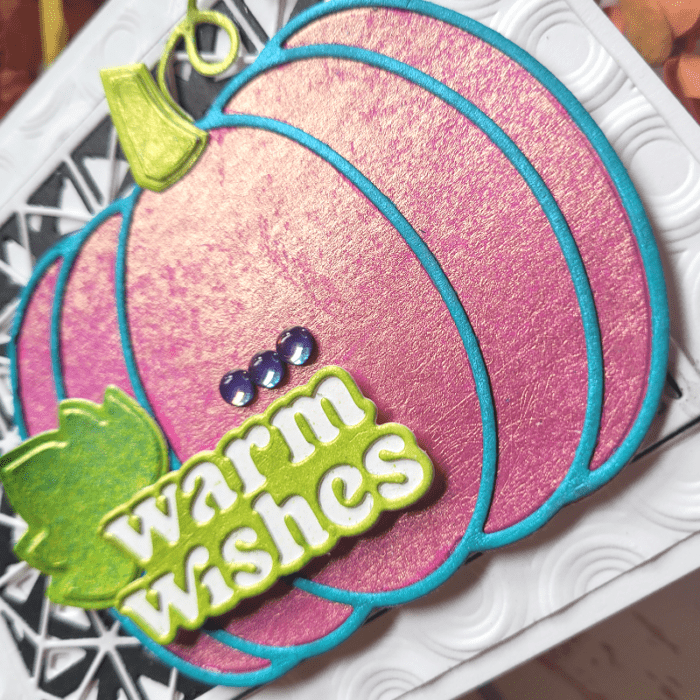
Isn’t she a beauty? Next, I created the sentiment using the new Warm Wishes layered die. The base layer of the sentiment is white, and the 2nd layer is done with the green spray. I used only the negative part of “Warm Wishes”. But you could also pop the in the positive portion as well and use a different color!
Now I was ready to work on a complimentary background!
The background needed to be neutral since the pumpkin was so bright that you need sunglasses to look at it, ha ha! I dry embossed a piece of white cardstock with Memory Box Ringadings embossing folder, trimmed the panel to 5.25×4, and placed it over a 5.5×4.25 white card base. Then I created a geometric frame over the embossed image using Splendor Bevel Plates on black and white cardstock. I love the geometric look and the texture that both the embossing folder and dies added!!!
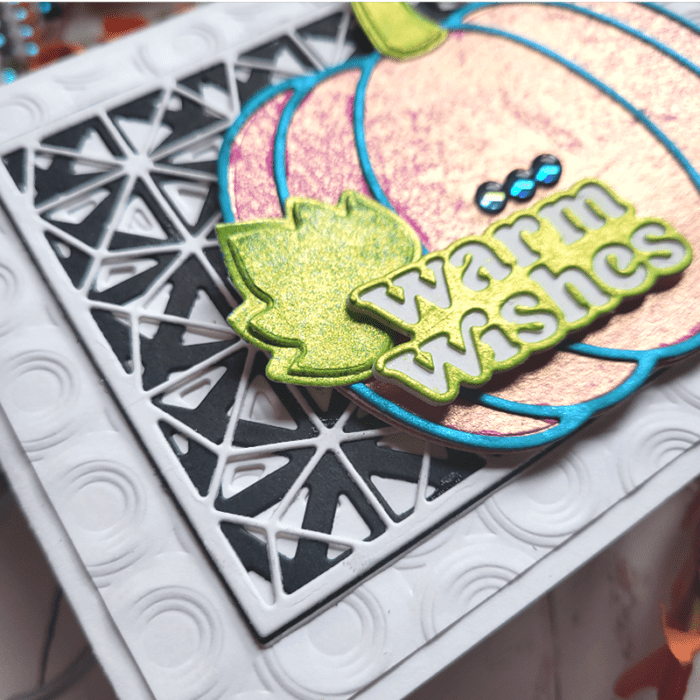
The last step was to place the pumpkin and sentiment over the background that I had just created. I offset the pumpkin to the right of the Splendor Bevel Plates just for interest, and added the green stem with foam tape so it was in alignment with the pumpkin. I placed the sentiment and the leaf together at the bottom left of the pumpkin and finished with Memory Box Treasury Chest Fairy Gemstones over the sentiment.
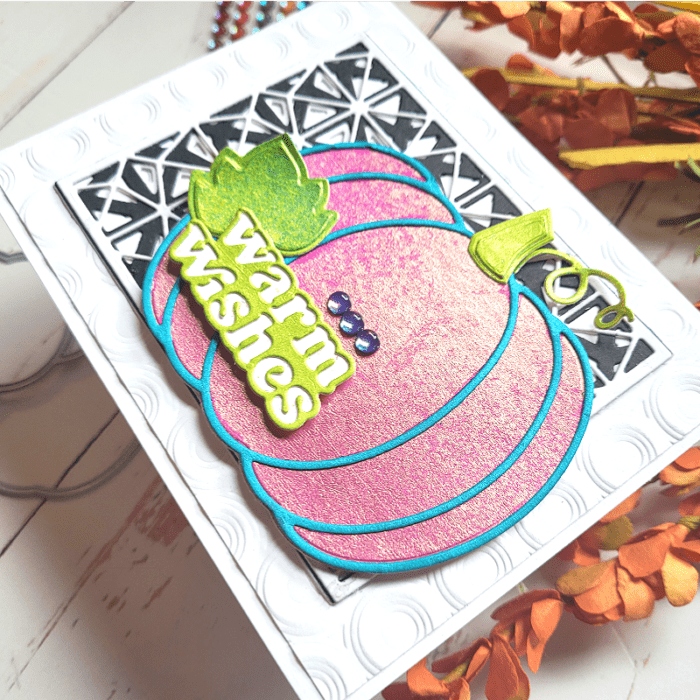
Next time I make a card using this pumpkin, I may play with color once again! Who says a pumpkin has to be limited to orange, right? Thanks so much for stopping by today!

Supplies


