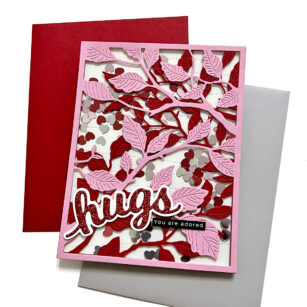
Hello, Birch Press friends. I am excited to be on the blog today sharing this fun shaker card. I have been wanting to make a shaker card with the Forest Canopy Layer Set for awhile. When I ran across this heart-shaped confetti in my stash recently, I knew that it was finally time!
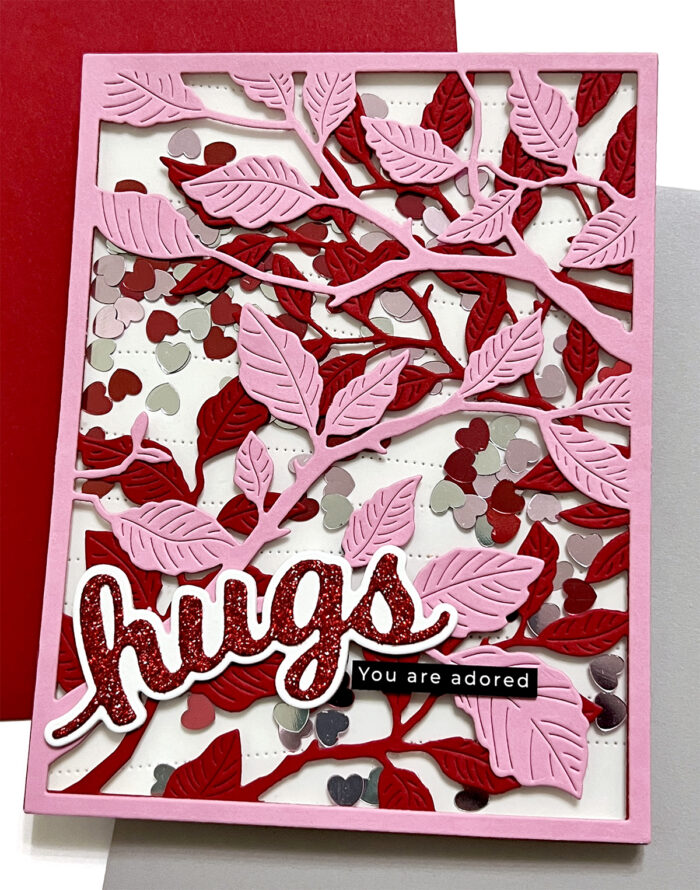
This shaker card was really quite easy to put together. I started by die cutting my back panel with the Pinpoint Contour Plate. I set that aside and proceeded to die cut my two Forest Canopy layers. I cut a piece of pink card stock with Layer B, and I cut a piece of red card stock with Layer C. I did not use Layer A.
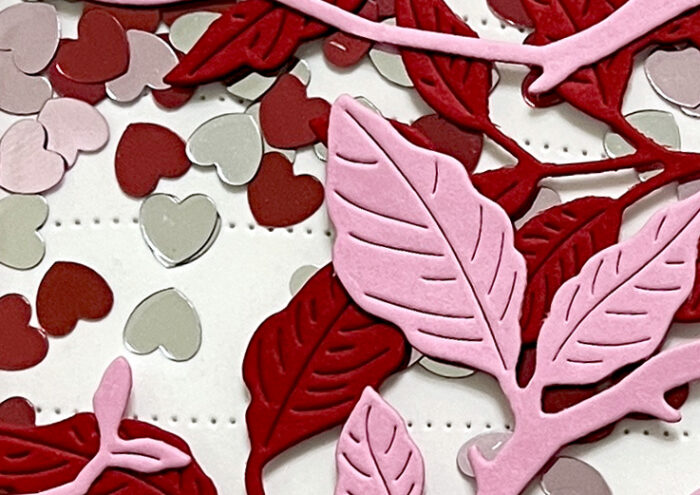
I cut a piece of acetate to 4.25″x5.5″ and glued that to the back of the red layer. I trimmed the pieces off of the branches on the pink layer that hold berries, since I did not want to include berries on this card. I then glued the pink layer on top of the red layer.

I trimmed foam tape into thin strips so that I could hide them under the thin frame that is created by the Forest Canopy layers. The one piece of advice that I have for cutting your foam tape into thin strips is to have a good pair of scissors that have a non-stick coating. I placed these foam tape strips directly onto the acetate layer. I then put my heart shaped confetti into the “well” that is created by the foam tape. Since this confetti is completely flat, I did not need to double up my foam tape. Once my confetti was in, I peeled off the release tape and added my white back panel to seal up the shaker. I then glued this onto an A2 card base.
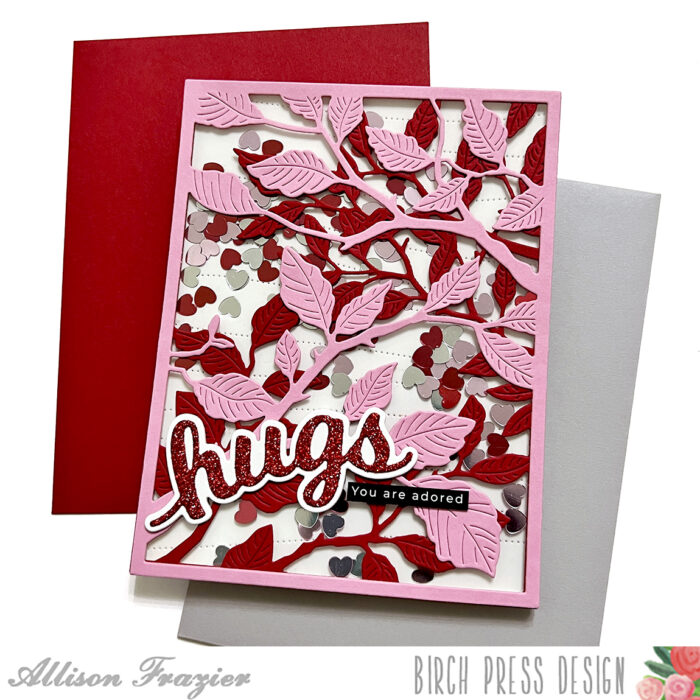
I used the Hugs Honey Script die set for my main sentiment. I cut the detail layer from red glitter card stock. To finish the card, I added a simple sub-sentiment strip from my stash. That’s it for my card today. I hope it brings a smile to your face. Take a look in your stash for dies to make a non-traditional shaker! Thank you so much for joining us today.

Supplies


