Hello everyone, it’s Amanda from Twiddler’s Nook joining you today for another idea to stretch the dies you may already have. I’m taking the Dahlia Mini Frame and choosing colors to make it look more like a poinsettia for Christmas.
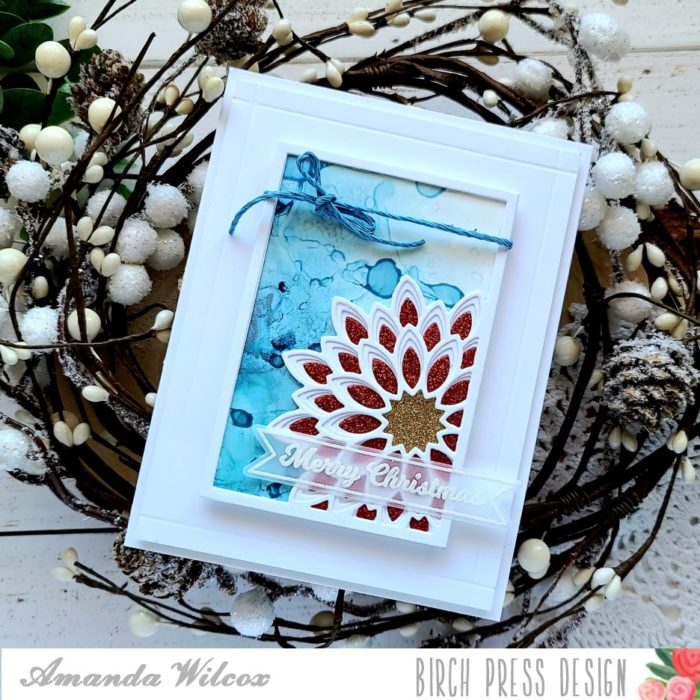
Isn’t the red and gold glitter a perfect combo to make this dahlia look enough like a poinsettia to use for Christmas? I think so. Here’s how I did it.
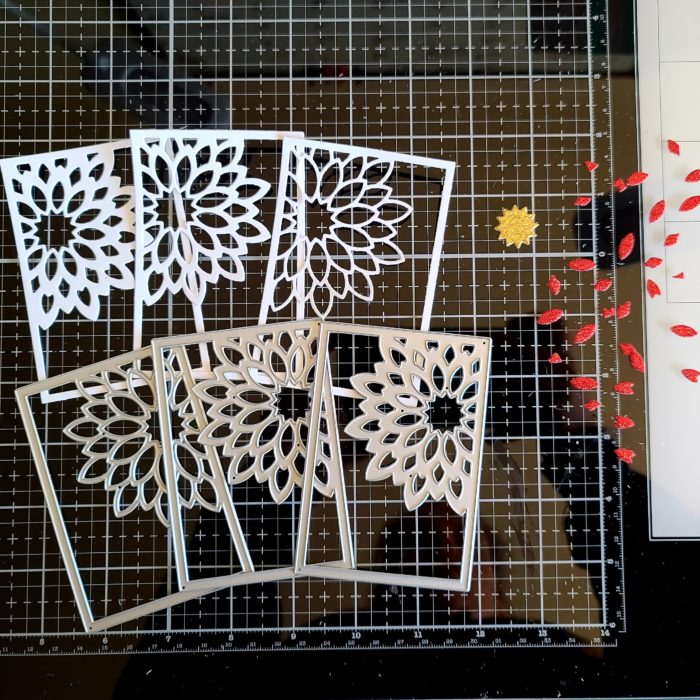
I cut all 3 layers from white cardstock, then the bottom later flower from red glitter and the center from gold glitter cardstocks.
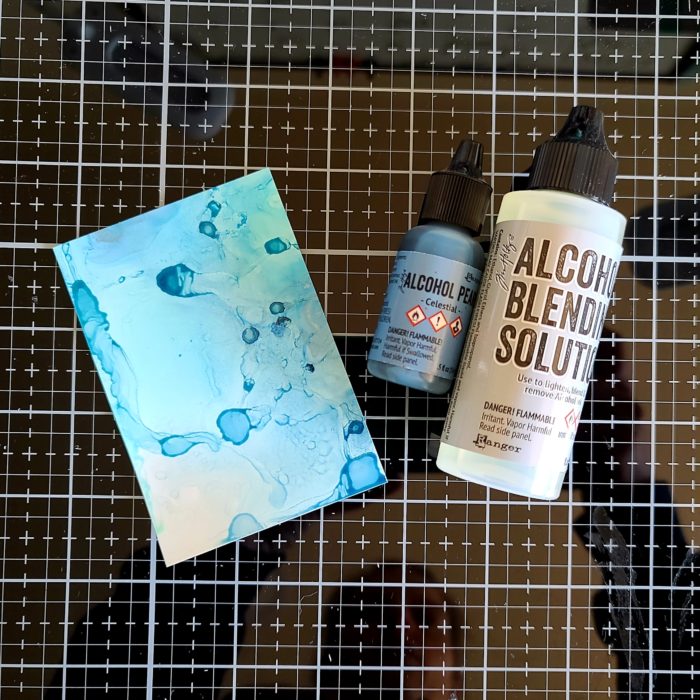
I knew I didn’t want a white base for the Dahlia Mini Frame to be on so I pulled out my alcohol pearl ink in celestial and created a mini background.
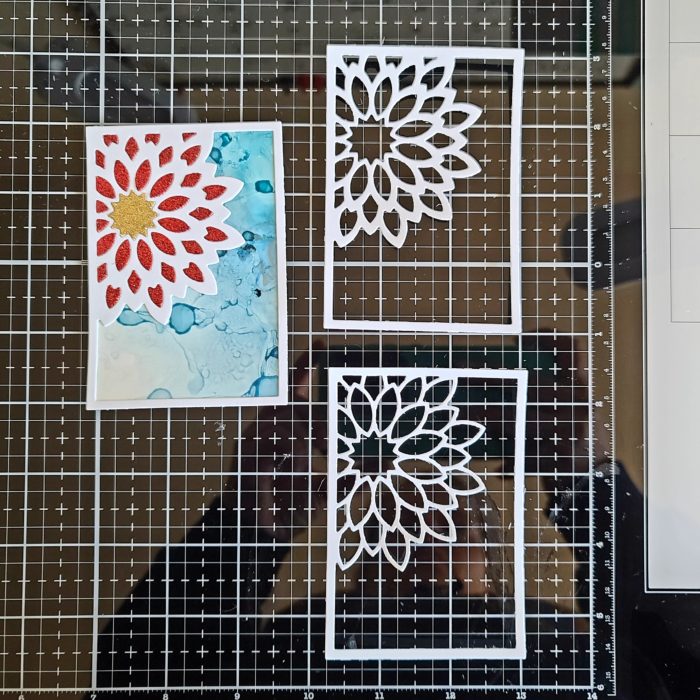
I glued the base layer to the alcohol ink background and treated it like a puzzle to insert all of the glitter flower pieces, adhering them with liquid glue. Then I also glued down the top two layers of the Dahlia Mini Frame.
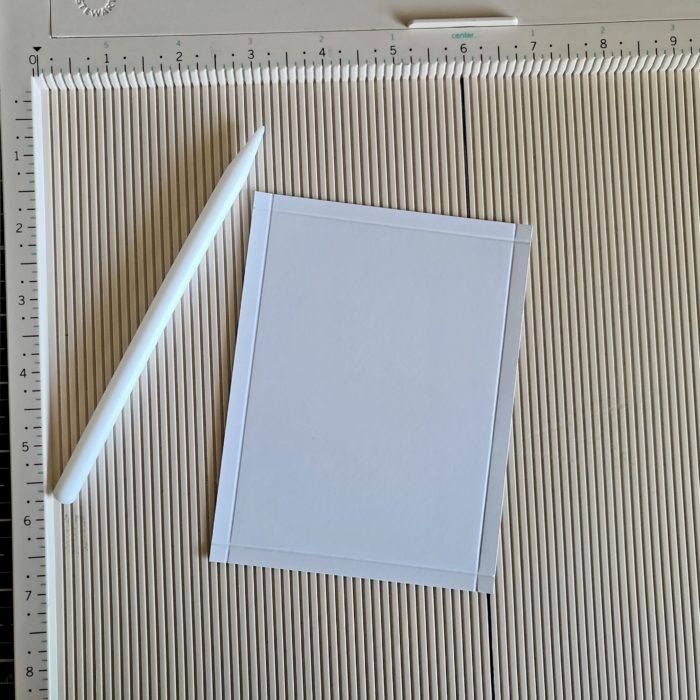
At this point I also cut a white card base and another white panel measuring 4×5.25. I used my scoring board to create some embossed lines in the extra panel 1/4 inch from each side. I added foam tape to this panel and popped in on the card base.
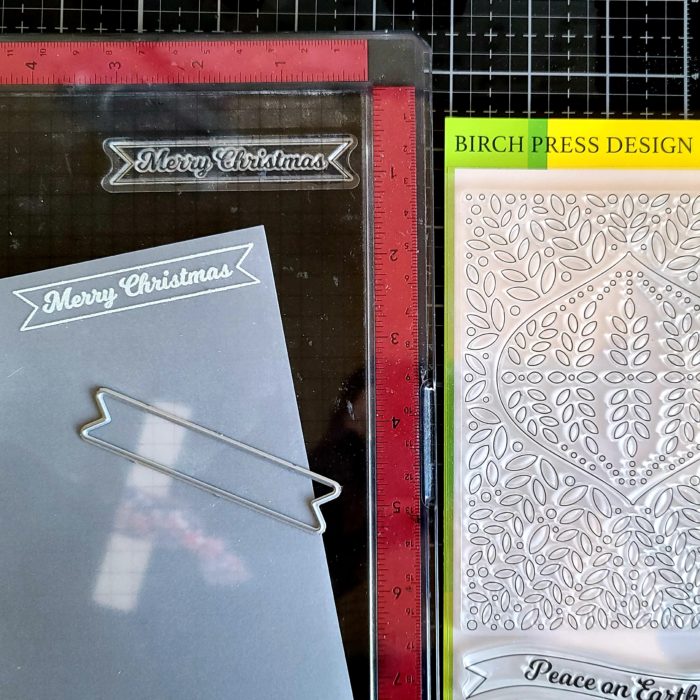
I went with a sentiment banner from the Christmas Ornament and Banners stamp and die set. It is heat embossed in white on vellum and die cut with the coordinating banner die.
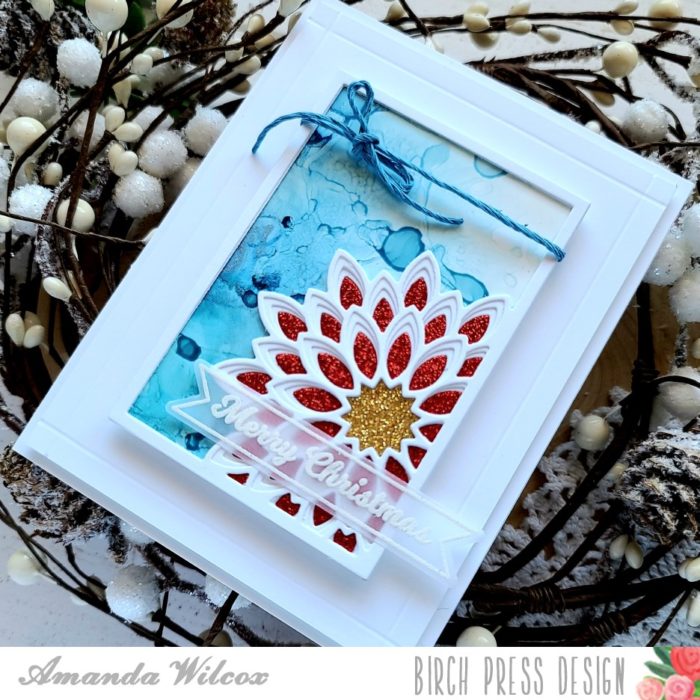
I tied twine around my Dahlia Mini Frame and added foam tape to the back. I popped it in place on the card front and used liquid glue to adhere my sentiment banner.
I don’t typically add blue to Christmas cards, usually just reserve it for more winter themed ones, but I love the contrast between the bright red and gold against the blue.
I appreciate you sharing your time with me. Have a fabulous day!

Supplies

