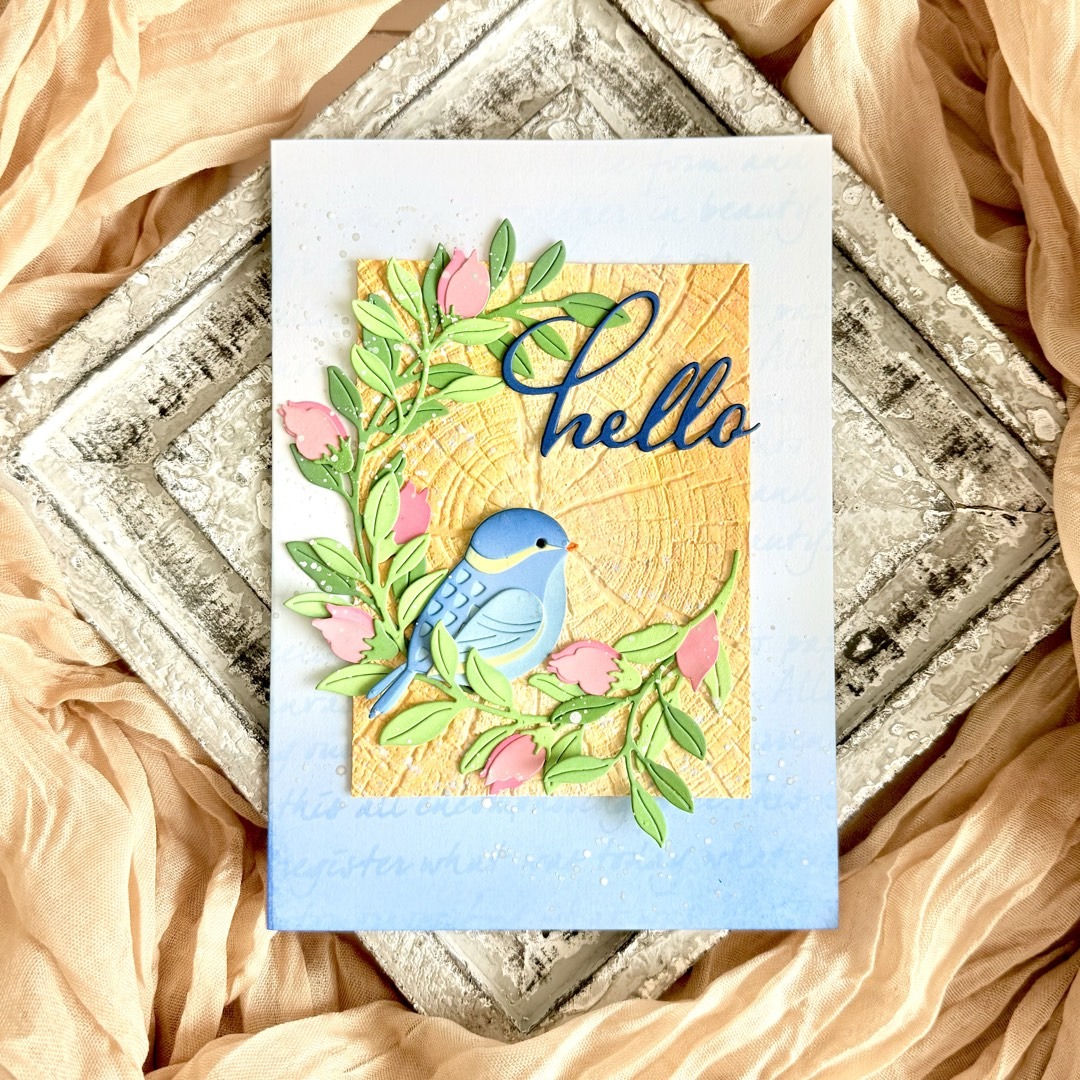
Hi, crafty friends! Sandhya here, and I’m excited to share a card I created using some gorgeous Birch Press Design dies and Memory Box cardstock. This card was a joy to make, combining intricate layering, soft ink blending, and a little ink splatter to bring this charming bluebird to life.

I started with a white card base and lightly ink-blended blue Distress Ink around the edges to create a soft, dreamy effect. I also added subtle script details using a stencil from my collection. Next, I embossed a piece of gel-printed cardstock from my stash with a woodgrain pattern to add texture and warmth.
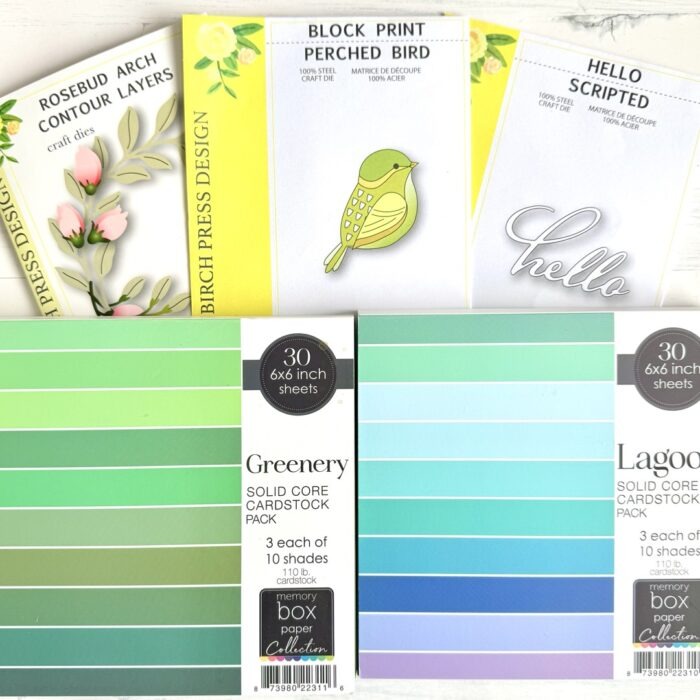
I used the Block Print Perched Bird die to cut out my adorable bluebird, layering different shades of blue and gray from the Lagoon cardstock pack. The result? A dimensional, eye-catching bird with intricate details!
The Rosebud Arch Contour Layers die set was perfect for adding a graceful frame around the bird. I die-cut the leaves in varying shades of green from the Greenery cardstock pack and the flowers in soft pinks, lightly inking the edges for added depth.
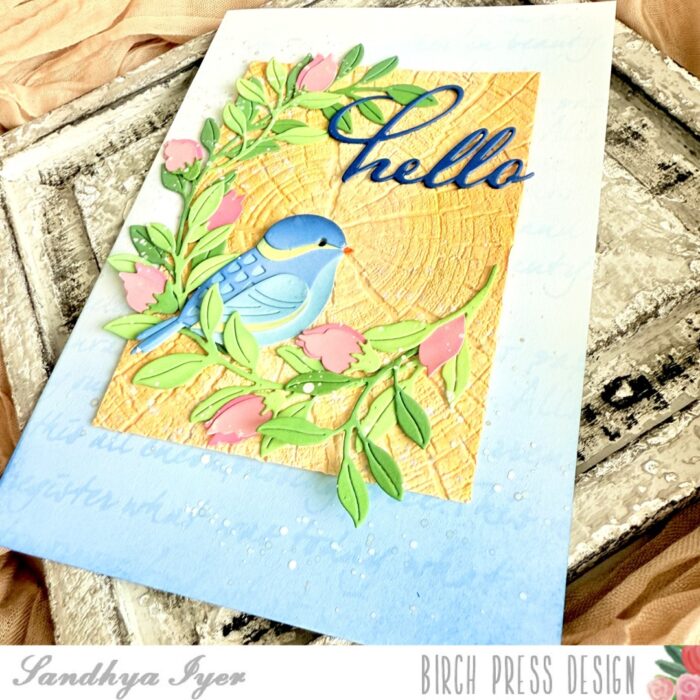
The Hello Scripted die provided a delicate yet bold sentiment. I cut it from deep blue cardstock and adhered it near the top for balance. I then arranged all the elements—bird, floral frame, and sentiment—onto the woodgrain panel, ensuring a harmonious composition. To bring everything together, I splattered some white ink across the background for a subtle artistic effect. This step adds a hint of whimsy and enhances the overall dreamy vibe of the card.
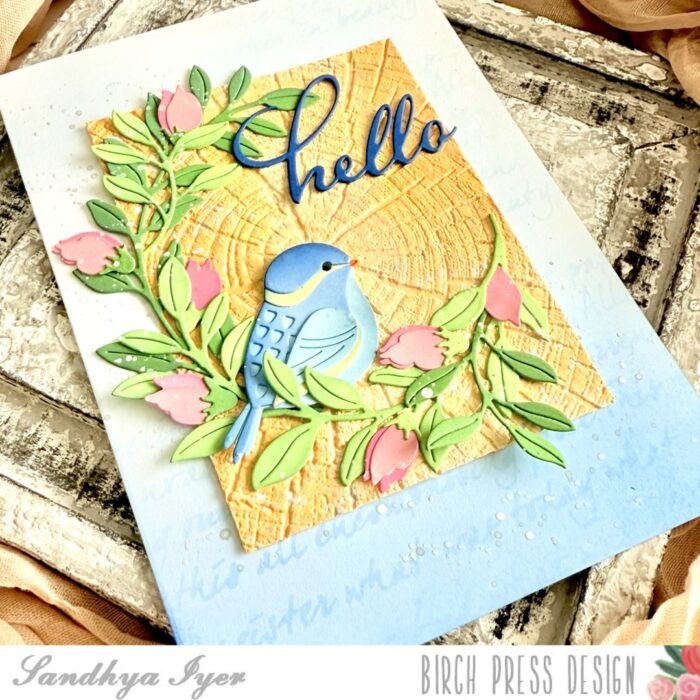
I love how this project turned out—full of dimension, texture, and soft, natural beauty. I hope this inspires you to experiment with layering, color palettes, and die-cutting to create your own nature-inspired cards. Happy crafting!

Supplies:


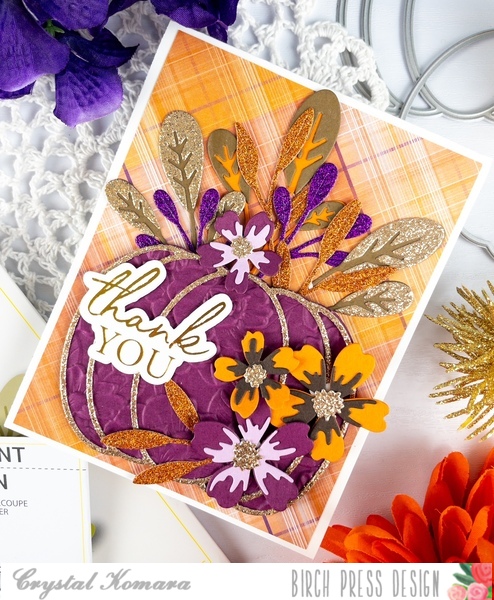


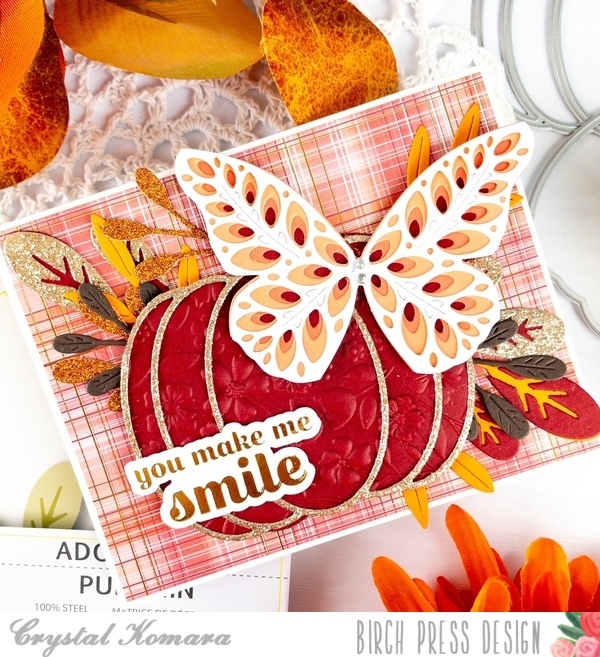
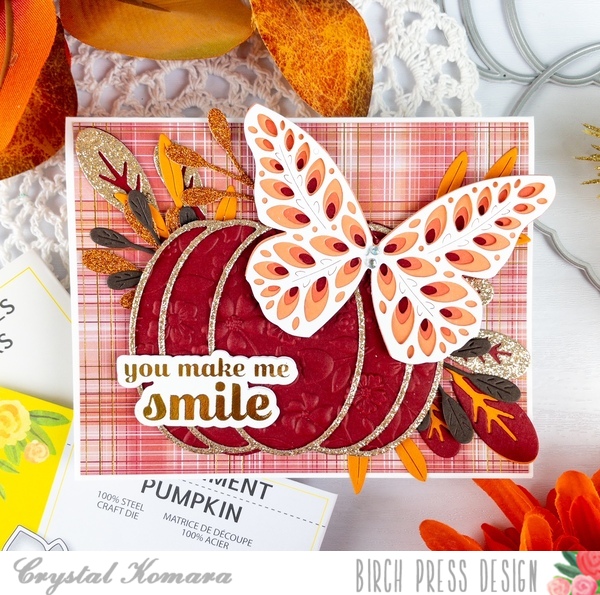

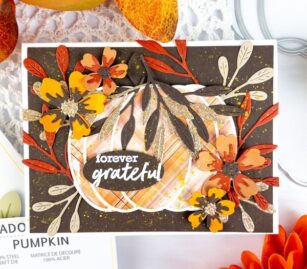
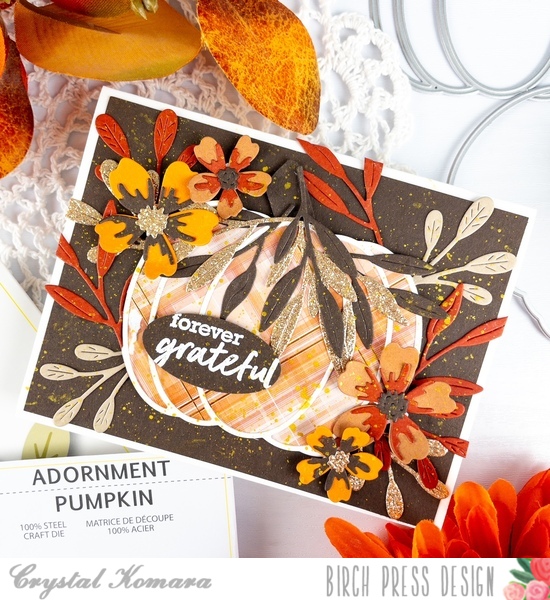
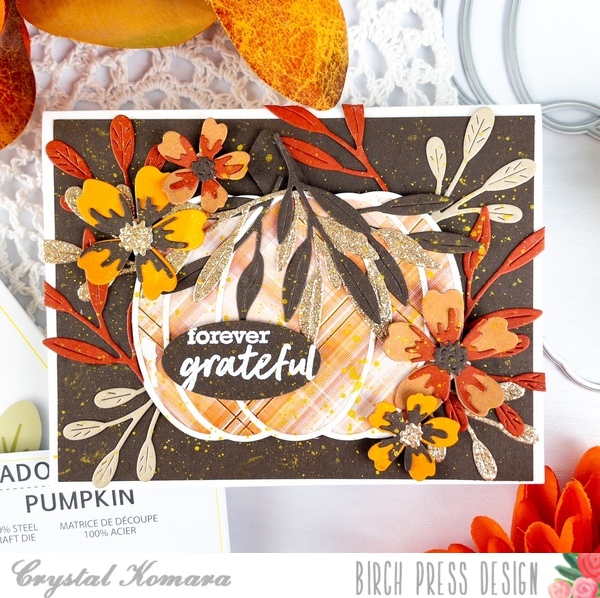
Forever Grateful | by Crystal Komara
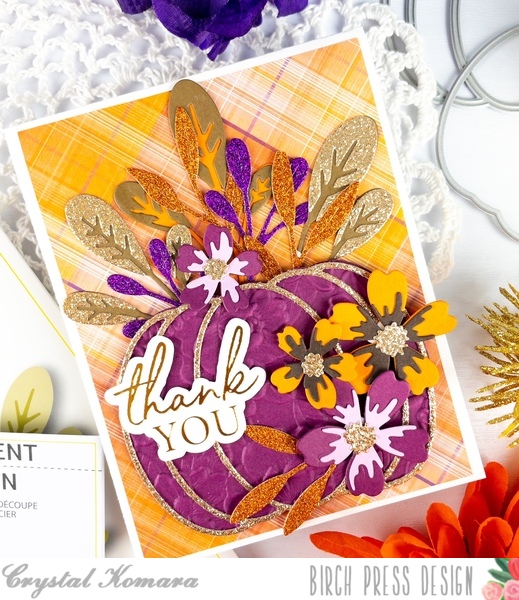
Hello crafty friends! This is Design Team member Crystal Komara here with you today sharing the first of a few fall themed pumpkin cards that I have made featuring the Adornment Pumpkin Set.
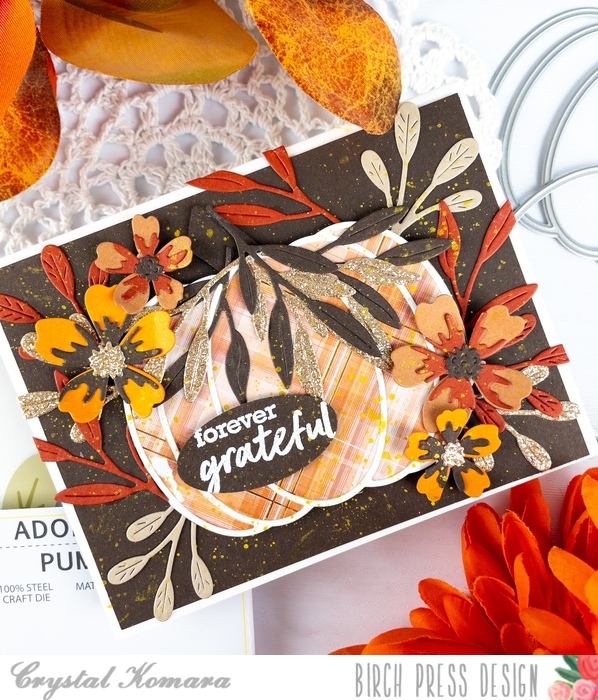
The Adornment Pumpkin Layer Set is one of my go-to products for fall cards. I love the large size of the layering pumpkin. Plus, it comes together easily with only two dies – a solid inside layer and a thin outline layer. For this card, I combined it with a variety of other products from Birch Press Design to include:
~Phlox Blooms and Leaves Contour Layers
Card details:
There is a lot to this card, so let’s break it down:
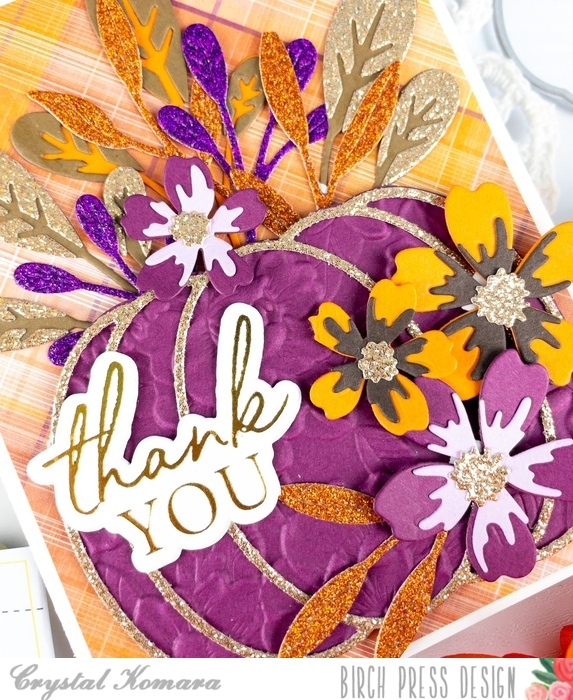
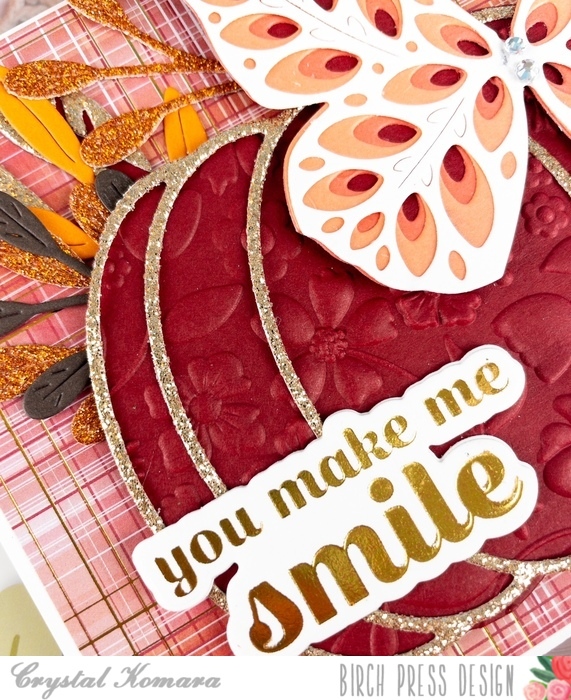
- To create the pumpkin, using the Adornment Pumpkin die, I die cut the large solid pumpkin from the 6″ x 6″ Gladiola paper pack from Memory Box Company. I die cut the outline layer from white cardstock. I adhered the two together with a fine tip liquid glue.
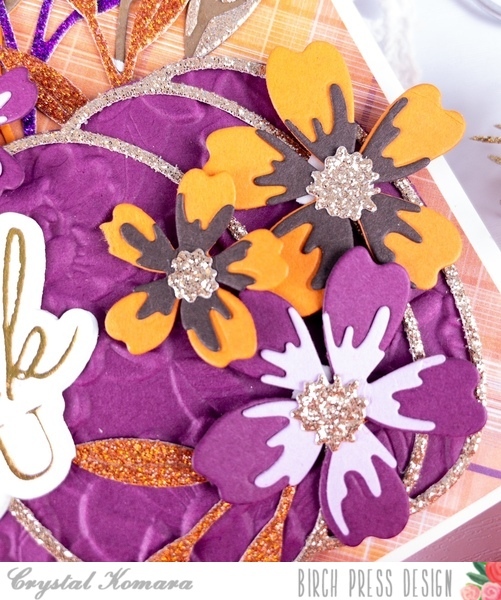
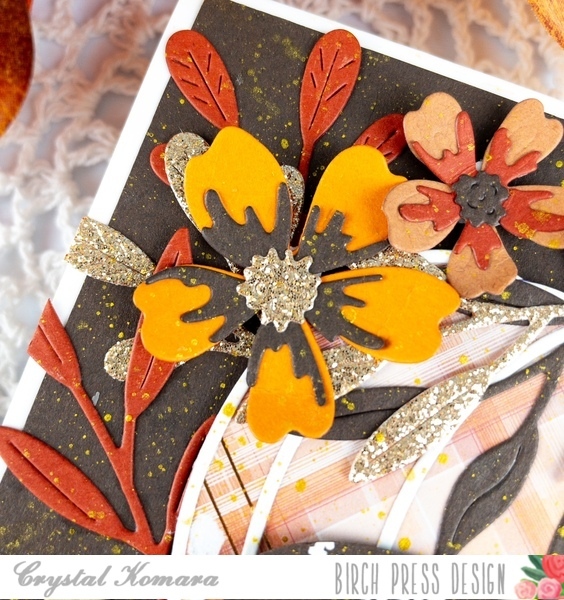
- Using the Phlox Blooms and Leaves contour layer set, I die cut a bunch of flowers from a mustard orange and rust colored cardstock. I also cut the inside of the flowers from chocolate brown cardstock and the center of of the flowers from gold glitter cardstock. For each flower, I layered the three colors togethers with a fine-tip liquid glue.
- Next I simply die cut a bunch of orange, yellow, mustard, gold and brown leaves from the Tiny Tufts Flowers and Leaves contour die and tucked them in and around the pumpkin.
- I splattered gold paint all over the card for some “distressing” or a “mixed media” look.
- Lastly, I stamped the sentiment “forever grateful” using the Brush Sentiment stamp set. I stamped the sentiment in Versamark ink and heat embossed it with white embossing powder. I used an oval punch to punch the sentiment out and adhered it to the card using foam adhesive for added dimension.
I know at first glance that a lot of these intricate layered cards can seem intimating, but all it really entails is a LOT of die cutting. My little tip* – I don’t even count or measure as I’m die cutting, I just keep cutting until it seems like I have a lot. Any extra pieces can be used on the inside or saved for another card!
Thanks for visiting and have a wonderfully creative day!

Supplies

Supplies


A Haunting | by Toni M Maddox
Hello, friends! Toni here with you today sharing my love of all things spooky!
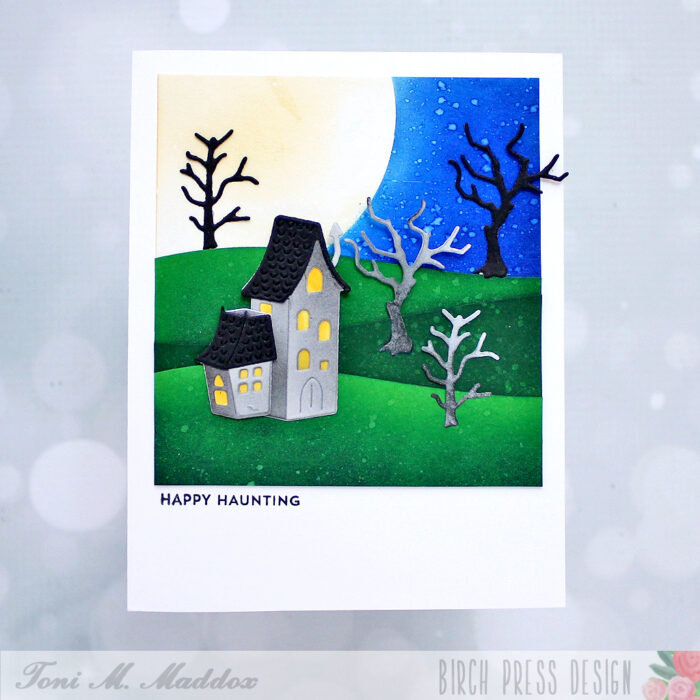
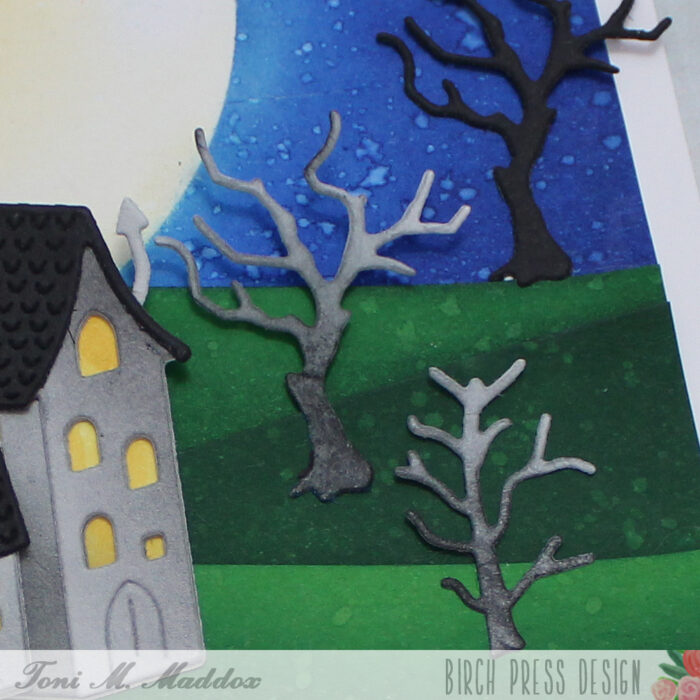
I masked a moon on the card front and sponged around it with Catherine Pooler Something Borrowed, Suede Shoes, and Dress Blues.
I cut out the Littletown Spooky Manor and Wavy Hillside dies. I used white cardstock for most of it but used Memory Box Cilantro cardstock for the hills.
I really like the Wavy Hillside layers as you can easily adjust their position as needed to create the vertical height you want.
I used Catherine Pooler Grass Skirt and Deck the Halls for the hills. For the trees and house, I used Catherine Pooler Midnight along with Distress Oxide Weathered Wood and Mustard Seed. Of course, I spattered the lot with a tiny bit of water for that worn look I love.
For a full list of products used and to see my other projects, feel free to visit my blog, Frankie Helps Craft. Have a great rest of your week!
I hope you enjoyed today’s card and have a wonderful rest of your week.

Supplies


Gilded Birthday | by Crystal Komara
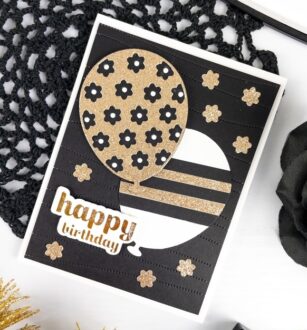
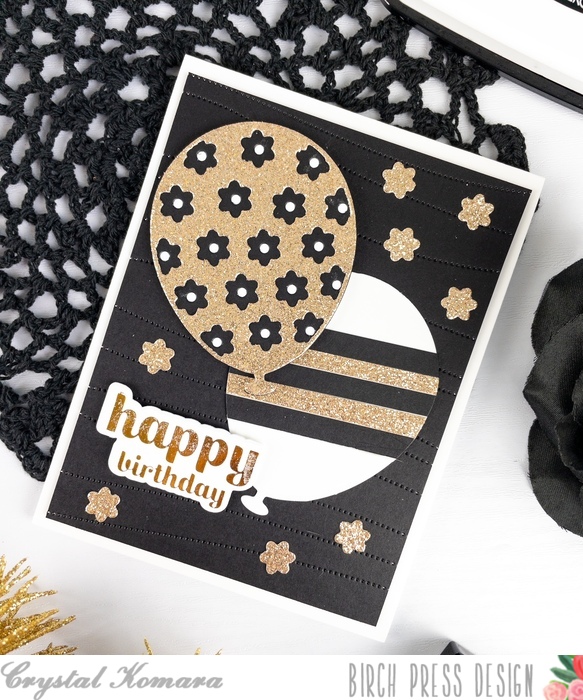
Hello friends and welcome to October! Wow, how the seasons fly, but things sure are getting pretty with the fall foliage here in New England. This is Design Team member Crystal Komara here today sharing an elegant black and gold birthday card today using the Floral Balloon Layer Set.
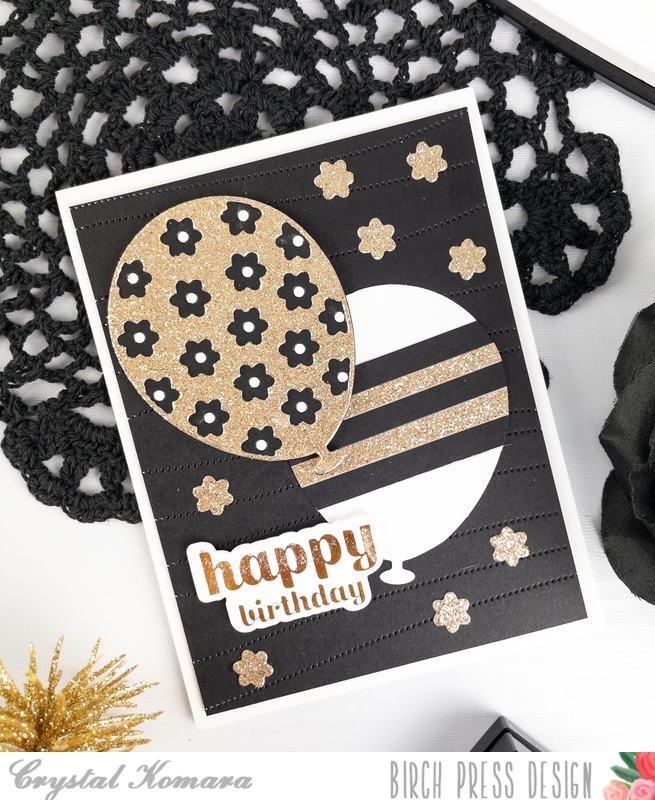
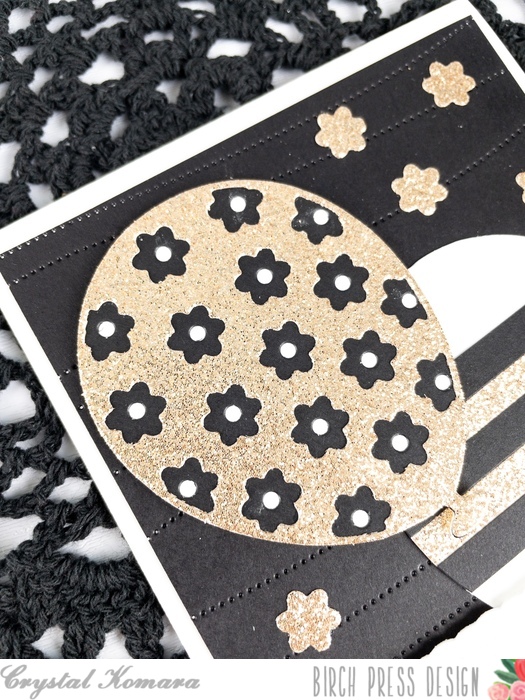
I love the large size of these balloons, they really make a statement. By layering the balloons with black, gold and white, it really makes the card seem more elevated and elegant.

Card details:
The base of this A2 sized card is made from 80 lb. Neenah Solar White Smooth cardstock. Using the Pinpoint Contour Plate, I die cut the background from black cardstock. Next I die cut the balloons using the Floral Balloon Layer Set. I cut one white ballon and then added strips of gold and black cardstock. For the second balloon, I die cut Layer A (the top layer) from gold glitter cardstock, Layer B (the middle layer) from black cardstock and Layer C (the bottom layer) from white cardstock. I adhered all three layers together with a fine-tip liquid glue. I adhere the top gold balloon to the card using 3M foam adhesive for added dimension. The white balloon is adhered directly to the card base, without foam.
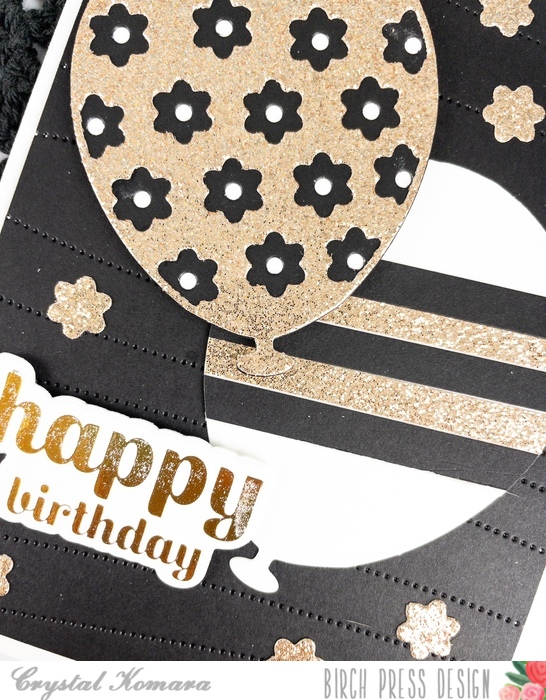
For the sentiment, I heat foiled the “happy birthday” in gold foil on white cardstock. This sentiment is from the Sugar Script Sentiments 2 foil plate and coordinating die. I used the coordinating die to cut the sentiment out and adhered it to the card using 3M foam.
Thanks for being here and spending time exploring all that Birch Press Design has to offer for your creative paper craft hobby! Have a wonderfully creative day!

Supplies


Peace Love Joy | by Rosemary Dennis
Hello, hello! Rosemary here on the blog today with a snowy scene card that was so much fun to make! Let’s have a look.
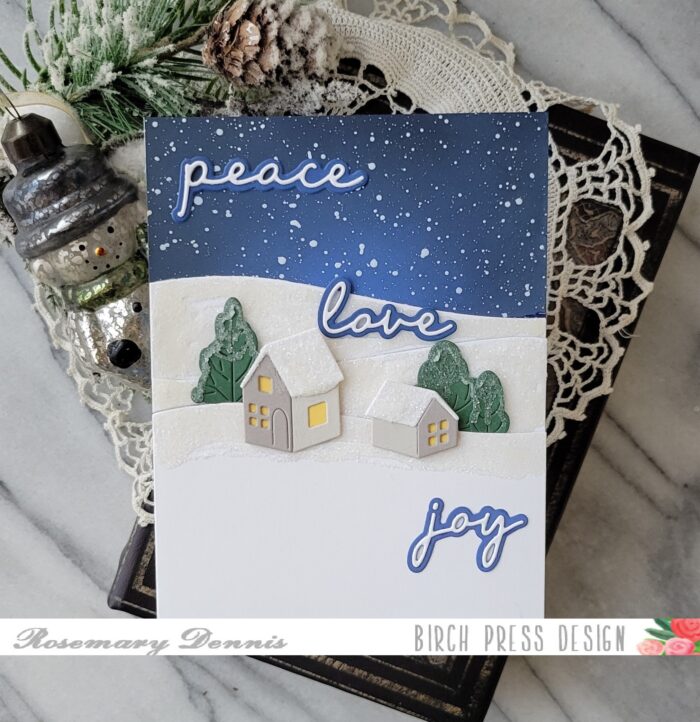
For my card I used the new Littletown Home, Wavy Hillside, and Peace Love Joy word die sets. The next few photos will show a little bit of my process for creating the card. I try to remember to take these kinds of photos, but sometimes get so involved in the process that I forget. This time I remembered!

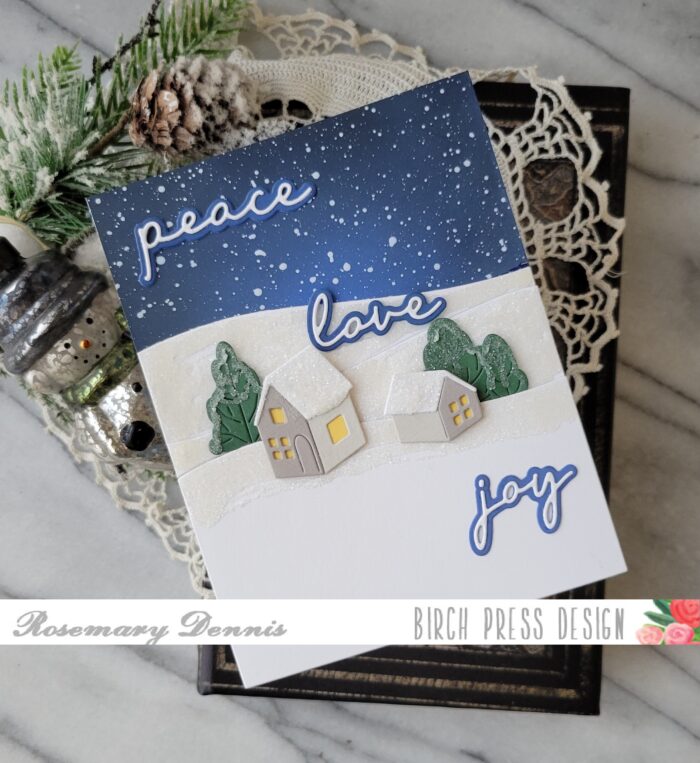
I started by cutting piece of light blue cardstock from the Lagoon 6×6 cardstock pad to 5 1/2 by 4 1/4. I pulled out several distress oxide inks in shades of blue and blended them onto the top of the cardstock. I knew I would be covering up the bottom so no need to waste time and ink there! Once I had the blues blended to my liking I added in some black using Black Soot distress oxide. I used Blueprint Sketch, Prized Ribbon and Chipped Sapphire for the blues (could only fit the Chipped Sapphire in the photo).
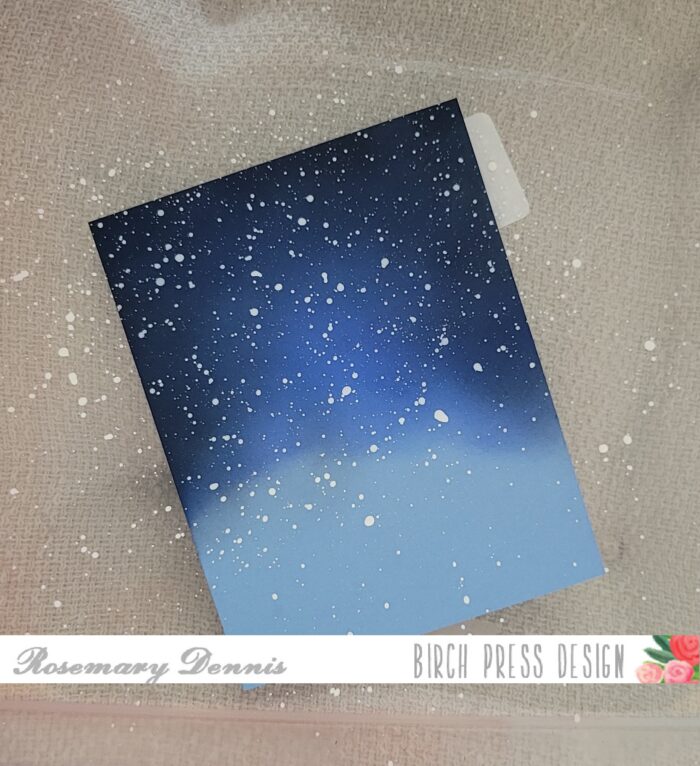
Once the ink blending was done I put the panel into my splatter box and liberally splatted the panel with white acrylic paint. I let the panel dry and moved on to the next step in my card process: creating the wintry hills for my little houses!

I used Glossy Accents to cover the hill pieces, but I didn’t cover the cardstock pieces completely as you can see in the above photo. I did this because I wanted a more realistic snow look to each piece. Giving it the look of high and low areas in the snow that are there in real life. I then covered each piece with Rock Candy glitter and let them dry.
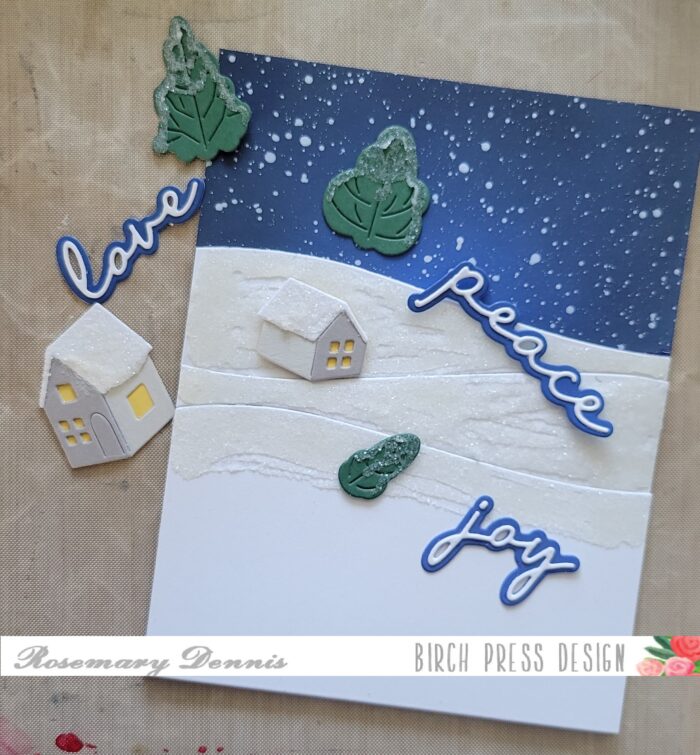
Now it was time to make the little houses, trees and sentiments. I die cut the houses from white, grey and yellow cardstocks and then adhered them together. Glossy Accents was added to the roofs and then Rock Candy glitter for that icy, snowy look. For the trees I simply added some liquid adhesive and then sprinkled on the Rock Candy Glitter. I had a scrap of the light blue cardstock so I ink blended that with the blue distress inks I used and die cut the shadow layer of each word from that. The words were die cut from white and then adhered to the shadow layer with liquid adhesive.
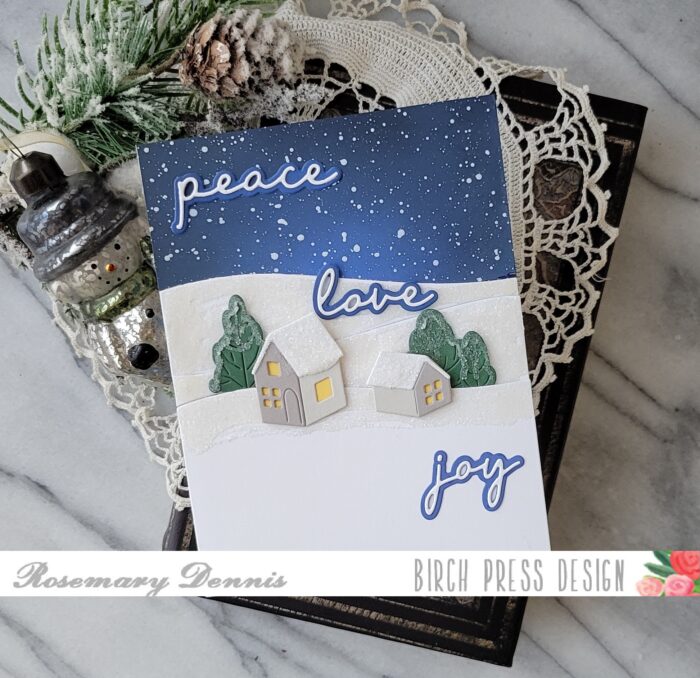
For the snowy hills I adhered the bottom one with foam tape. The middle layer was adhered with thin foam squares and the top layer with liquid adhesive. I layered the hills this way so that I could tuck the trees behind the bottom hill layer and the houses. The trees were adhered with a combination of liquid adhesive and thin foam squares. The houses were adhered in the same manner. The sentiments were adhered simply with liquid adhesive.
I hope you enjoyed today’s card and seeing a little bit of the process I used to create the card. Thanks for stopping by and have a wonderful day!

Supplies


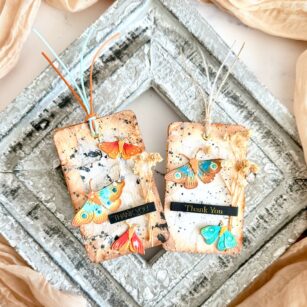
Rustic Thank You Tags | By Sandhya Iyer
Hello, friends! This is Design Team member Sandhya Iyer and I am sharing a pair of rustic thank you tags. These tags feature the Evening Moths die set and Thank You Foil Greetings Black tabs.
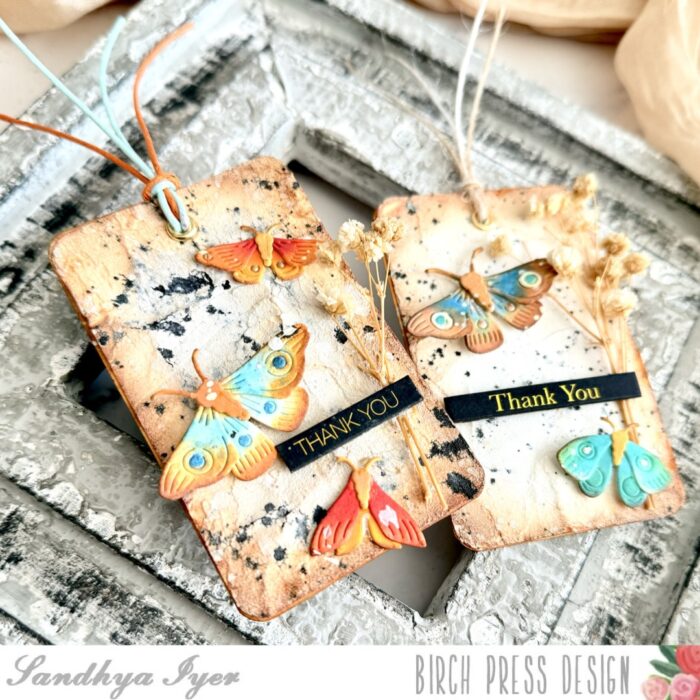
I used Index flash cards to create my tags. First, I added a generous layer of crackle paste on 2 flashcards and set them to air-dry. What I had in my stash was ‘Golden’ brand, the cracks were very fine and barely noticeable. So after the tags dried, I crumpled them and added more interest. I ink blended around the edges with Rustic Hinge and Vintage Photo Distress inks and added black and white splatters to create an interesting background.


Next, I die-cut the Moth Layers out of watercolor cardstock. I pulled out Distress Oxide inks and used detail blending brushes to ink the wings and body layers of the moth. I have a picture showing the colors I used to create my rustic and vibrant color combos. Then I assembled the little moths and added some detail to the wings using gel pens.


Next, I inked the edges of another pair of index cards and adhered them to the back of the prepared backgrounds to make them more sturdy. I also added gold eyelets to the tags to harmonize with the sentiment tabs’ gold.


I arranged the moths to my liking and adhered them with some foam tape. Finally, I added the sentiment tabs and colorful/jute twine to my tags. I finished off with a few little sprigs of dried baby’s breath tucked under the sentiment tabs.
This brings us to the end of today’s post. Thank you so much for stopping by and I hope you have fun crafting today!
Supplies:

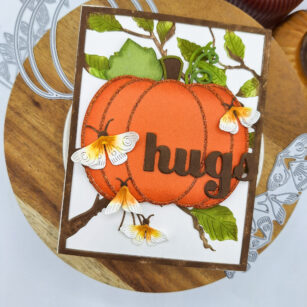
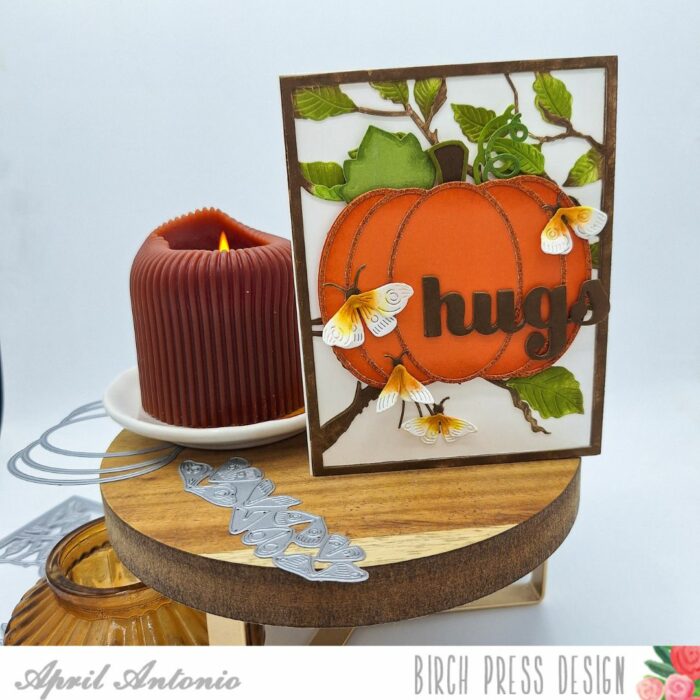
It’s Fall, Ya’ll | by April Antonio
Hello friends! Design Team member April here today sharing a card in honor of the first day of Fall. Time to light some cozy candles, grab a warm blanket, and sink into a fun afternoon of crafting.
Here’s how I pulled this card together:
I used layer A and B from the Forest Canopy Layer set and ink blended on the leaves and branches with green and brown inks. I glued both layers together, and then used a tape runner to attach them to an A2 card front.
I then used a sheet of orange cardstock from the Sunny Orange cardstock pack to cut the background of the Adornment Pumpkin die set. I cut this out twice and used foam tape to glue the two pieces together.
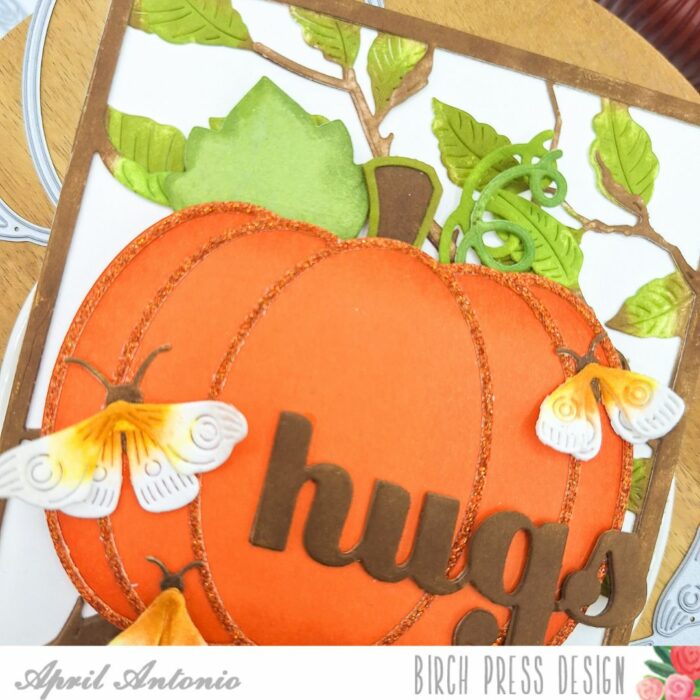
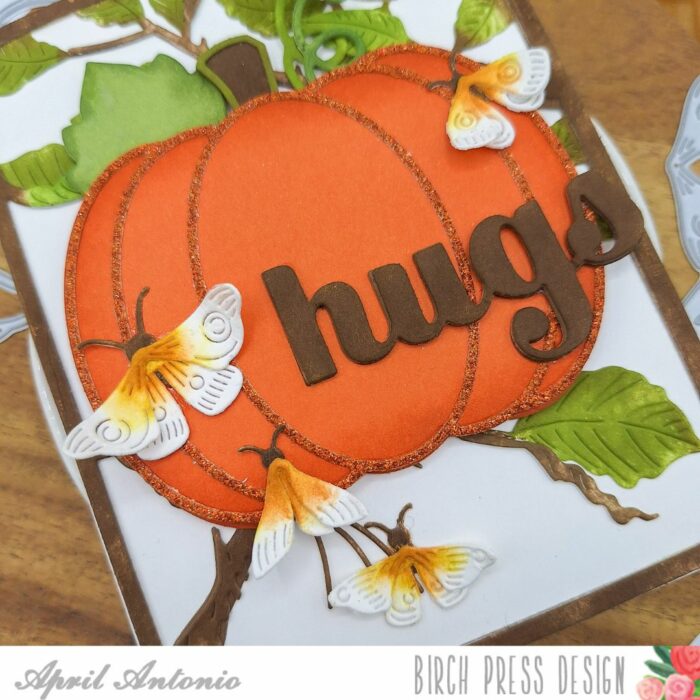
I cut the outline part from a piece of orange cardstock from the Glitzy Glitter pad. I finished off the pumpkin by ink blending the stem and leaves and adding them to the top.

For my sentiment I used the Big Hugs Sugar Script die, cutting it out three times and ink blending brown onto the layers, and gluing them together.
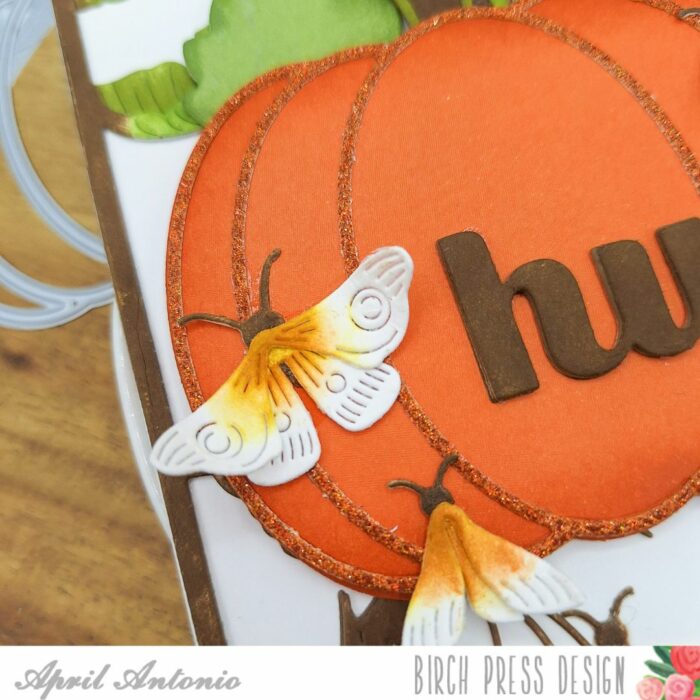
Lastly, I cut out all the dies from the Evening Moths die set from white cardstock.

Supplies

Supplies


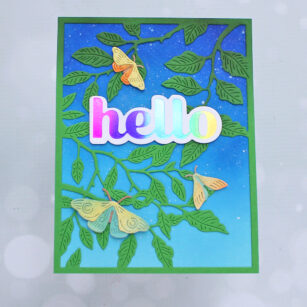
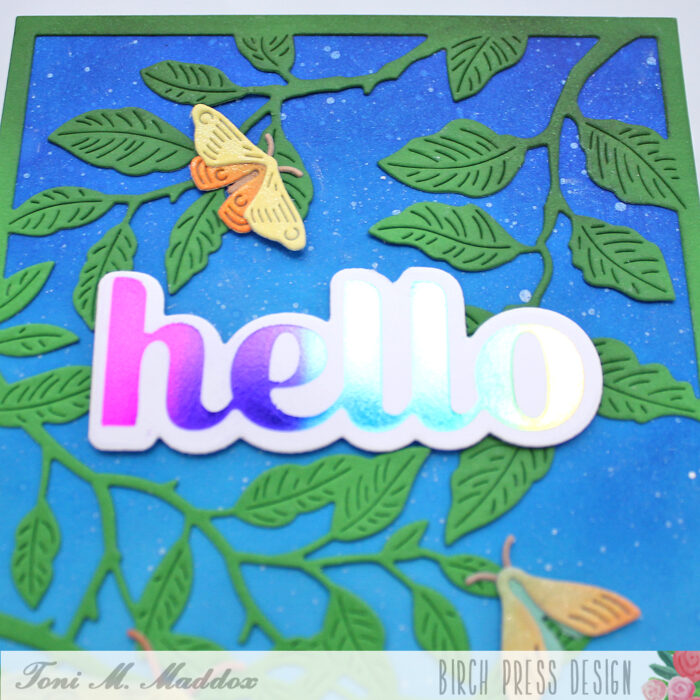
Late Summer Evenings | by Toni M Maddox
Hello, Birch Press fans! Toni here with you sharing a card the reminds me of warm summer evenings.
I cut the card base from Memory Box Fresh Aqua paper and sponged it with Catherine Pooler Suede Shoes and Something Borrowed. I spattered this with water and Copic Opaque White.
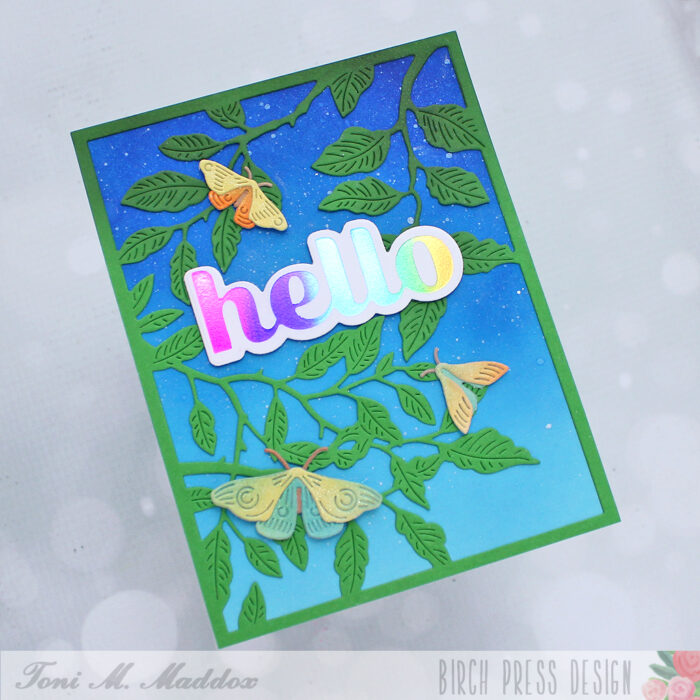
I next cut out Forest Canopy Layer C from Memory Box Cilantro Paper and sponged it with Catherine Pooler Eucalyptus.
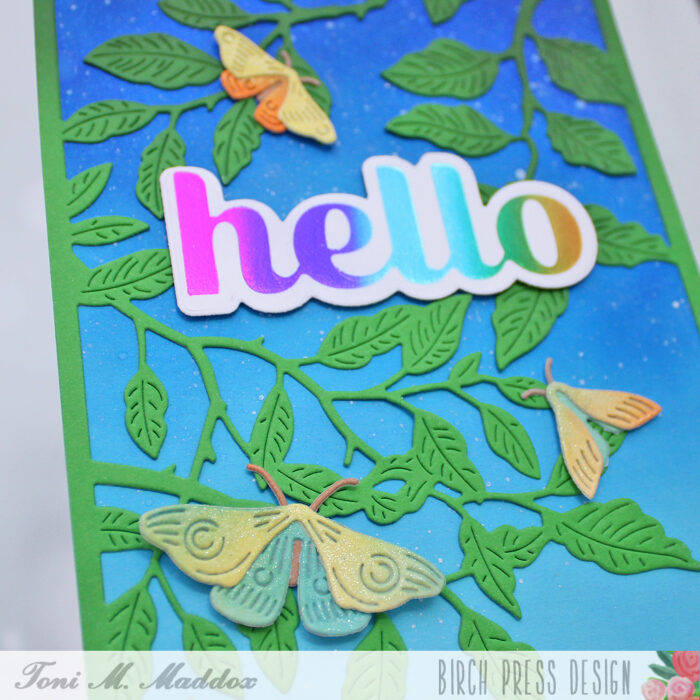
For the Memory Box Evening Moths, I randomly sponged a piece of scrap cardstock with Catherine Pooler Tiara, Tiki Torch and Something Borrowed.
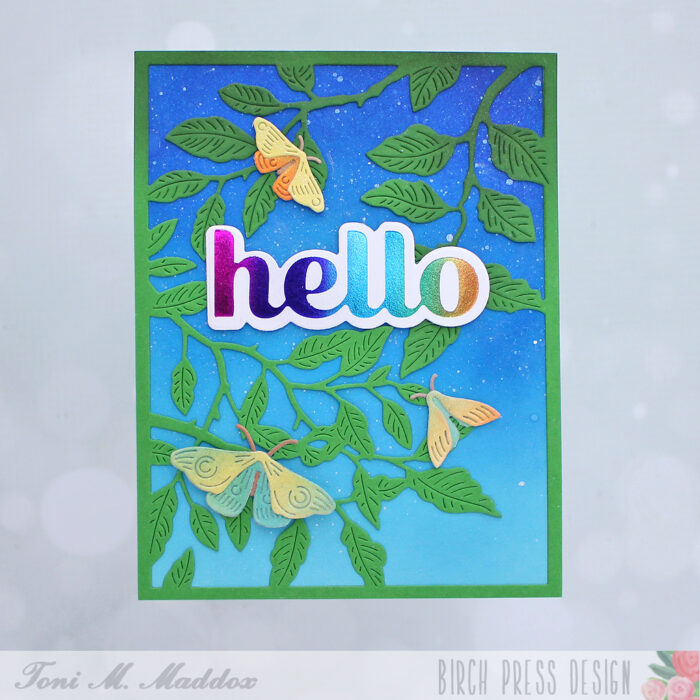
Lastly I foiled the Hello Sugar Script hot foil plated with Glimmer rainbow foil and cut it out with the coordinator word outline die. So pretty!
I hope you enjoyed today’s card and have a great rest of your week!
Supplies


