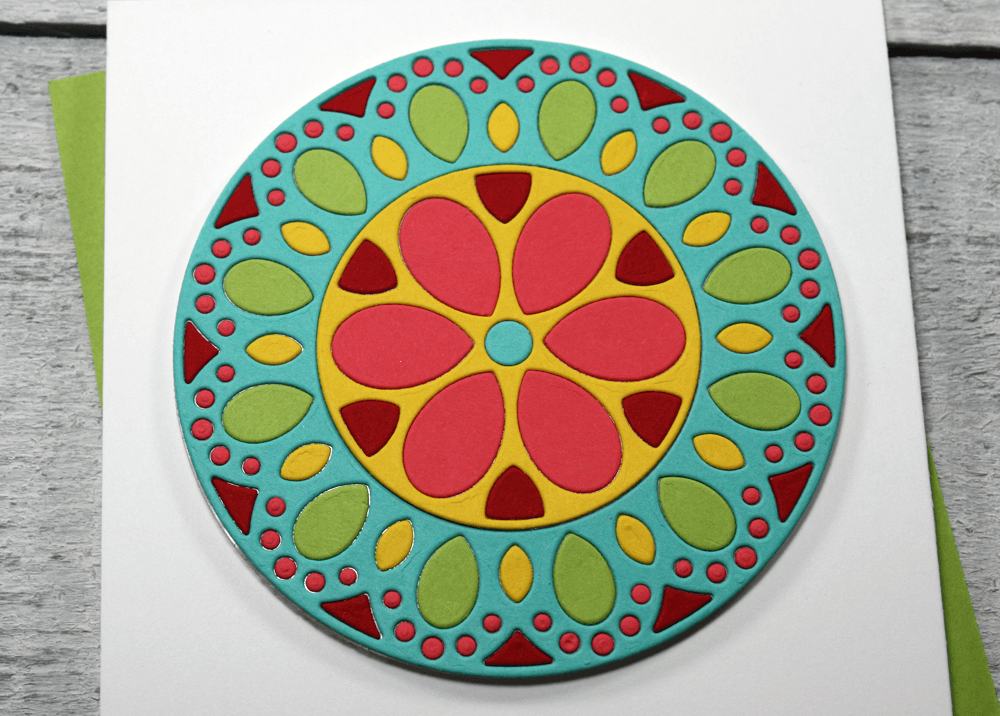
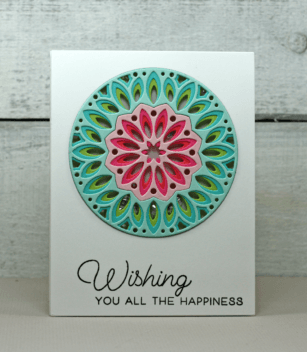
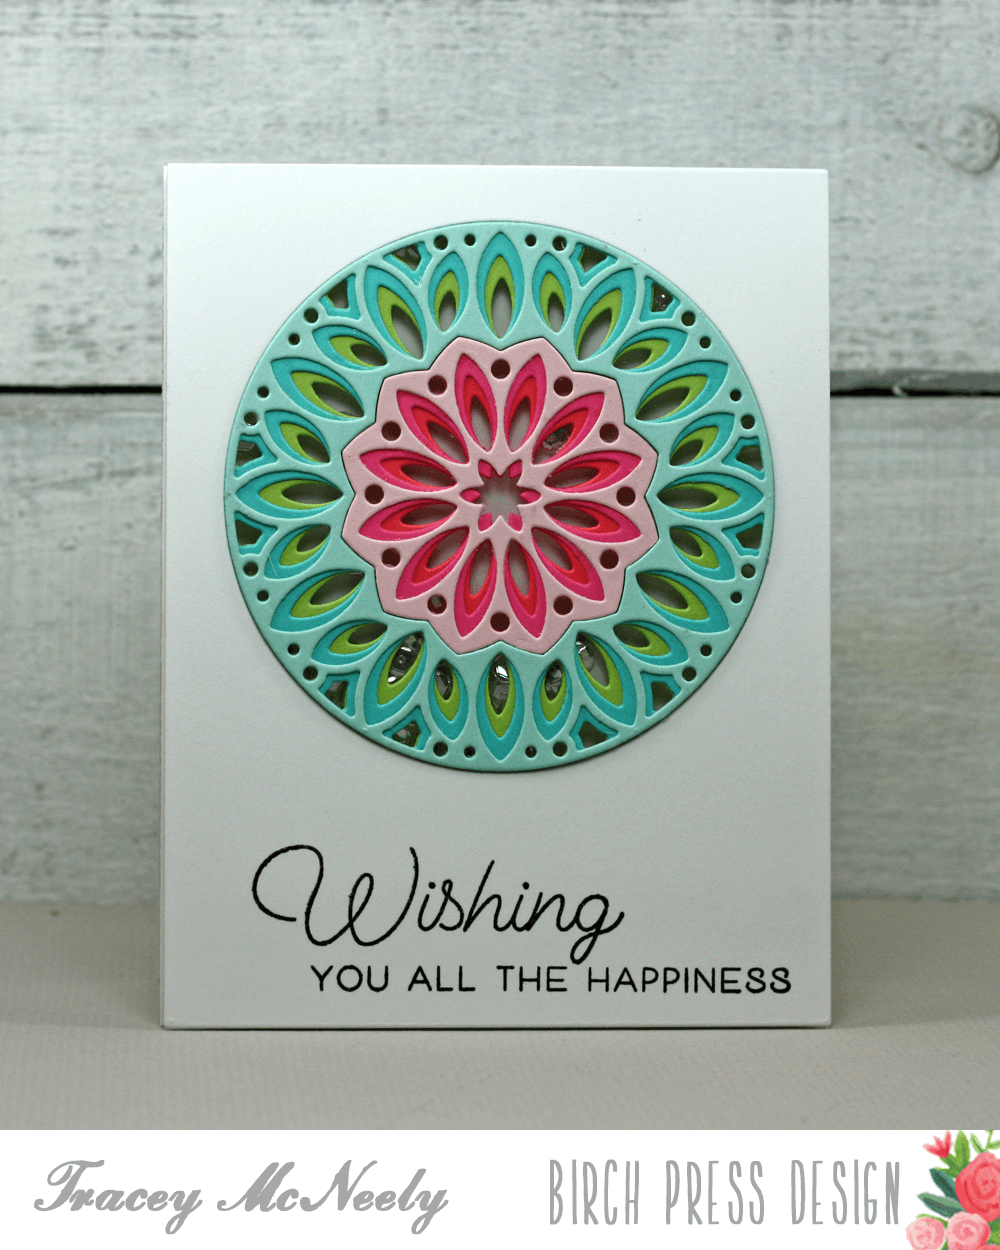
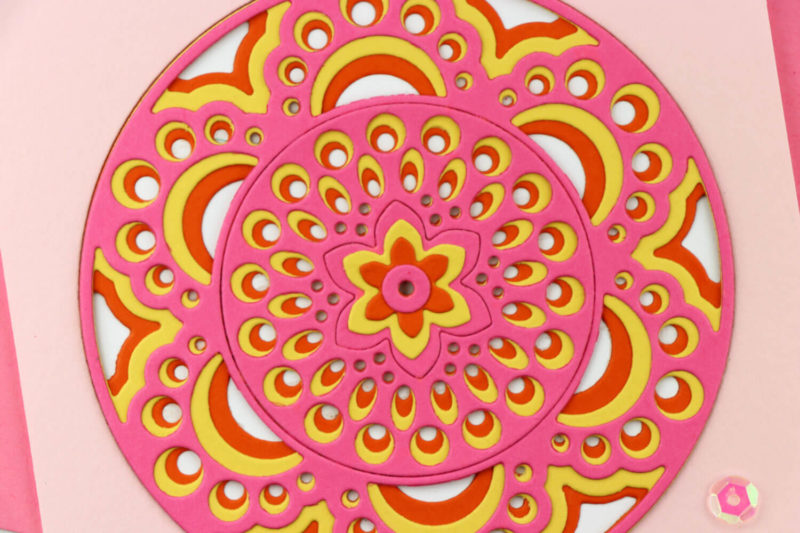
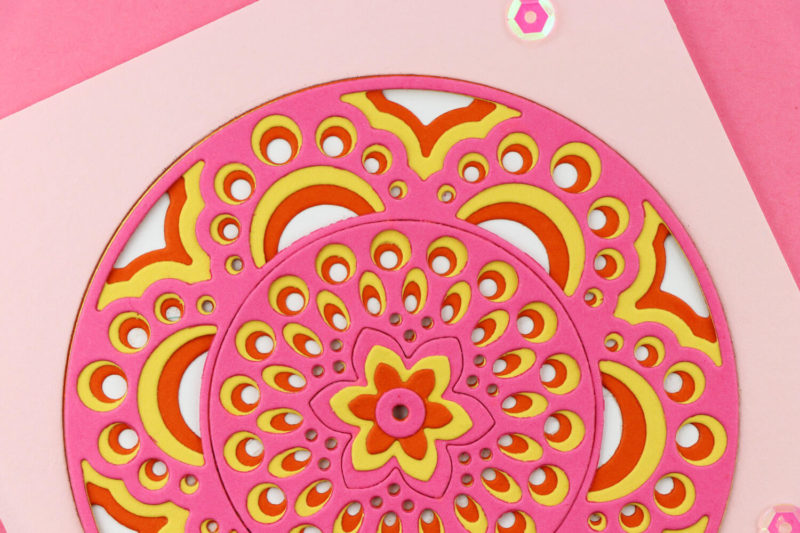
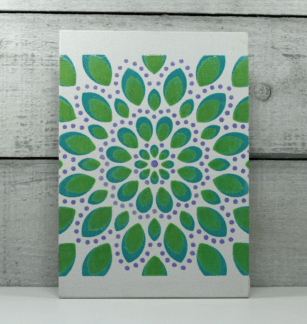
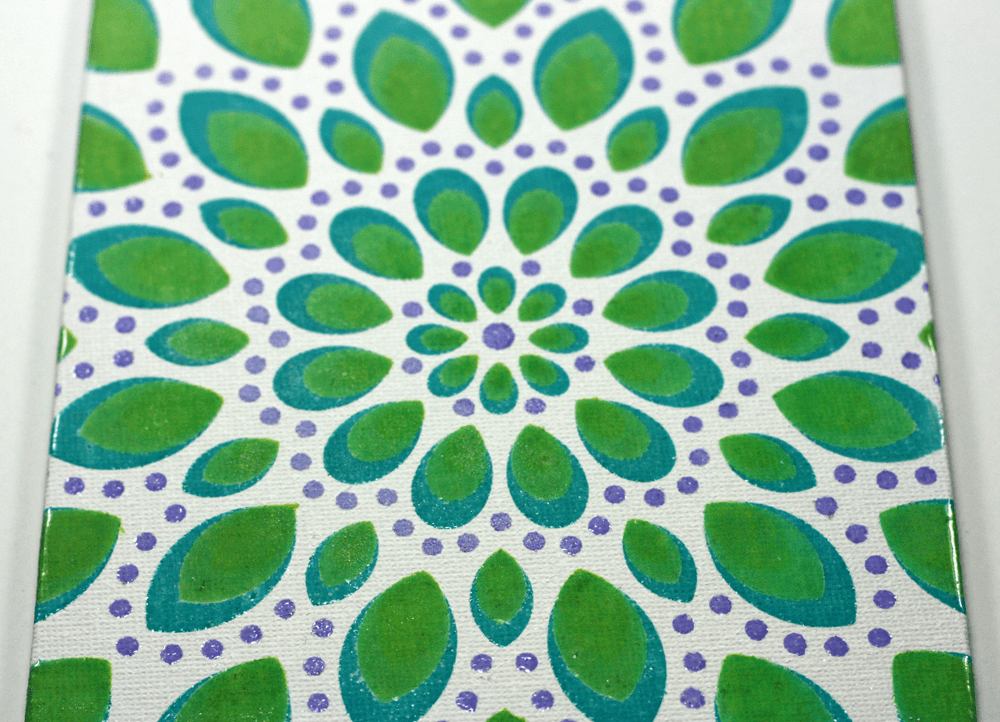
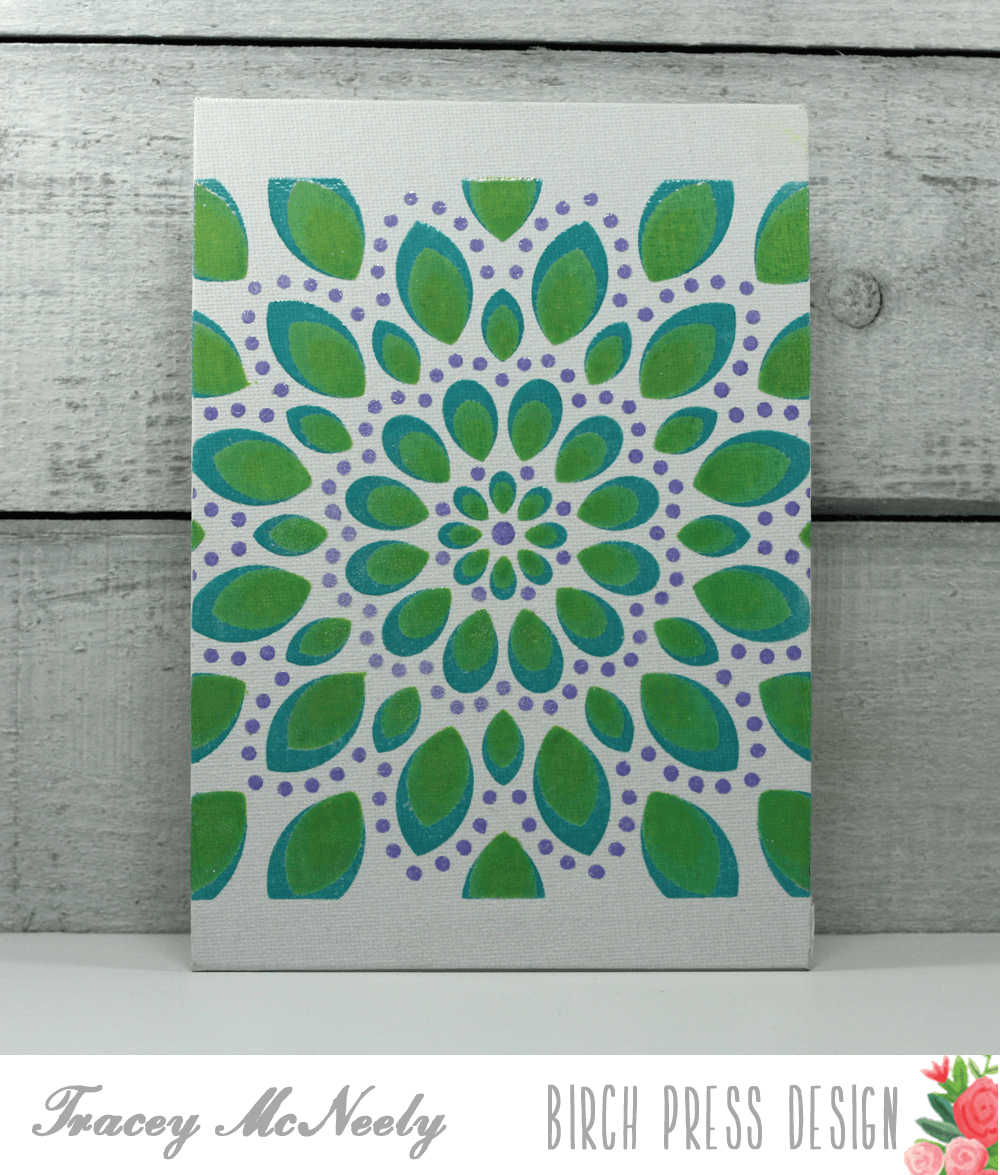
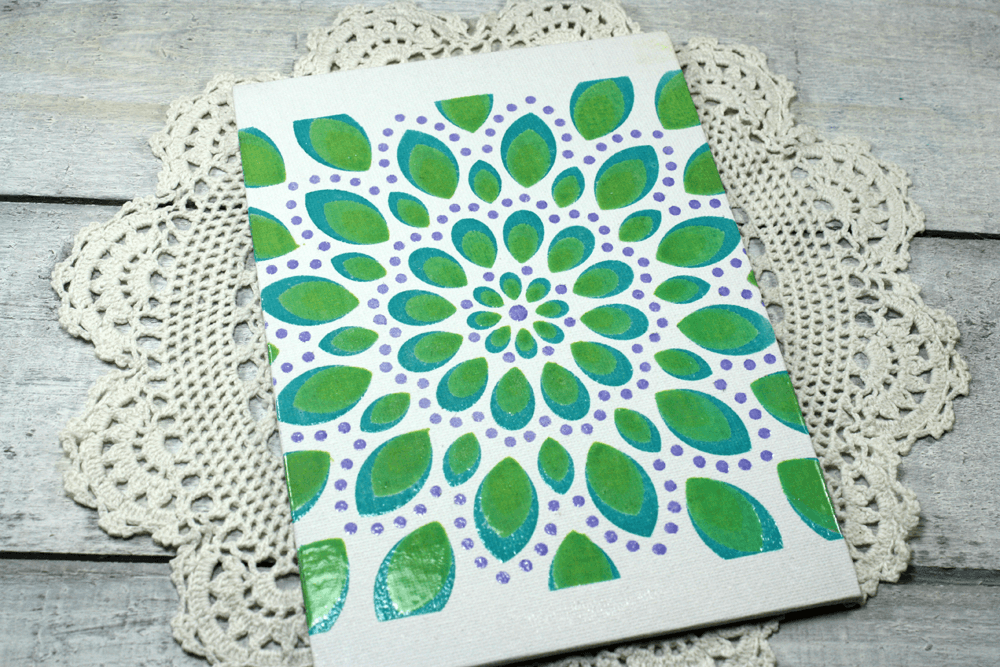
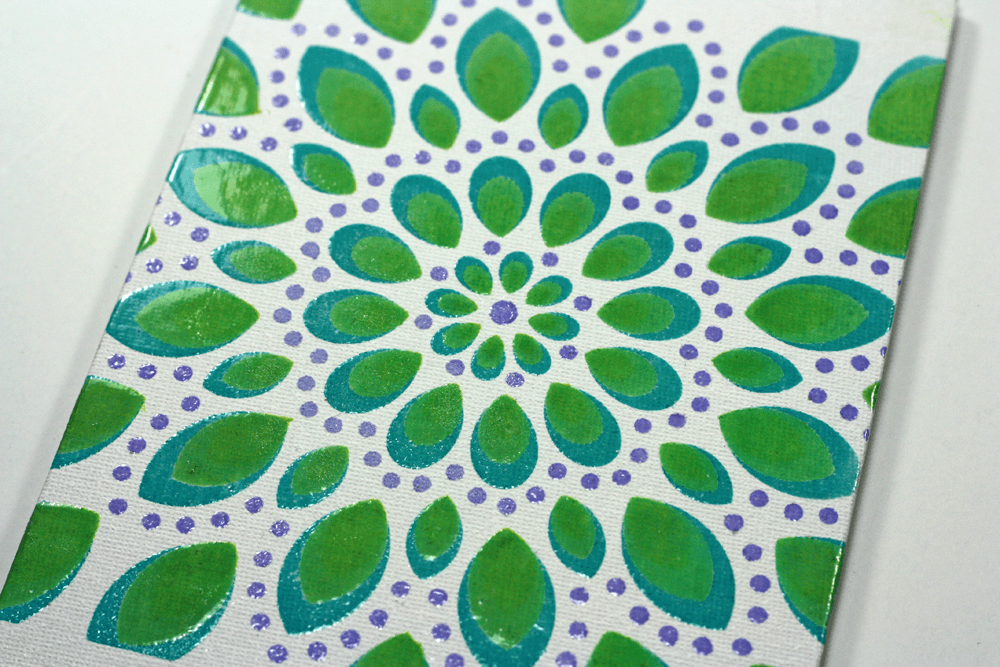
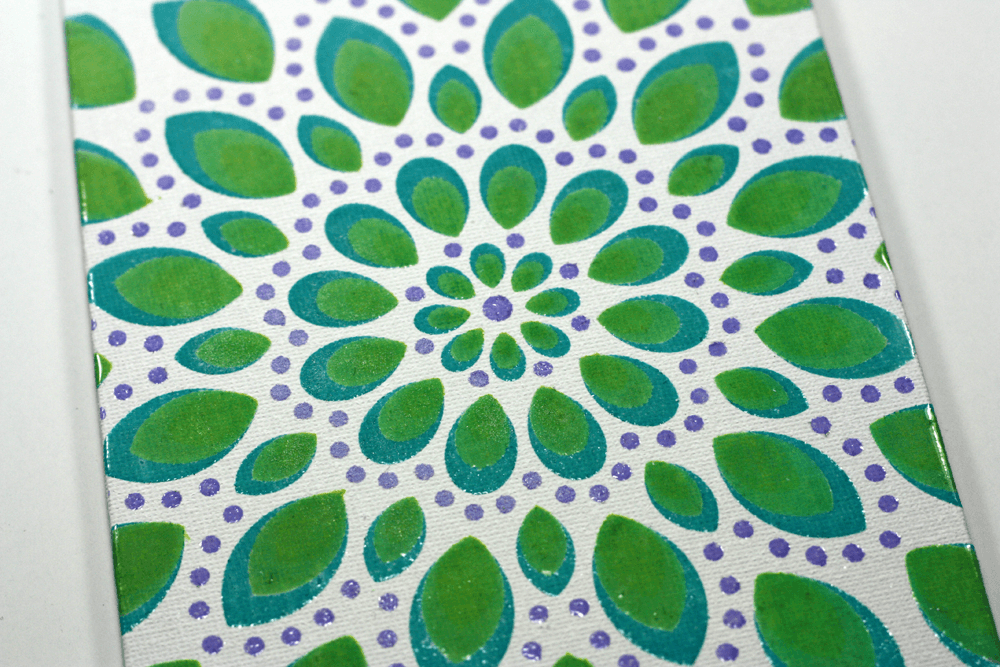
Do you like one layer cards that are easy for mailing? Today I am creating a beautiful mandala in four colours using just one mandala die. The beautiful Viva Layer A mandala is going to be the start of the show as all of the pieces are being inlaid into the card. 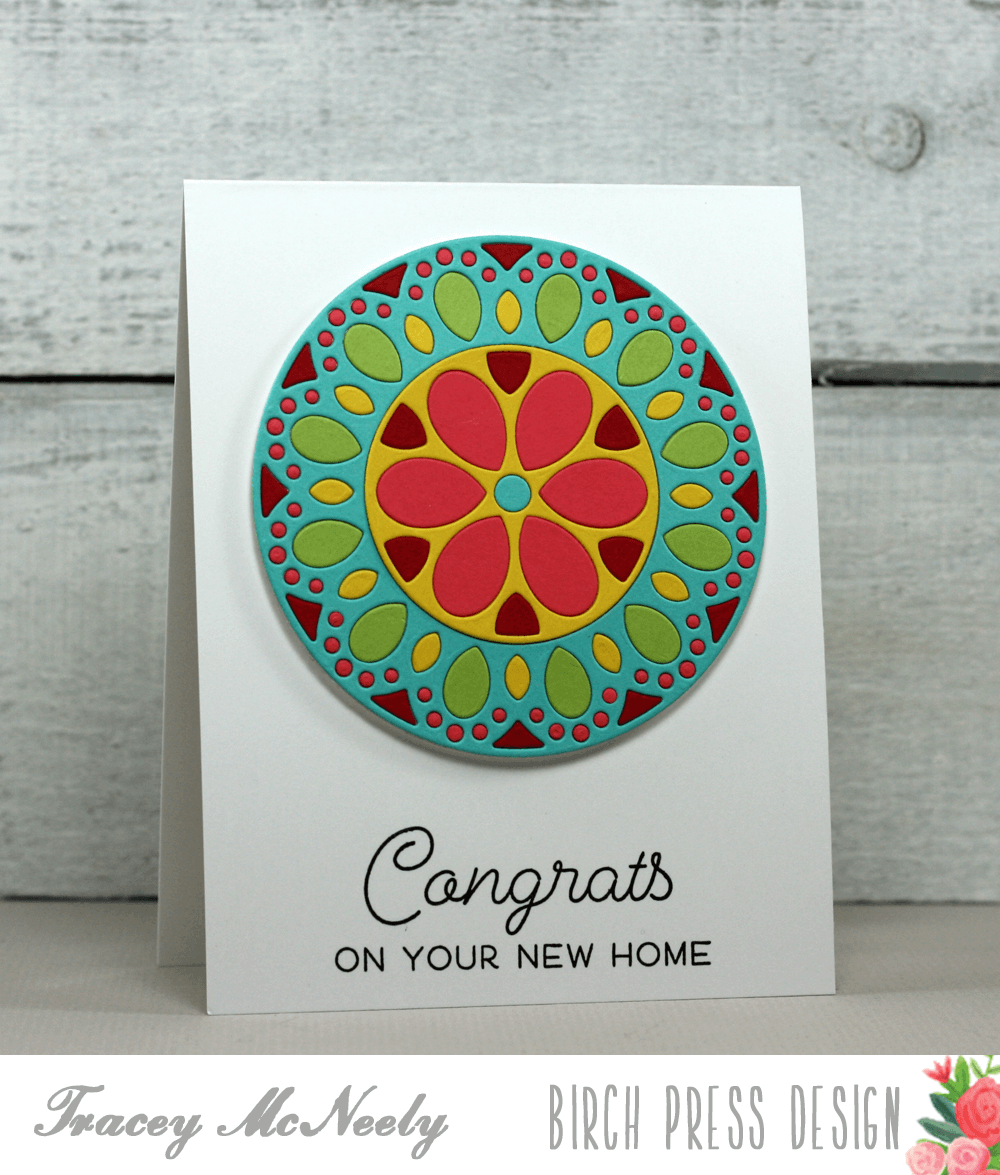
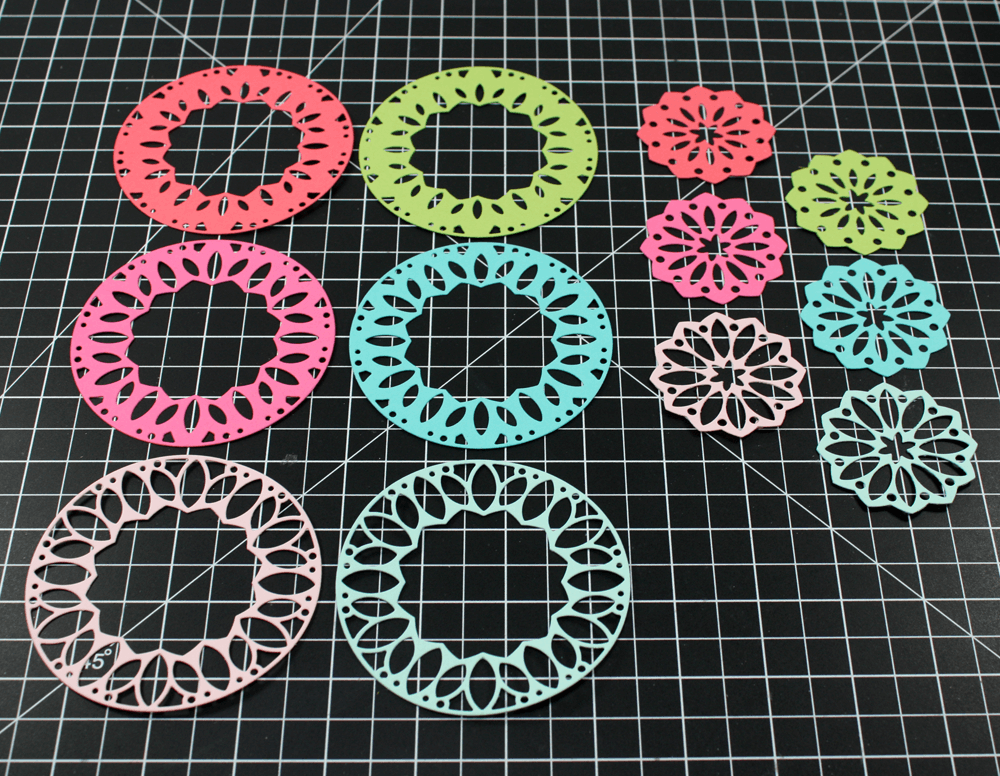
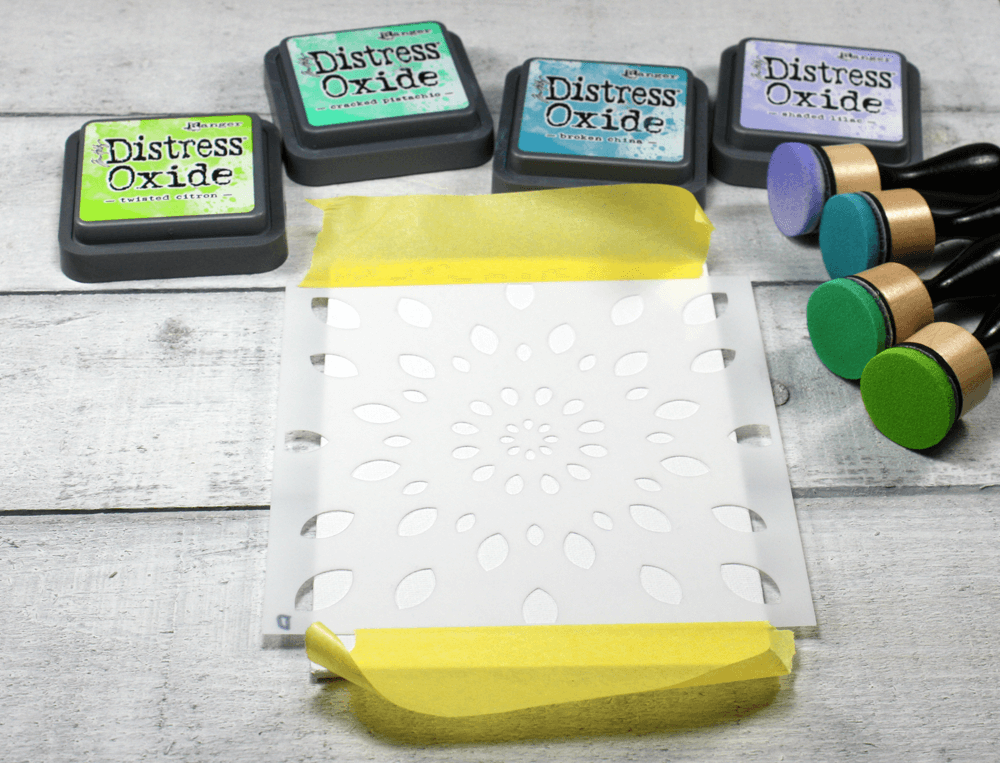
To create this card I started with the Mandala Circle Base that I die cut once with white cardstock and once with a piece of double sided adhesive paper. Using the Circle Base makes doing the inlaid mandala’s so much easier. The double sided adhesive paper die cuts were adhered the outter rim and the inner circle die cuts. The Viva Layer A die was cut once in each of five colours. Removing the adhesive baking from the circle base exposes the adhesive. Mix and match the colours and inlay the pieces.
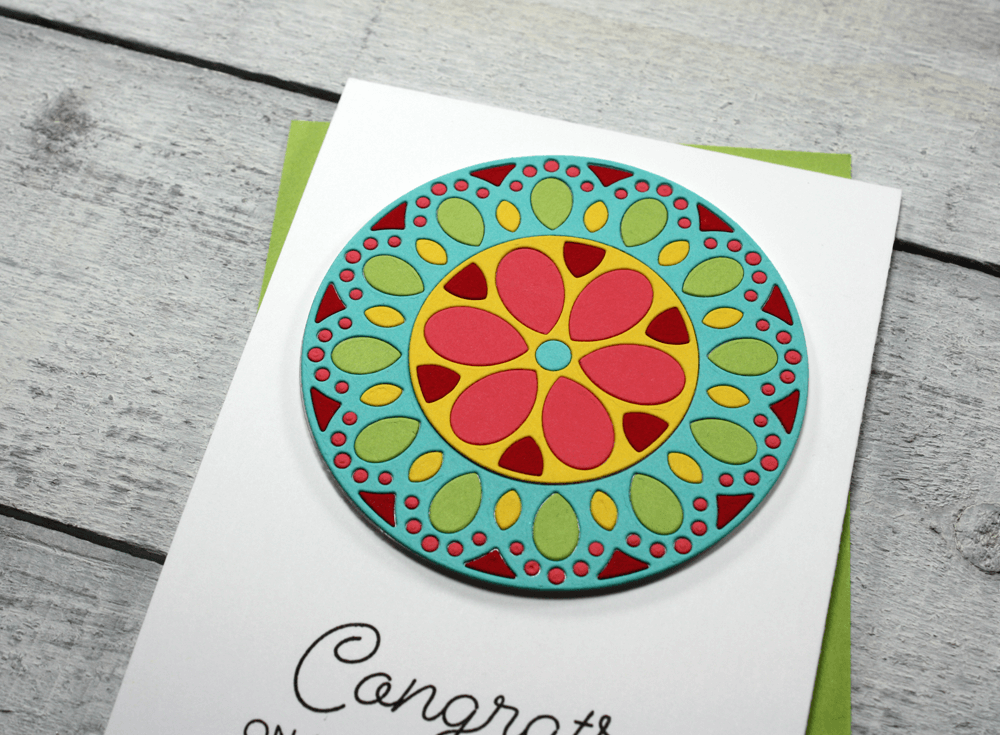
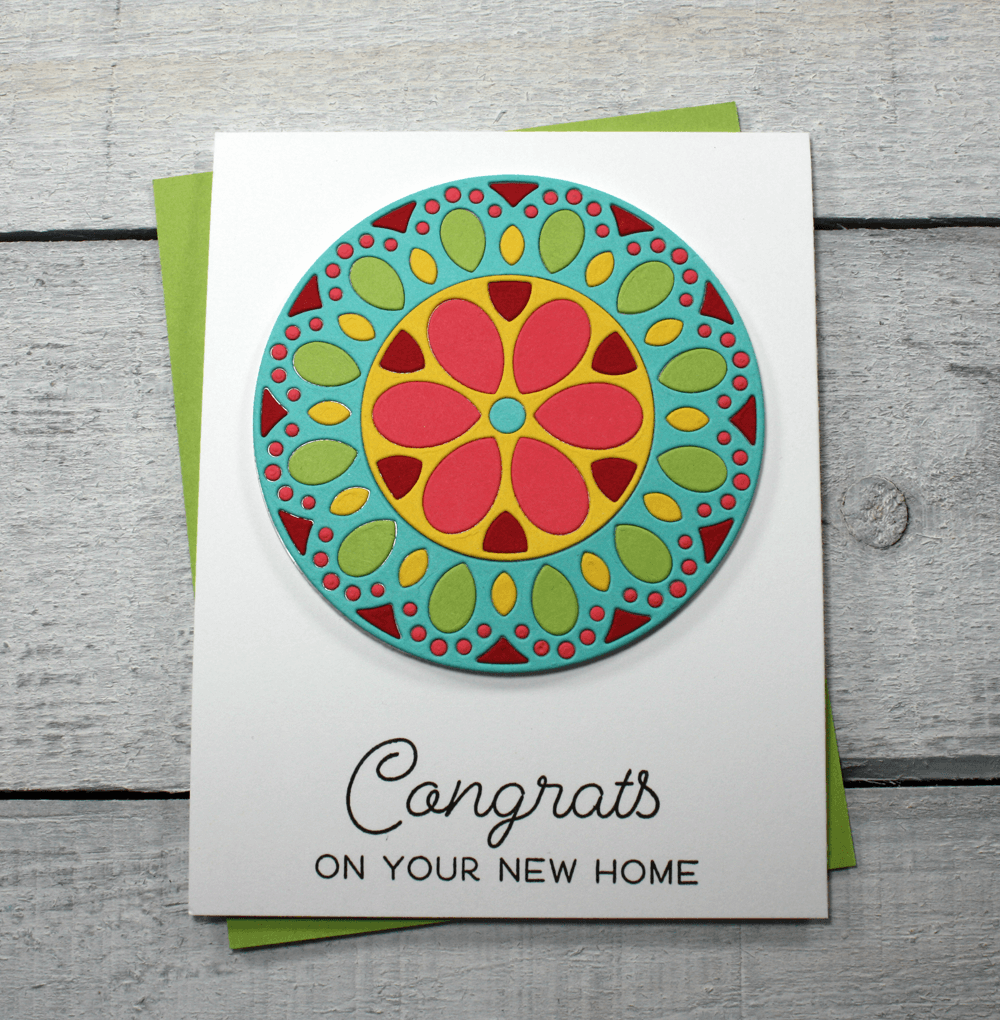
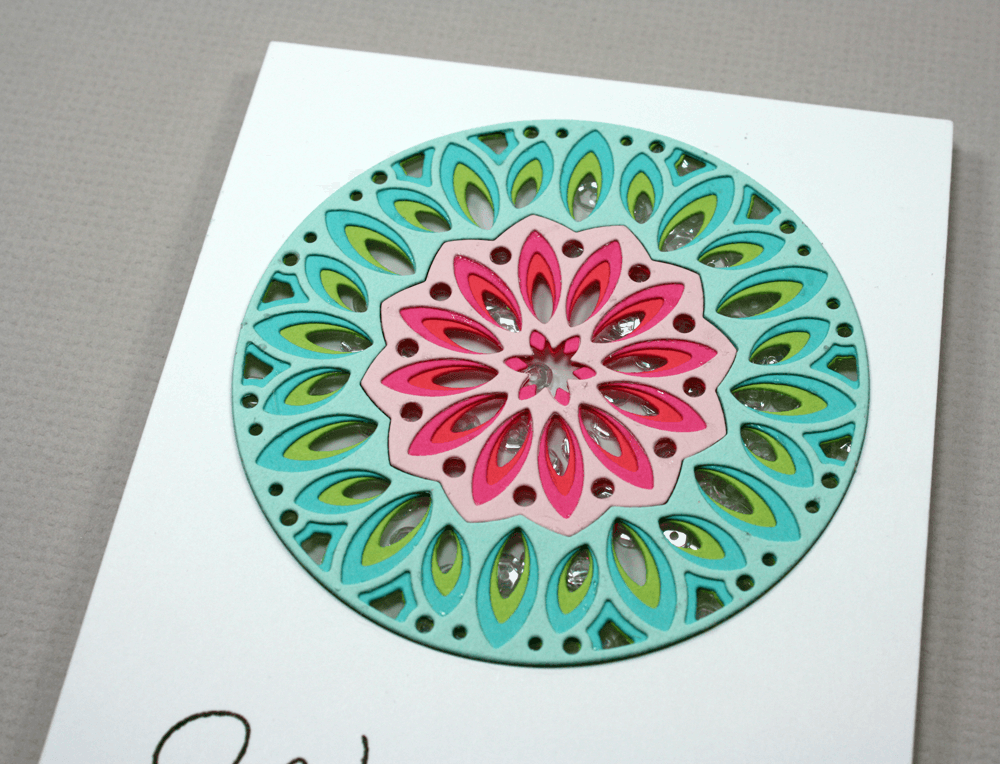
All of the colours together make this card very festive. To add more interest and dimension to the card the mandala was popped up with foam tape.

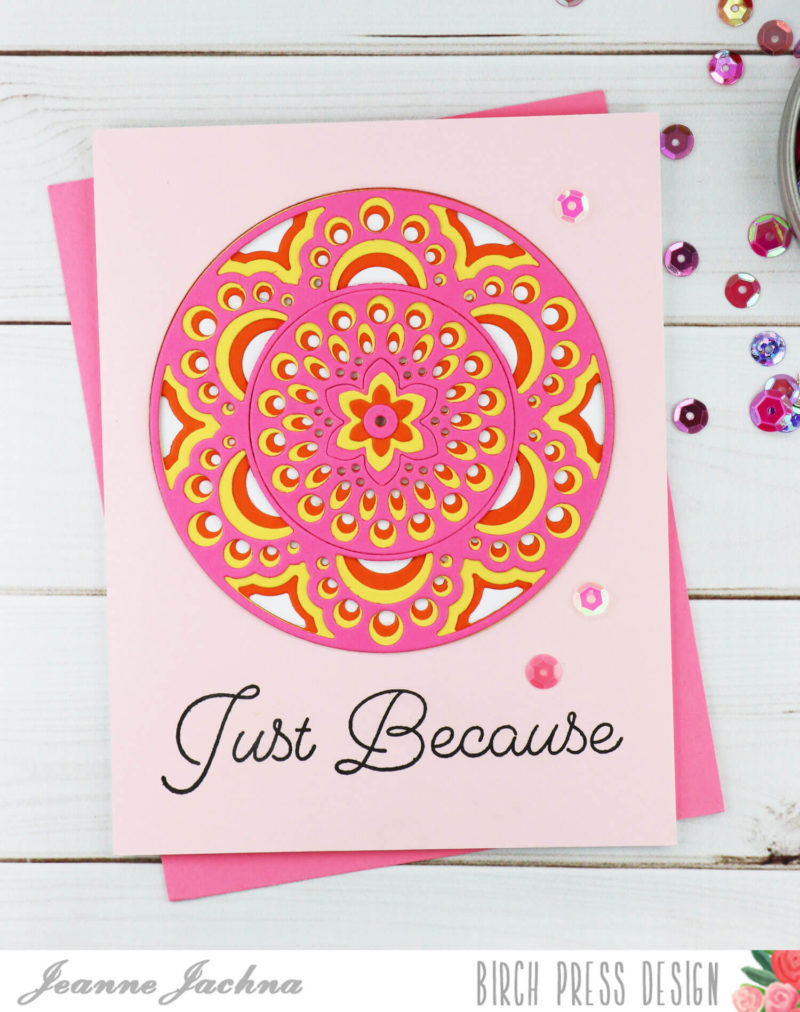
A sentiment from Hooray for Everything was used to make this a congratulatory card for a new home. I have a couple more of these to finish up using the extra pieces from each of the mandalas die cut.

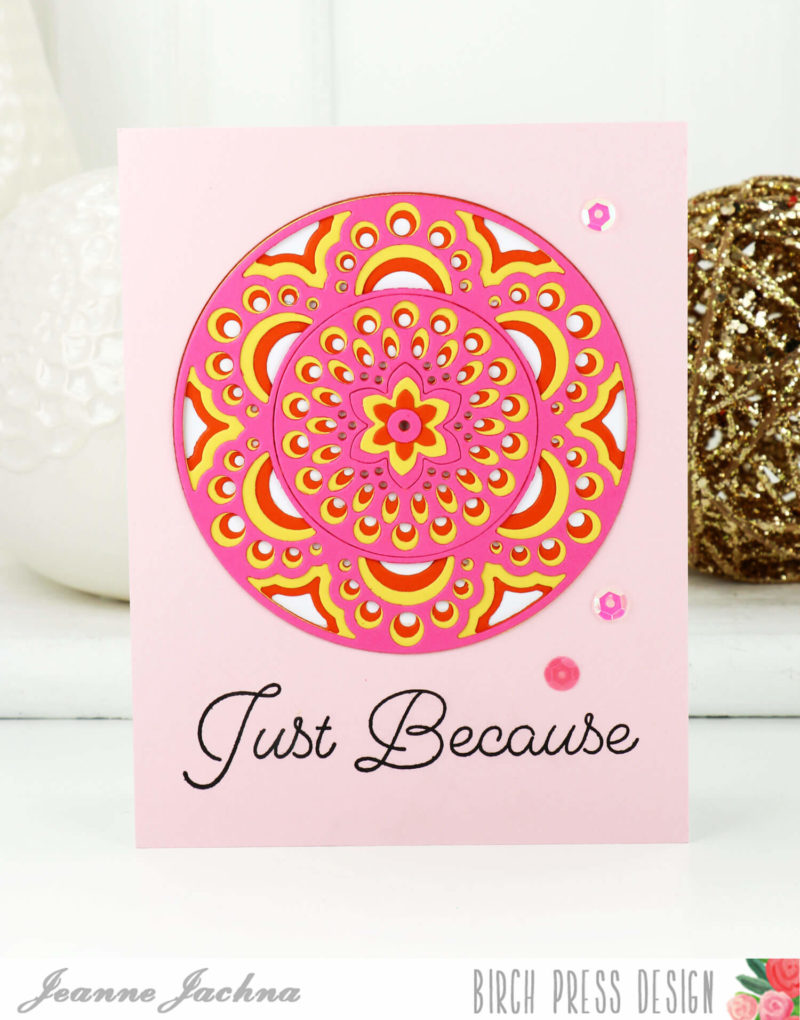
One more look at the card.
Thank you so much for dropping in today for another inspiration post. Inlaid die cuts are beautiful with our mandala craft dies, I hope I inspired you today to give it a try.

Supplies


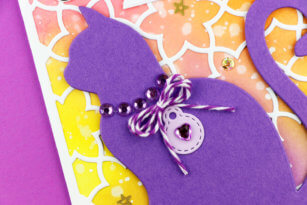
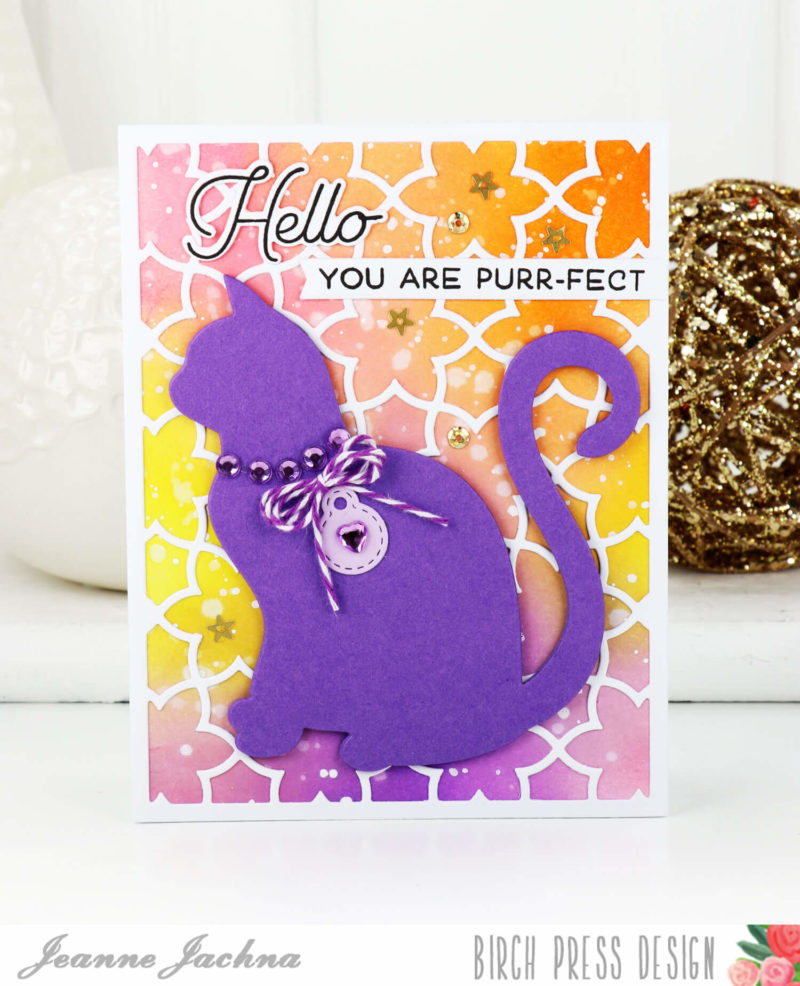
 Do you love animals? For most of my life I’ve been surrounded by different pets. I’ve had dogs and cats and lots of more interesting things my children have brought home for some TLC… baby bunnies and birds, toads and turtles. My card today features the Purrfect Cats die cut.
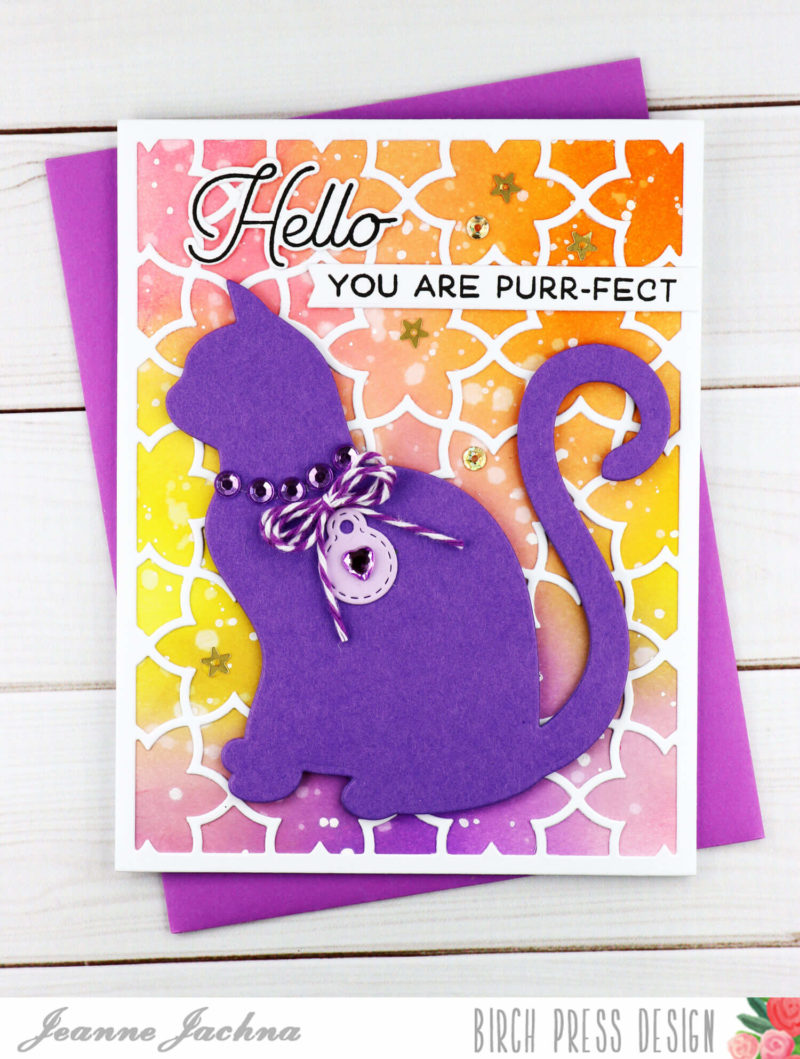 I love the intricate layered dies from Birch Press Design but I confess that I am always hesitant to cover them up. The backgrounds are so beautiful I always think they should take center stage. Sometimes I worry that if I add die cuts and embellishments that my card will look too busy or cluttered.
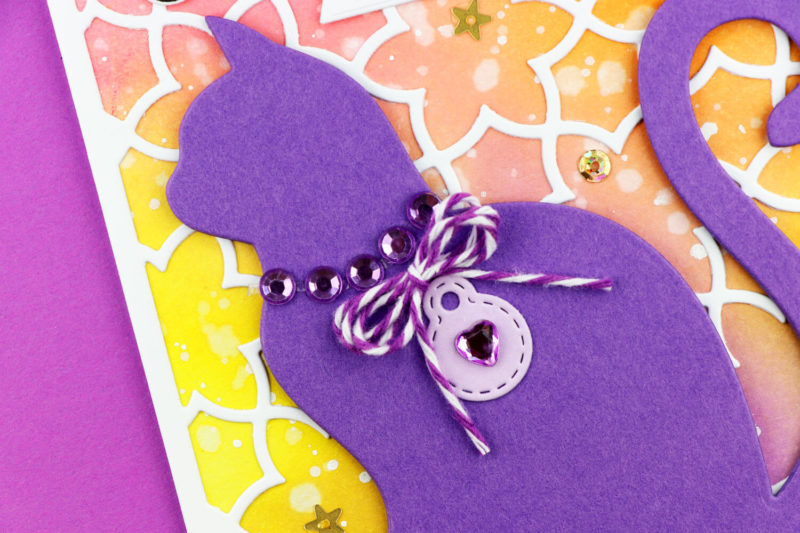
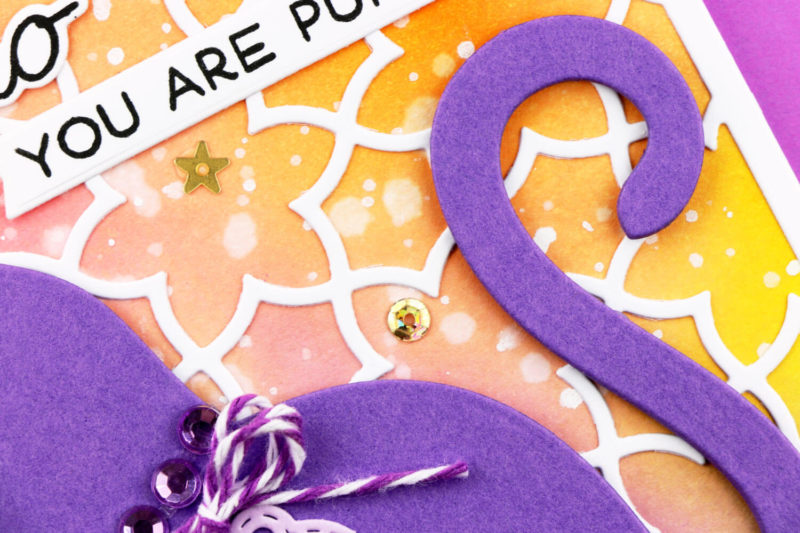 I started my card with a distress ink background in Squeezed Lemonade, Mustard Seed, Dried Marigold, Worn Lipstick and Wilted Violet. The panel was splattered with water and white ink before I topped it with a Sevilla Layer A die cut. The Purrfect Cats die cut works well with the busy background because it is a large solid die cut in contrast with the detailed colorful background.
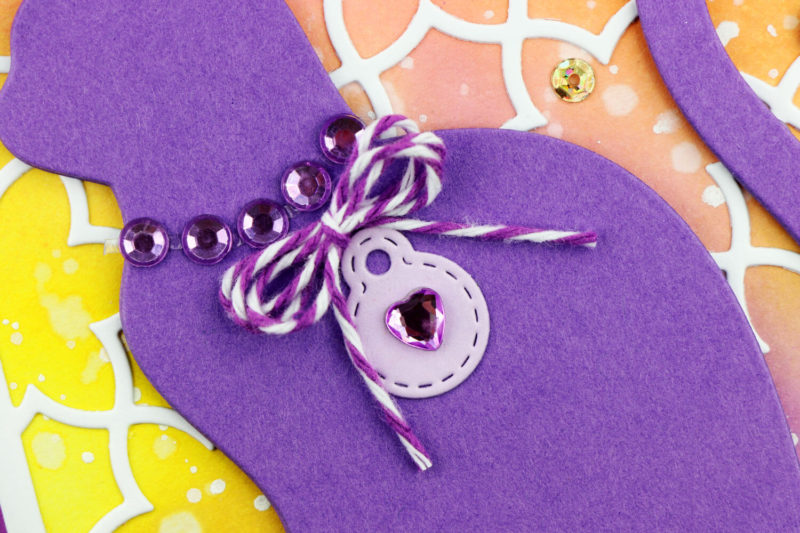 I triple cut the cat and glued the die cuts together to make one thick die cut. I embellished the cat with some rhinestones, a twine bow and a bitty die cut tag. The background is embellished with gold sequins from the Not So Heavy Metal tin from the store.
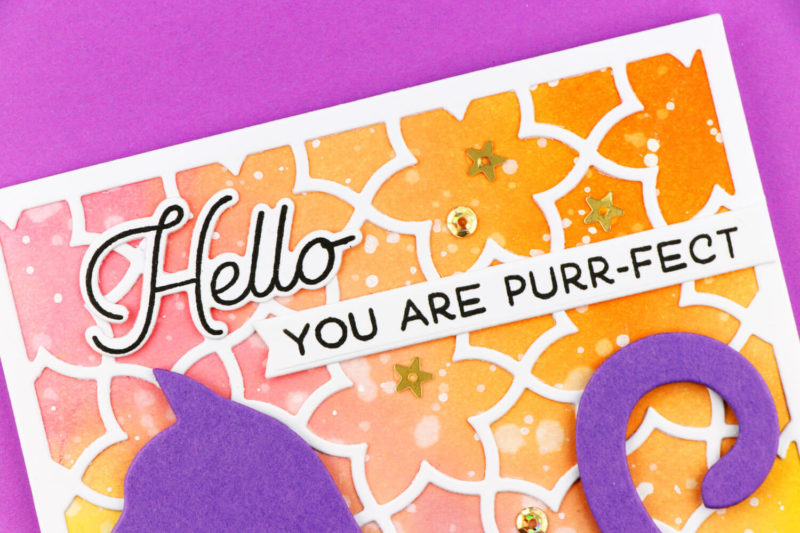 The sentiment is from the Love and Miss You stamp set. The coordinating die set cuts the large word sentiments from the stamp set.