Hi there! Laurie here with you today sharing some crafty inspiration with you!
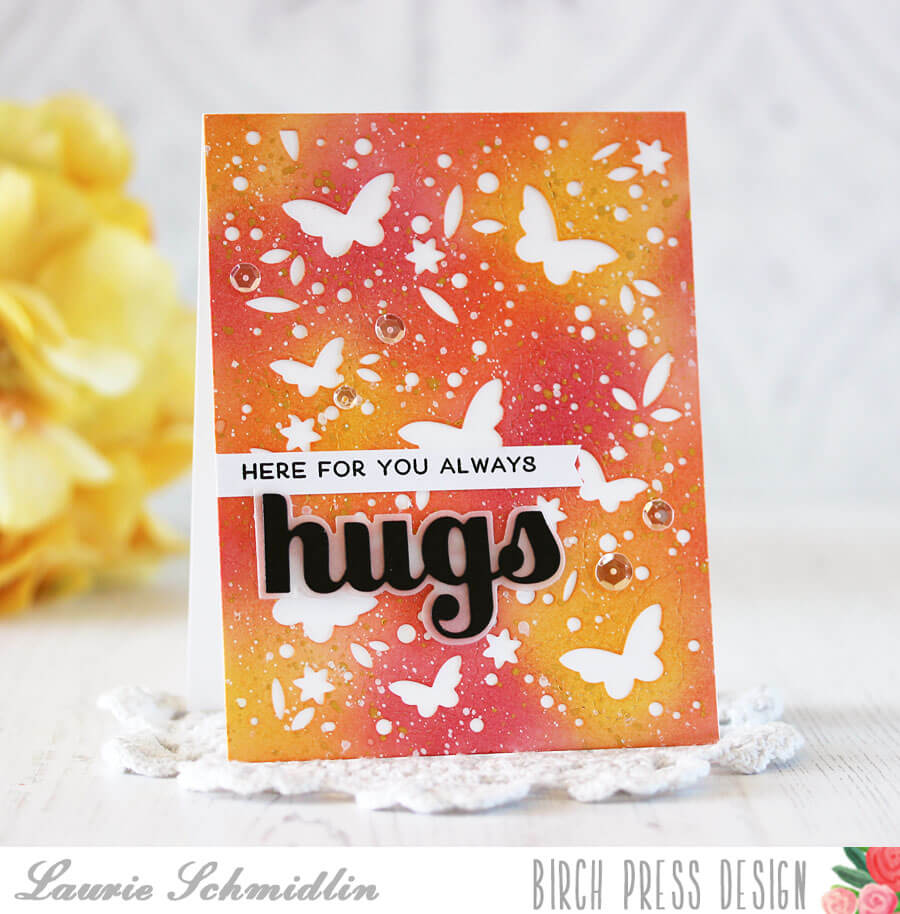
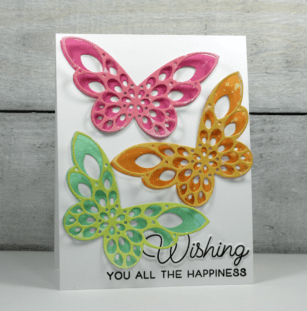
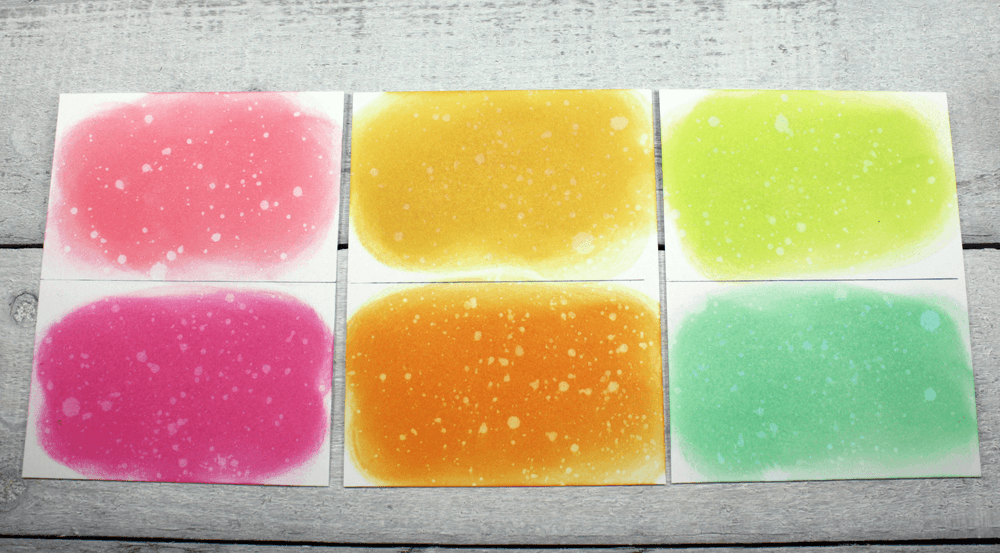
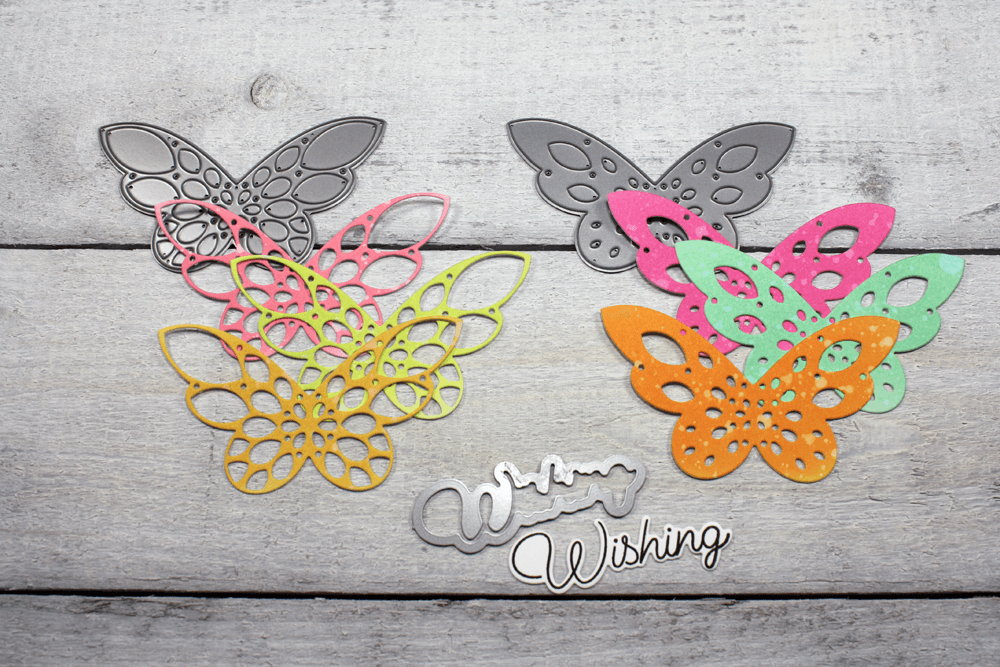
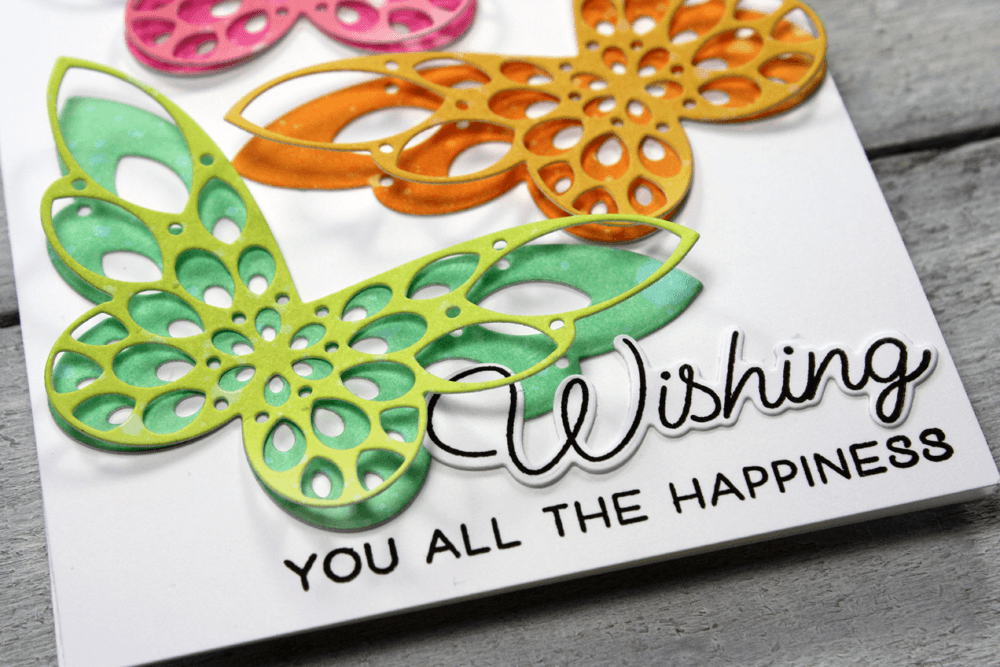
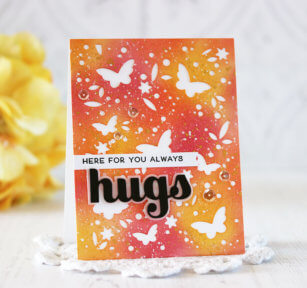
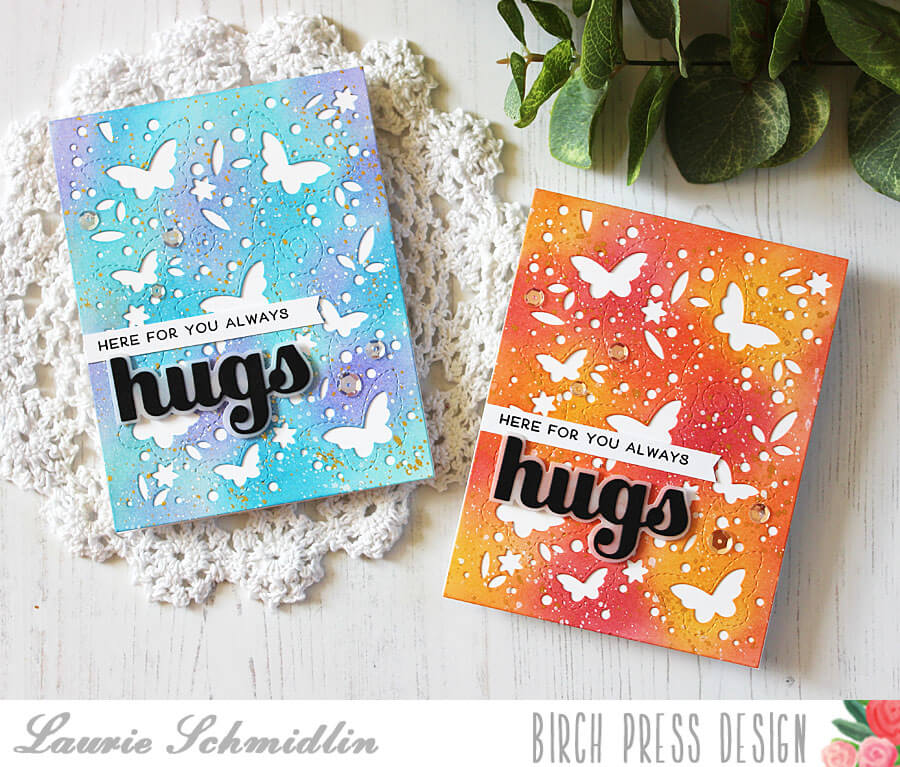
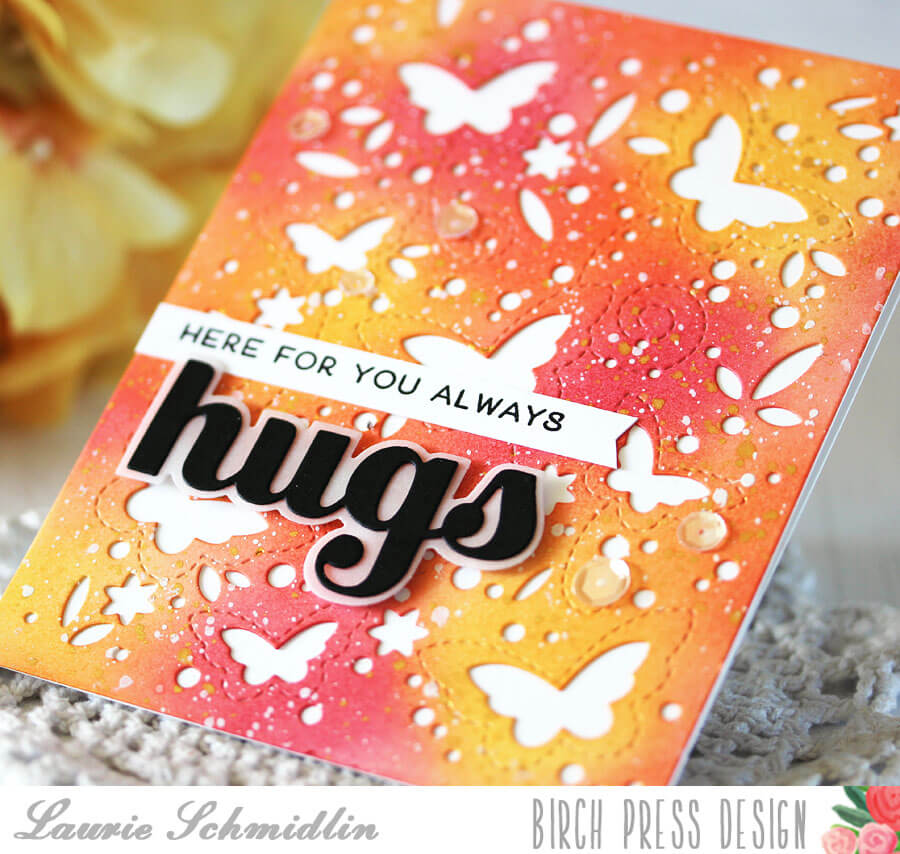
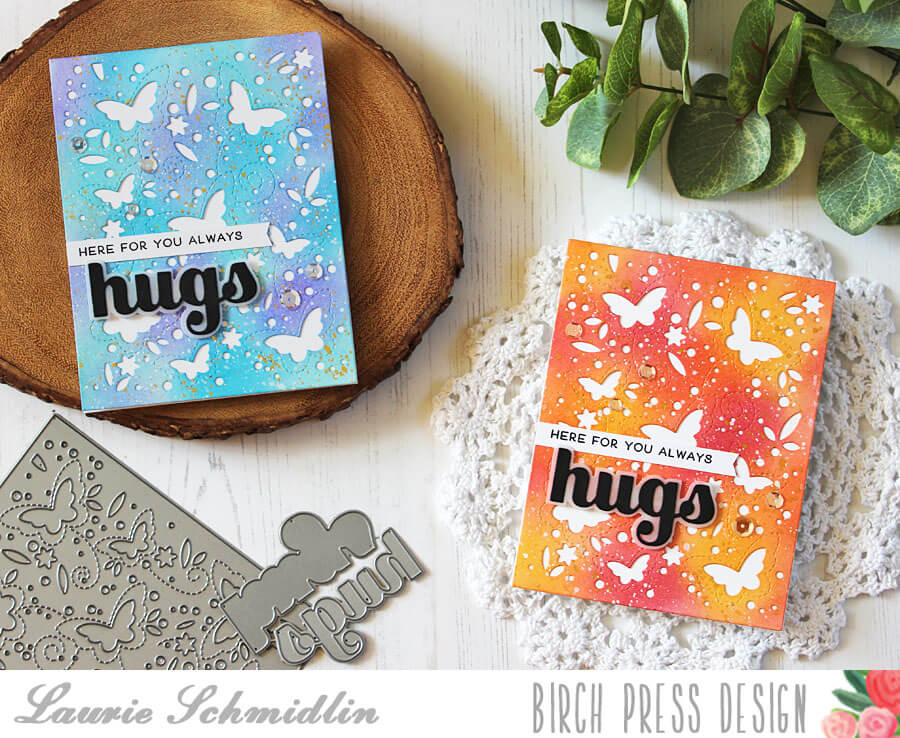
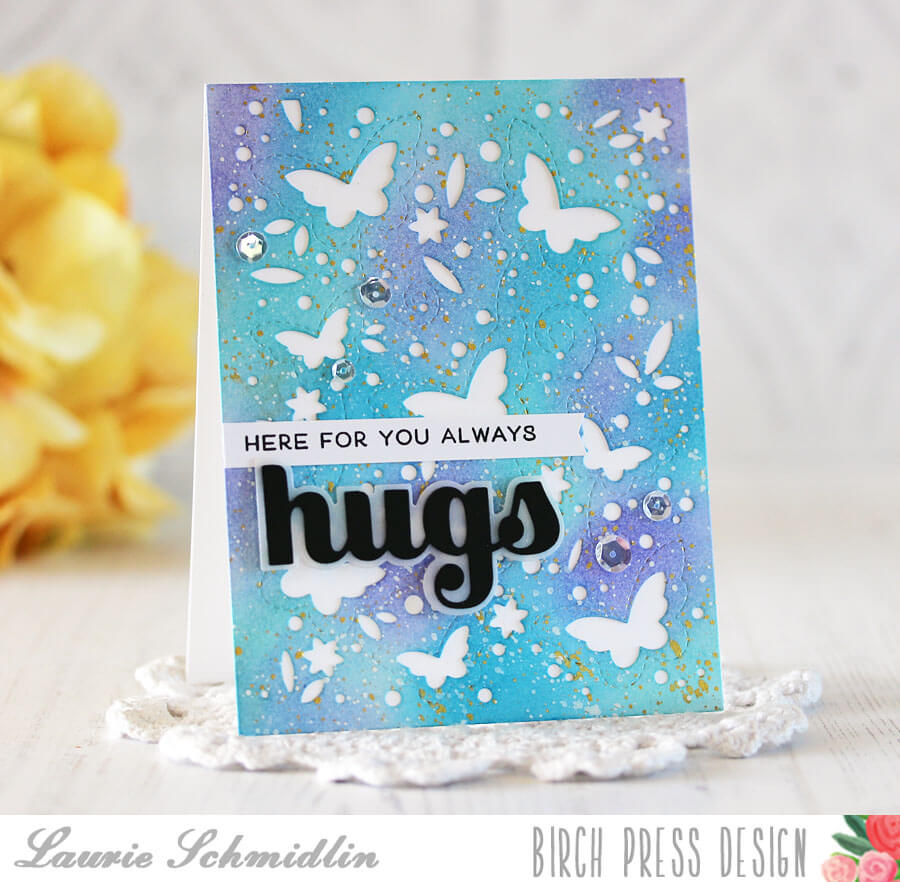
I created two cards using the Butterfly Garden Plate Layer C die. For the first one, I used warm ink colors that I sponged onto the die cut panel.
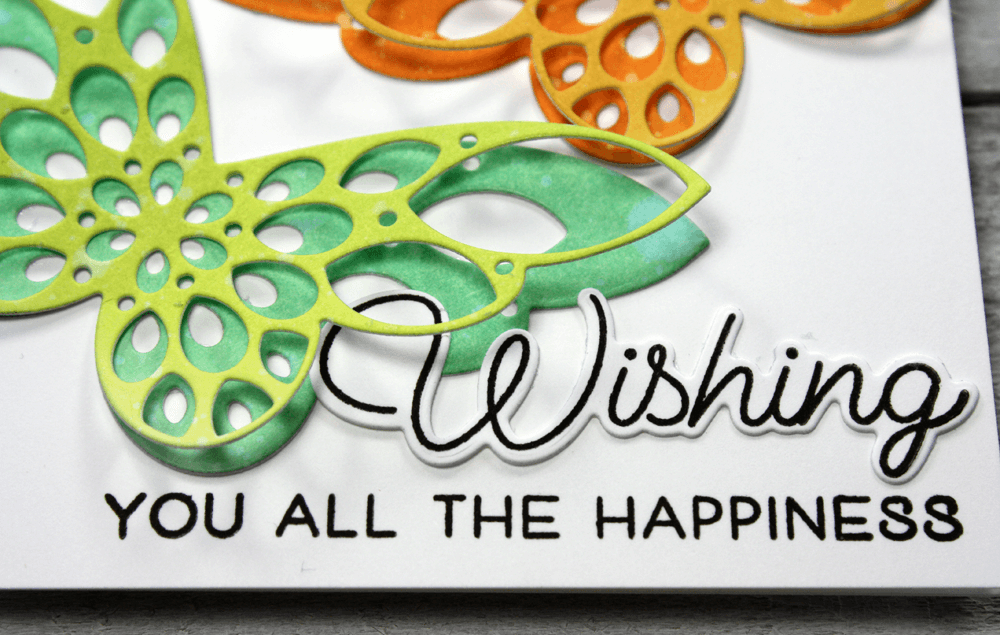
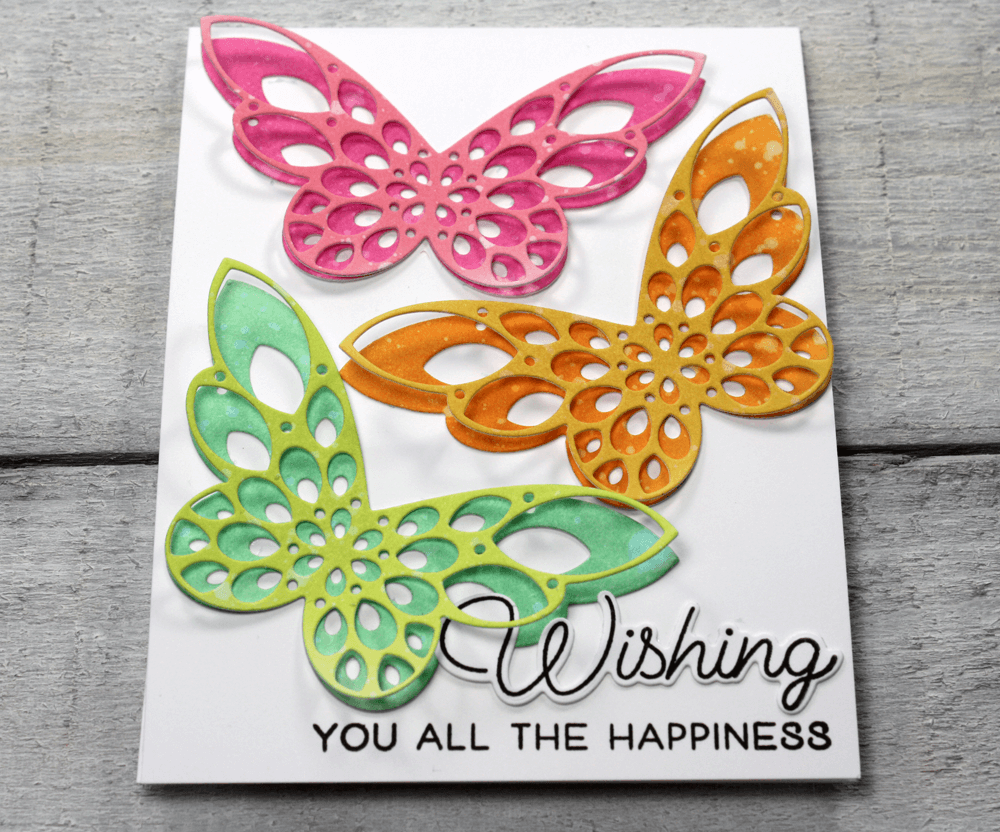
For the sentiment I die cut the Big Hugs die from black cardstock and mounted it on a vellum shadow layer. The great thing about this die set is that both the word and shadow layer dies are included together!
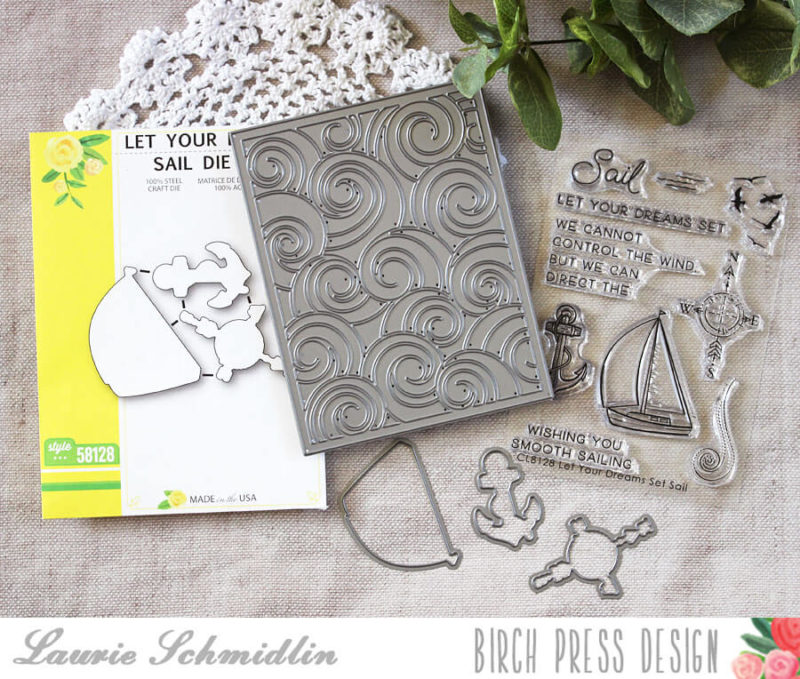
The stamped sentiment is from the Dragonfly Greetings clear stamp set.
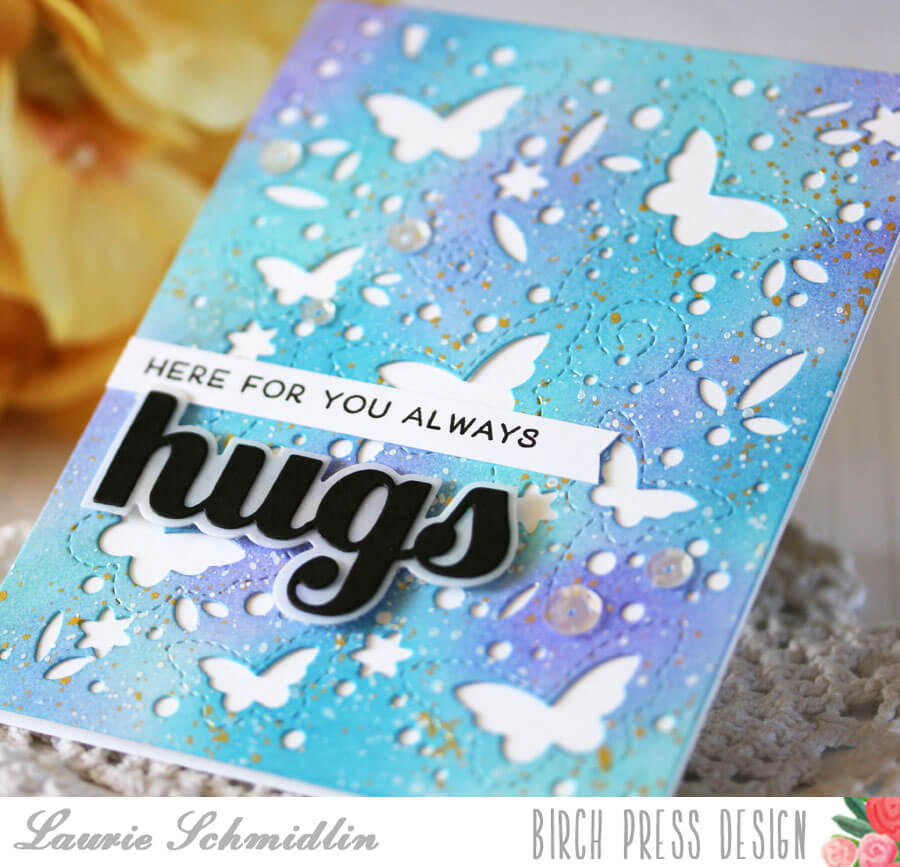
When I’m needing to replenish my card stash, I try to create multiple cards at the same time. It really doesn’t take that much longer to die cut the layers twice instead of only once. Even though I chose different colors to sponge on the background, I used the same gold and white paint to splatter on.
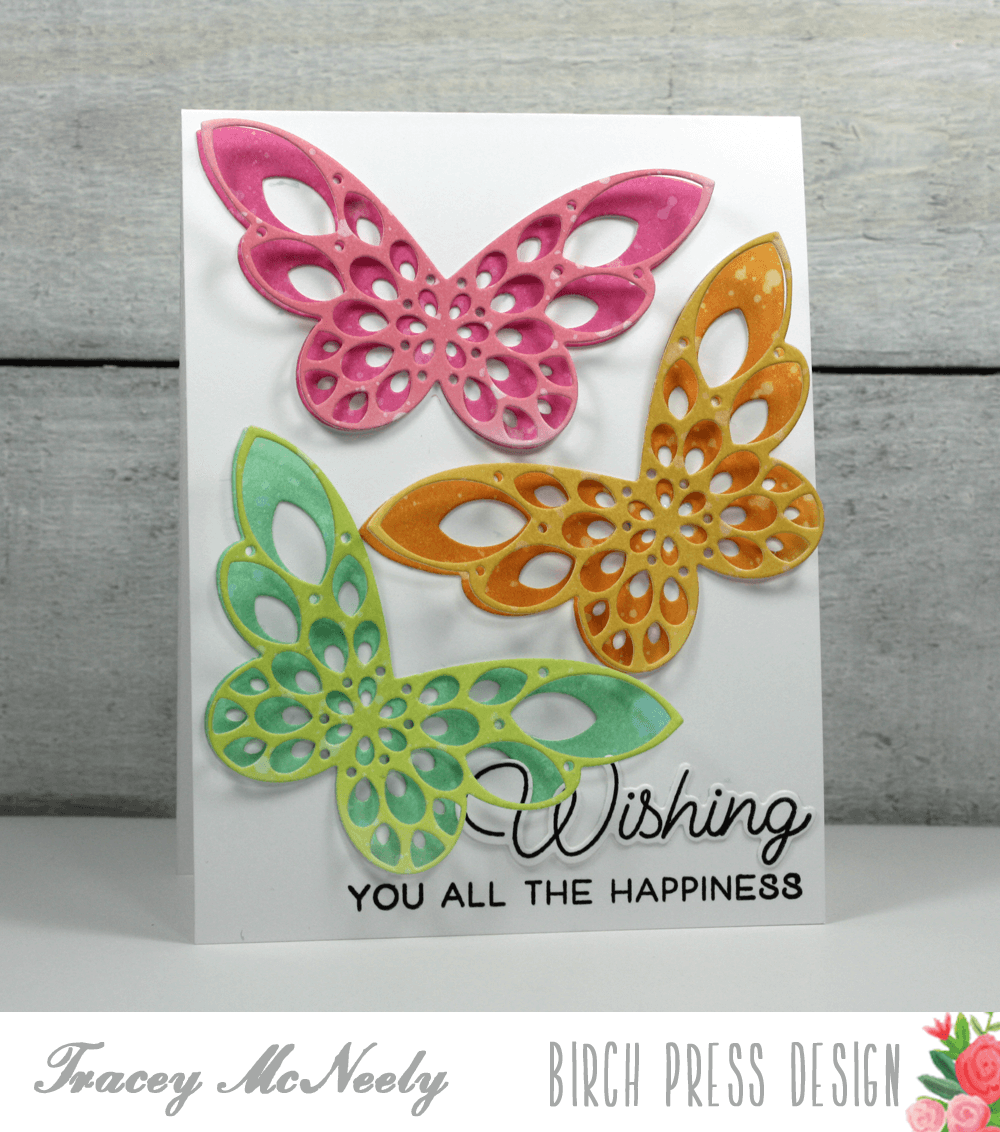
My second card features cool ink colors. I usually choose three ink colors to use when I’m sponging a background like this. I also try to choose colors that blend well together.
I’m so glad you joined me here today! I hope you have a fabulous weekend!

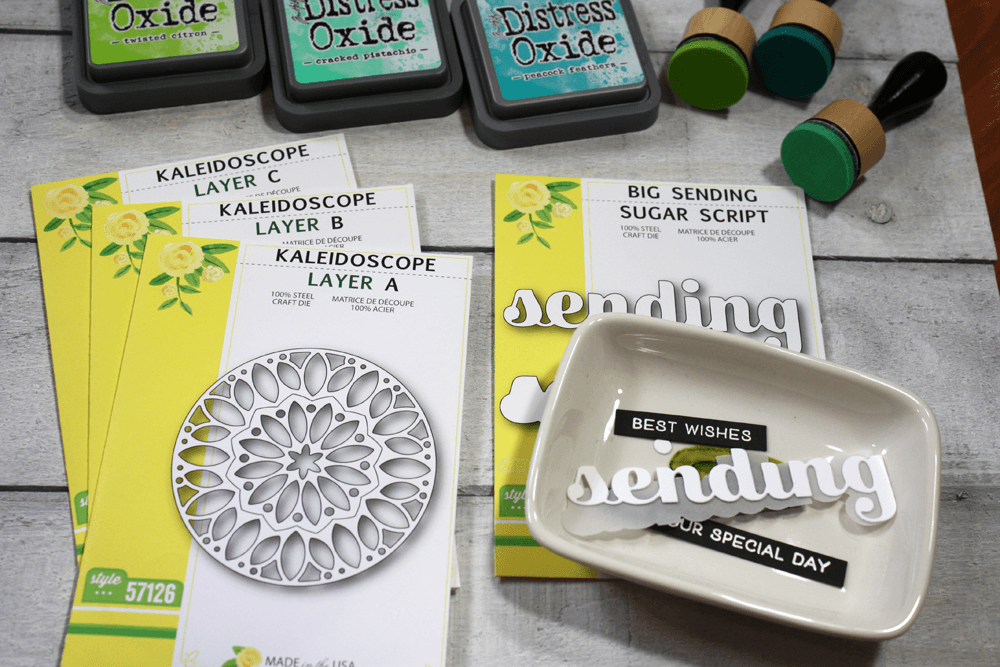
Supplies


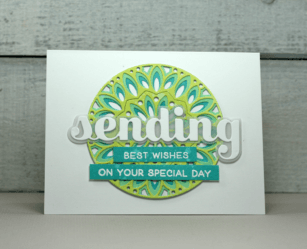
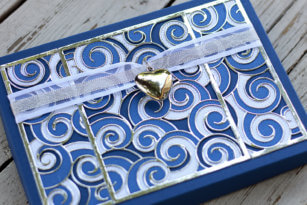
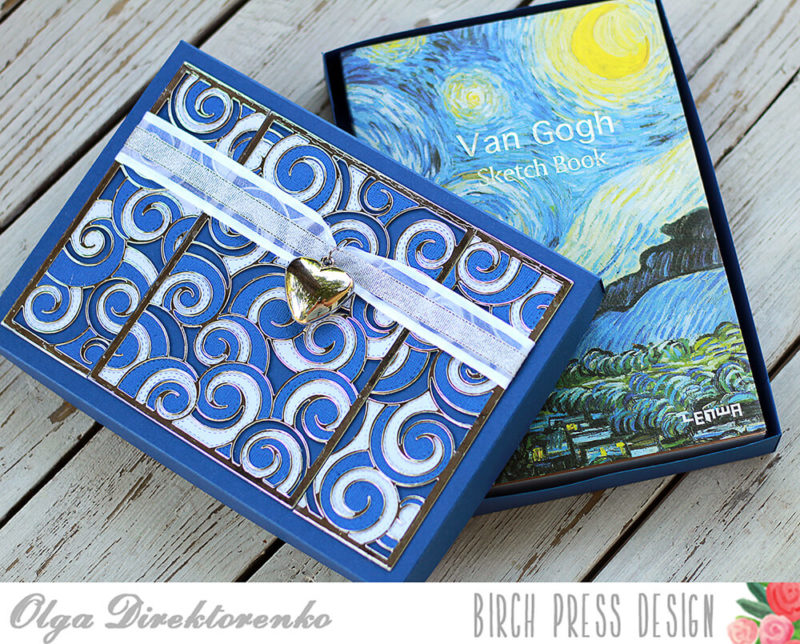
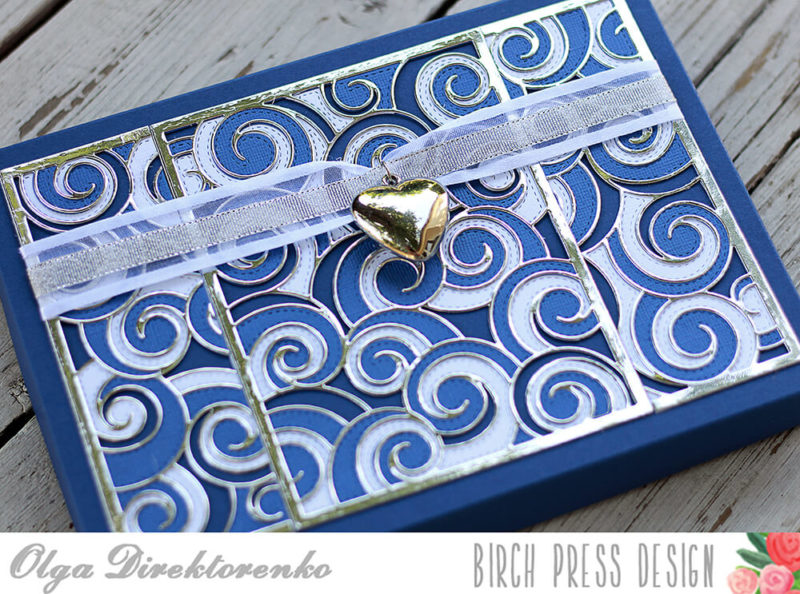
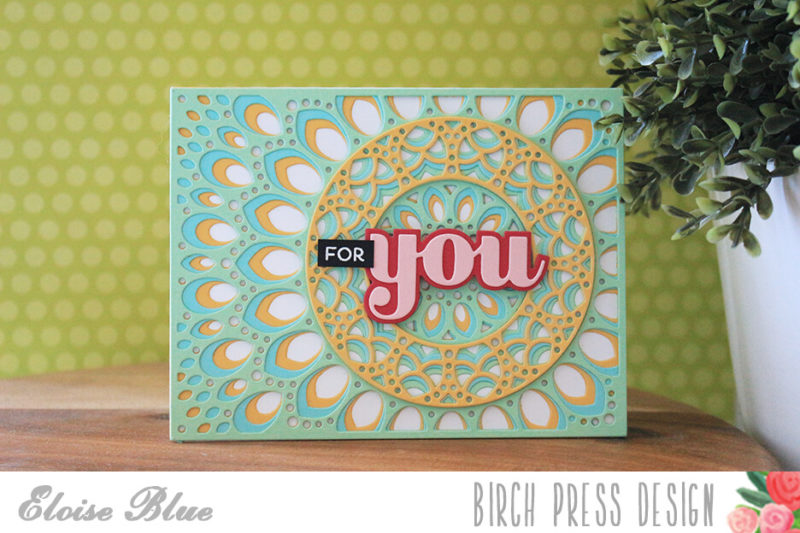
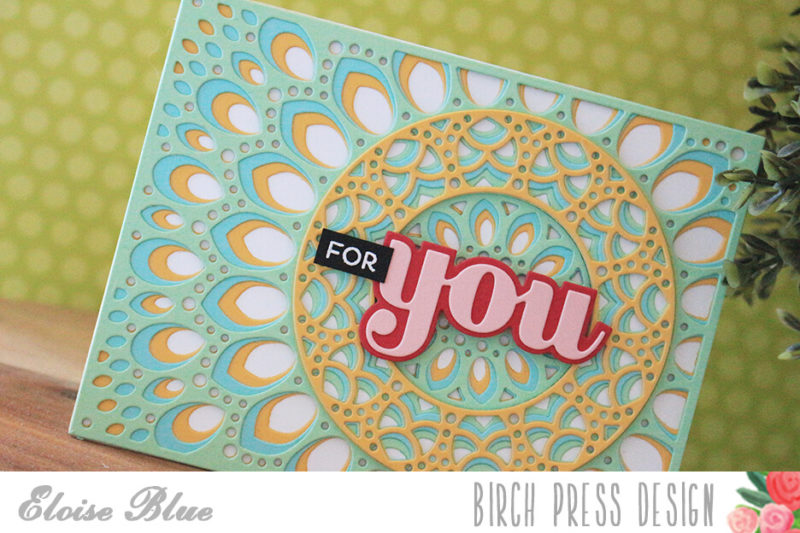
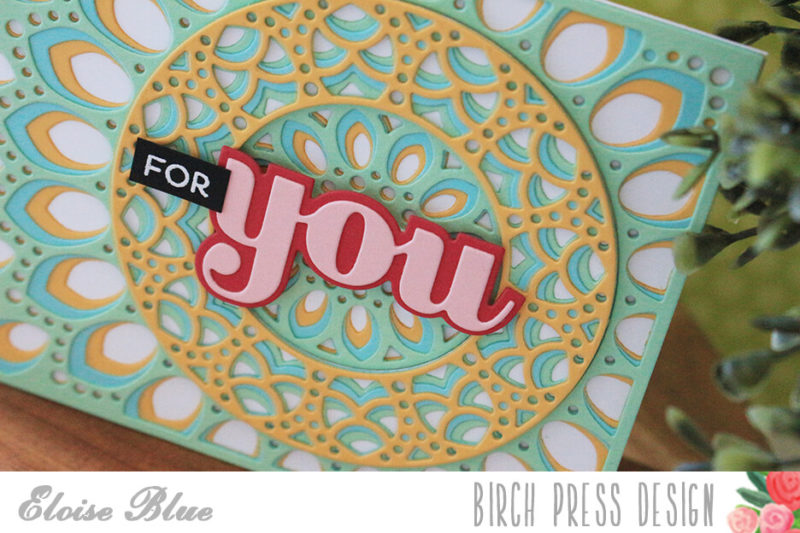
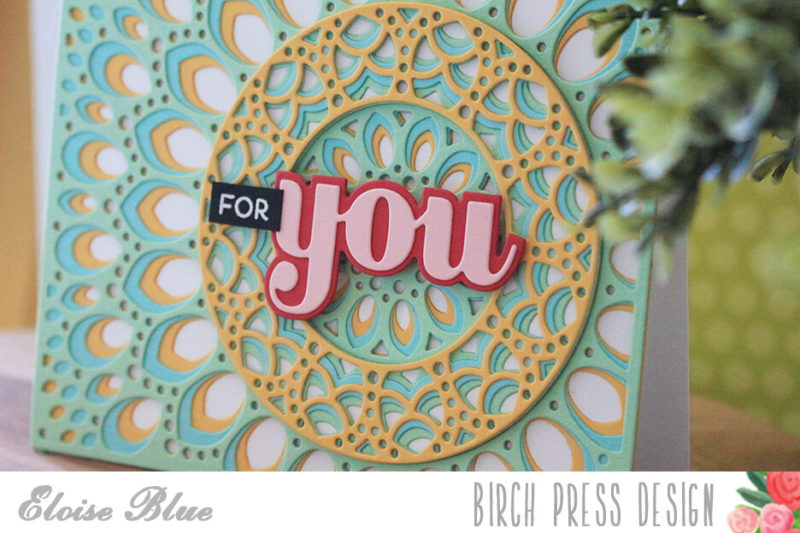
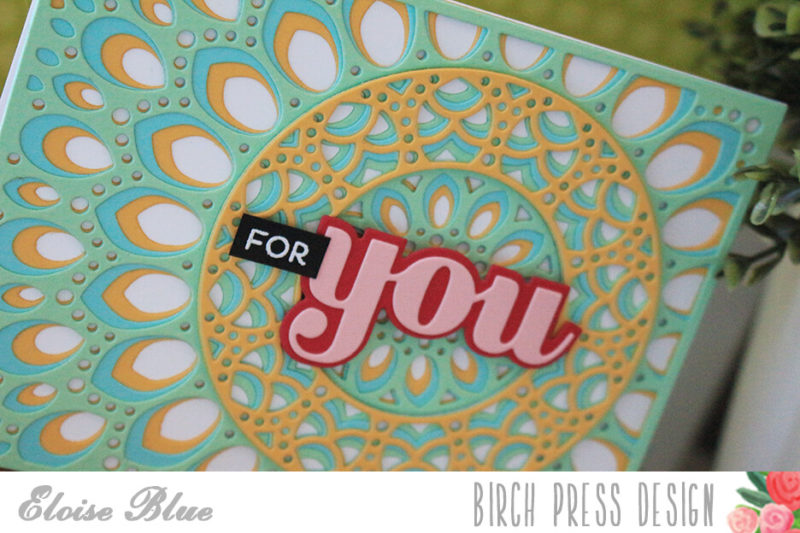
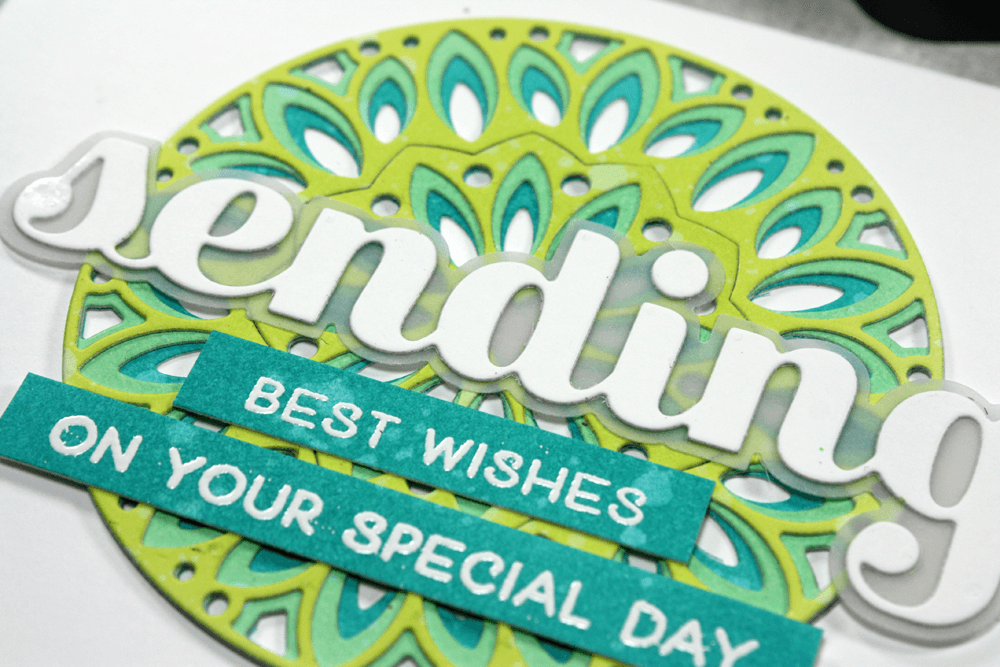
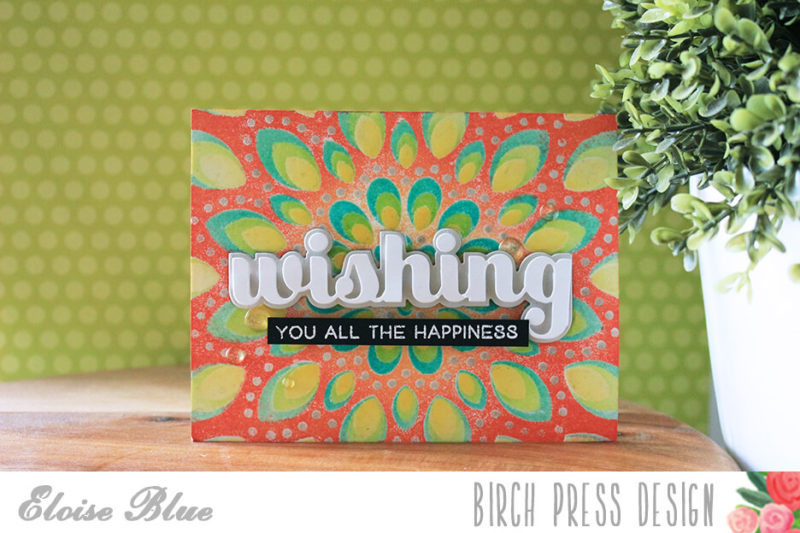
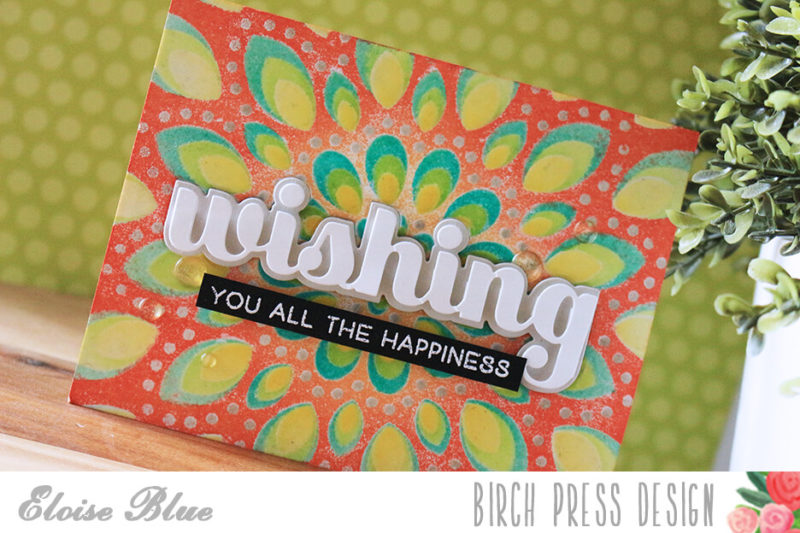
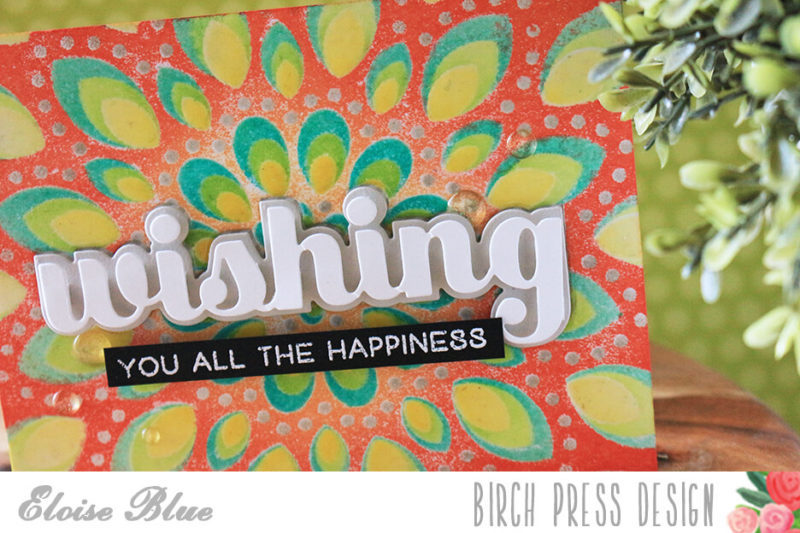
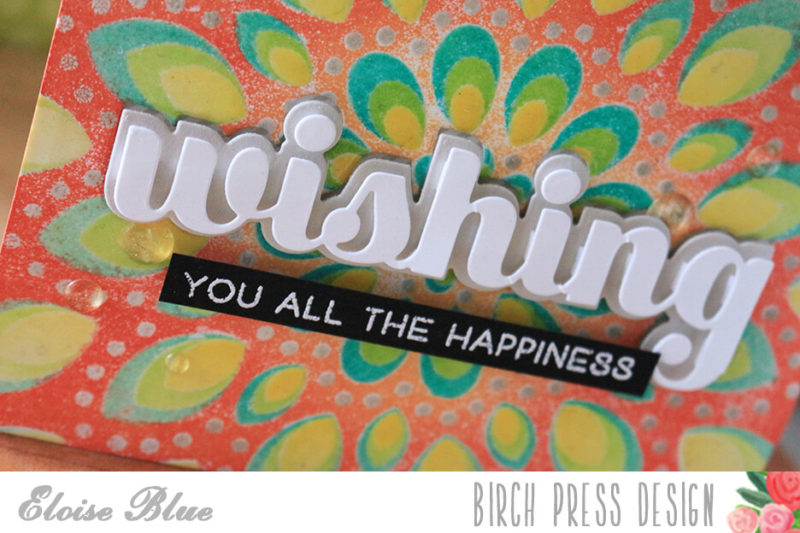
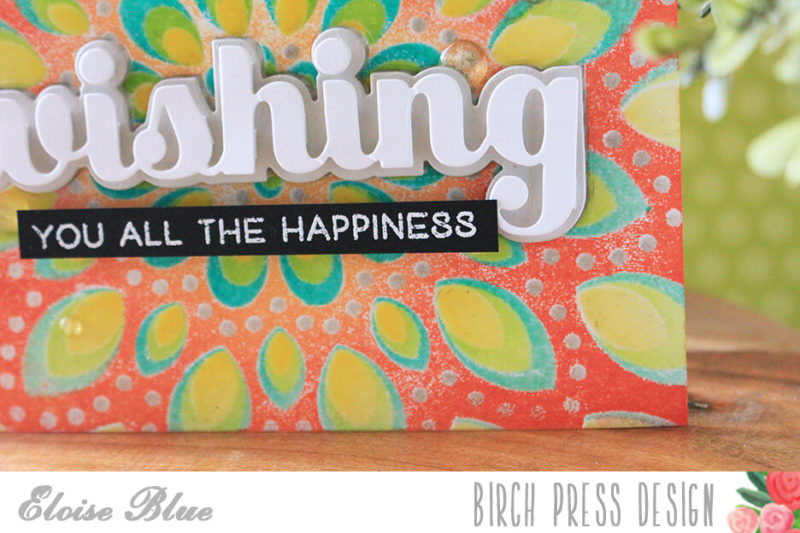
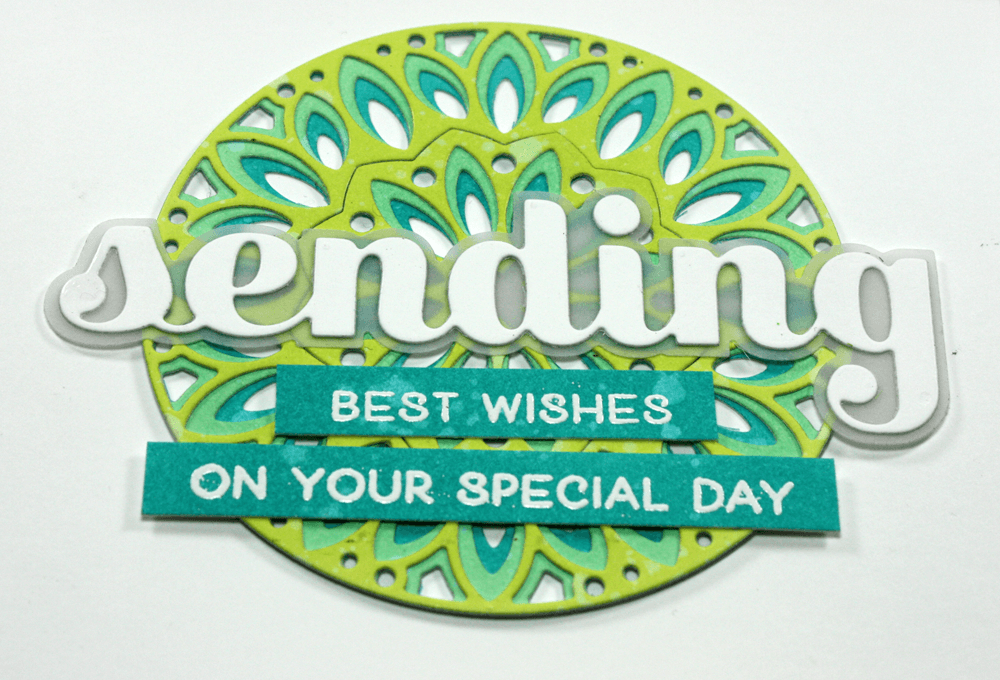 Welcome to another inspiration post here at Birch Press Design. I just can seem to get enough of the new Mandala dies and today I have a video tutorial to create a pretty wedding card. I am using the
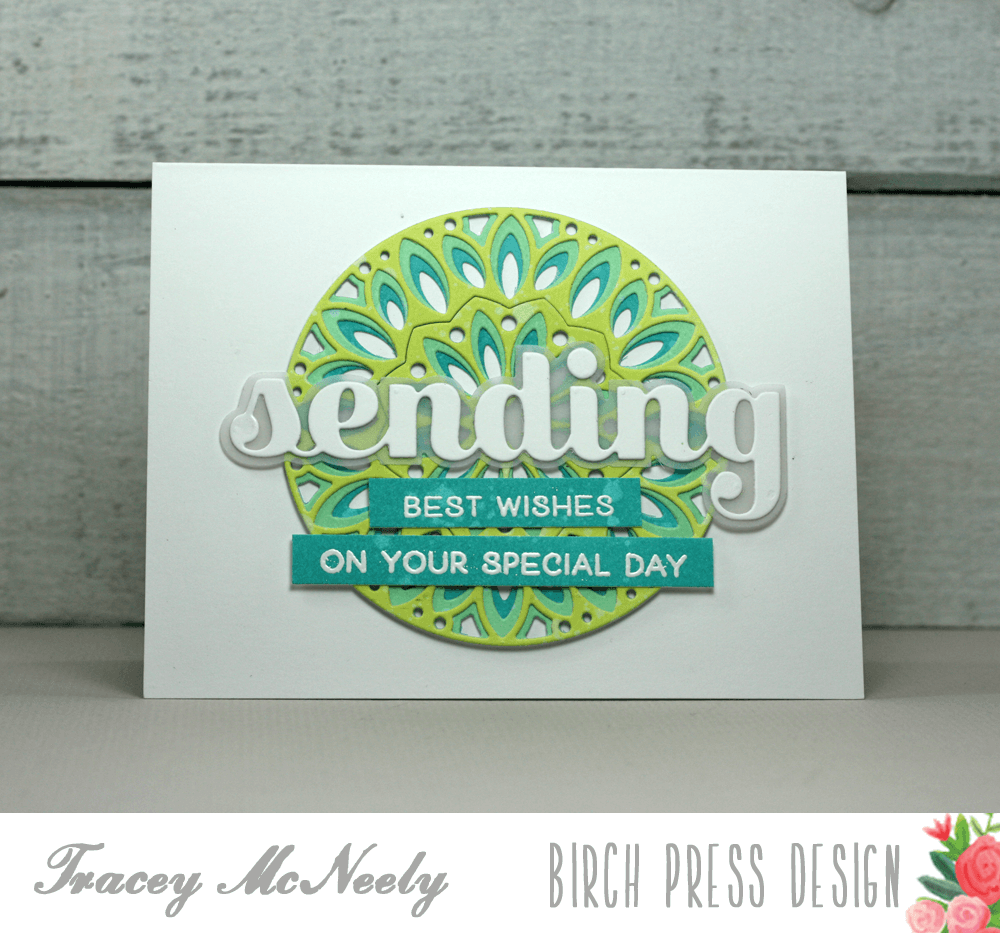
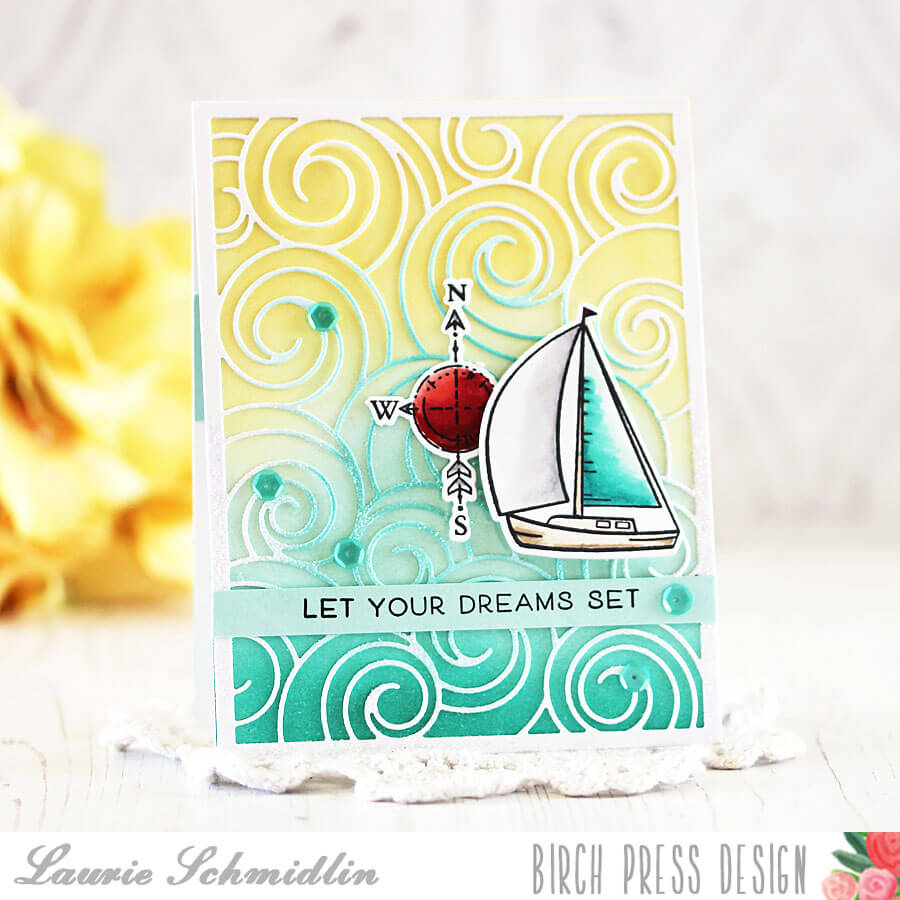
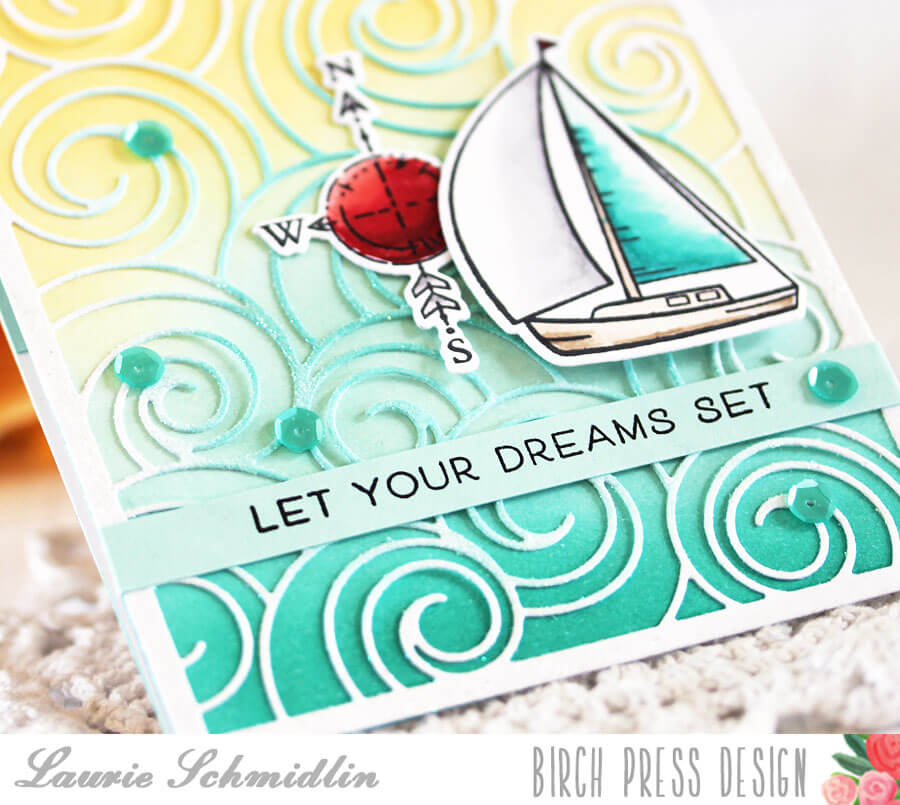
 The video below will show you how I created all the elements for my cards using Distress Oxide inks and Bristol Smooth cardstock to create my own custom coloured cardstock to use with the dies.
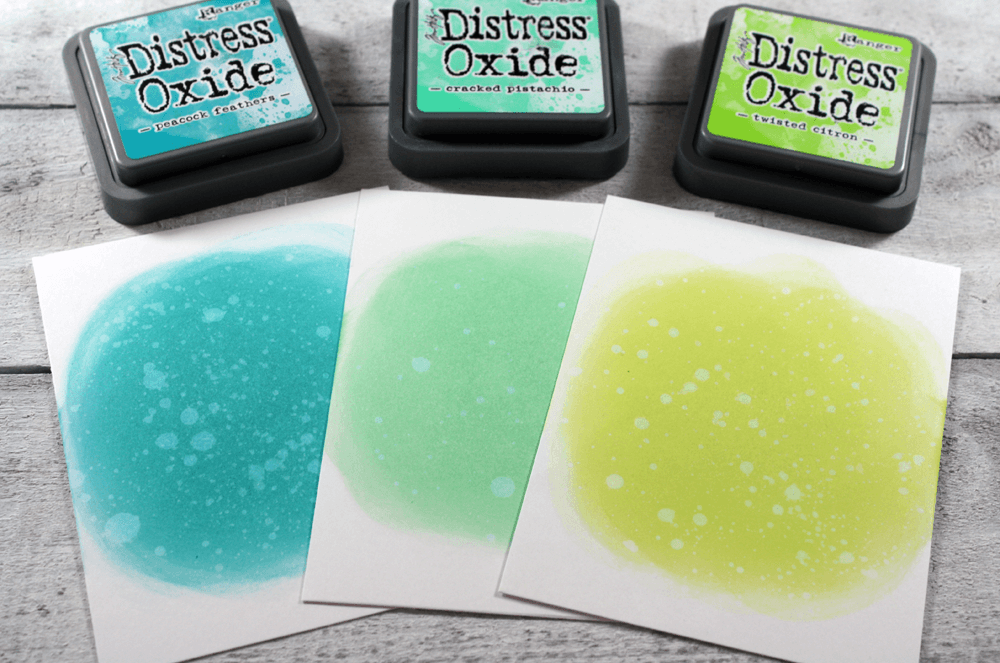


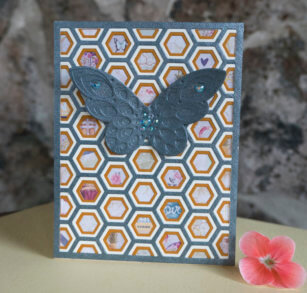
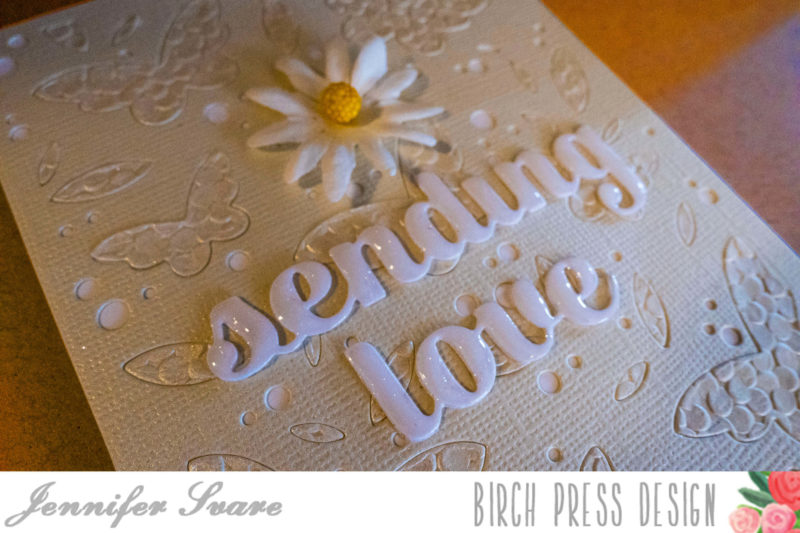
 Hello! Today I got to make two very fun cards that I’ve been excited to make for a long time. I’m so glad I waited, because the new
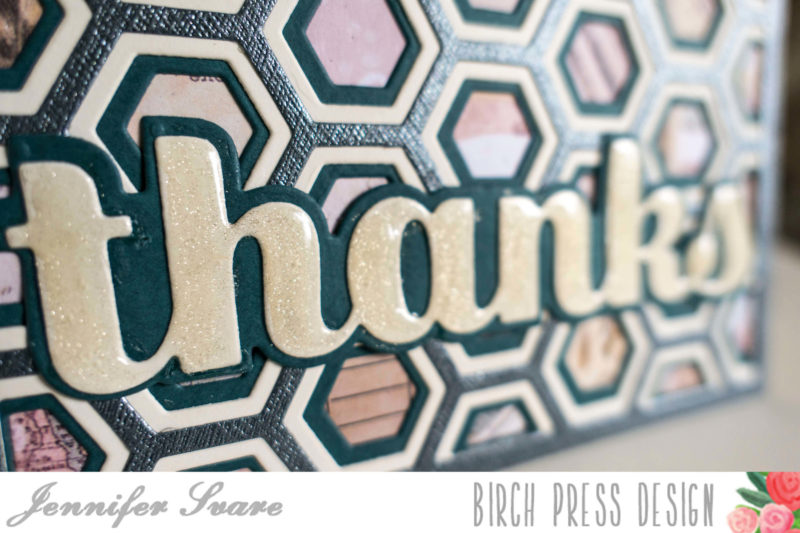
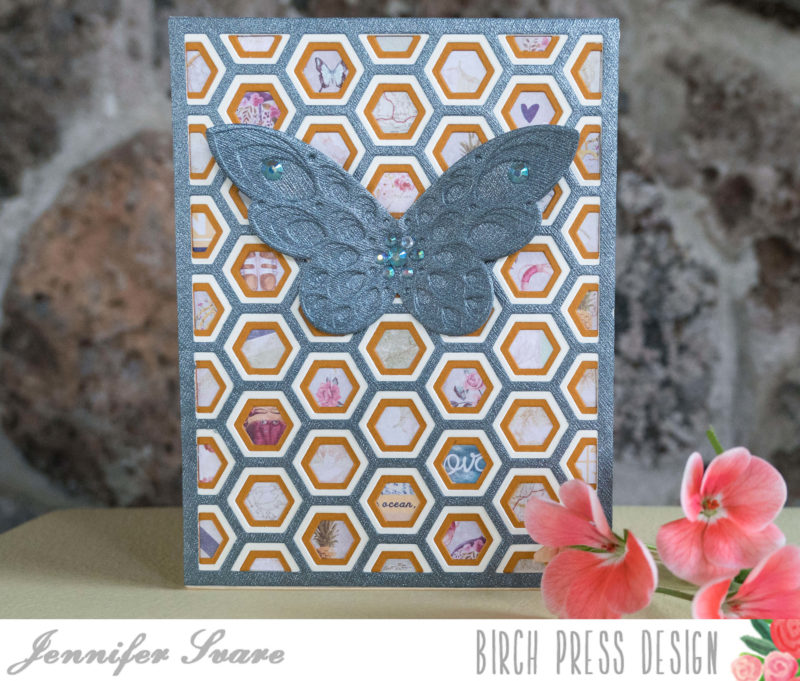
 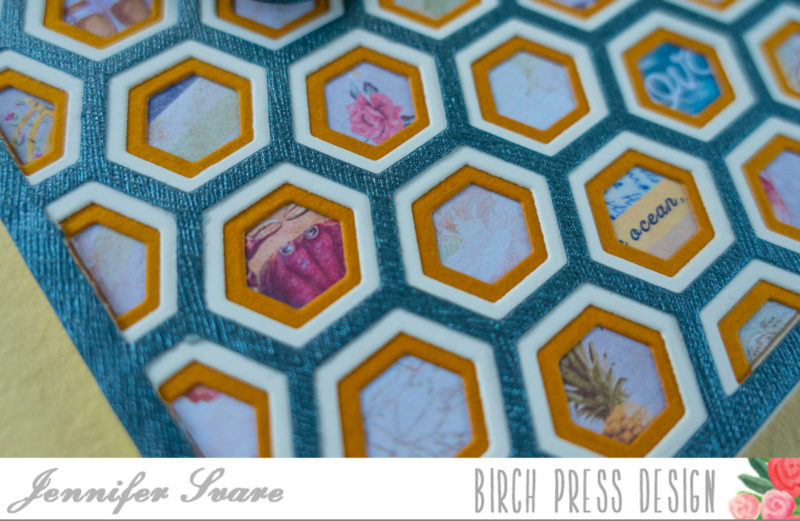 When die cutting the patterned paper for the little hexagon inlays, it was so much fun to see what pieces came through. I love cards that have the depth of really looking into the details. There are so many fun things to look at. (I love the crab peeking out of the hexagon above).
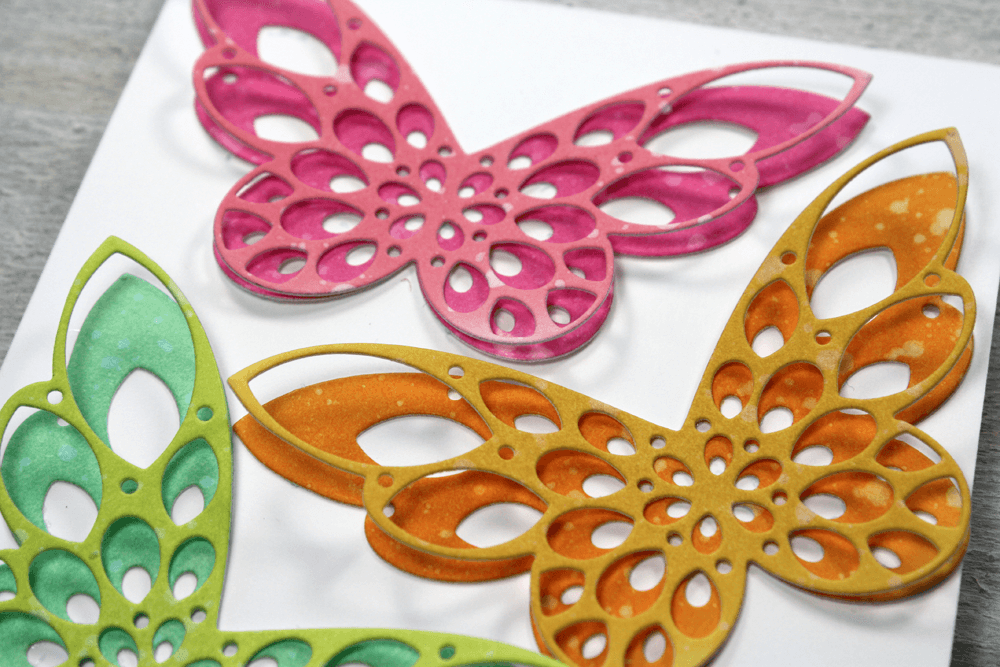
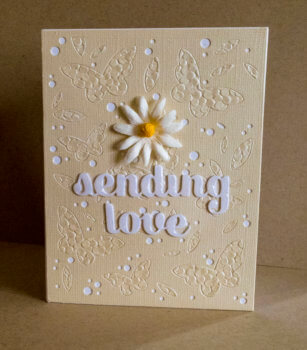
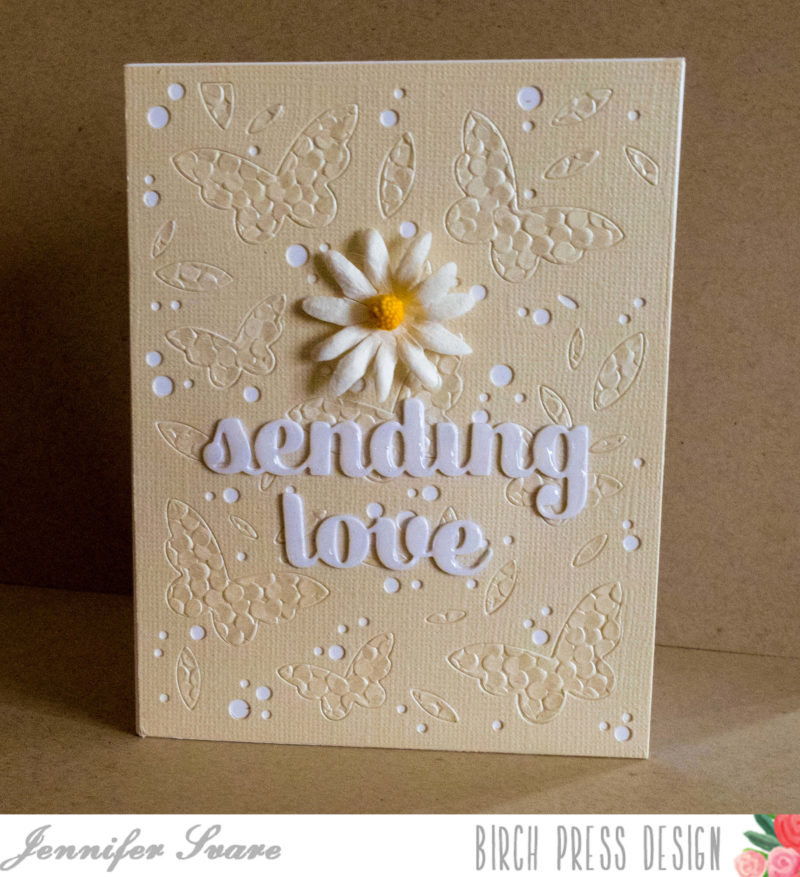
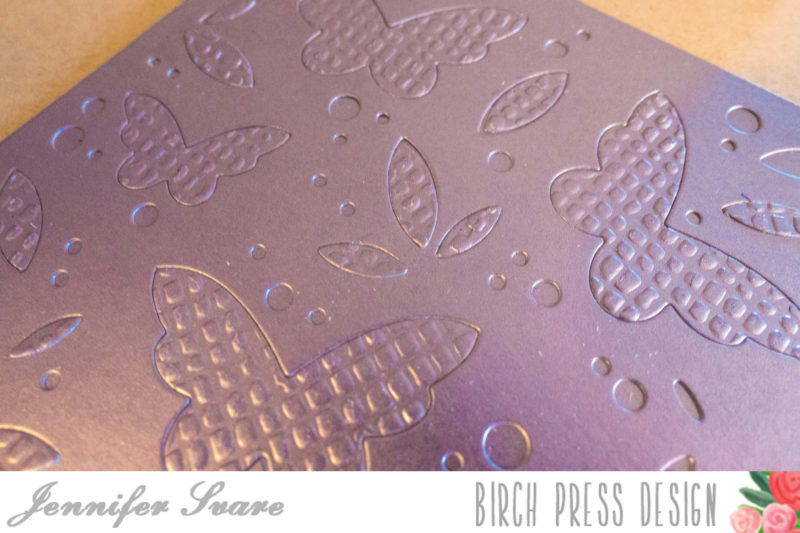
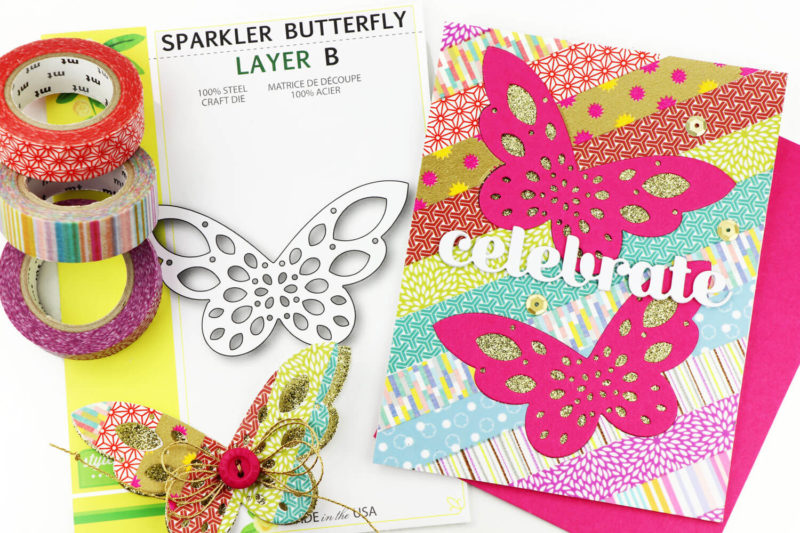
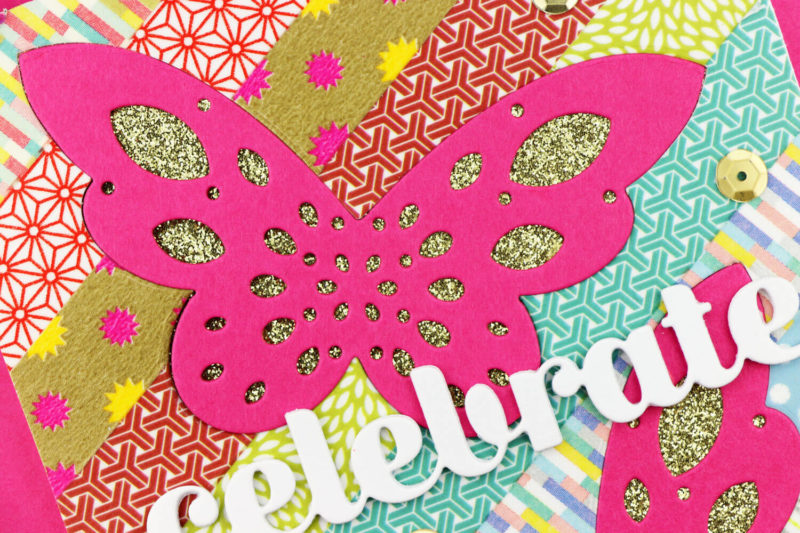
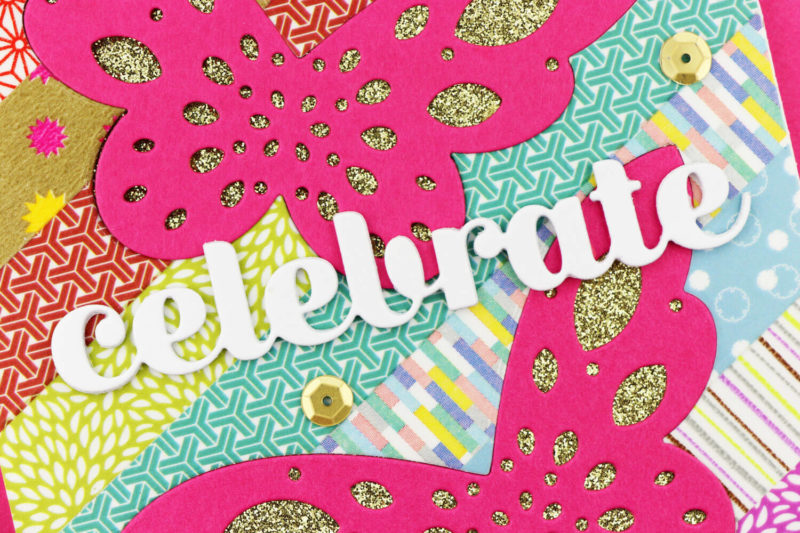
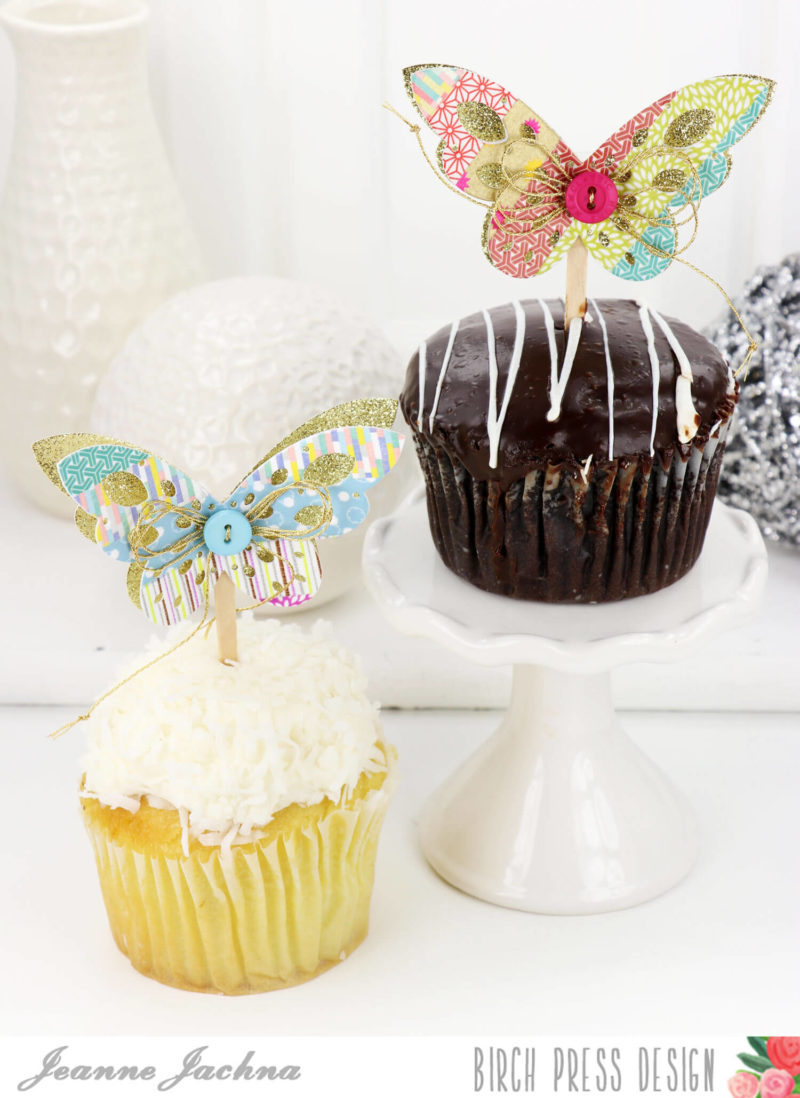
 Layering dies give limitless look and feel to cards because of the color combination, layering, and inlaying options. Using the same color for all of the butterfly layers really put the focus on texture.
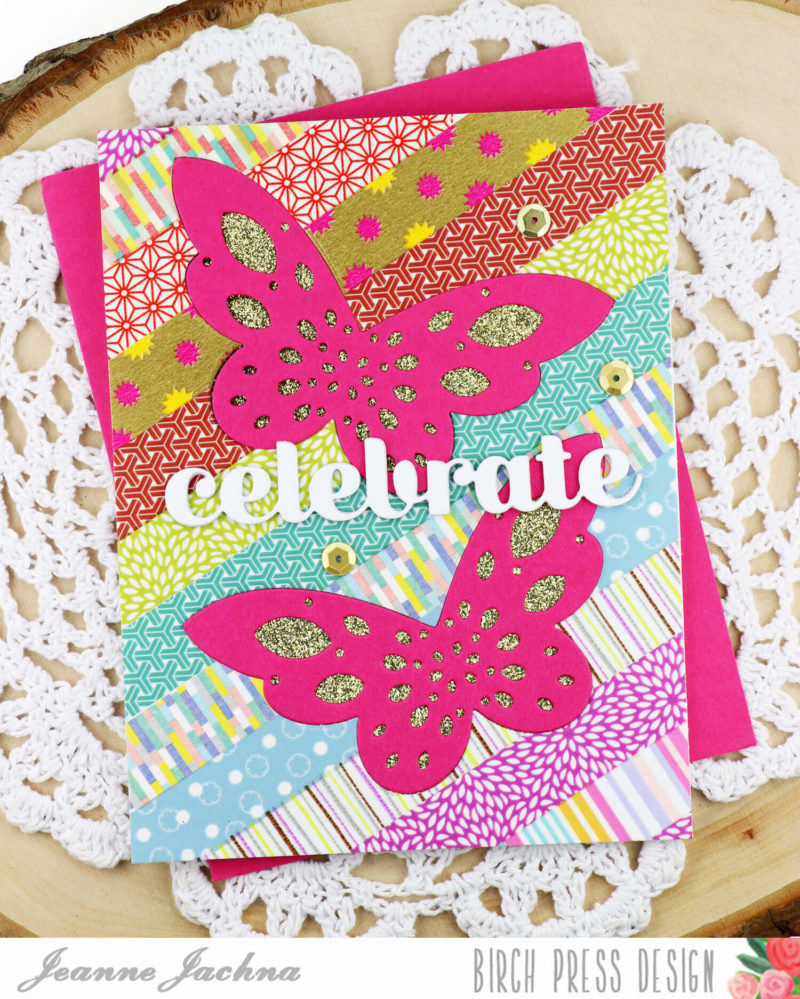
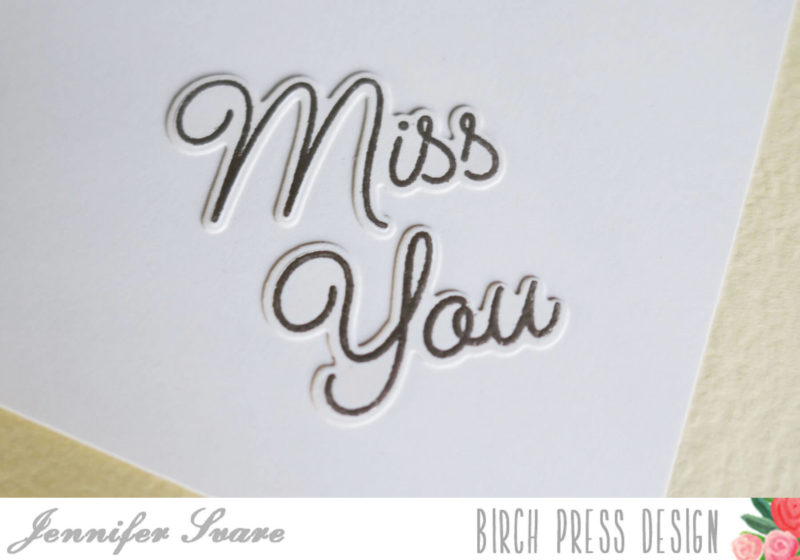 The thought behind the “miss you” card is very sentimental… the “Miss You” from the
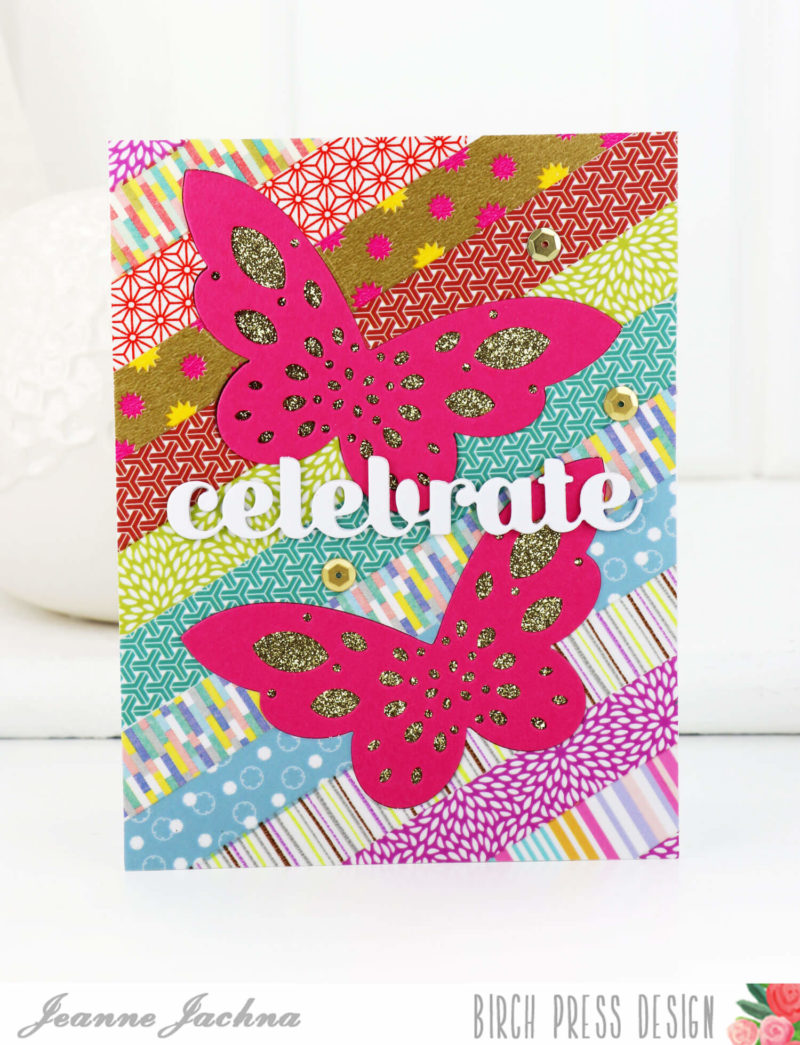
  I glued only the center of the butterfly so the wings would sit off the base. A few jewels were added to the butterfly.
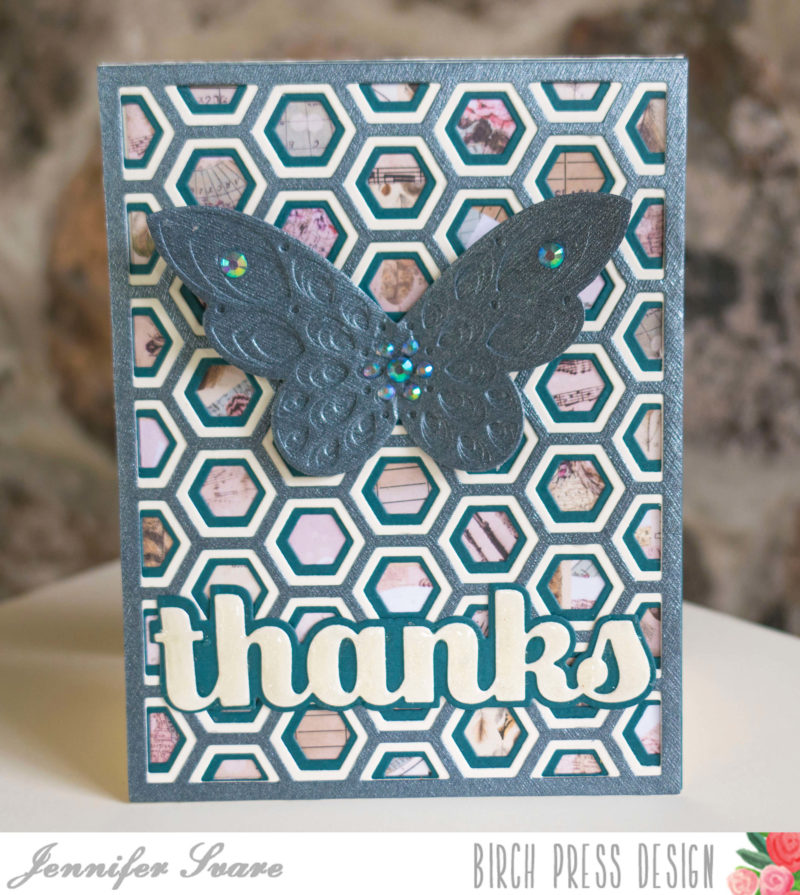 Many of these layering dies would work for this general idea and any of the Prima paper pads offer incredible, small details that are perfectly sized for the hexagons. The thank you card uses the beautiful