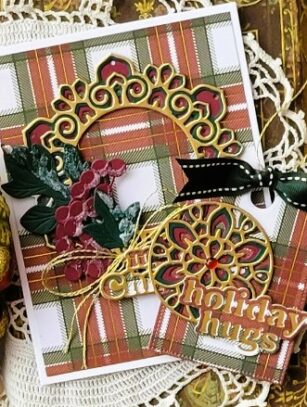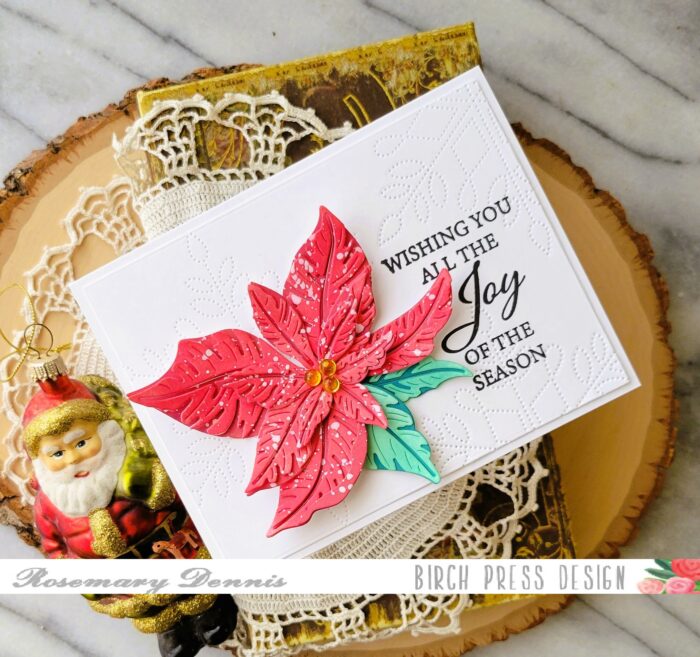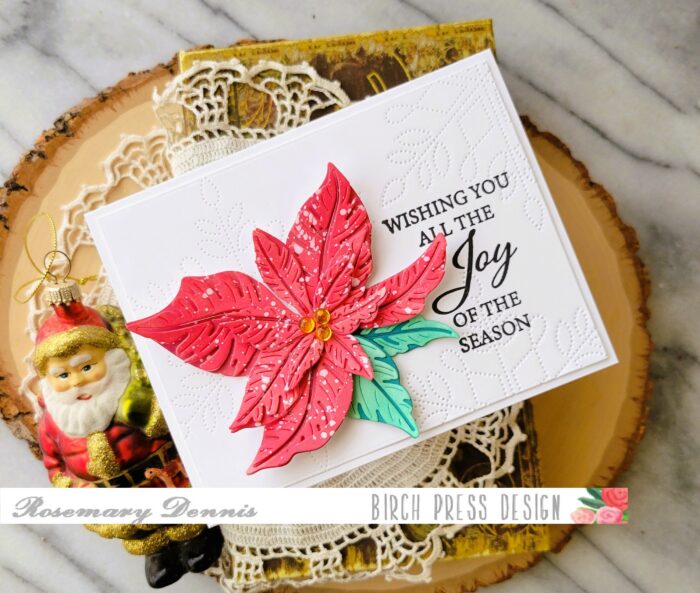
Hi there friends! I’m back this month sharing another holiday card using the new Splendid Poinsettia Contour Layers! This is a lovely poinsettia that you’ll want in your stash for your holiday cards! You could say I’m getting a head start on my holiday cards! I’ll also be using Memory Box Glad Tidings Stamp and Fairy Crystals, and Memory Box RingaDings embossing folder! All of the links to supplies I’ve used will be shared at the end of my post!
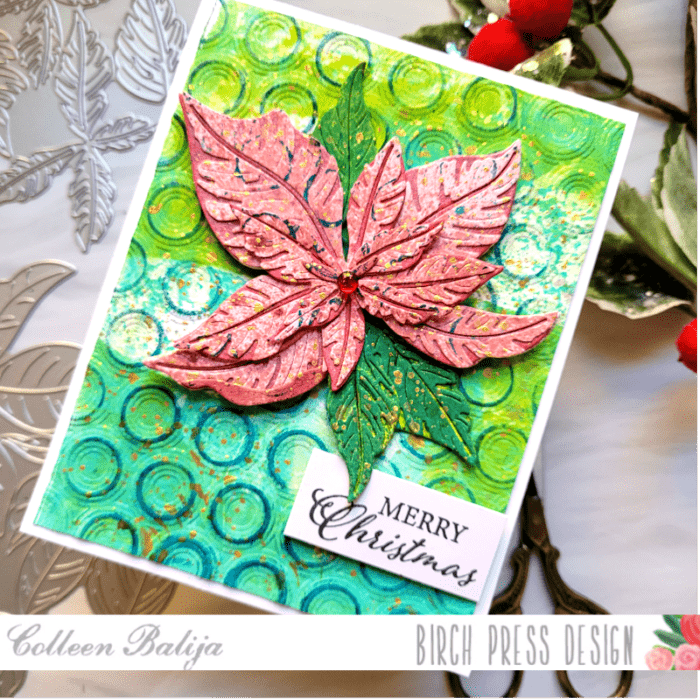
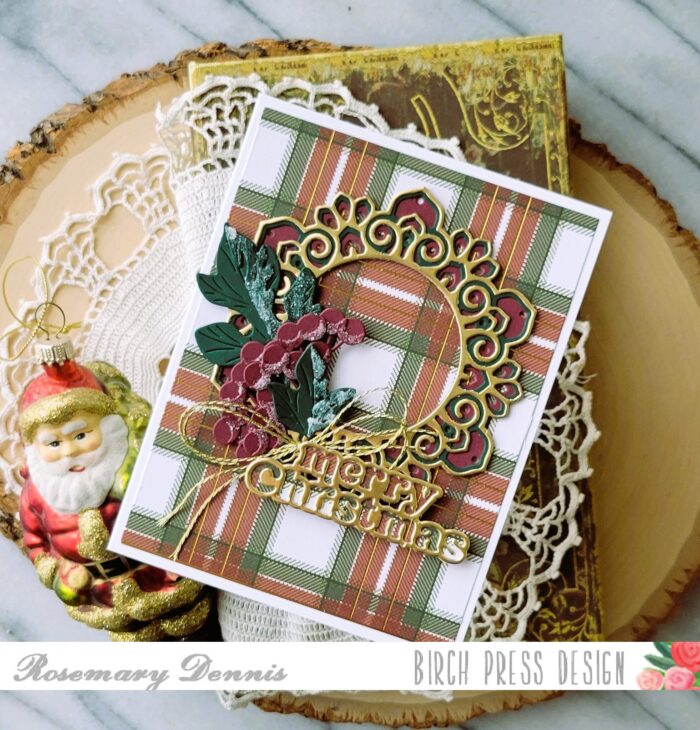
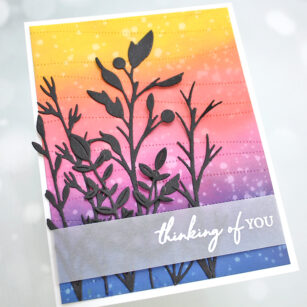
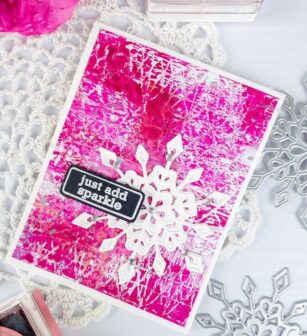
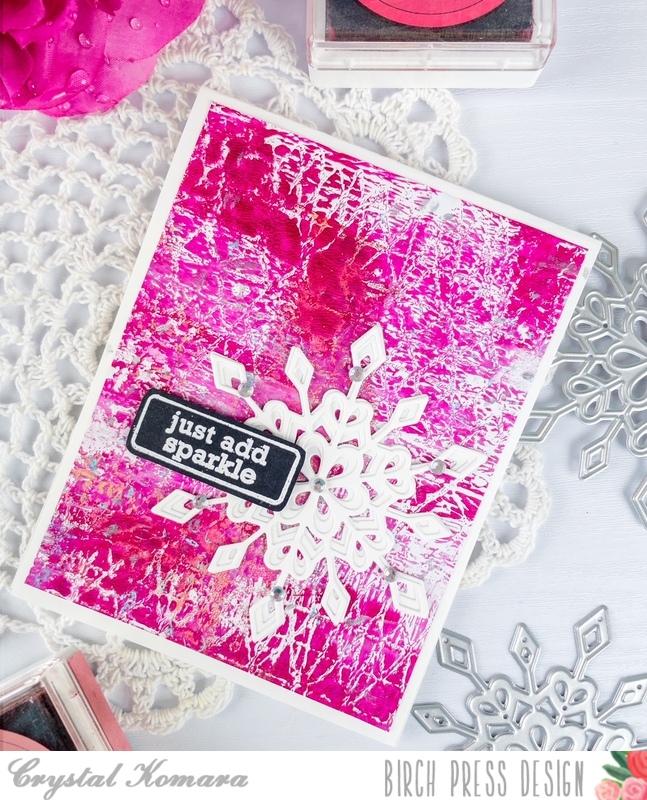
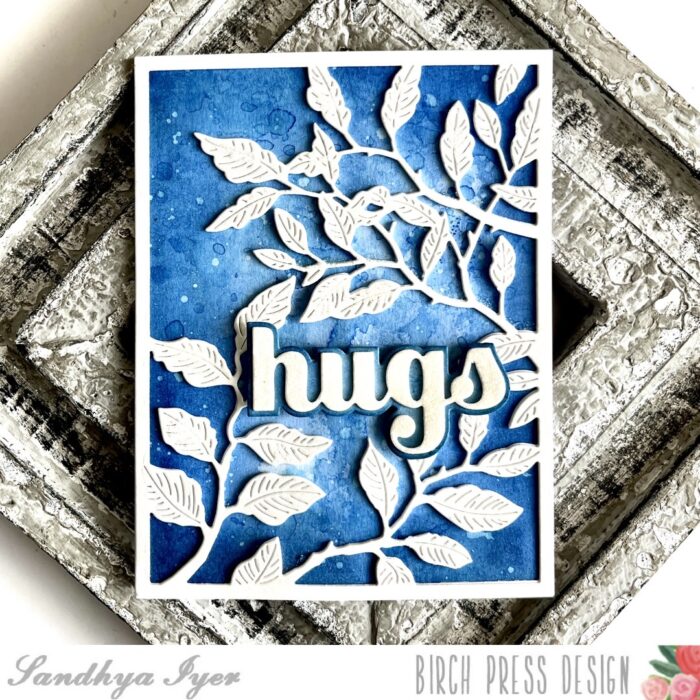
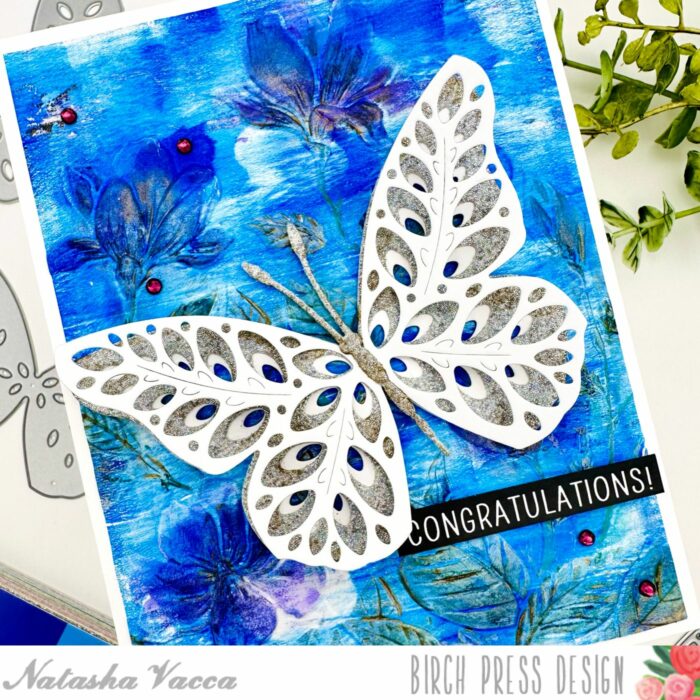
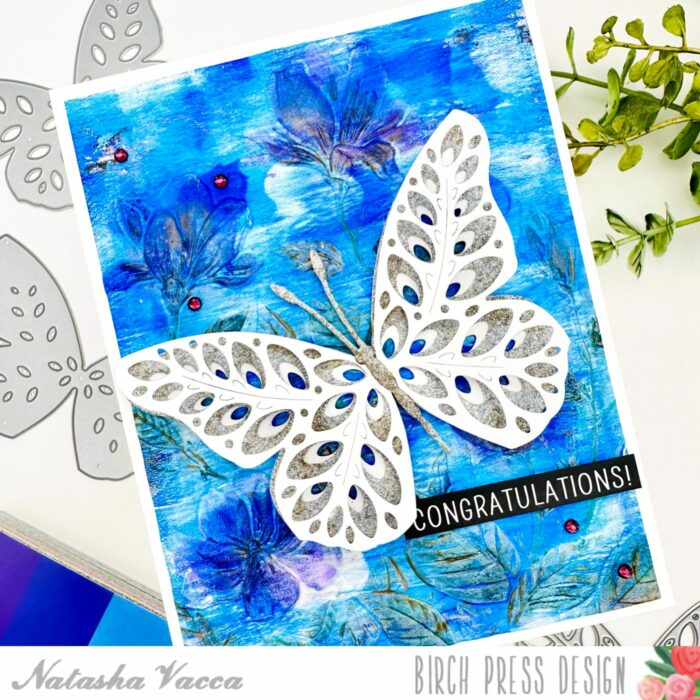
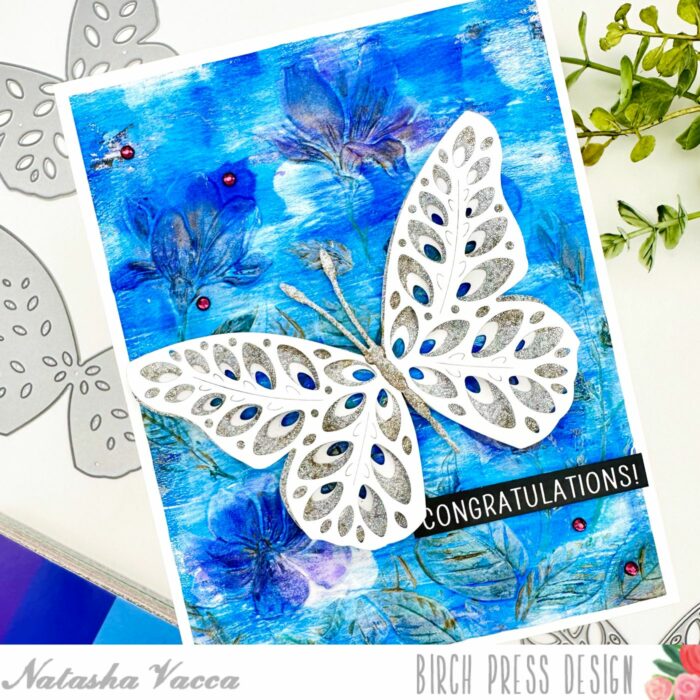
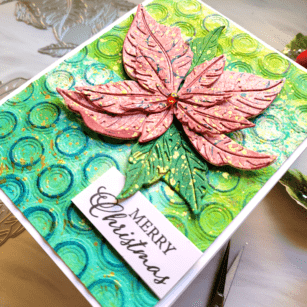
I started with a colorful background, choosing a pre-made colored card panel, and embossing over it using RingaDings embossing folder. This is a favorite embossing folder of mine! Then I applied dark blue ink over the raised areas on the card panel to add depth and interest, trimmed it down, and set it aside. Below you can see a good visual of that bold and busy background!
TIMESAVER TIP: I like to take a craft day and just create background card panels with different ink medias such as acrylic paint, distress oxides or sprays, or dye inks. That way I can just grab a background panel when I need it and just add more details to coordinate with my focal point!

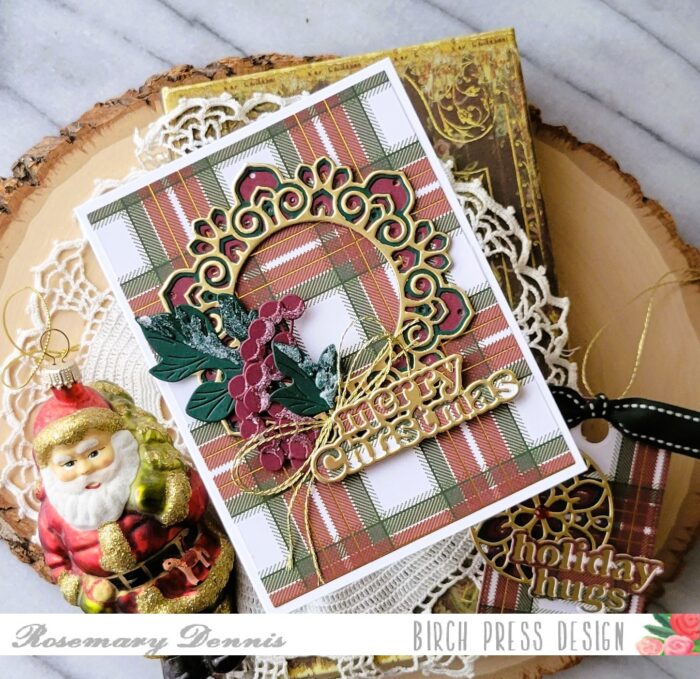
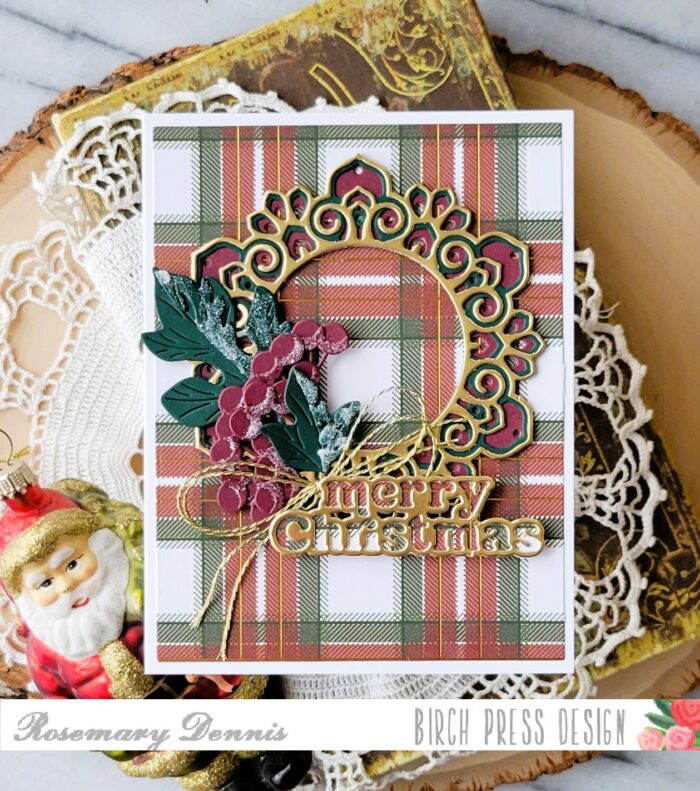
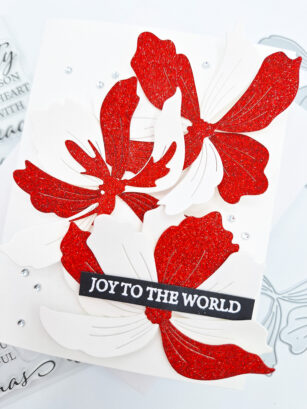
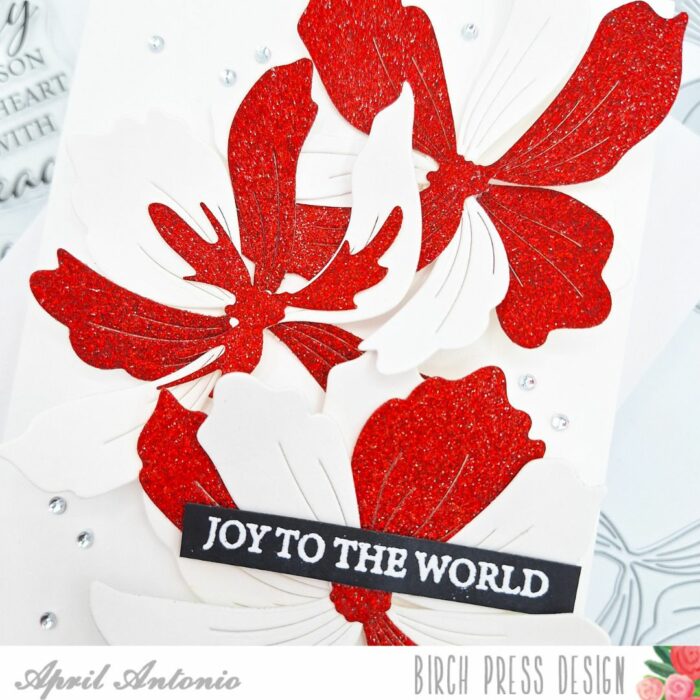
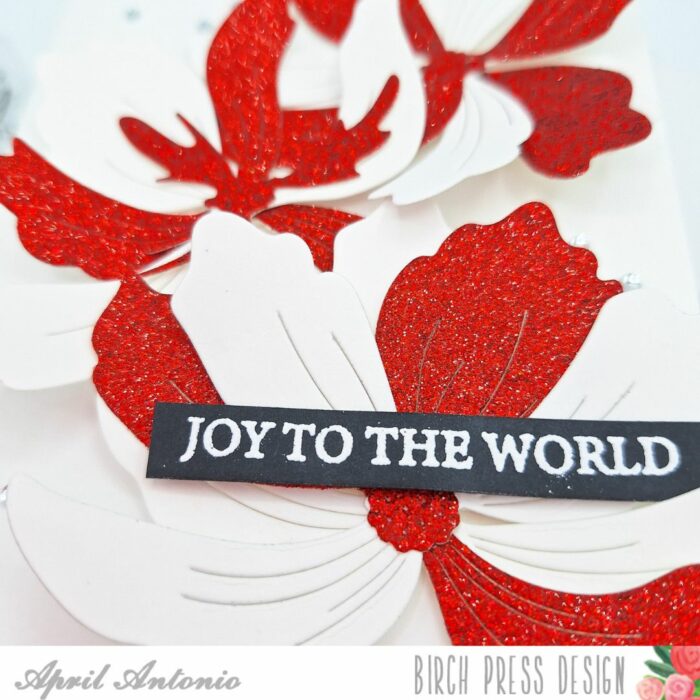
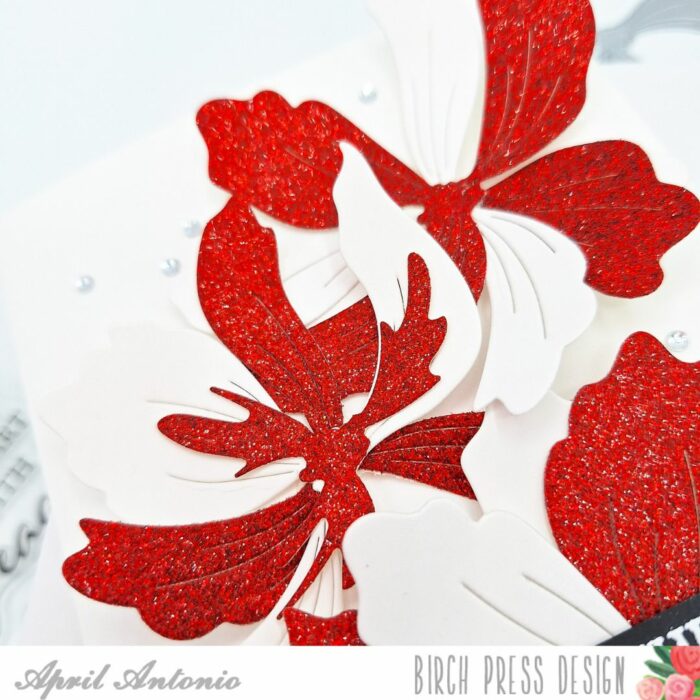
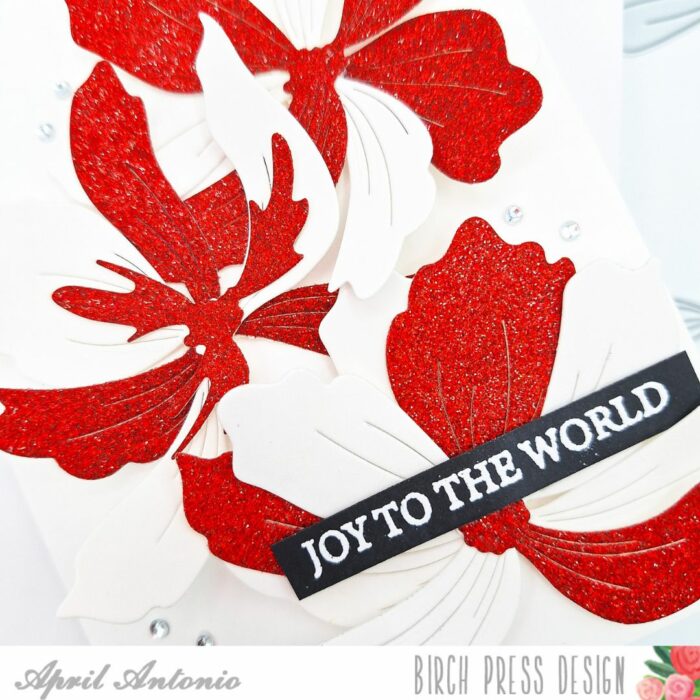
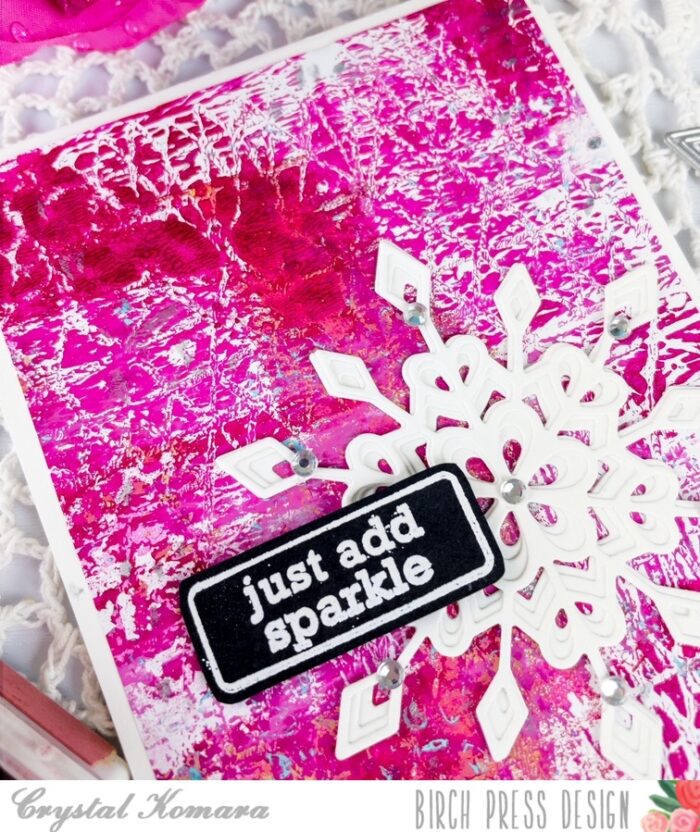
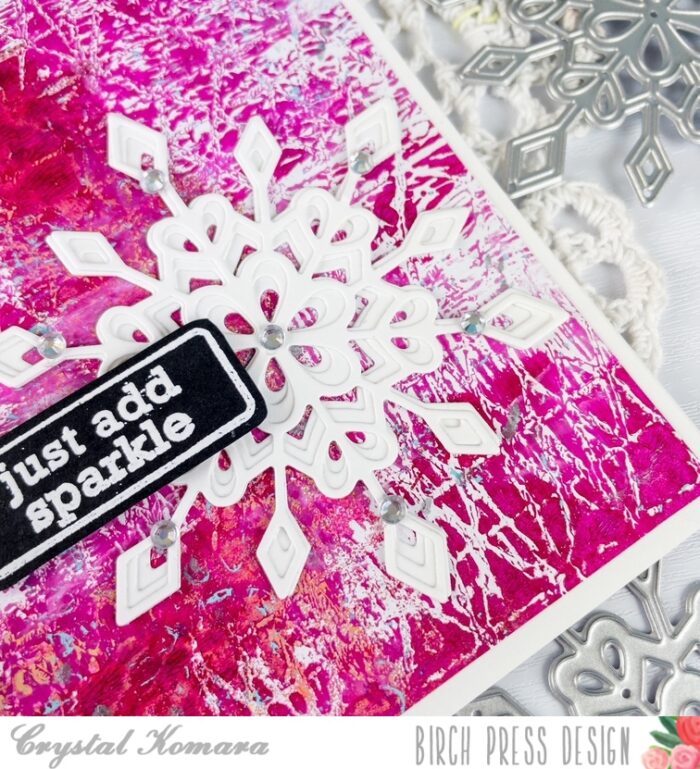
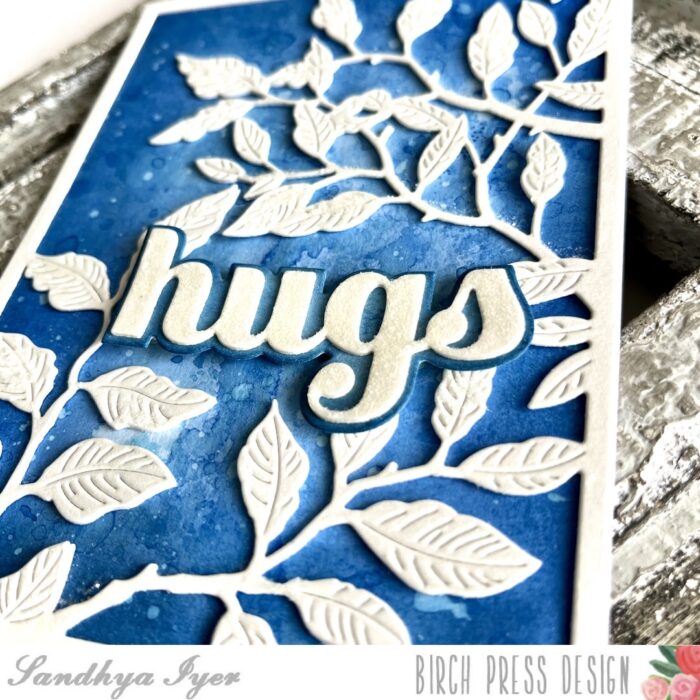
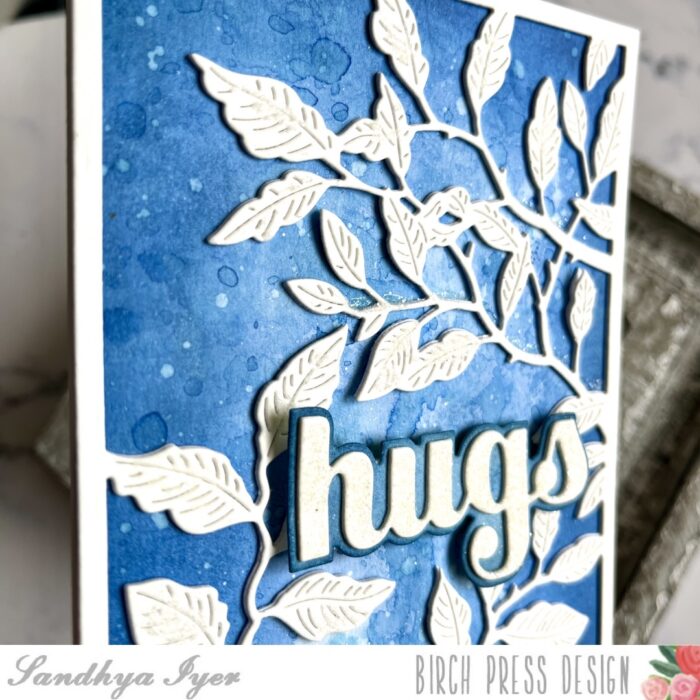
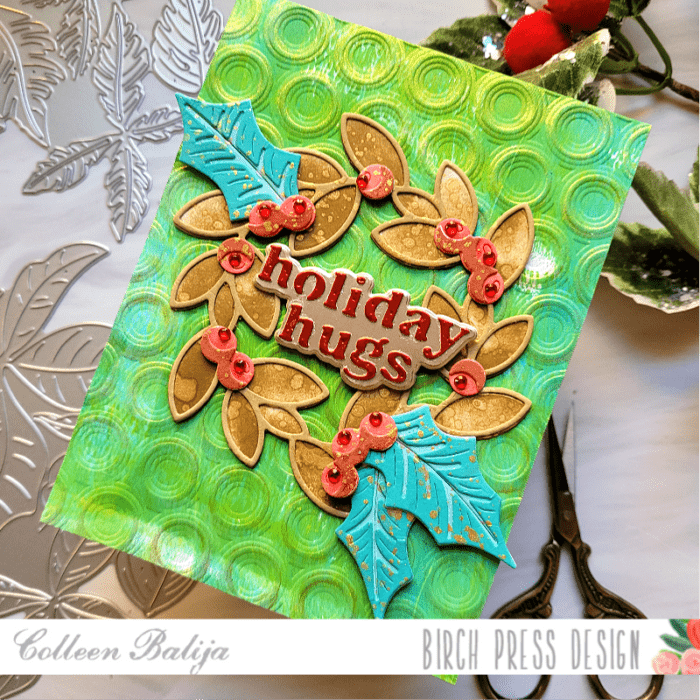
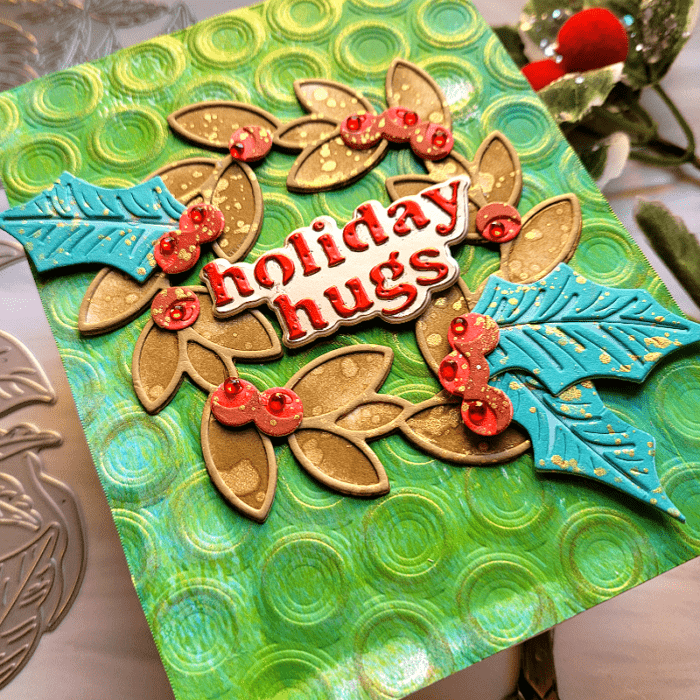
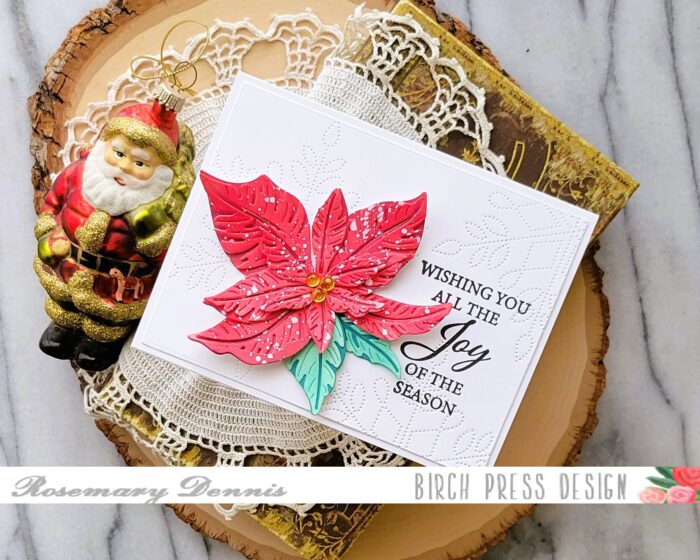
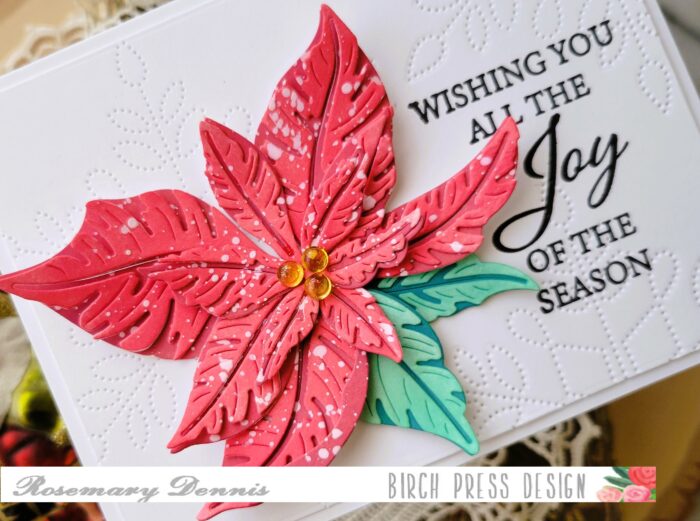
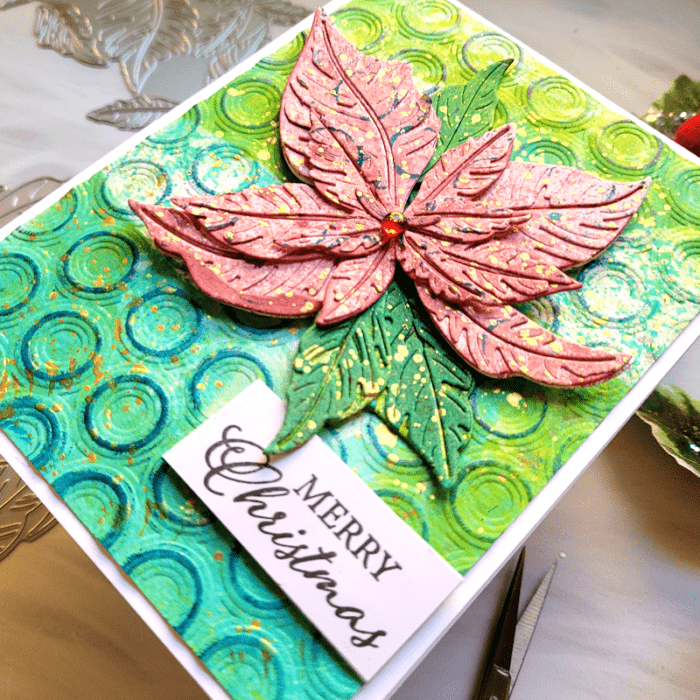
Next, I focused on the lovely poinsettia and leaves! The Poinsettia has a few layers, so I die cut each layer onto heavy white cardstock (or you could use watercolor paper) and then sprayed the layers with shades of red. The bottom layers are darker than the top layers (I find that doing this adds more depth). I also splattered the same dark blue ink from the background over the poinsettia to bring the blue from the background to the foreground. I repeated this process for the leaves, only in shades of teal. Then I adhered the layers together. I placed the poinsettia in the upper 3rd of the card panel and tucked the leaves in behind it. Then I splattered the entire panel with gold ink. You can see a close up of all those glorious details in that beautiful poinsettia! Birch Press Designs does an amazing job with the details in their dies!
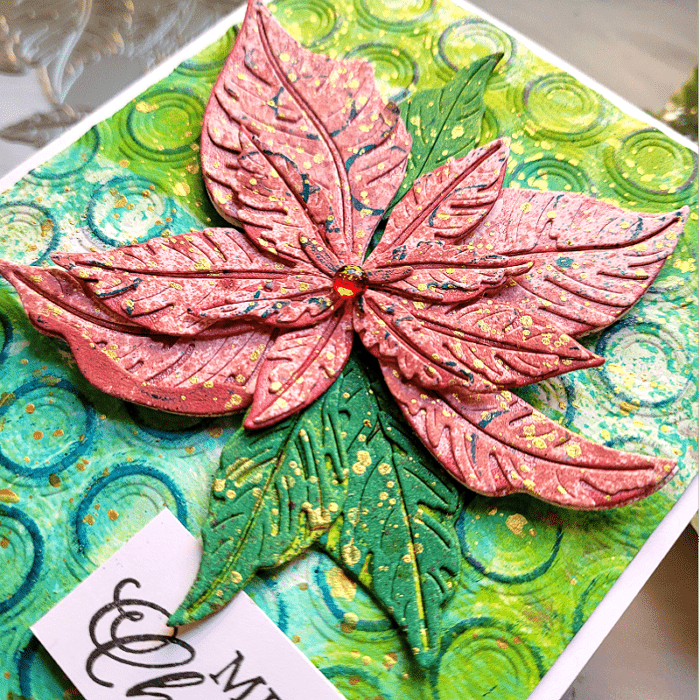
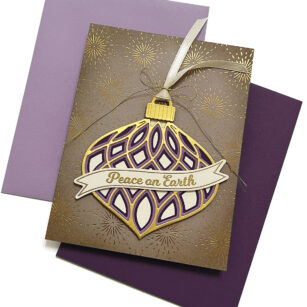
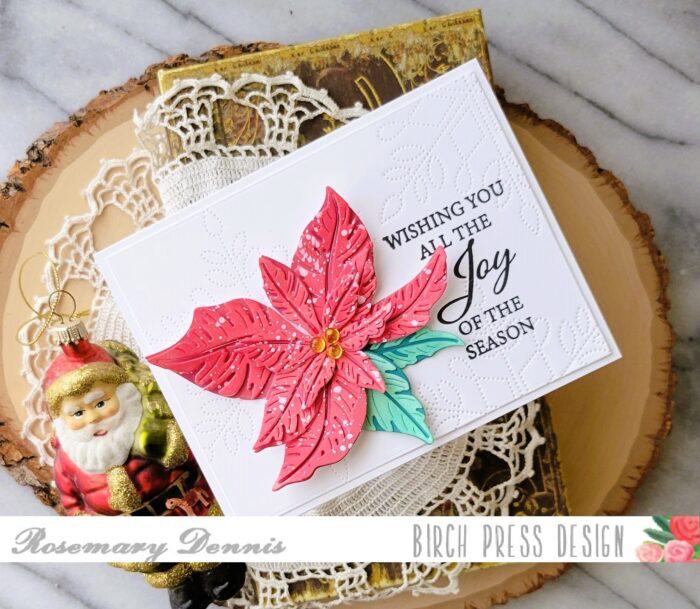
When the splatters were dried, I adhered the card panel to a 5.5×4.25 white card base and then finished with a red Fairy Crystal on the poinsettia and the sentiment Merry Christmas from Glad Tidings stamp by Memory Box. This card was so easy to put together!
I’m so glad you joined me today, and I hope that you’re getting some great ideas for your holiday cards!

Supplies