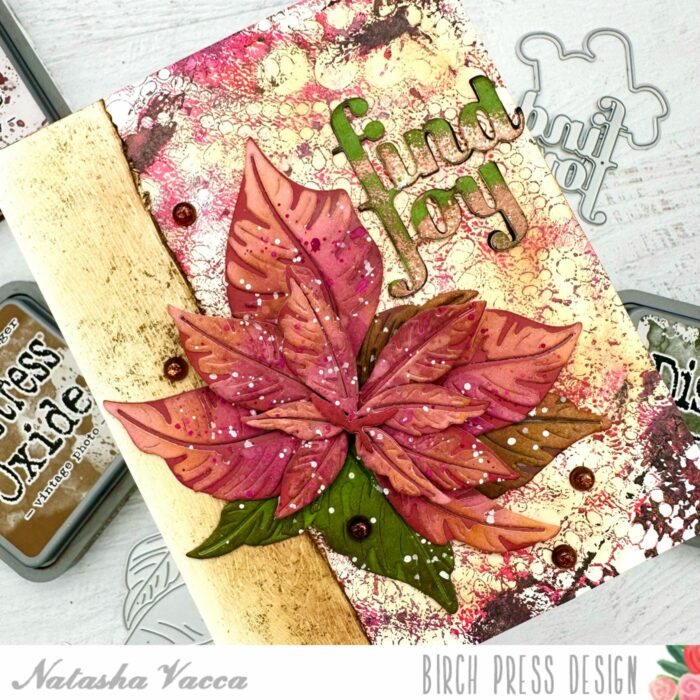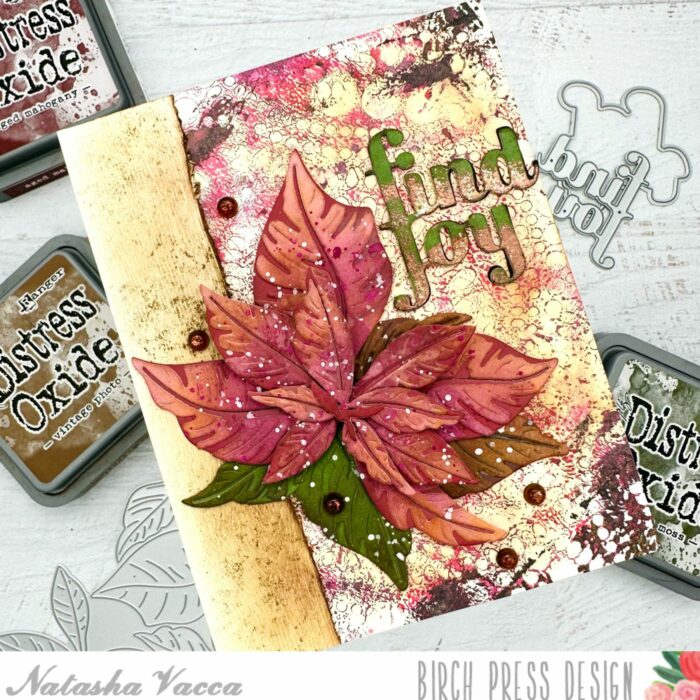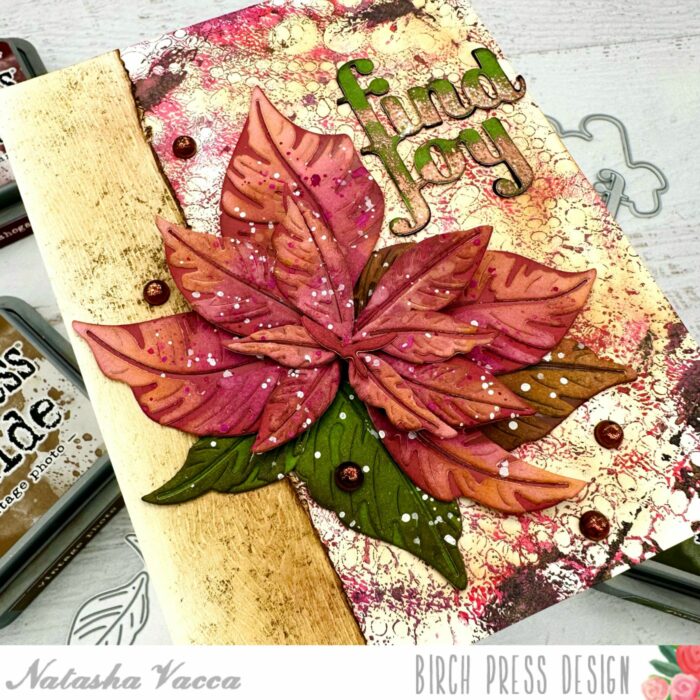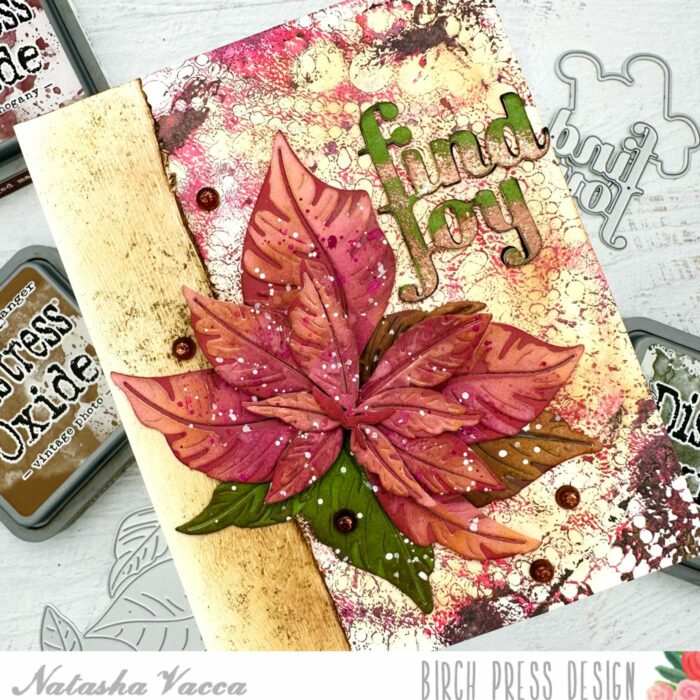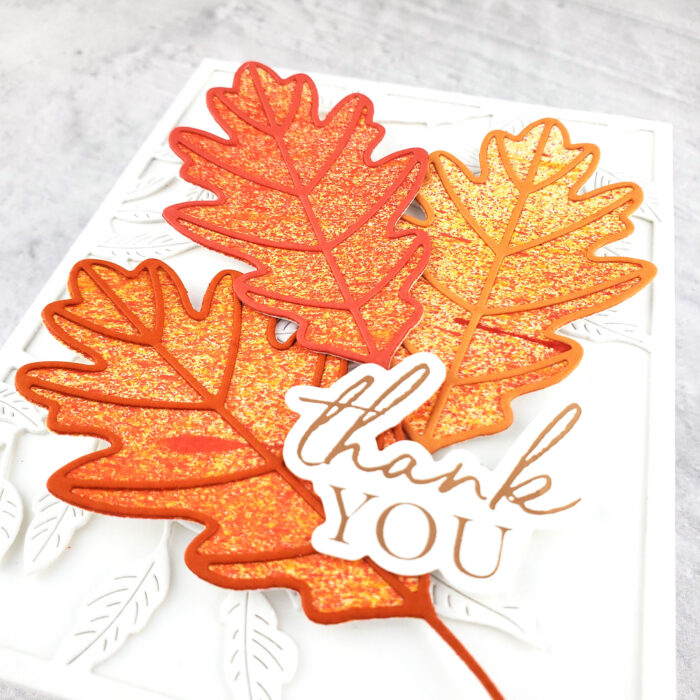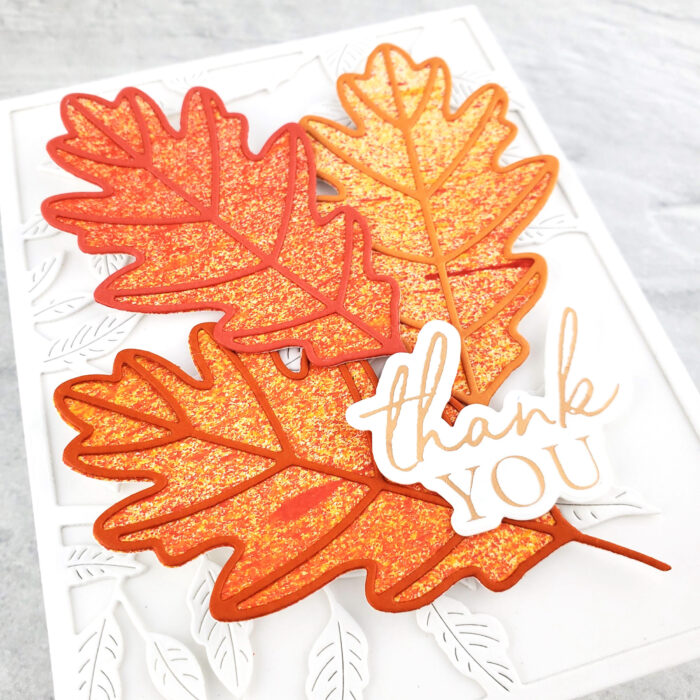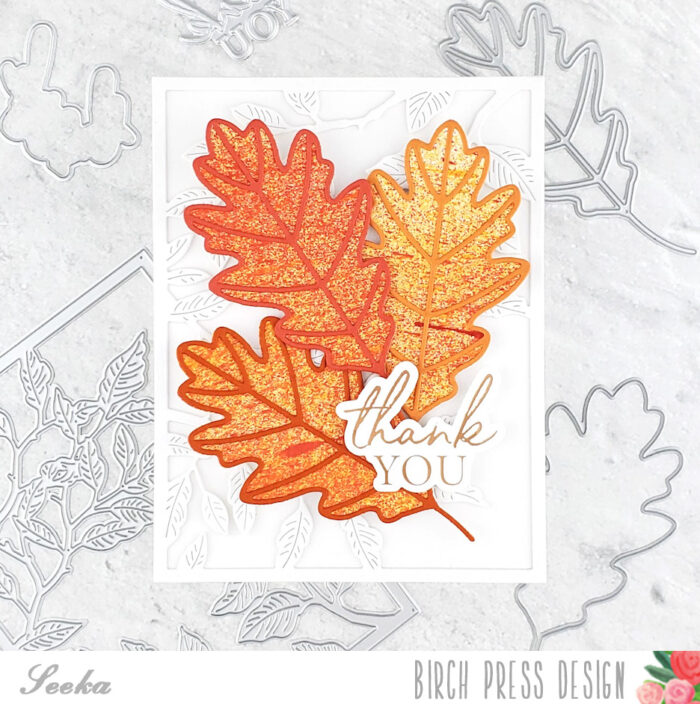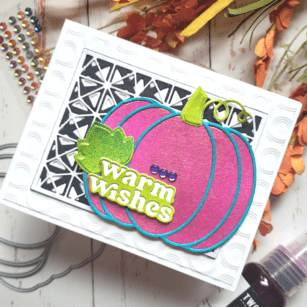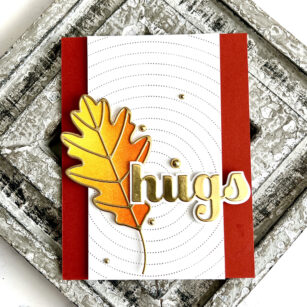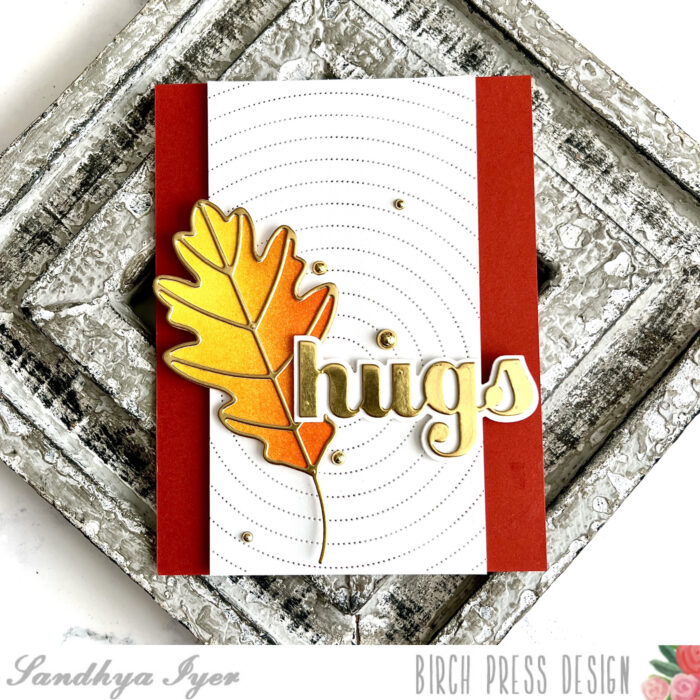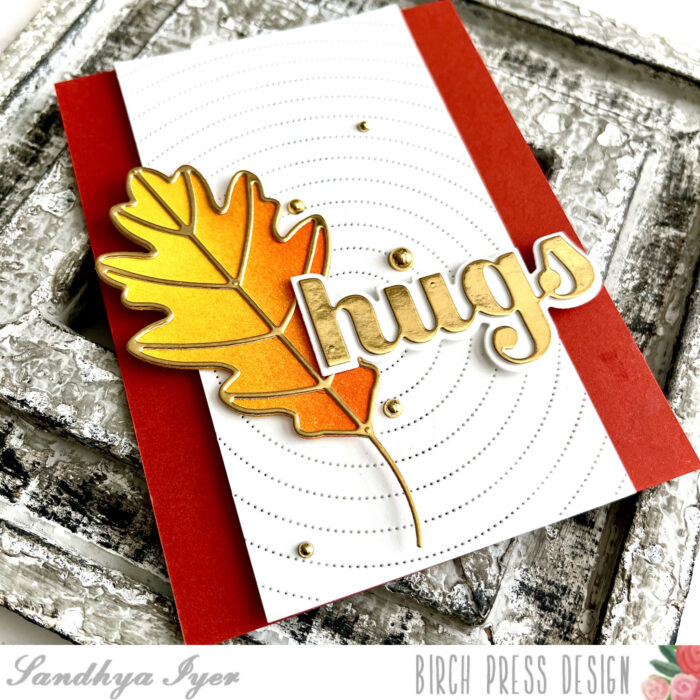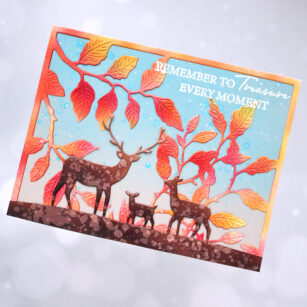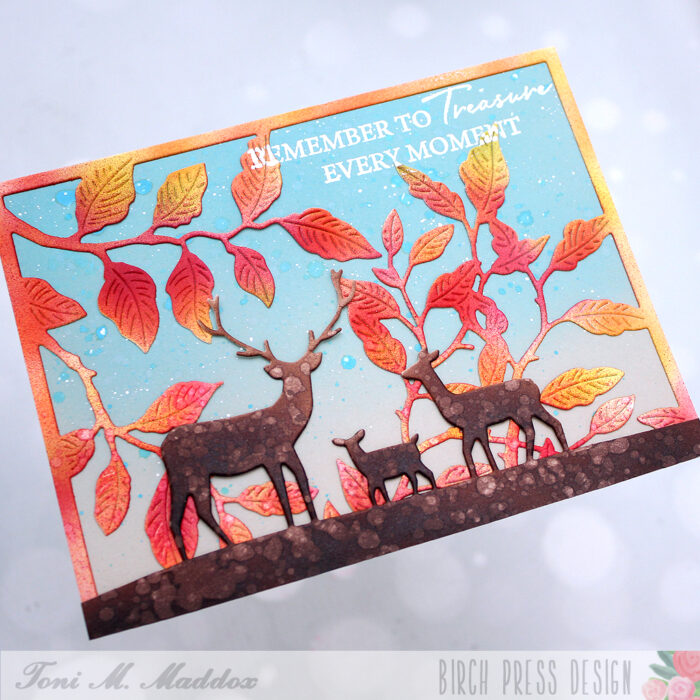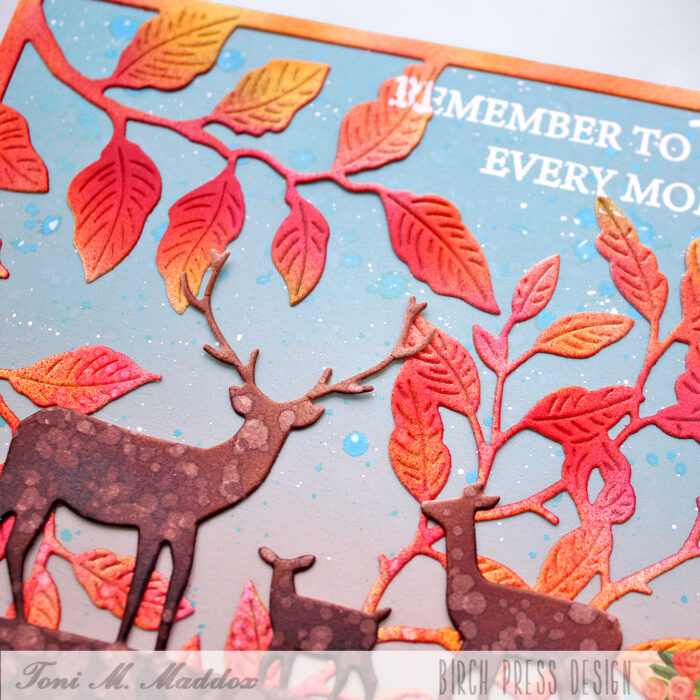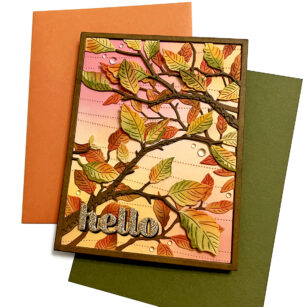
Hello, Birch Press friends! We are officially heading into my favorite time of year, when I can finally look forward to some cooler temperatures! To celebrate, I am sharing a card full of Autumn colors. In case you hadn’t noticed, this Forest Canopy Layer Set is one of my new favorites. I just can’t get enough of it! In my defense, it is so versatile.
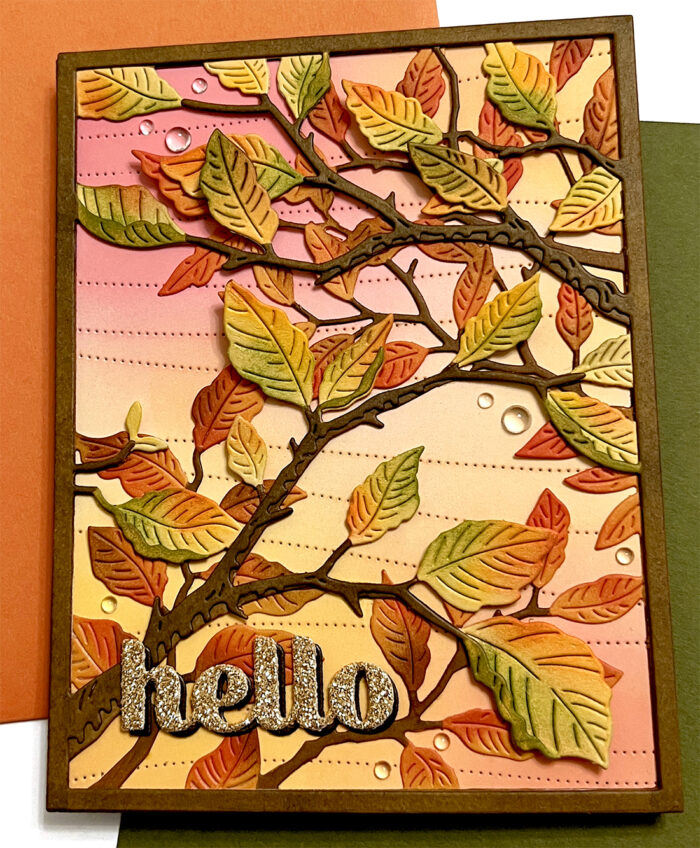
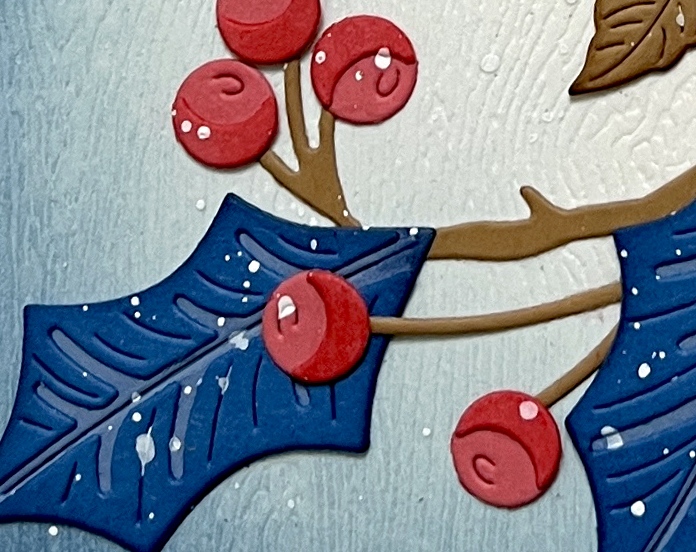
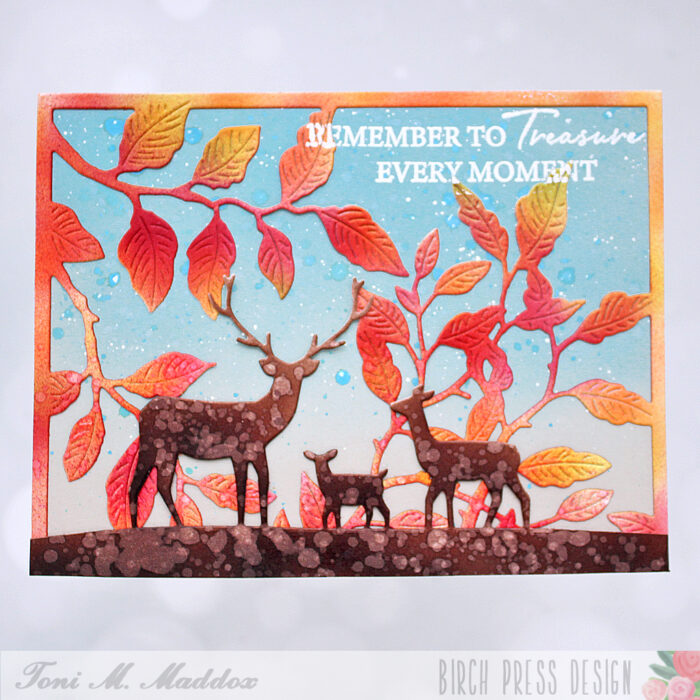
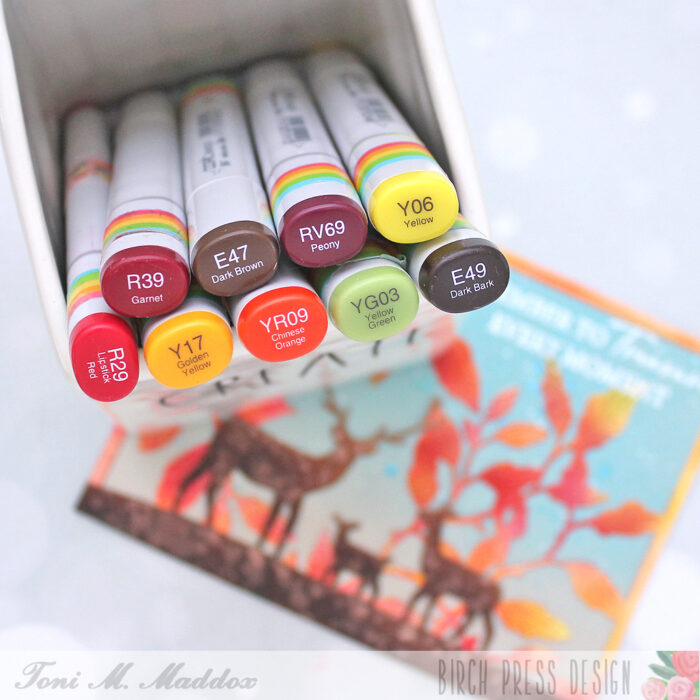
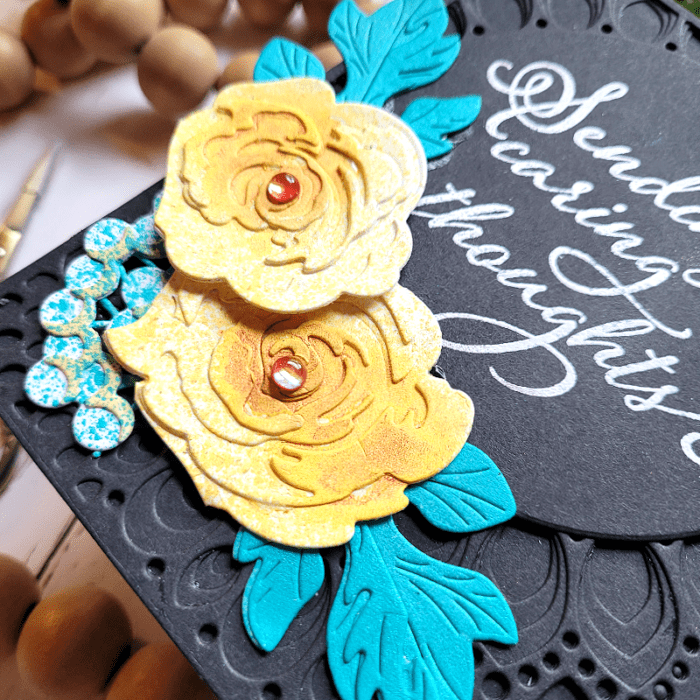
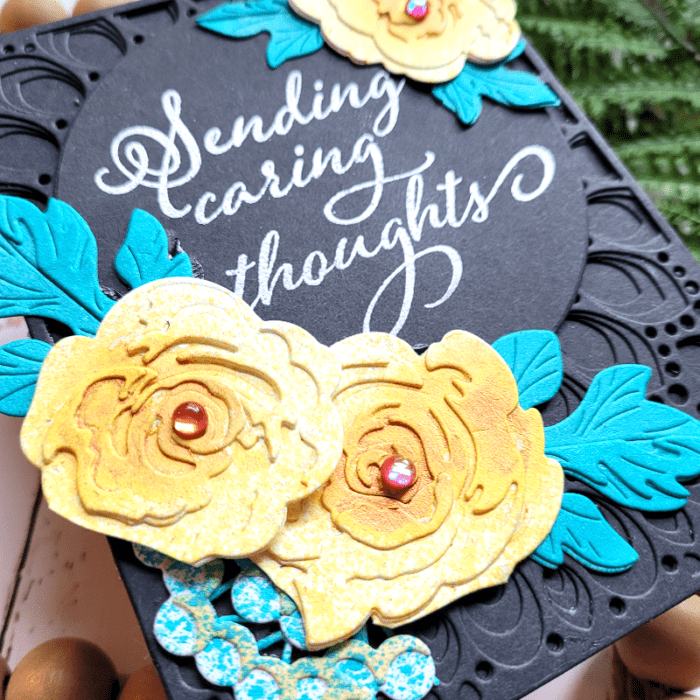
To start, I cut all three layers of the Forest Canopy set. For Layer C, I used a light orange card stock. For Layer B, I used a light yellow card stock. And for Layer A, I used a slightly darker shade of yellow card stock. I then took a brown marker (I used one of my OLO markers) and colored the frame and the branches on all three layers. Since I wasn’t adding the berries to this card, I cut off the little berry branches from Layer B.
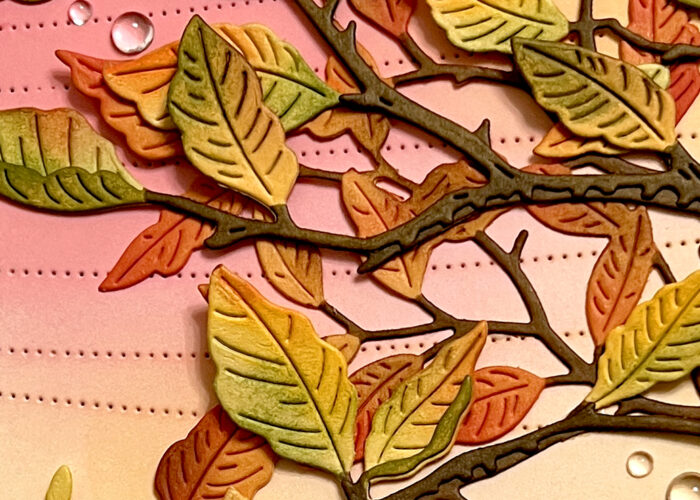
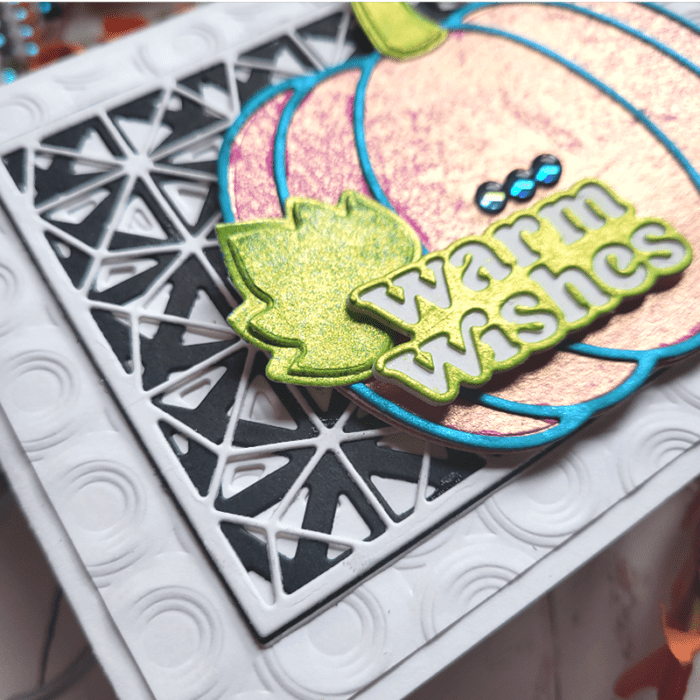
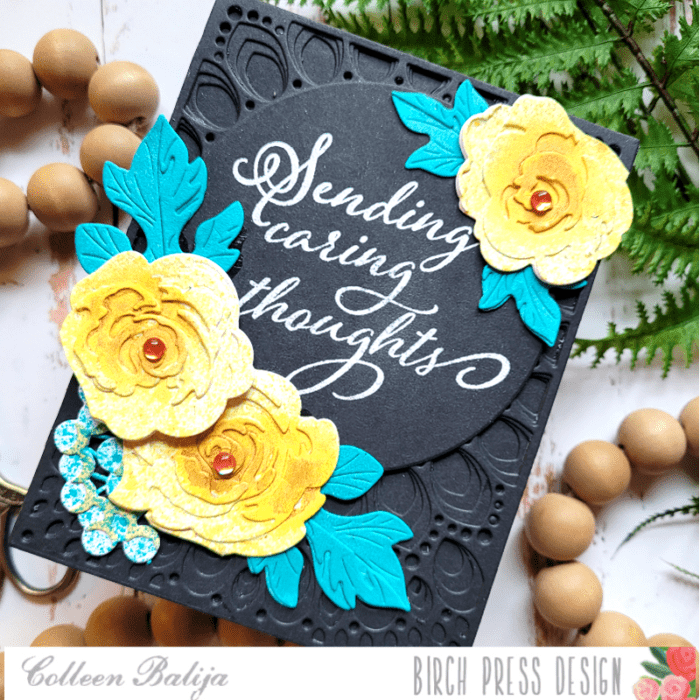
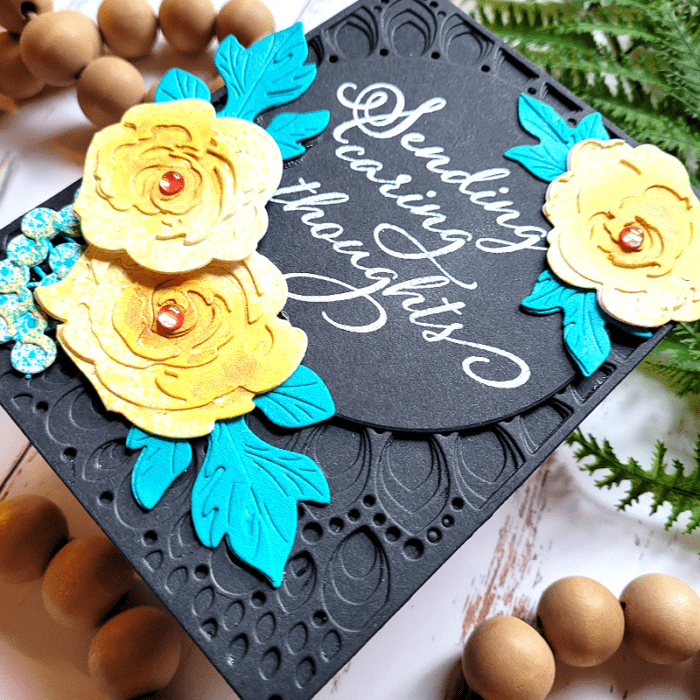
Next, I colored my leaves, using several different colors of ink to add shading and dimension. I used Pinkfresh Studio inks for all of my coloring on this card. For Layer C (the back layer), I used some oranges, browns, and reds/pinks. For Layers A and B, I used yellows, greens and a bit of orange. Once I was finished coloring the leaves, I glued the three layers together. I then created my background by cutting a panel of white card stock with the Pinpoint Contour Plate. I did some quick ink blending with two shades of Distress Oxide – Worn Lipstick and Wild Honey.
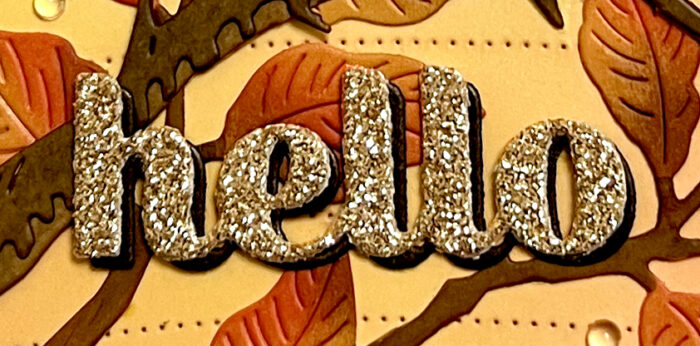
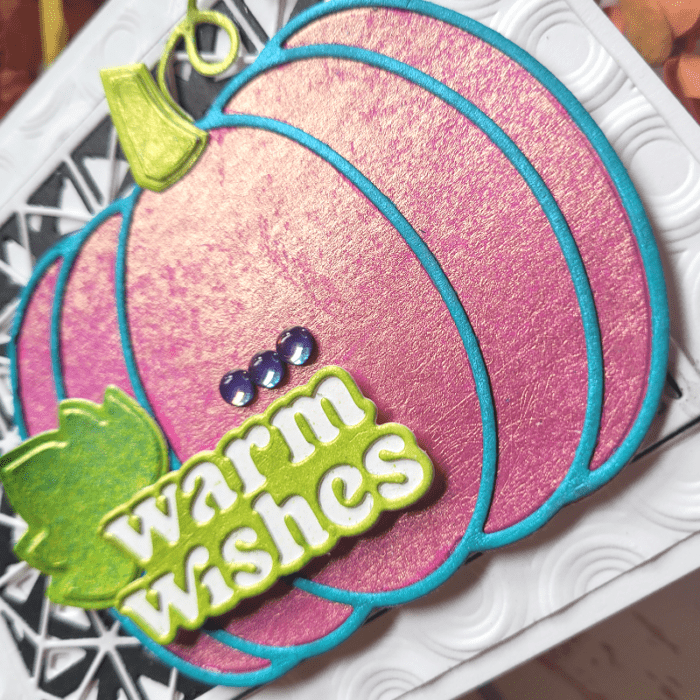
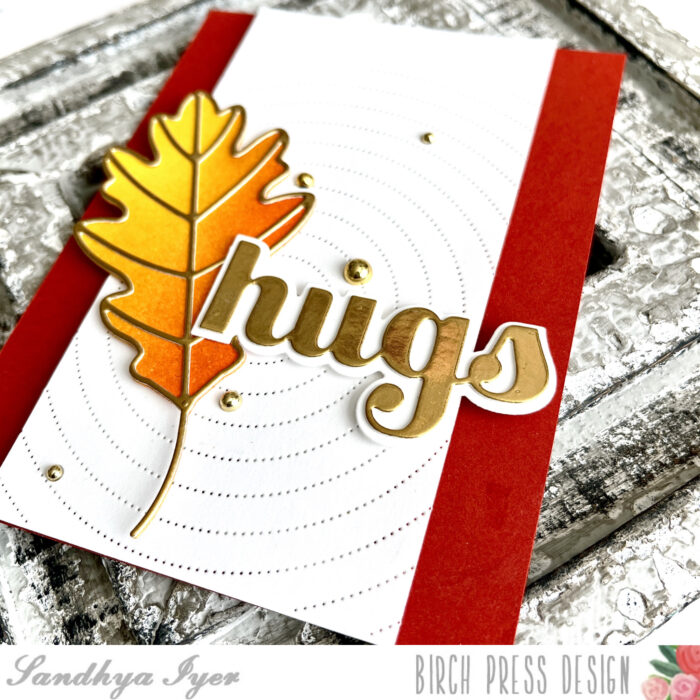
For my sentiment, I used the Hello Sugar Script, which is such a simple sentiment, but one of my favorites. I cut it from a piece of glitter card stock and then glued it to a layer that I had cut from brown card stock. I made sure to offset the glitter layer so that the brown layer created a drop shadow effect. This helps the sentiment stand out more from the busy background.
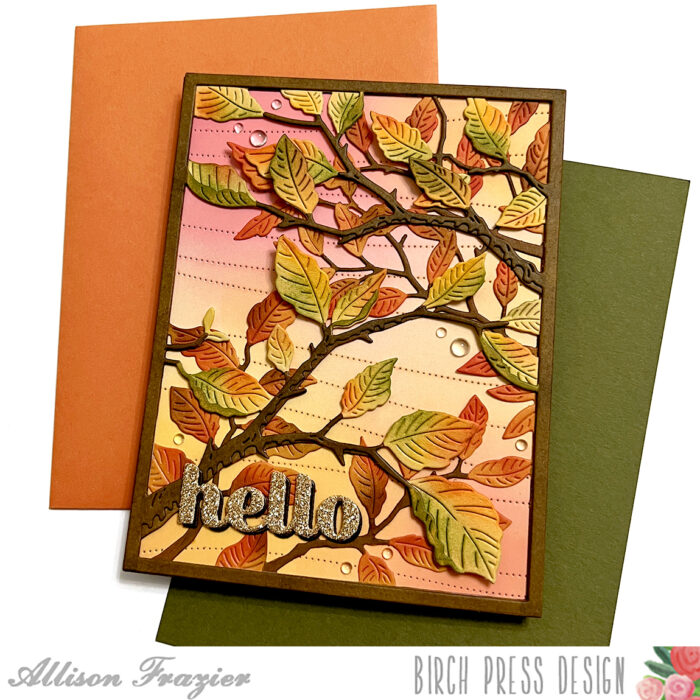
To finish my card, I added some clear fairy drops around the design. I hope this card puts a smile on your face and inspires you! Thank you so much for joining us today.

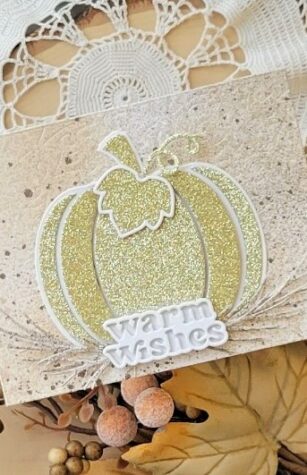
Supplies


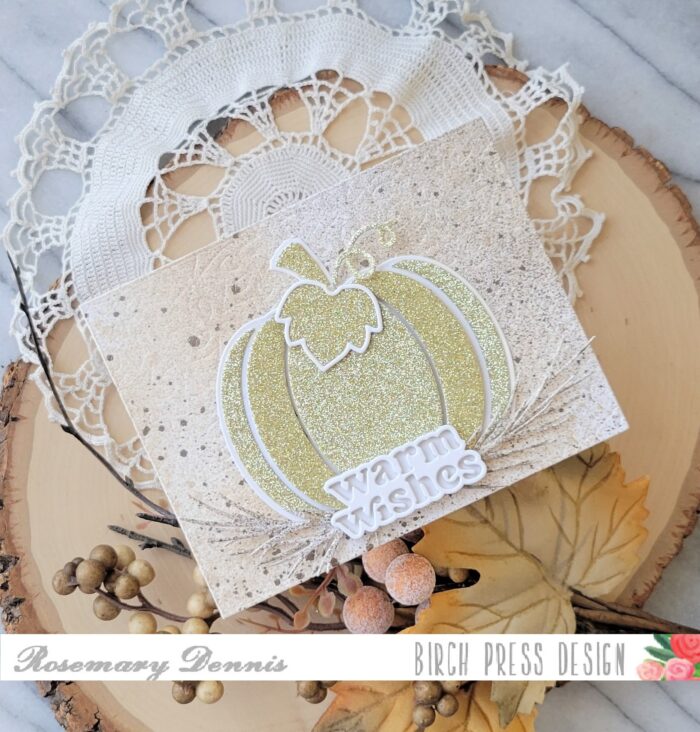
Supplies