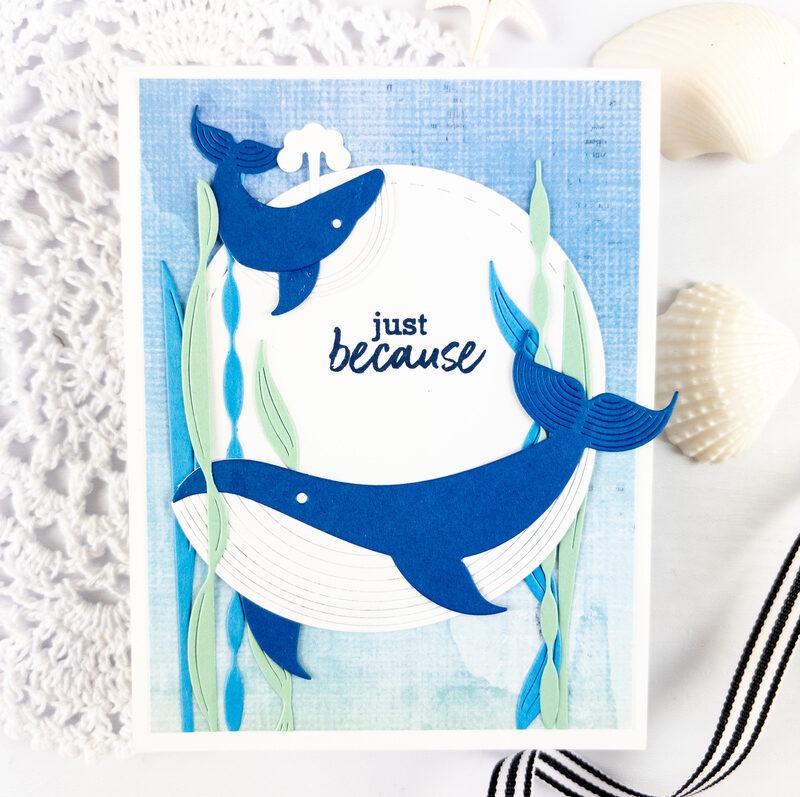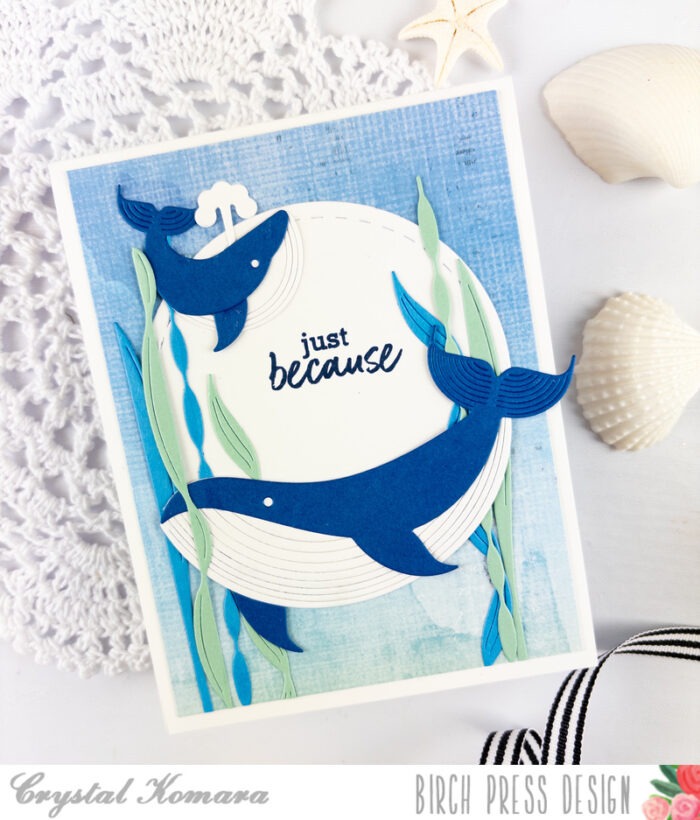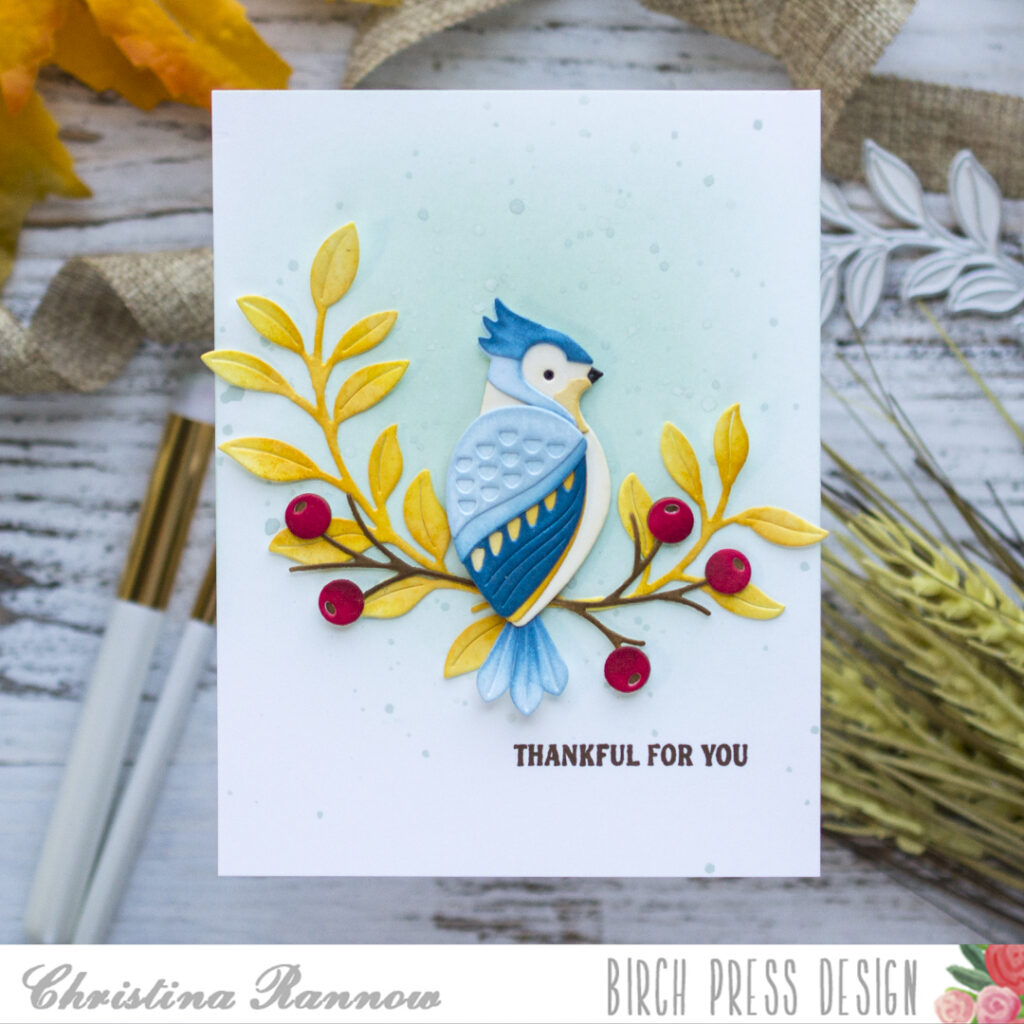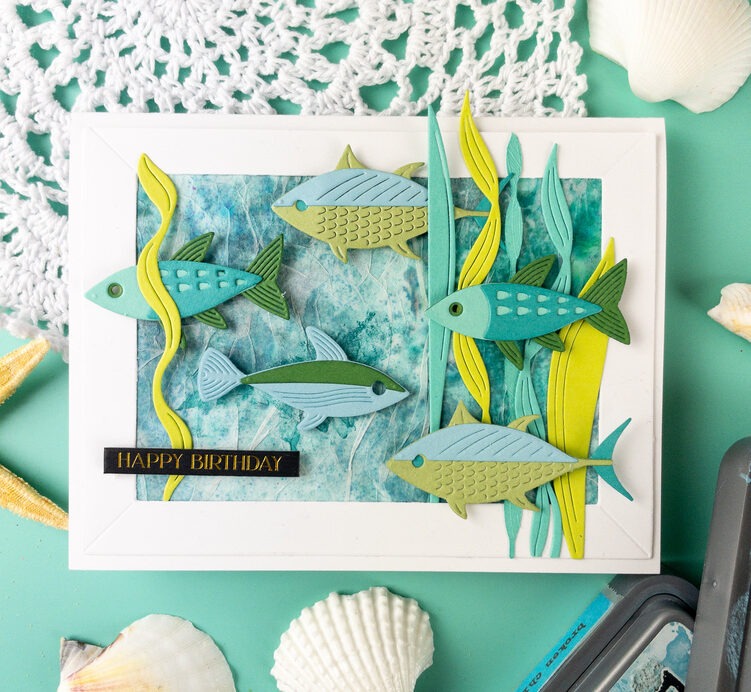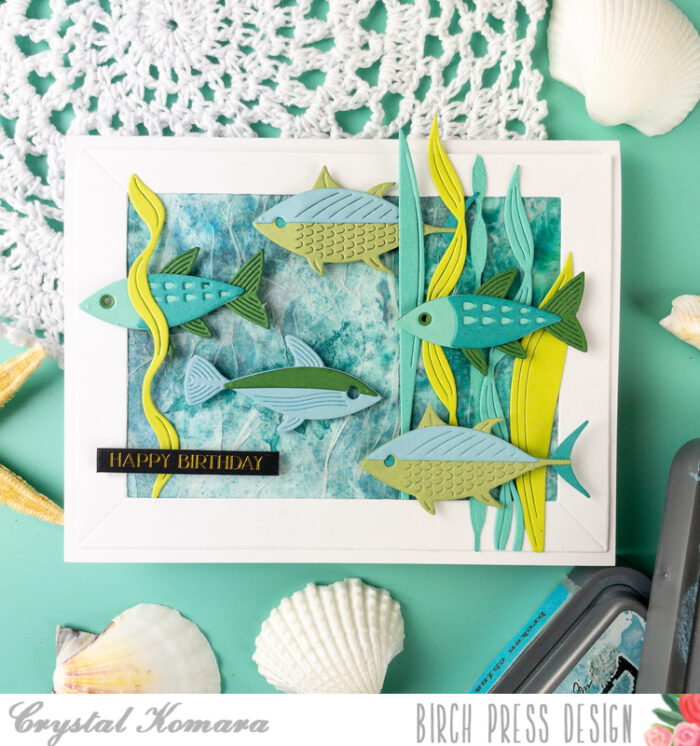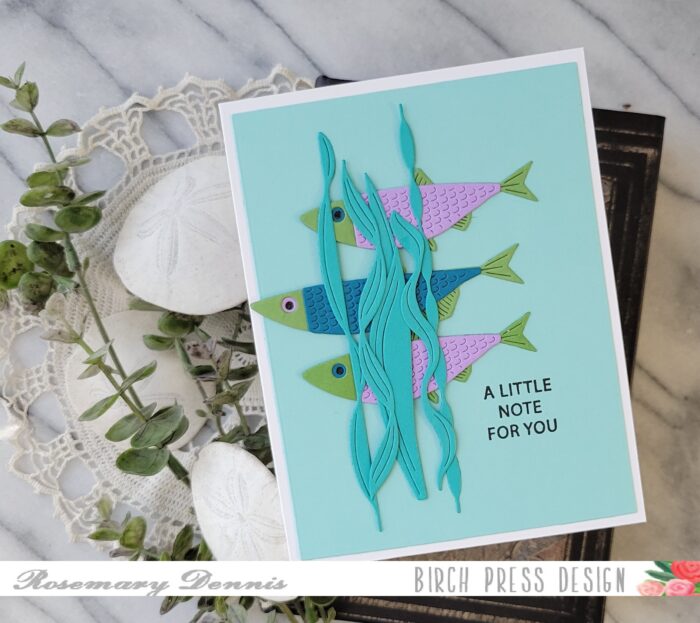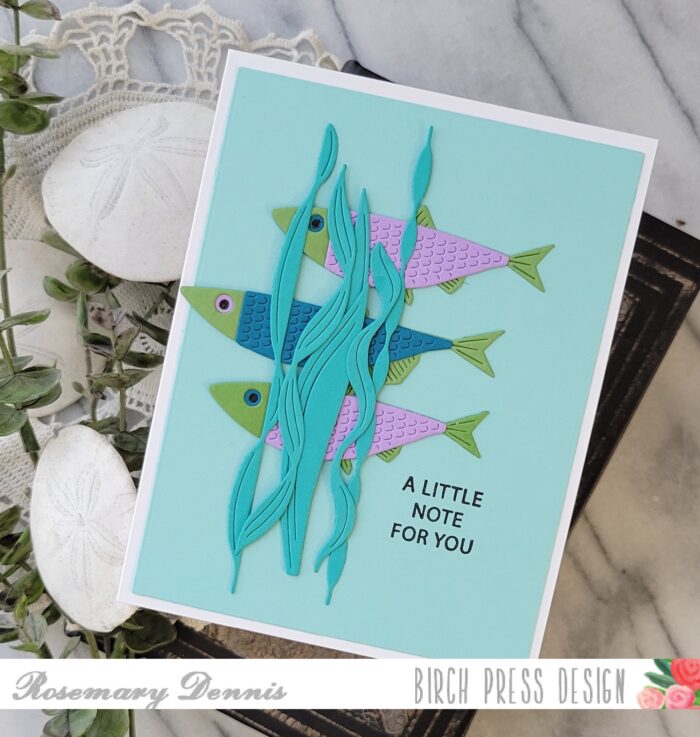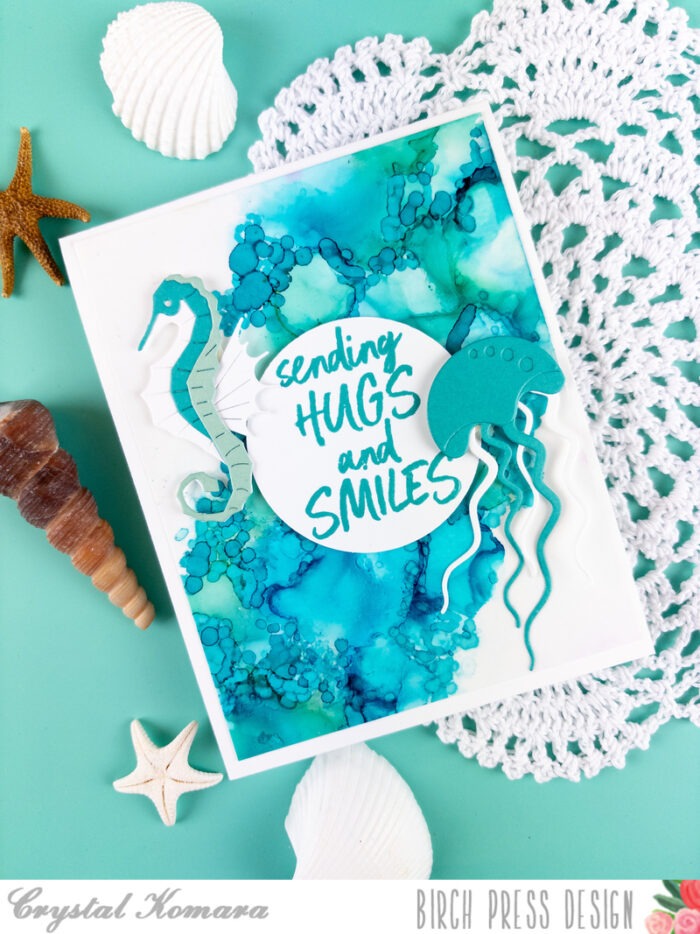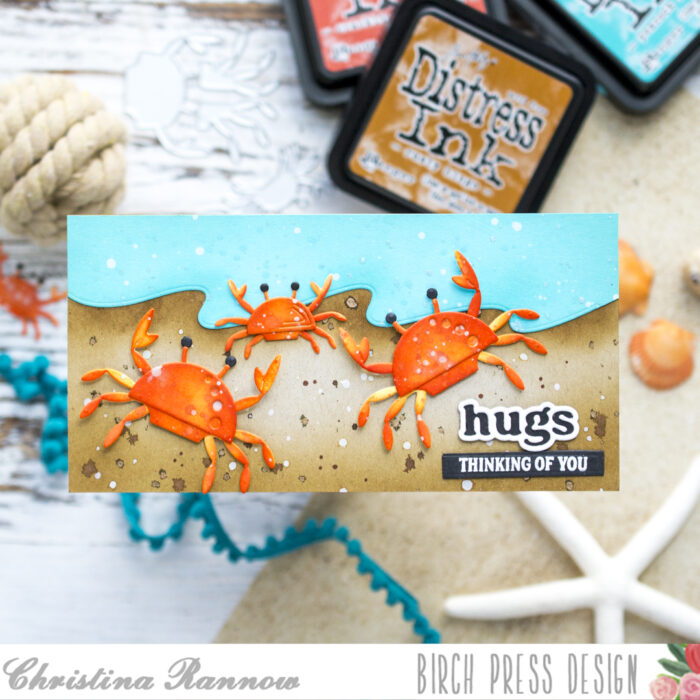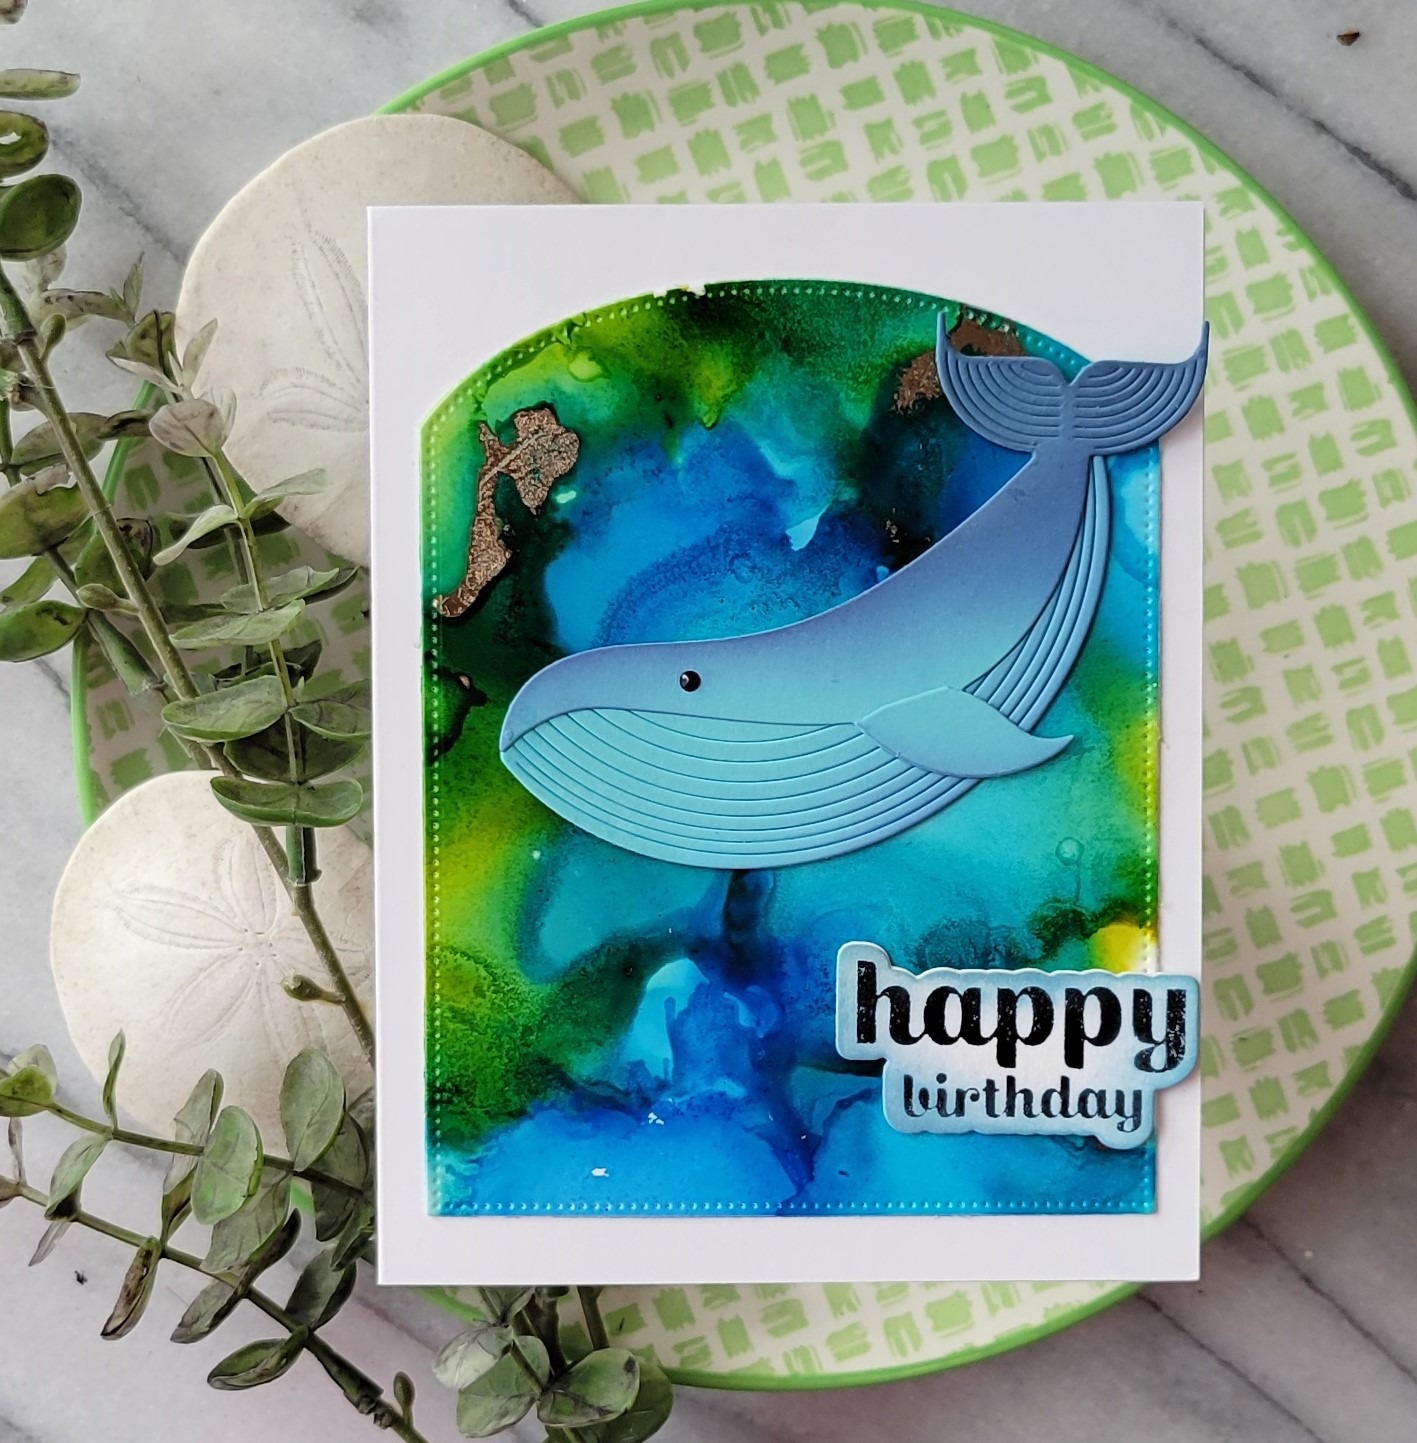
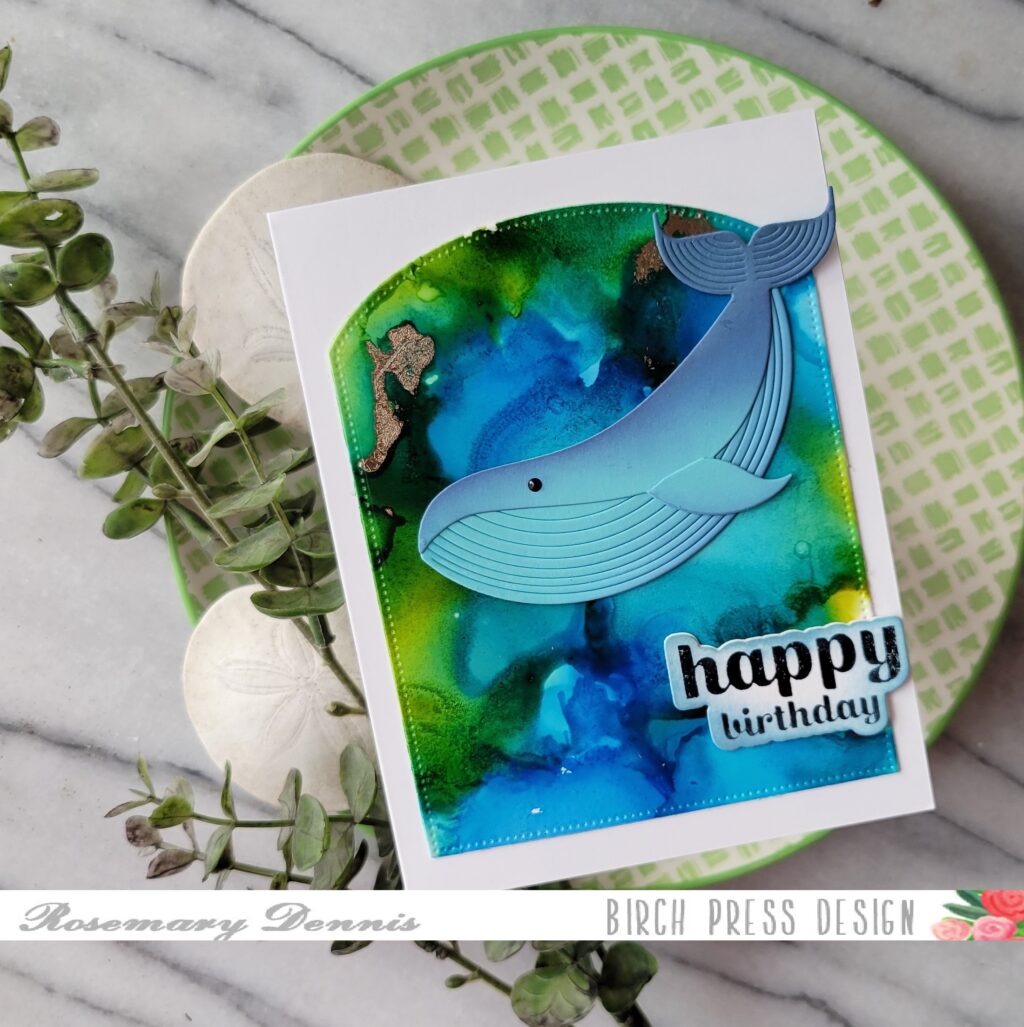
Hello, Rosemary here on the blog today sharing a birthday card that I created using the Majestic Whale die set. Let’s have a look at what I made.
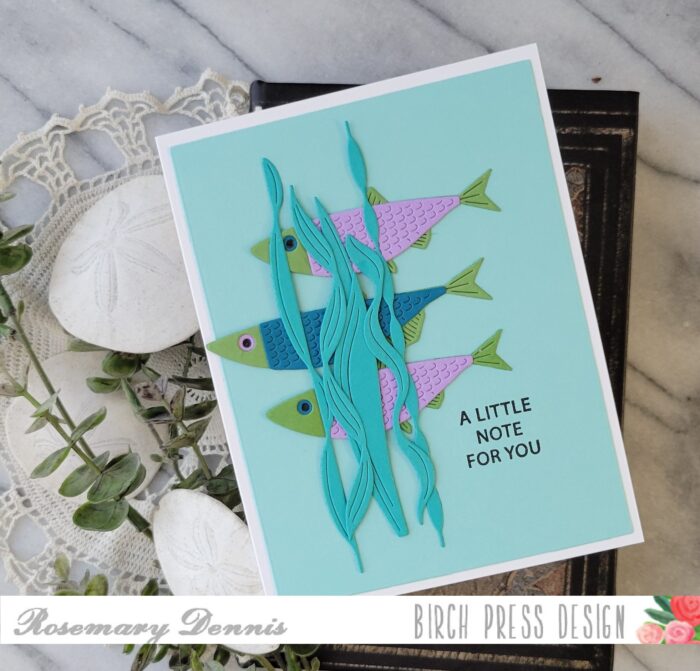
Ever start making a project and then decide halfway through that you don’t like it and go in a completely different direction? Well, that was me, lol! I had a completely different color scheme/idea for my card using different dies and for whatever reason I couldn’t make it work.
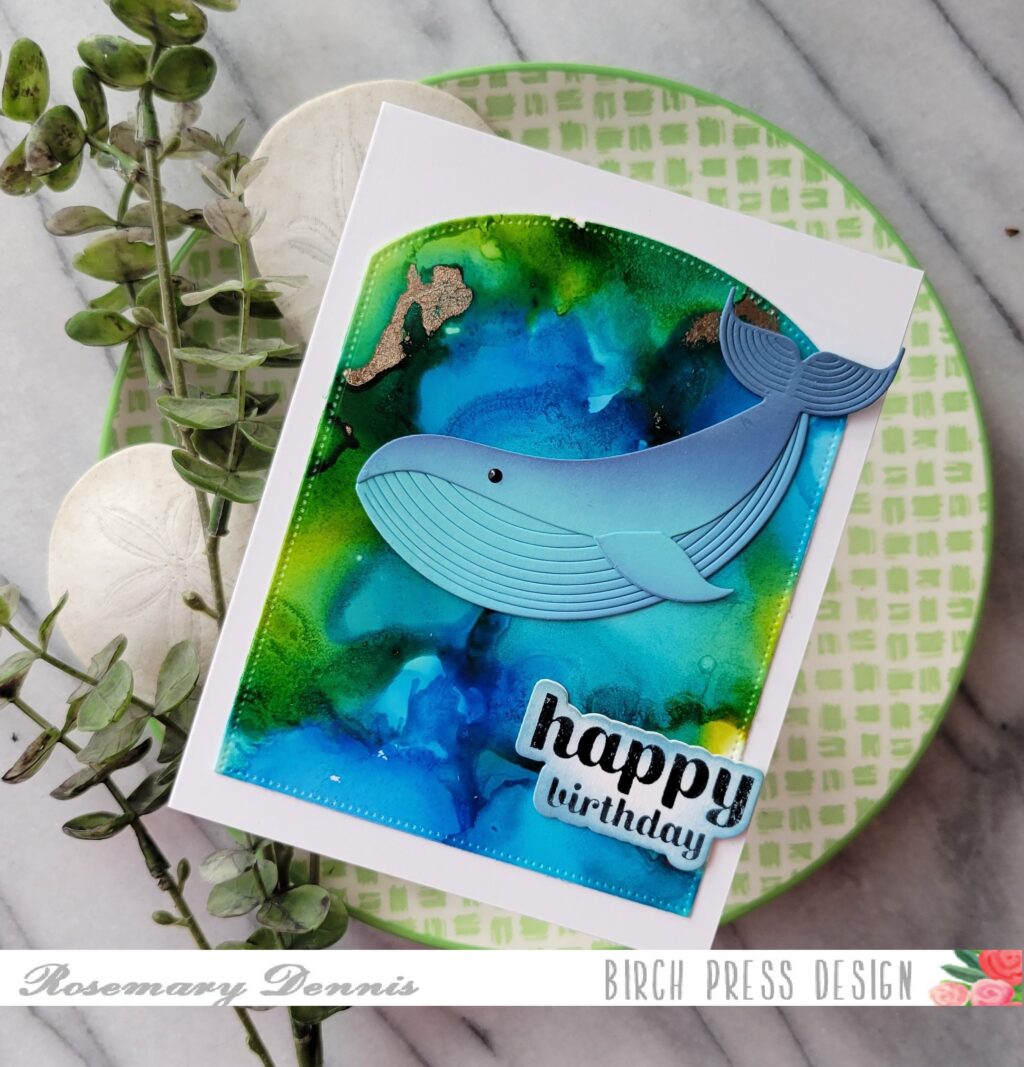
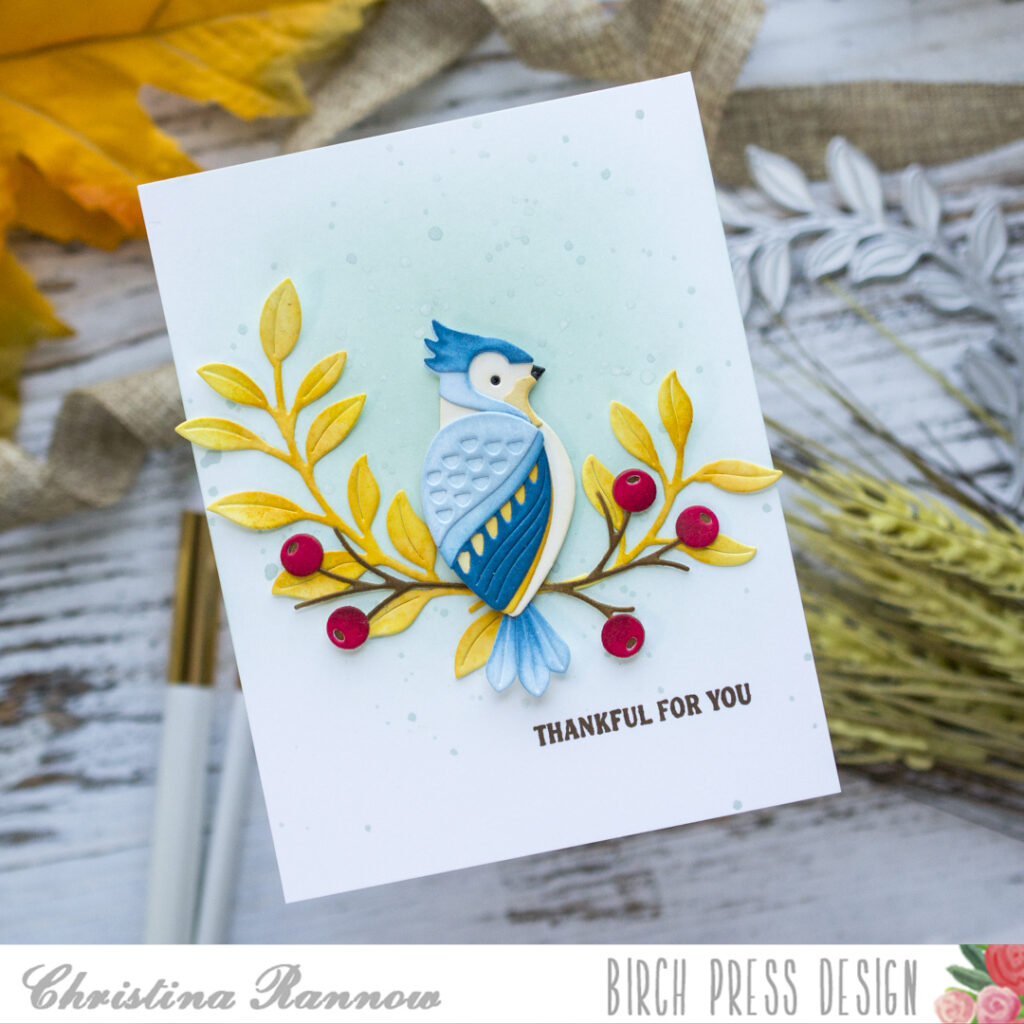
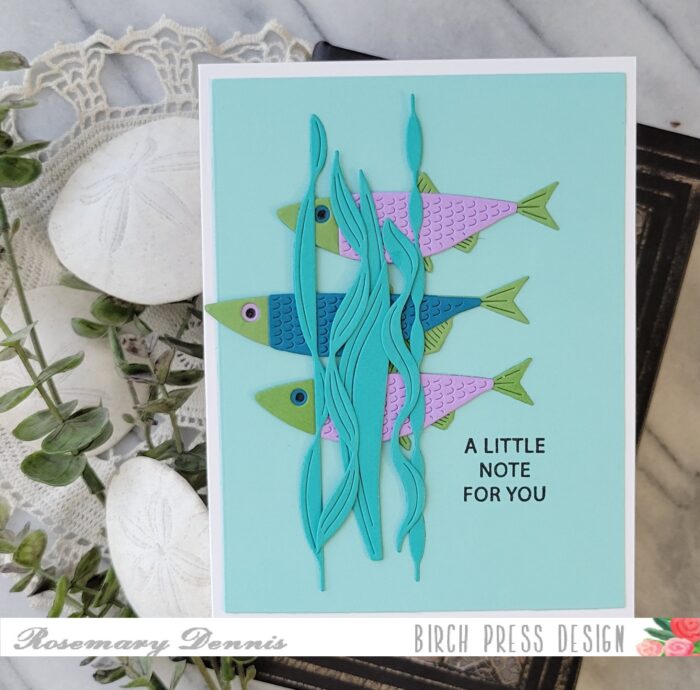
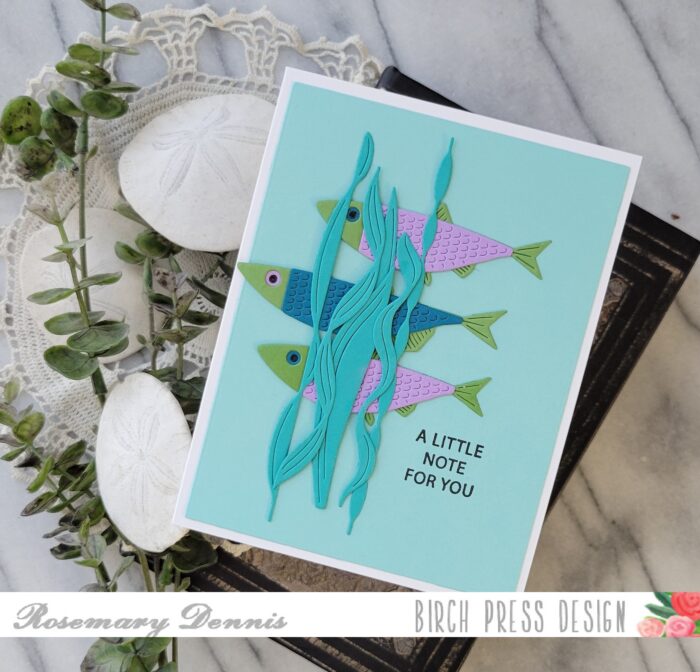
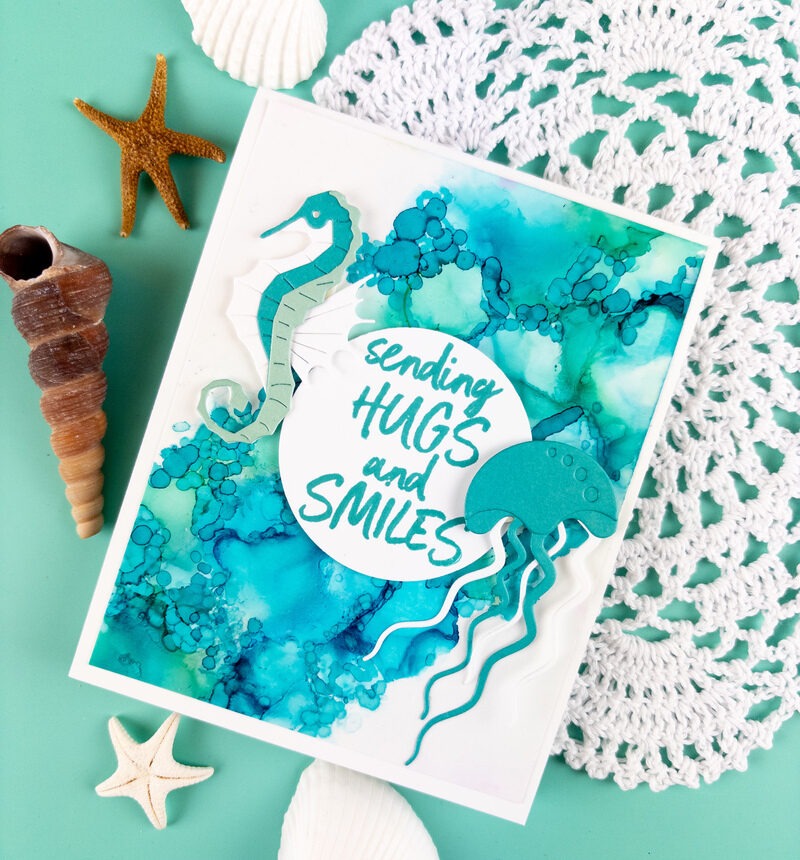
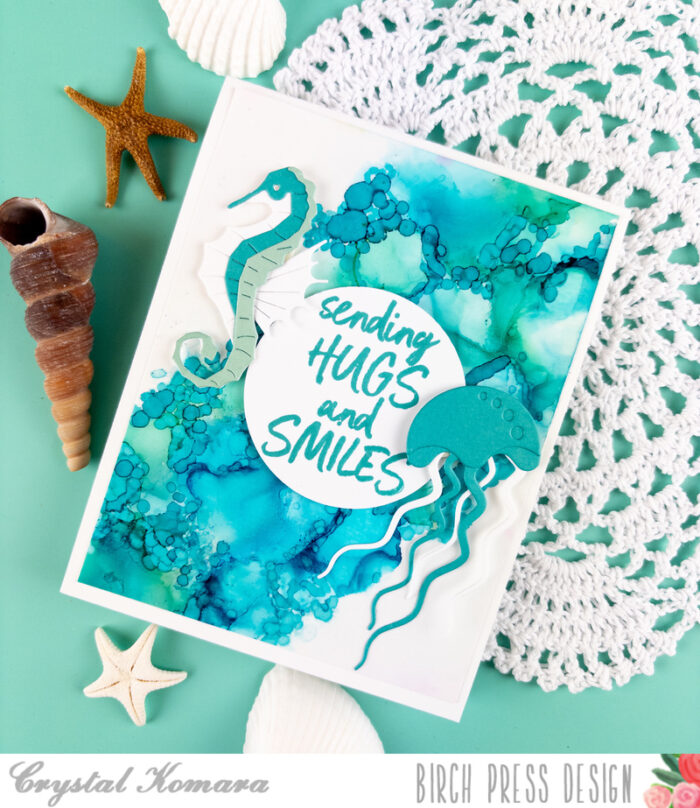
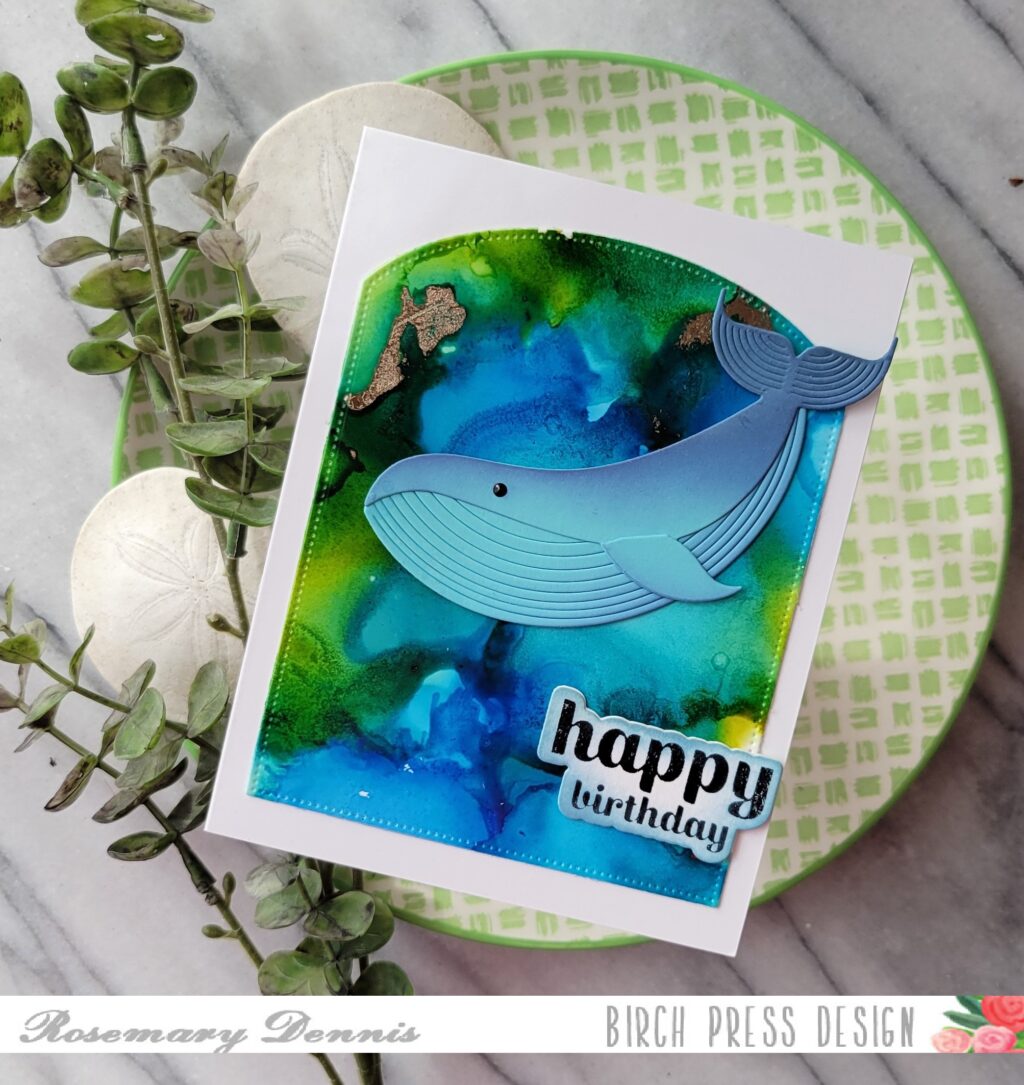
As I was working on the first idea I decided to create an alcohol ink background to see if that would help my initial idea work. Loved the background I created, but it didn’t go with the other colors and fish I was using. Then I thought of the Majestic Whale die set. I hadn’t used that set yet so set aside the other fish and idea to start fresh.
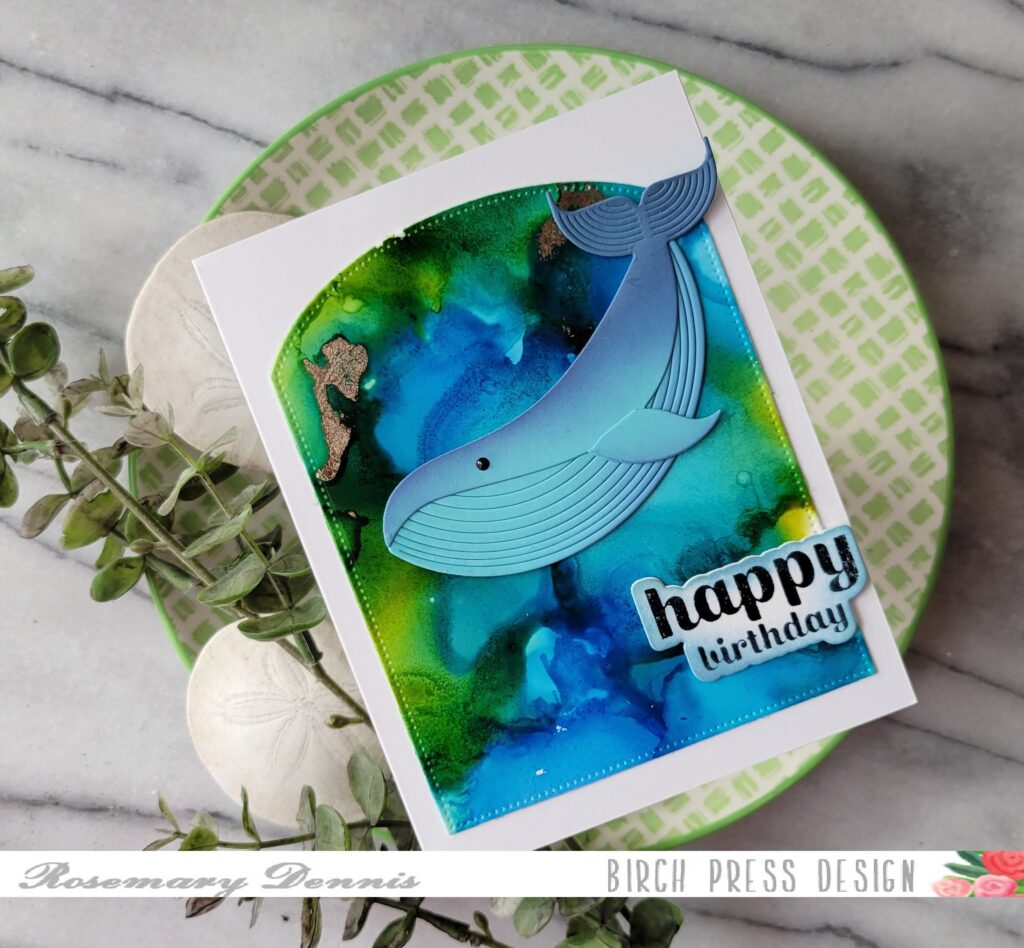
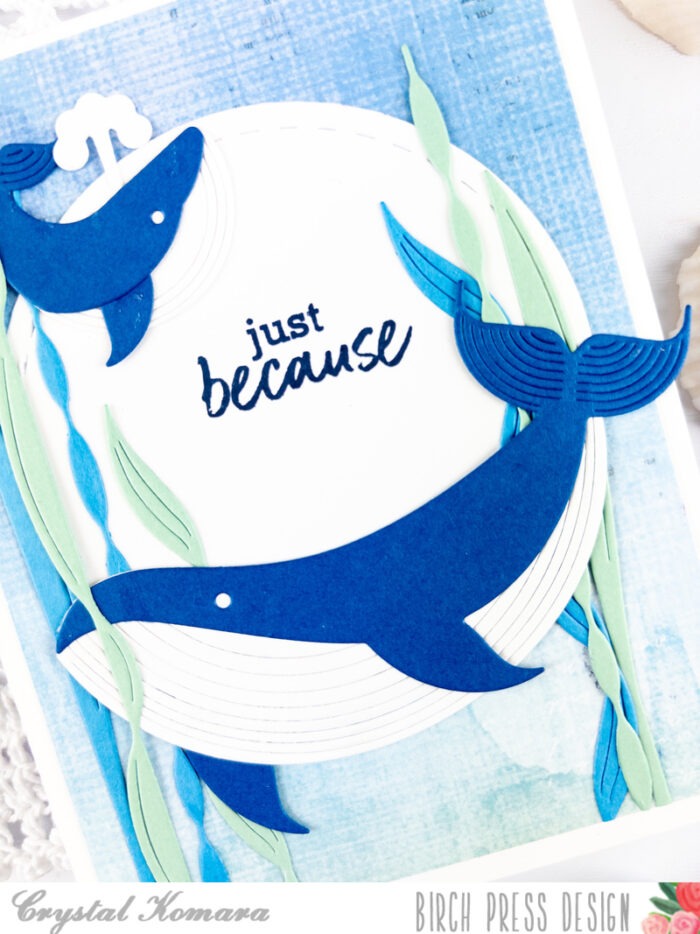
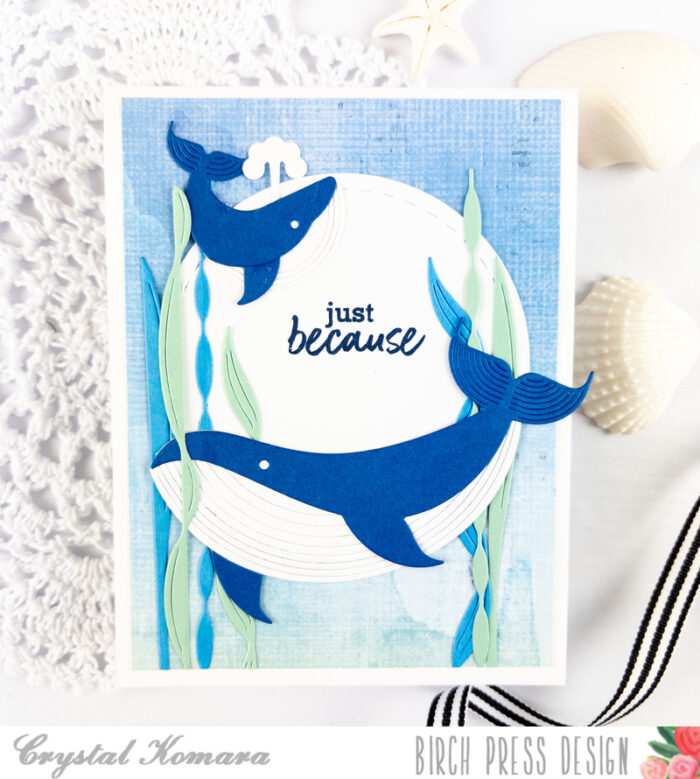
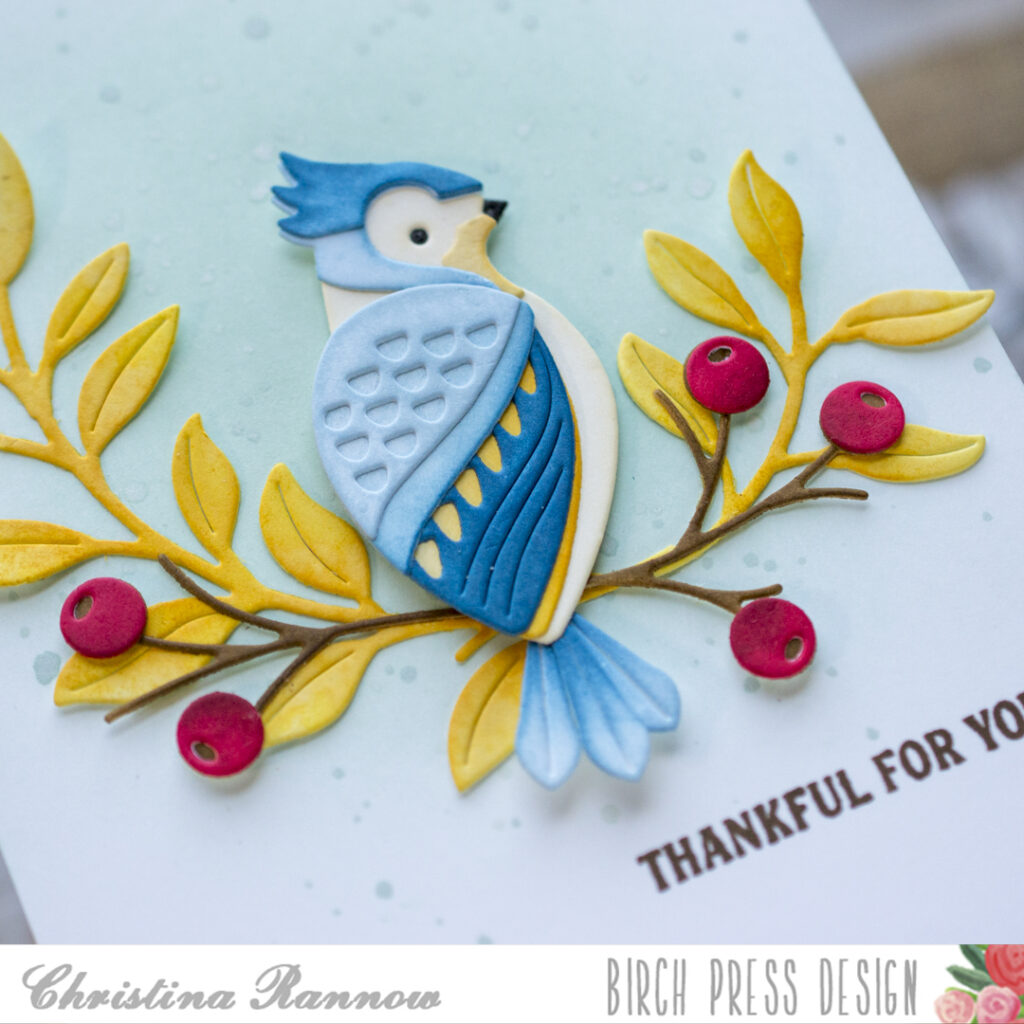
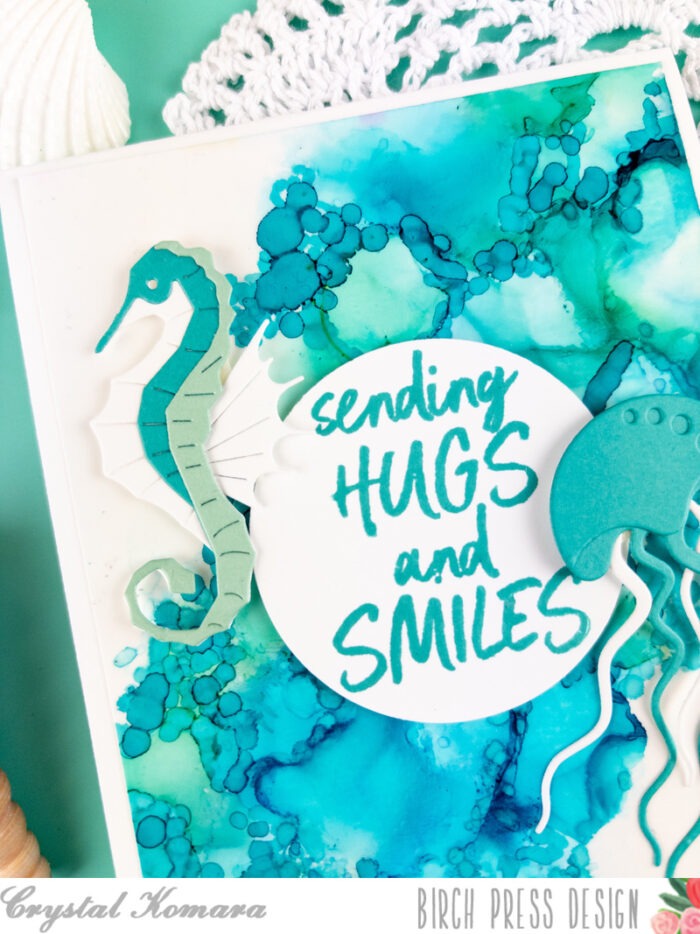
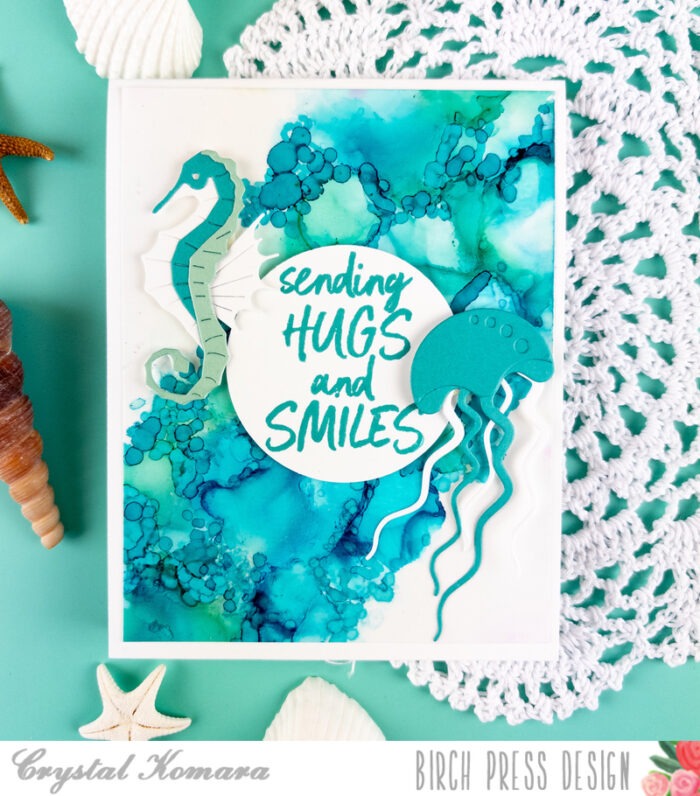
I die cut the whale from a light blue Memory Box cardstock and then added distress oxide ink in Chipped Sapphire ink to darken up tail and top portion of the whale. I added a little bit to the belly and fin, as well. Then I adhered everything together. Before the alcohol ink had completely dried I added a little touch of gold using a foil sheet in rose gold. Then I die cut the background using a Memory Box arched rectangle die.
I adhered everything to the card front using glue and then added the sentiment that I hot foiled using the Sugar Script Sentiments 2 hot foil set. I added a little bit of ink to the edges so that it blended in with the background. Well, that is it for me. Thanks for stopping by and have a wonderful day!