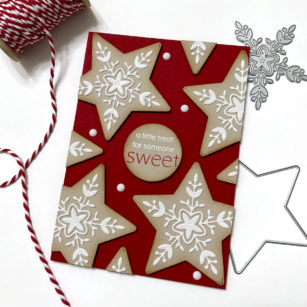
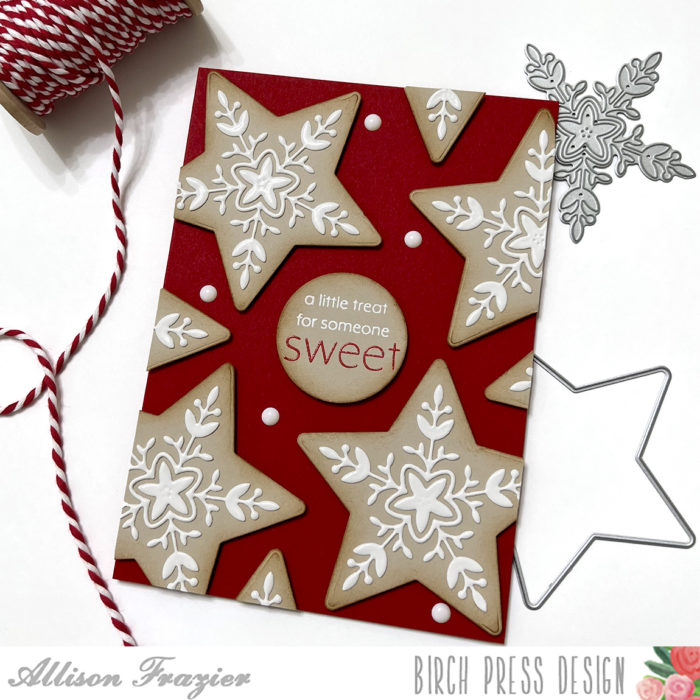
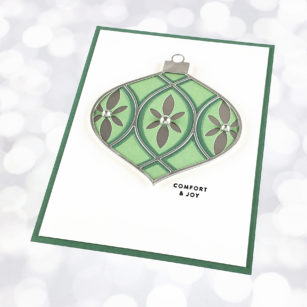
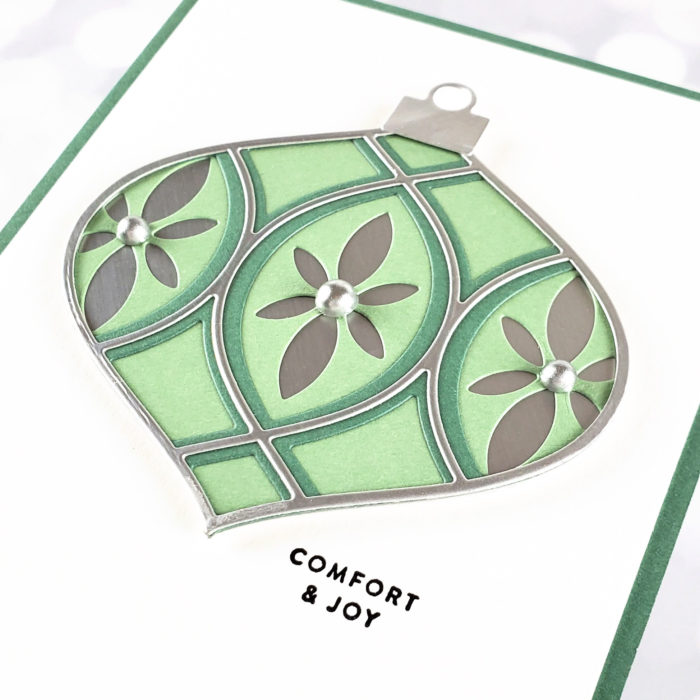
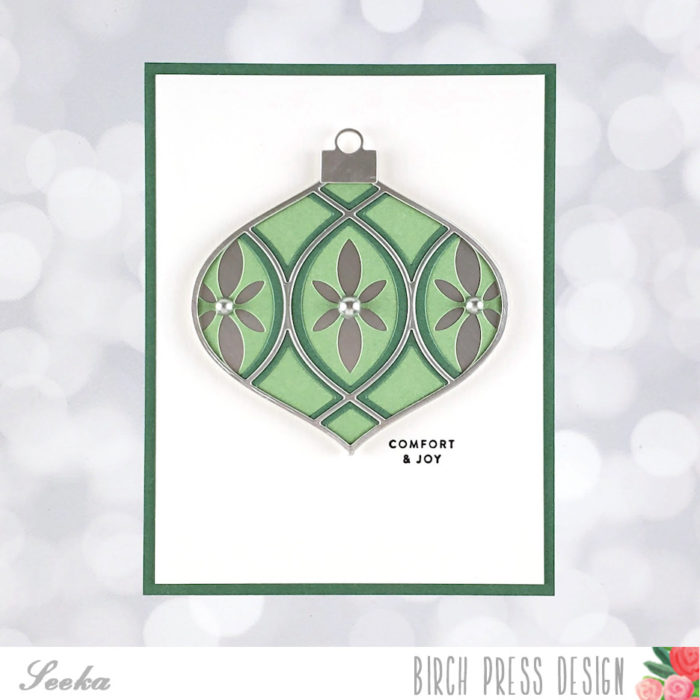
Hello, Birch Press Friends! Have you seen the amazing new, festive release? There are so many new dies, including snowflakes, ornaments, Santas, and more! And, there are new hot foil plates. I had to play with this fun Piped Icing Star die set because I love making cookies just like this for the holidays.
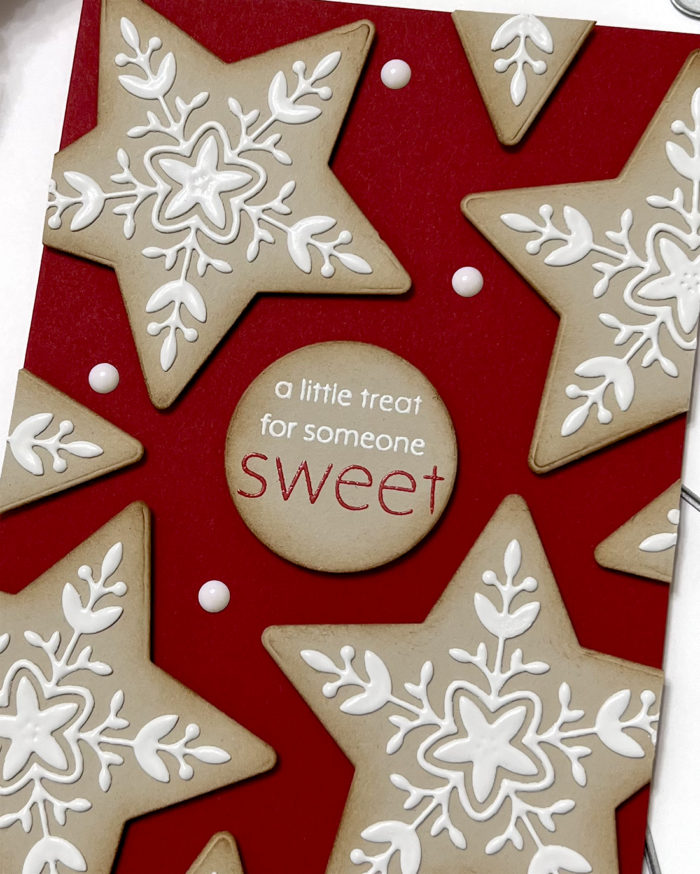
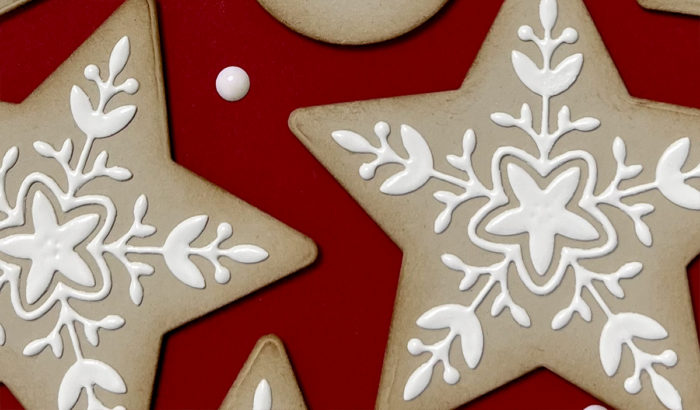
I first created a 5″x7″ card base out of red card stock. I then cut all of my stars from beige card stock. I inked up the edges of the stars with Vintage Photo Distress Ink to mimic the browning that cookies get when they’re ready to pull out of the oven.
I used the detail snowflake die to cut several pieces of white card stock. I placed each of these on a piece of copy paper and pressed VersaMark ink onto them. I then transferred them to a container of white embossing powder, made sure they were coated, and then embossed them with my heat gun. I repeated this process three times, which results in a thicker and more rounded look to the embossing powder. I then glued these to the center of the stars. It is so shiny and smooth just like real icing!
For the sentiment, I used a retired Birch Press Design stamp set called “You Are Awesome.” I just couldn’t pass up this perfect sentiment. I heat embossed the sentiment with white and red embossing powders, cut it out with a circle die, and inked up the edges with the Vintage Photo ink to make it look like another cookie.
After arranging all of my elements on the card, I cut off the edges where necessary and then popped them up on craft foam for dimension. I finished with some white enamel dots.
Thank you so much for joining us today. I hope this card inspires you and brings a smile to your face!
Wishing you a crafty day,
Allison
Supplies