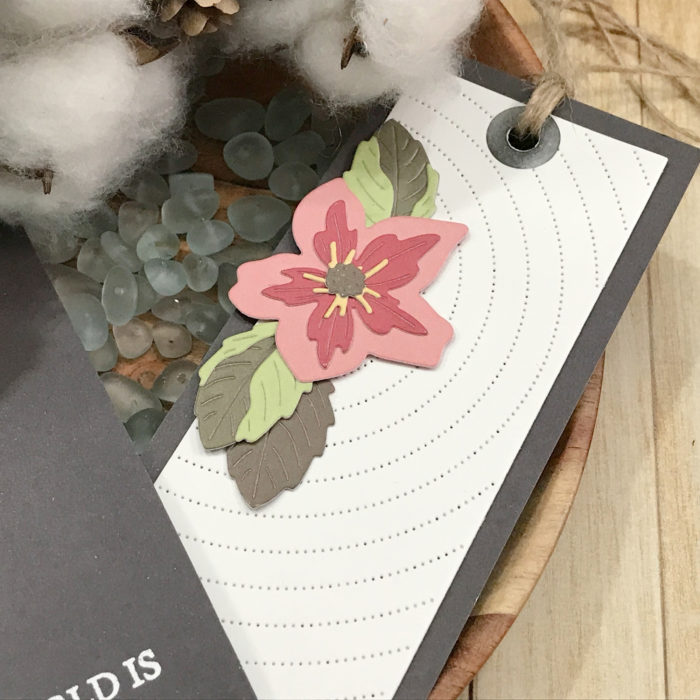
I hope you’re having a good day! I love flowers! When it’s too cold outside to enjoy the garden, I’m happy to be making with them in my craft rooms so the new release makes me HAPPY!
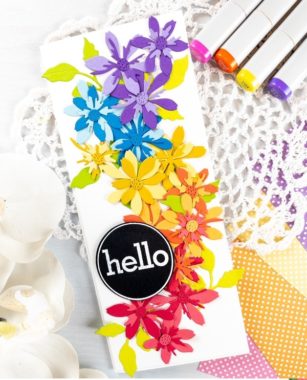
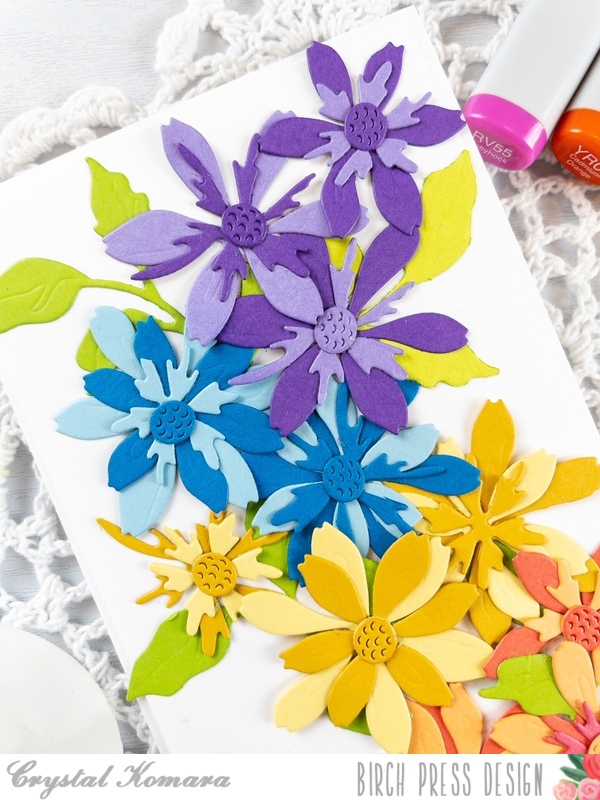
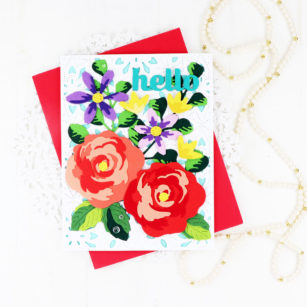
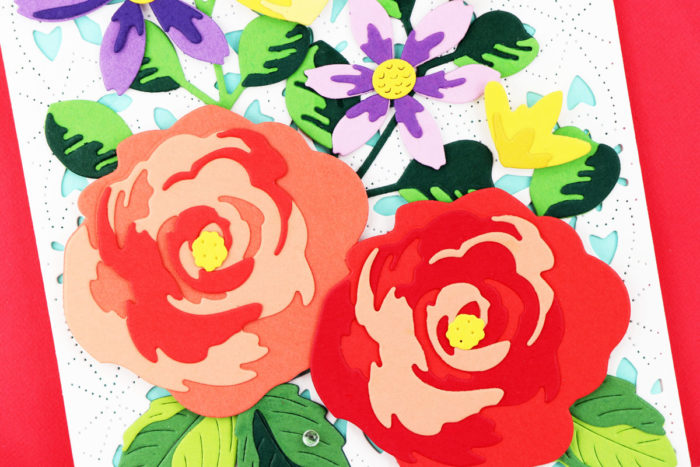
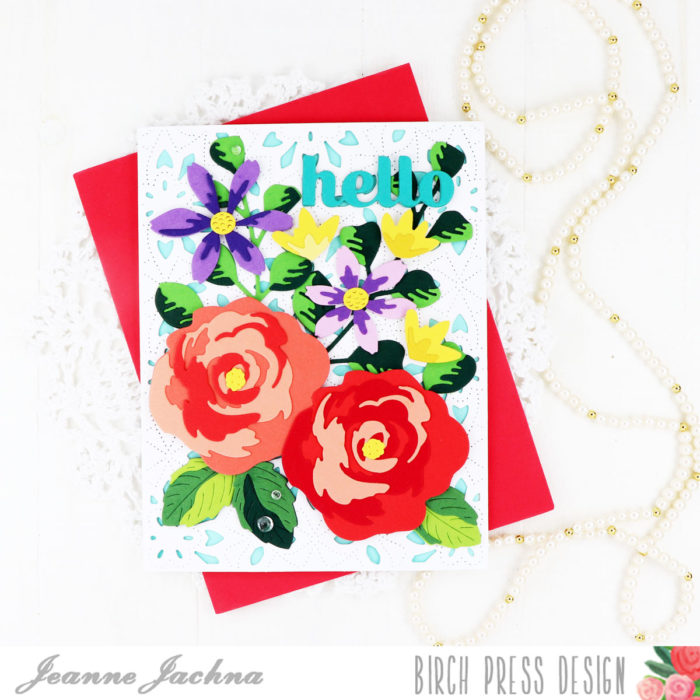
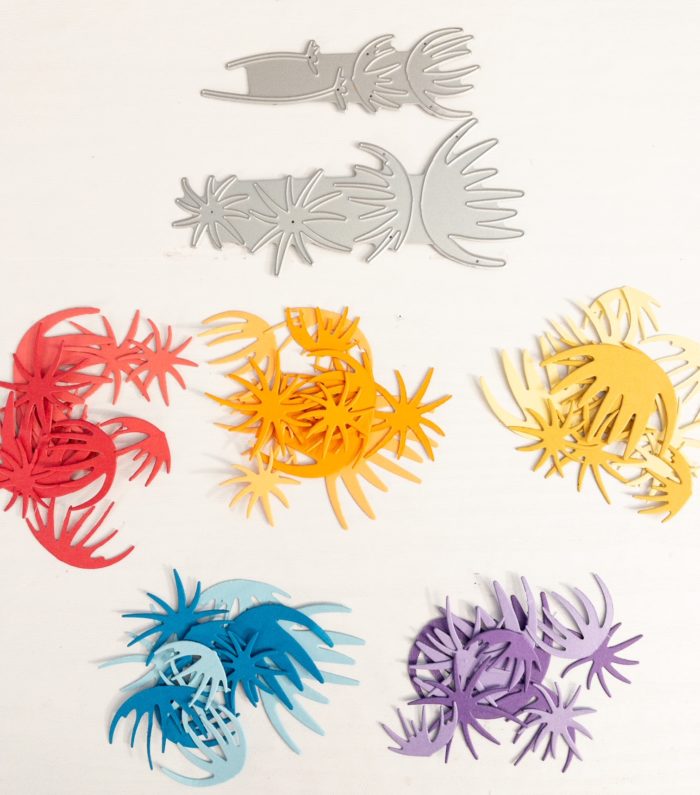
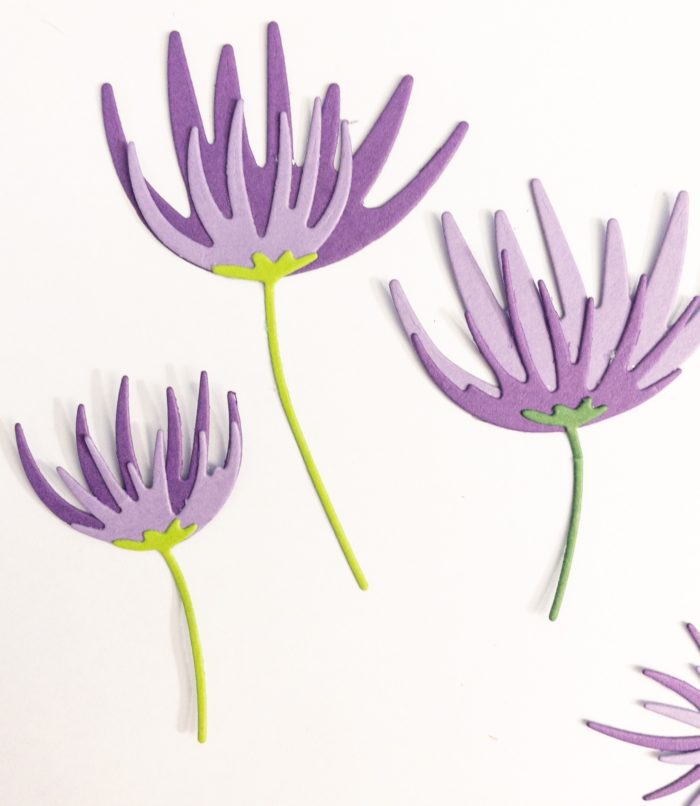
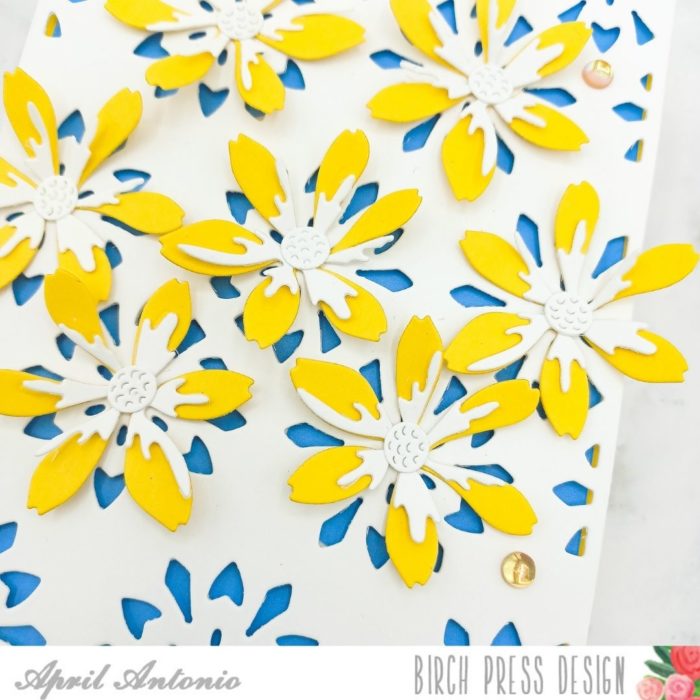
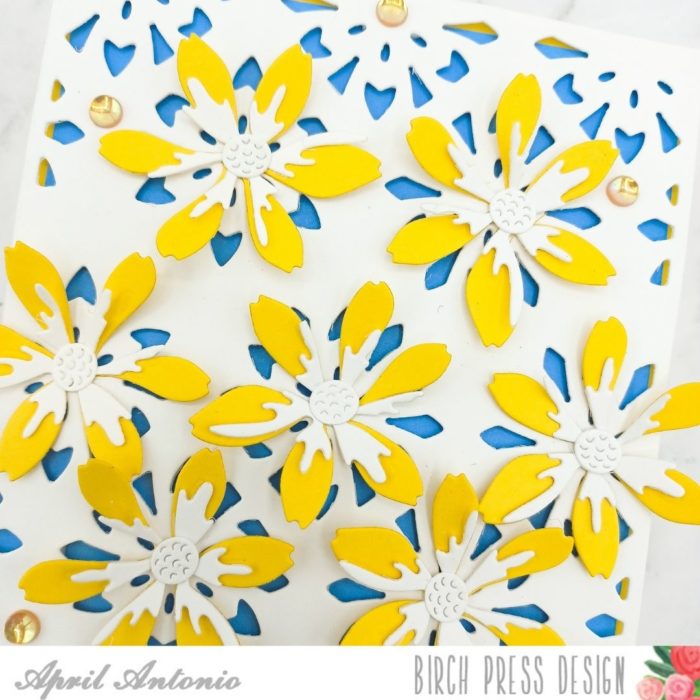
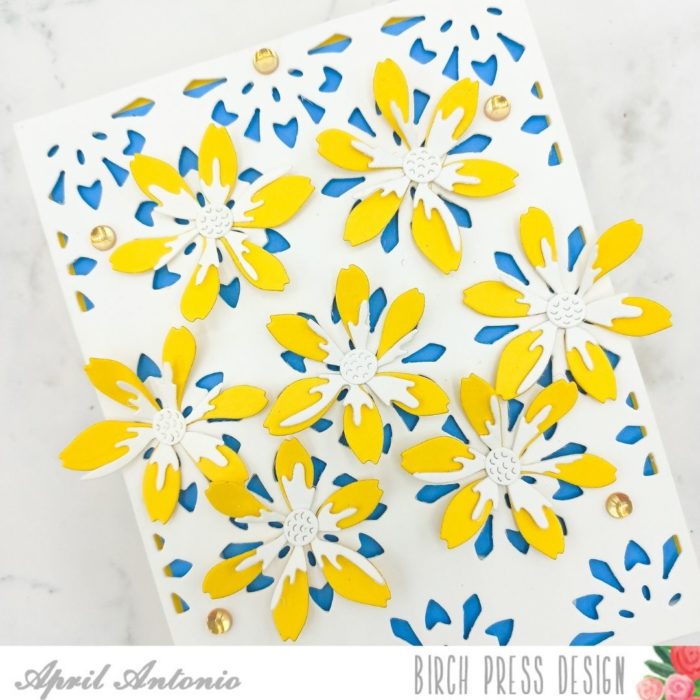
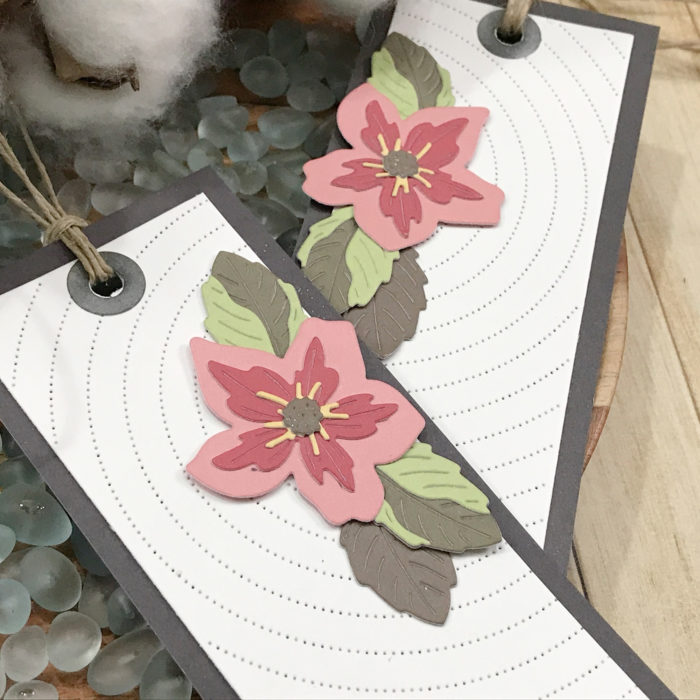
I like to cut lots of flowers in several different shades of cardstock all at the same time. When it comes time to making I have my choice of flowers to arrange. I lay them out on a clear piece of plastic the size of my card front before I commit and adhere them in place.
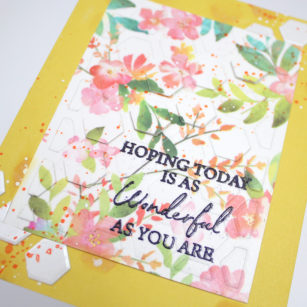
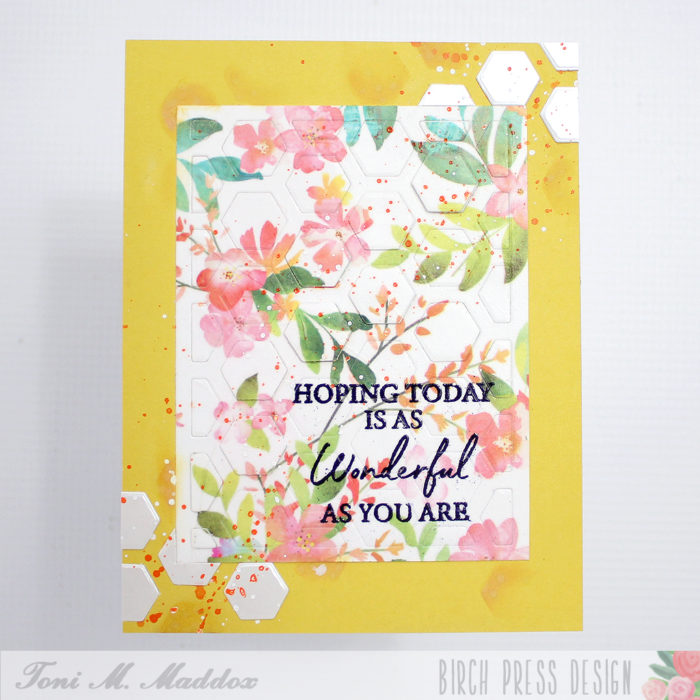
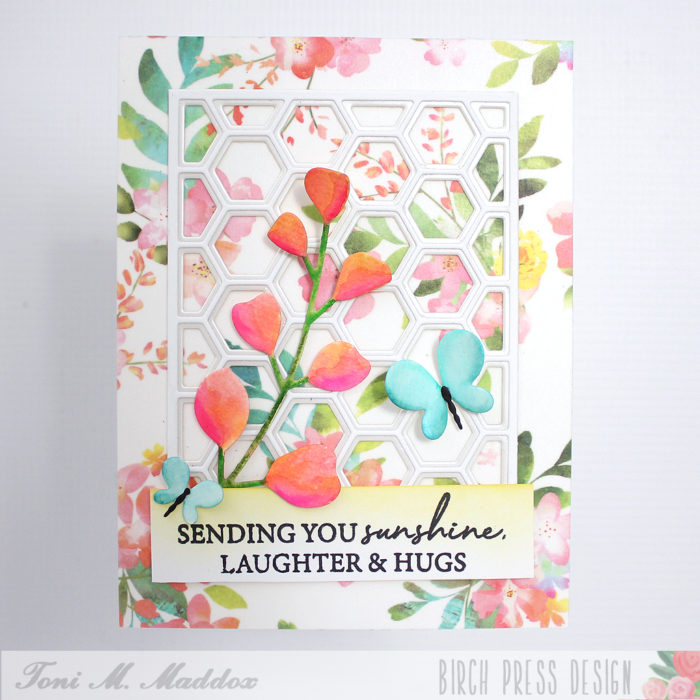
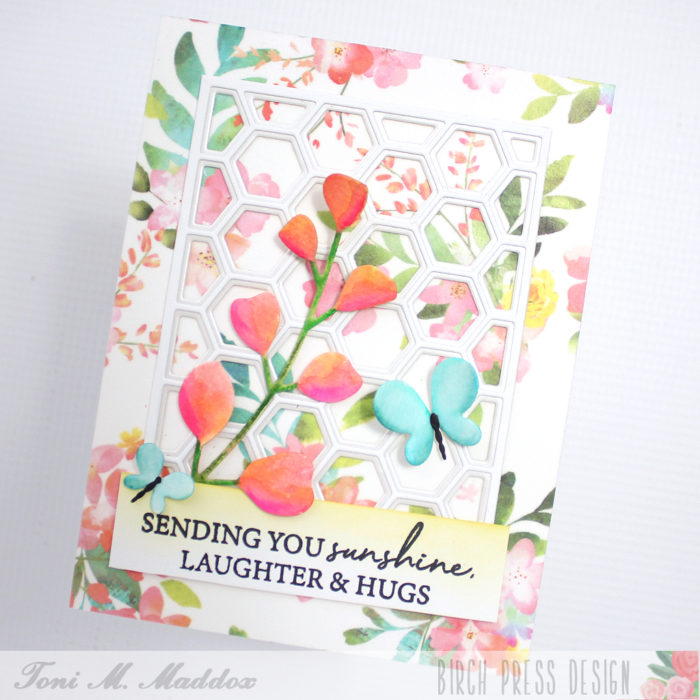
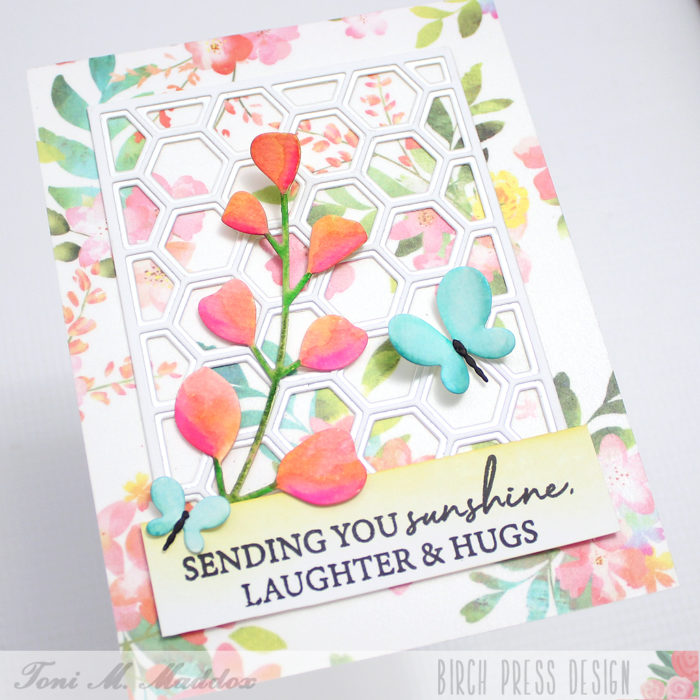
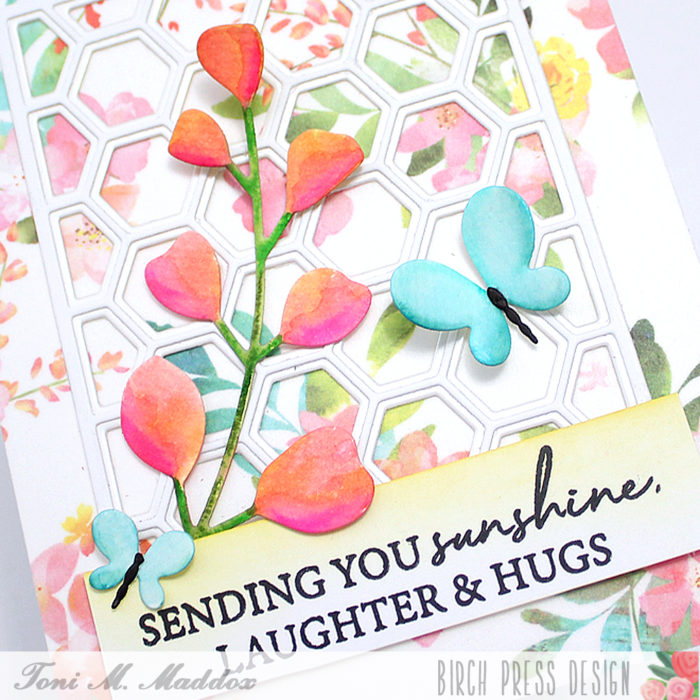
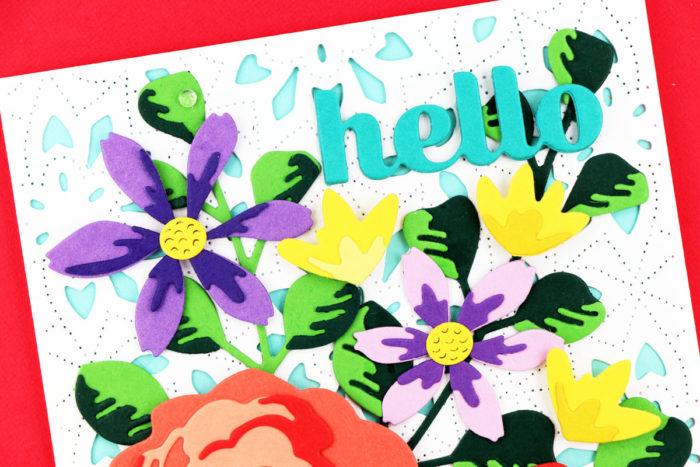
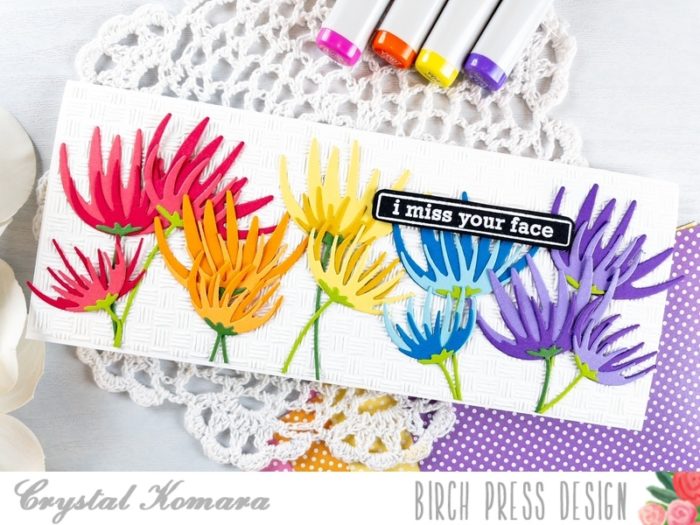
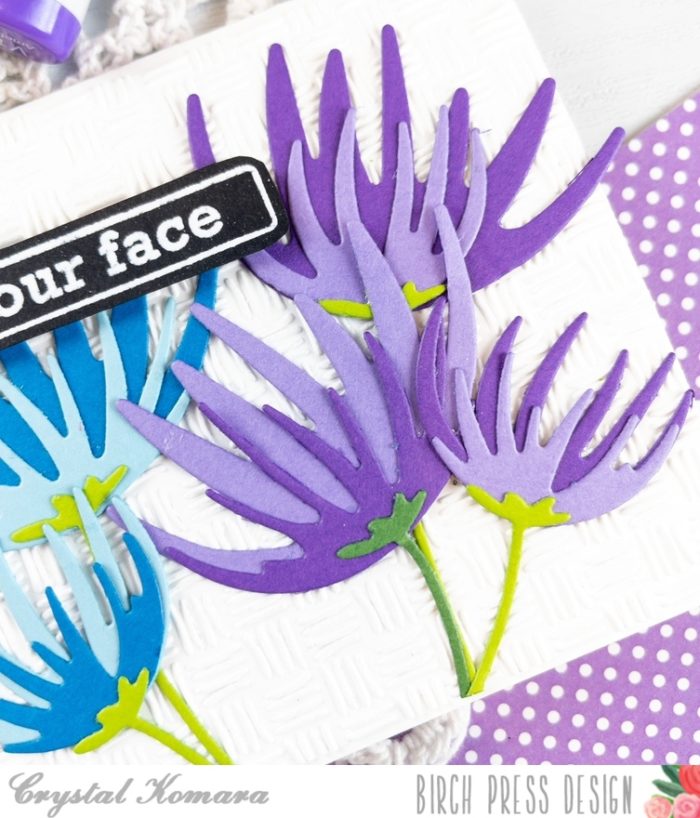
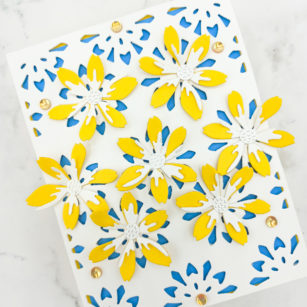
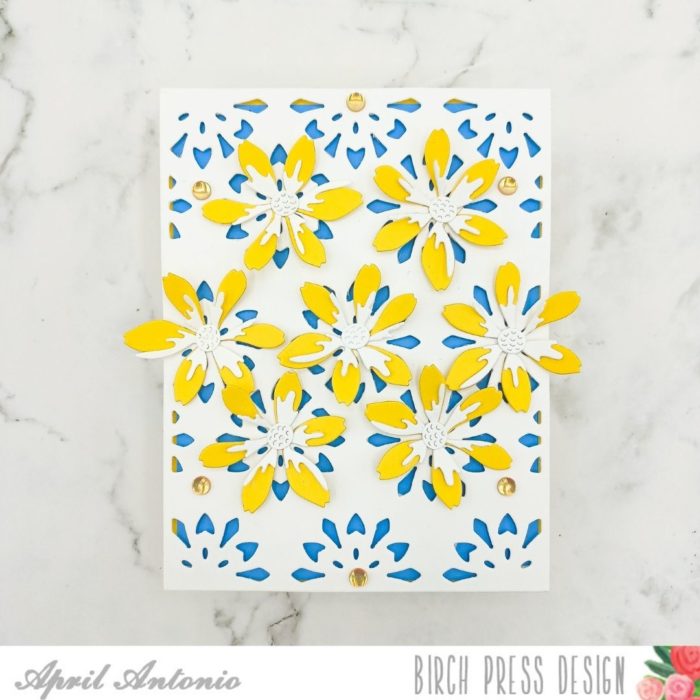
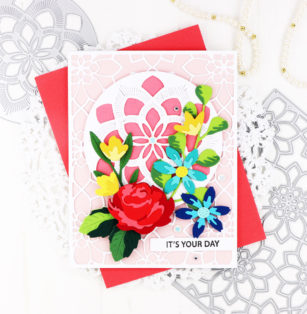
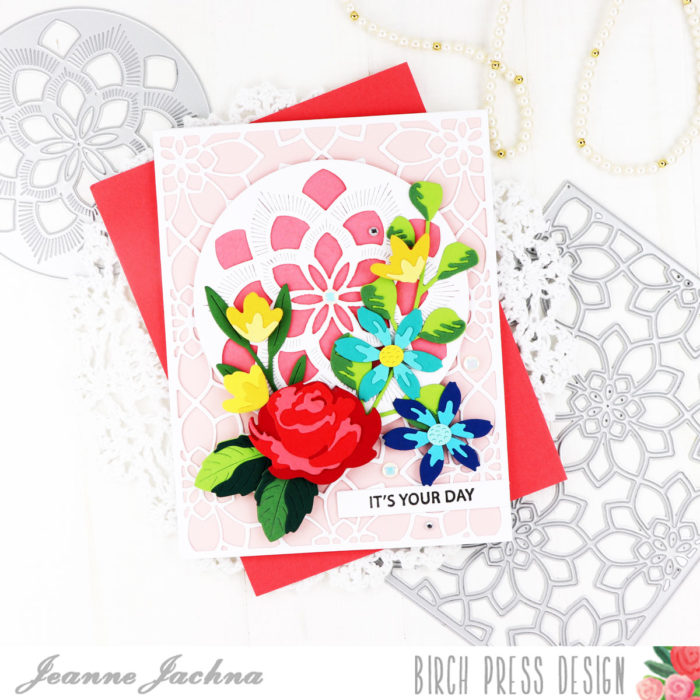
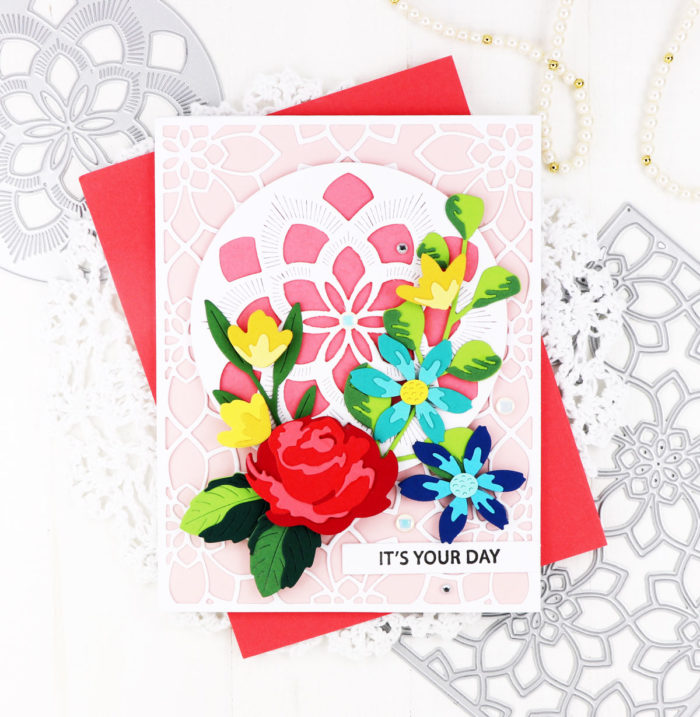
Because the plastic is clear I can pick up the entire arrangement and layer it over different backgrounds. For this card I used Viola Plate Layer A. Using just one layer of the three layer background set allows more color and gives a lacy look to the background.
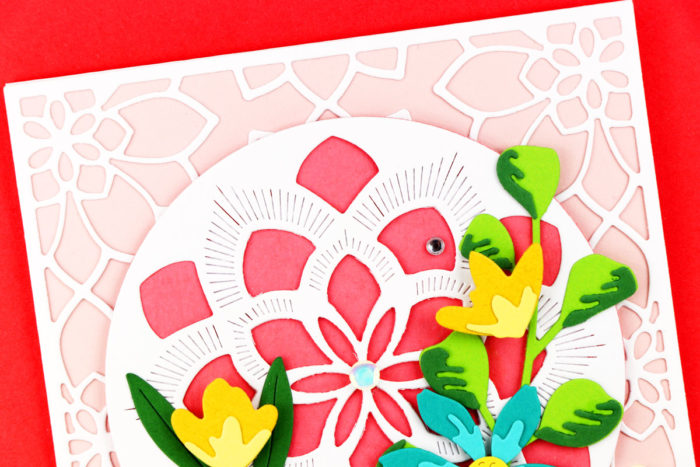
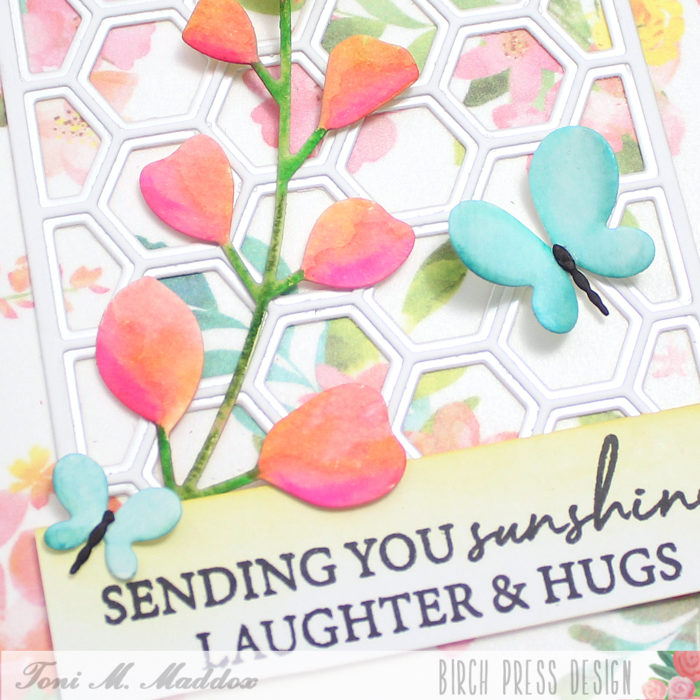
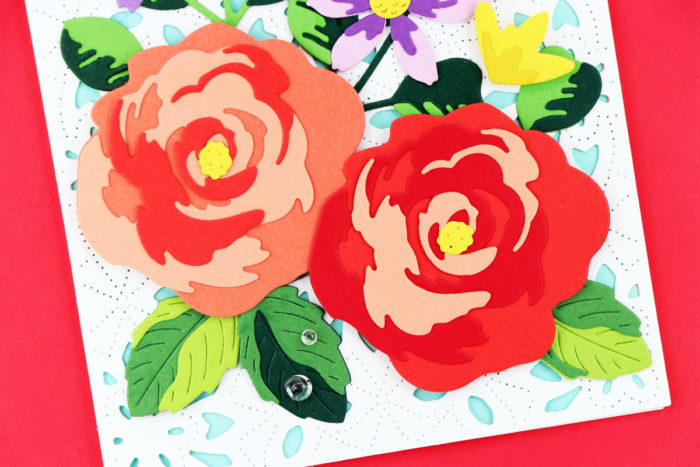
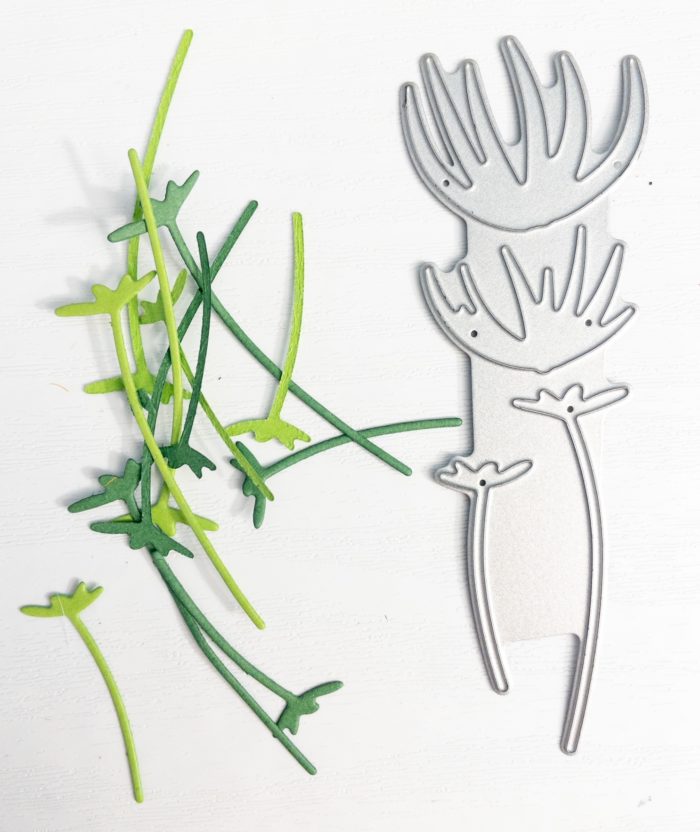
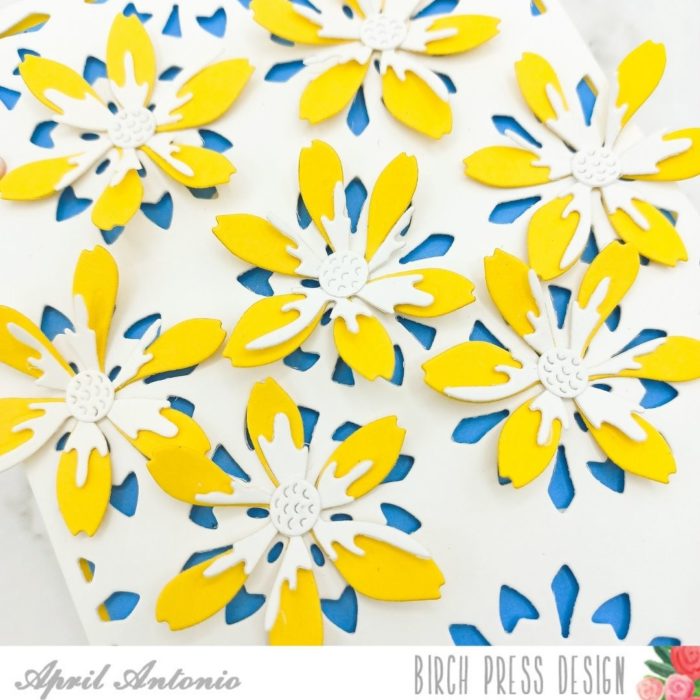
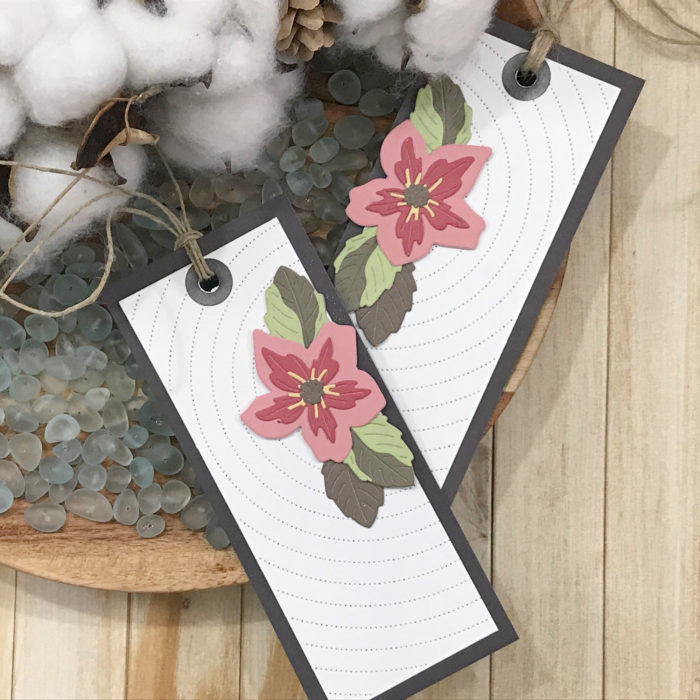
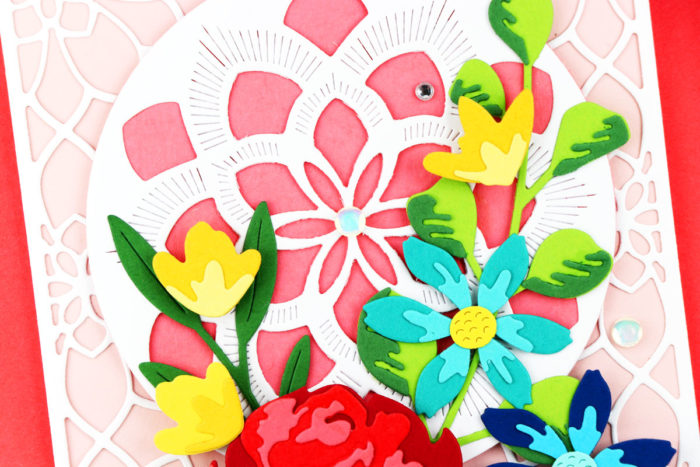
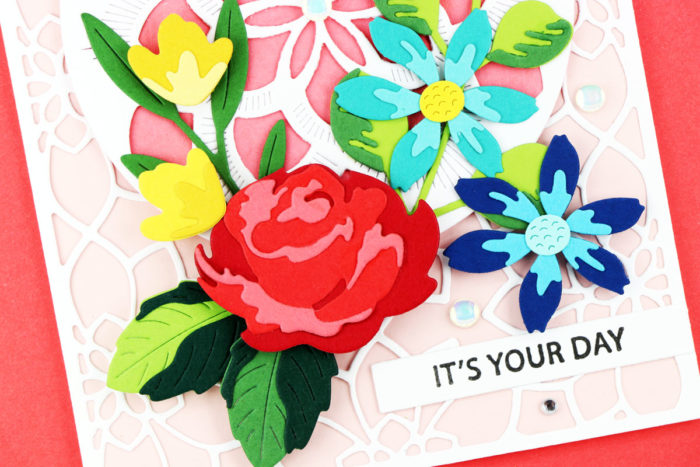
To create a focal point I added an Arista Layer B die cut with a darker shade of pink adhered underneath. The foliage is adhered flat to the card base, and the florals are adhered with adhesive foam tape. This adds dimension.
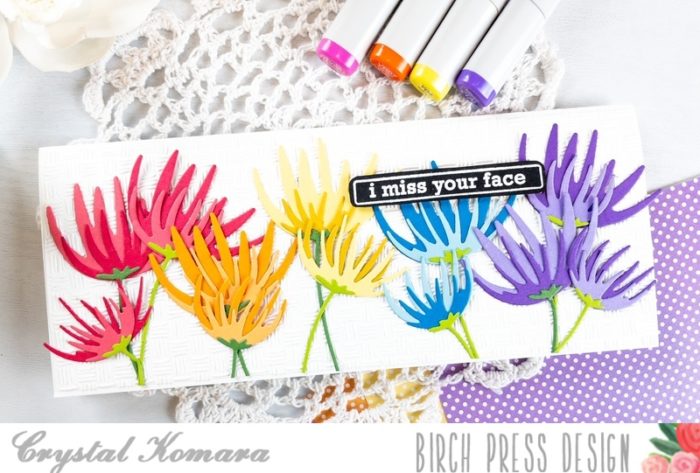
Remember when you’re making that there’s no right or wrong.. it’s all about what appeals to you. I hope you’ll mix and match your different sets and imagine your flowers in unexpected colors. I think you’ll be delighted with the results!

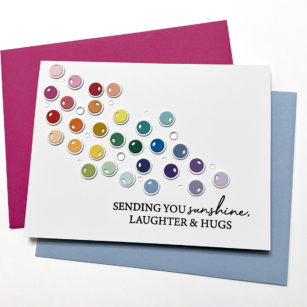
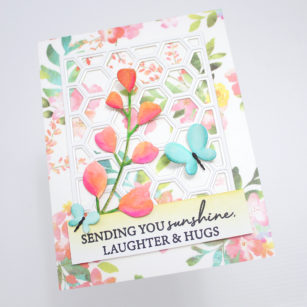
Finished Size 4.25 x 5.5″
Supplies