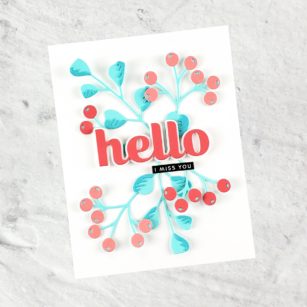
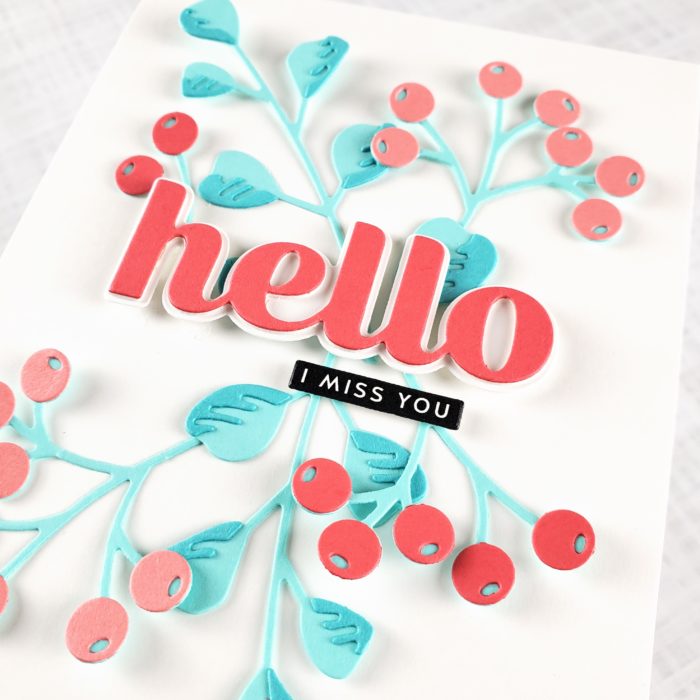
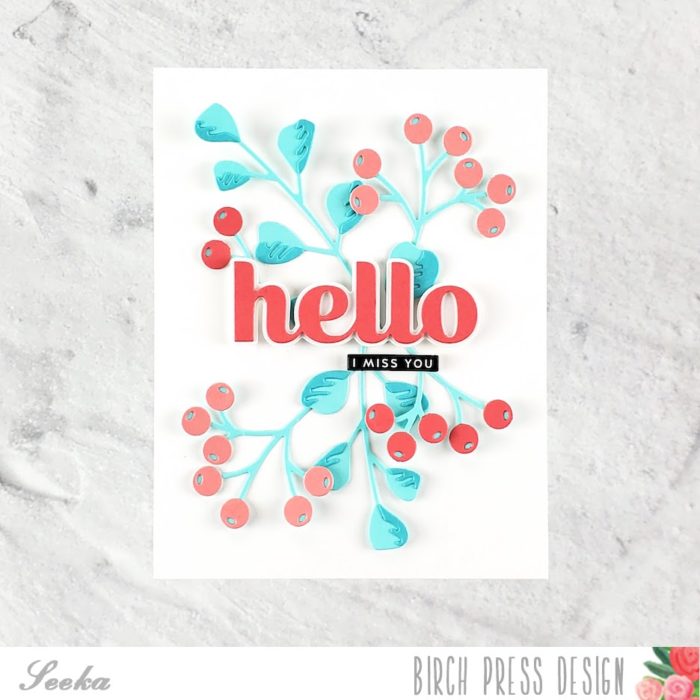
Hello and welcome! Seeka here and today and I’m sharing another clean and simple card featuring the Eucalyptus Stem and Berries Contour Layers die set.
For this card I went with pink and red berries and aqua leaves. I started by die cutting the leaves and branches from two colors of aqua cardstock. I glued the darker detail layers of each leaf onto the lighter base layer. Then I cut berries from pink and red cardstock and glued them to their stems.
Next, I created the sentiment using the Big Hello Sugar Script die set. I cut the detail layer from red cardstock and the shadow layer from white cardstock.
To assemble the card, I glued the base of the leafy stems to a 4.25″ x 5.5″ panel of white cardstock and then I used foam tape to pop up some of the leaves and berries. I also used foam tape to adhere the die-cut sentiment as well as a smaller sentiment from my stash. I trimmed any stem ends that were peeking out from behind the sentiment and then to finish, I adhered the card front to a card base.
Hello Crafty Friends, it is Natasha here and I am excited to be back today to share a bright and colorful card using the beautiful Dainty Rose and Leaves Contour Layers die set! So let’s get started!
I started by die cutting the the Dainty Rose layers using the Vibrant Violet card stock paper pad. I love these paper pads as the colors coordinate beautifully together! I chose 3 colors of card stock from this paper pad for my roses. I die cut all the layers for the 3 roses and set them aside. Next I die cut the leaves from the Dainty Rose set using the Lush Green paper pad. For the leaves I chose 2 coordinating colors of card stock from this paper pad.
Next I ink blended on each layer of the roses and leaves die cuts. I used Distress Oxide Inks to ink blend on the card stock. I used a combination of Distress Oxide colors. I was so happy with the result! I love the added dimension this provides. Once my ink blending was complete, I carefully adhered each layer together using liquid glue.
For the background today I used a gelli print I had previously created from my stash. I loved the combination of colors with these gorgeous roses and leaves! I trimmed my panel down and then adhered this to an A2 card base. I then started to work on placement for my roses and leaves. I first adhered the leaves with a both liquid glue and foam tape. Once these were adhered I added some metallic watercolor splatters to my leaves and and background for added dimension. Once this was dry, I then adhered my roses to my card panel.
To complete my card I chose a sentiment from the Kind Hearts stamp set. I stamped the hugs sentiment using black ink. This completes my card! I hope you enjoyed today’s card and I will be back soon with more inspiration!
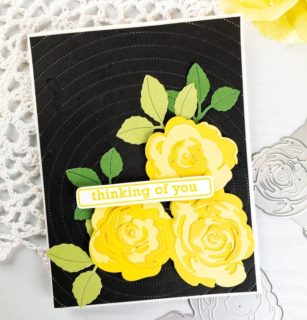
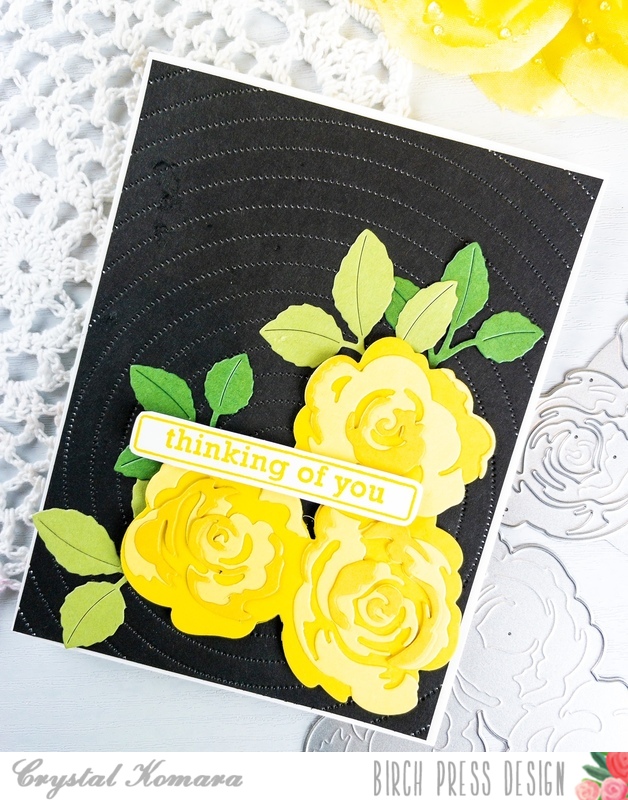
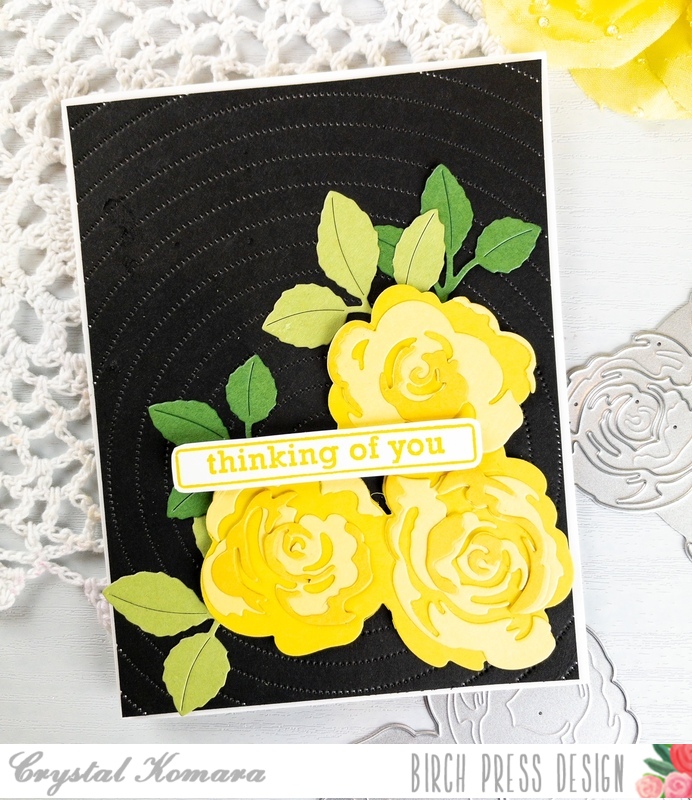
Hello crafty readers! This is Design Team member Crystal Komara here with you today. I’m excited to be featuring an exciting new product today called Rose Bunch, it is part of the new Contouring Layer Die release from Birch Press Design. This is a 3-piece layering die set that will create beautiful, intricate, realistic looking flowers.
Card details:
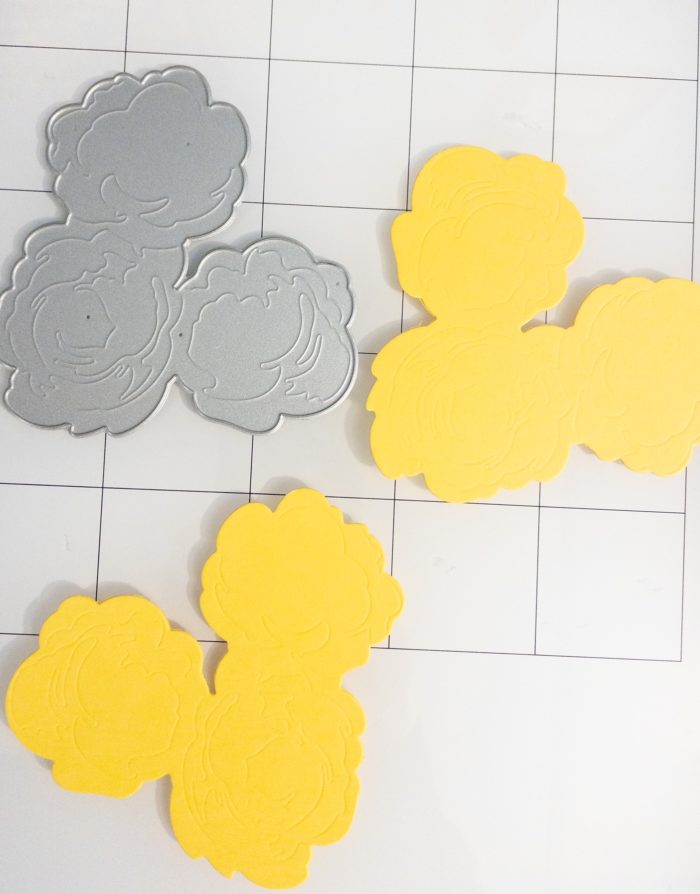
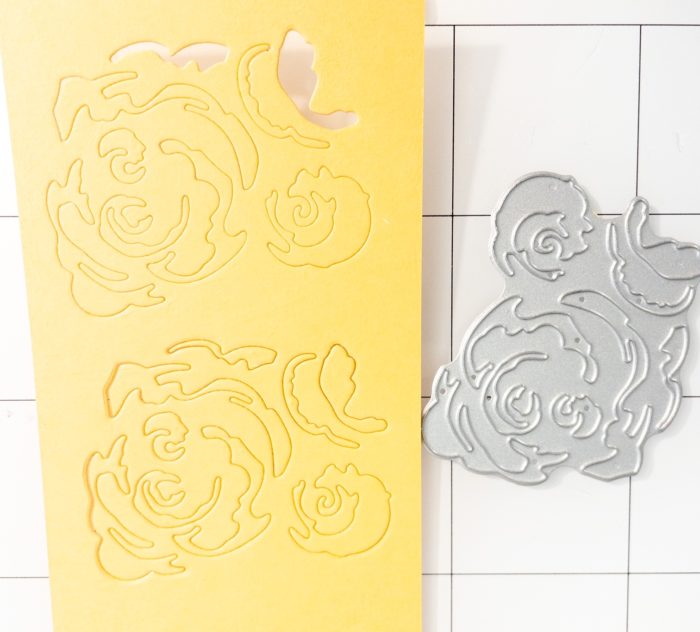
The base of this A2 sized card is made from 80 lb. Neenah Solar White Smooth cardstock. Using the Pinpoint Radial Plate, I die cut the first layer from black cardstock. Using the Rose Bunch Contour Layering die, I die cut the three layers from three different colored yellow cardstock using the Sunny Orange 6 x 6″ paper pad. Below I’ll show more details photos from how I die cut the layers:
The base layer
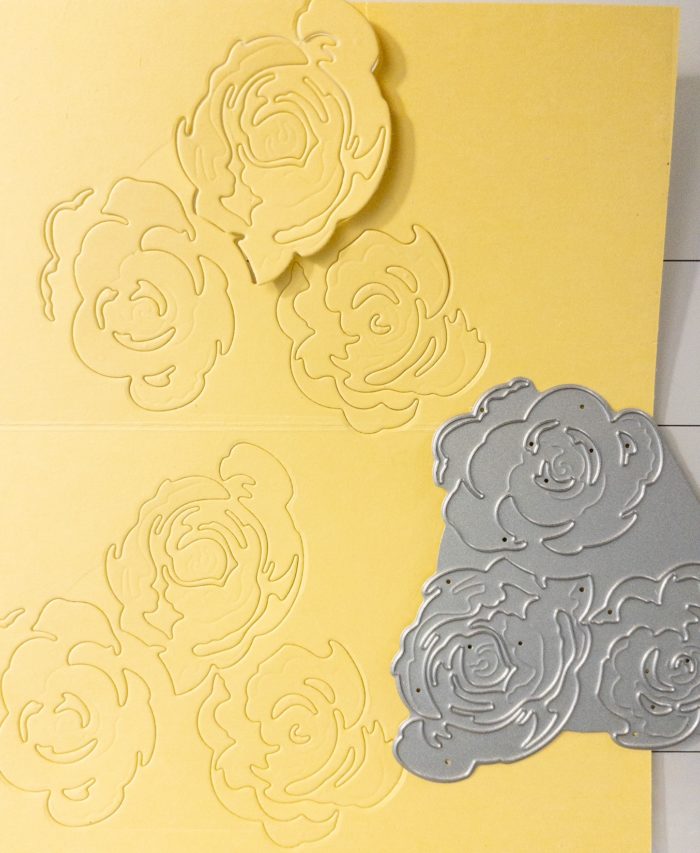
The middle detail layer
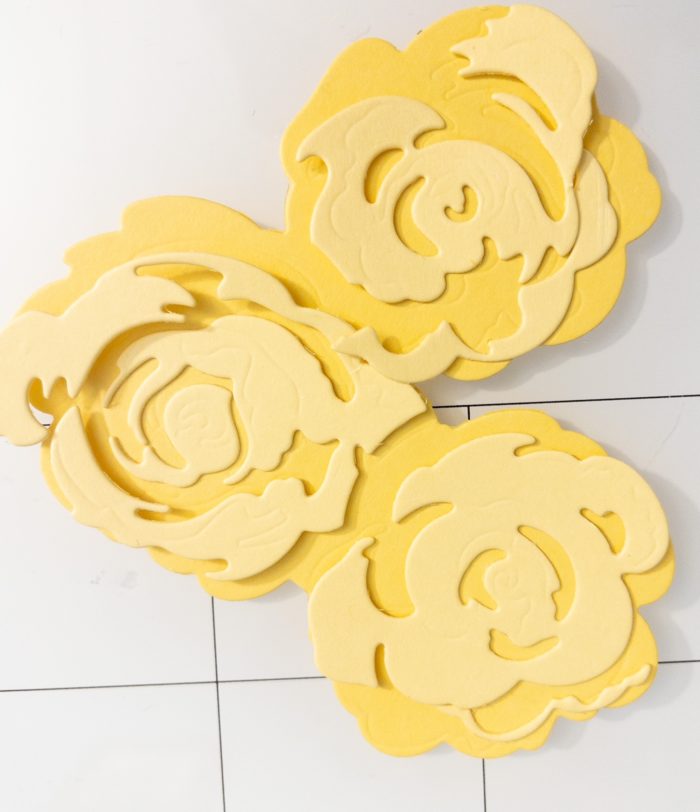
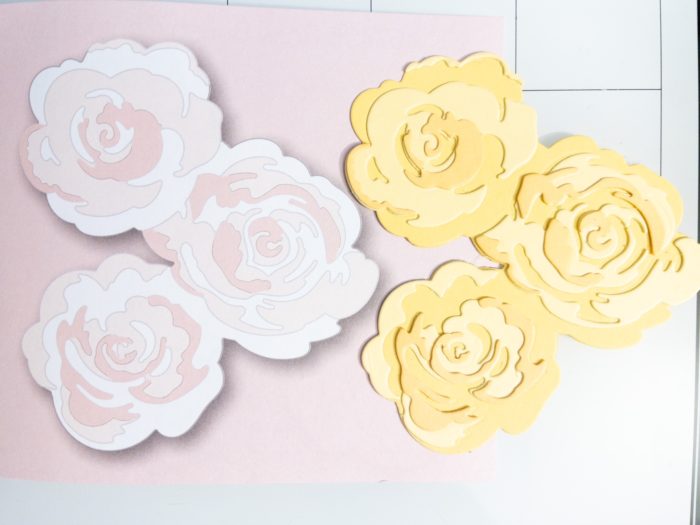
Layering the bottom and middle together (using the imprinted lines to align layers)
The top most intricate layer
Using the included guide to help align layers
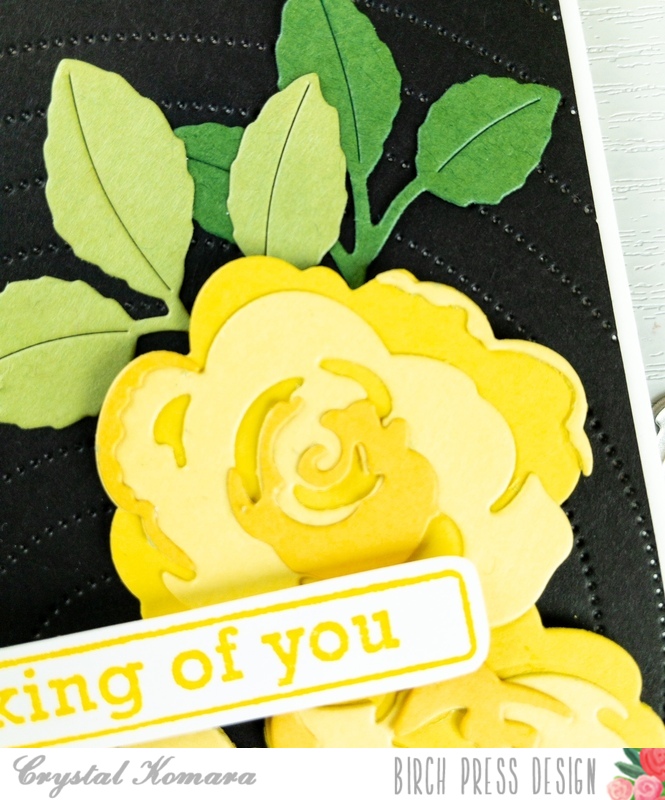
I’ll be completely honest that while lining up the layers was easy enough, it did take a good amount of time and a fair amount of patience. Admittedly, patience in intricate things is NOT my strong suit, so it was a learning curve for me. *I also found that a fine-tip liquid glue held the layers together well, although my tip for the future would be to use adhesive lined cardstock for easier assembly.
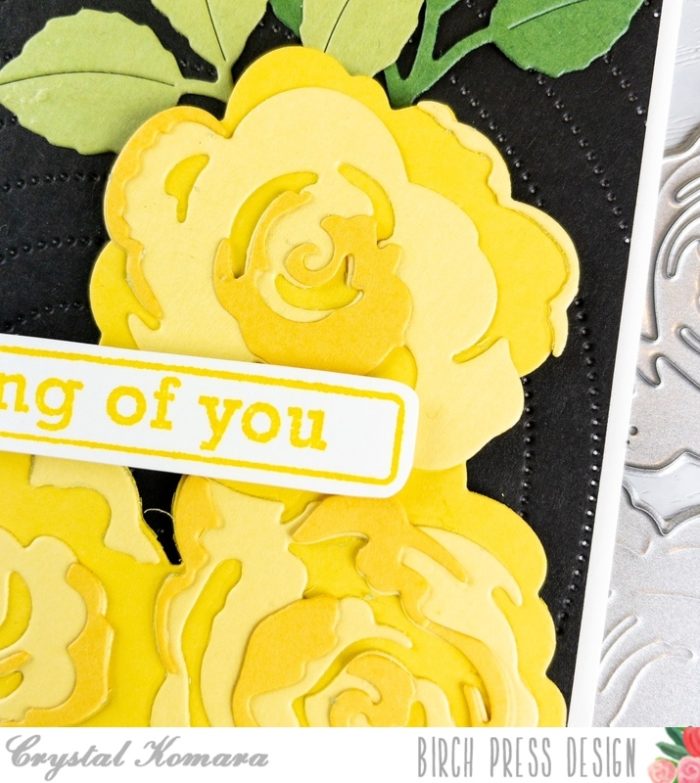
Using the Dainty Rose and Leaves Contour die, I die cut the leaves only using the Lush Green 6 x 6″ paper pack. I adhered the leaves behind the roses. I adhered the roses to the card using 3M foam adhesive for added dimension. Lastly, I stamped the sentiment “thinking of you” in yellow ink on a piece of white cardstock. The sentiment is from the Contempo Greetings stamp set and it also has a coordinating die. I adhered the sentiment using 3M foam adhesive for added dimension.
These new Contour Layering dies are SOoooo gorgeous! With this rose bunch you could create floral designs in every color of the rainbow leaving you with so many options. Flowery cards are also great for nearly e-v-e-r-y occasion!
Thanks for visiting and have a wonderfully creative day!
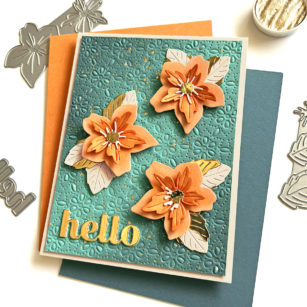
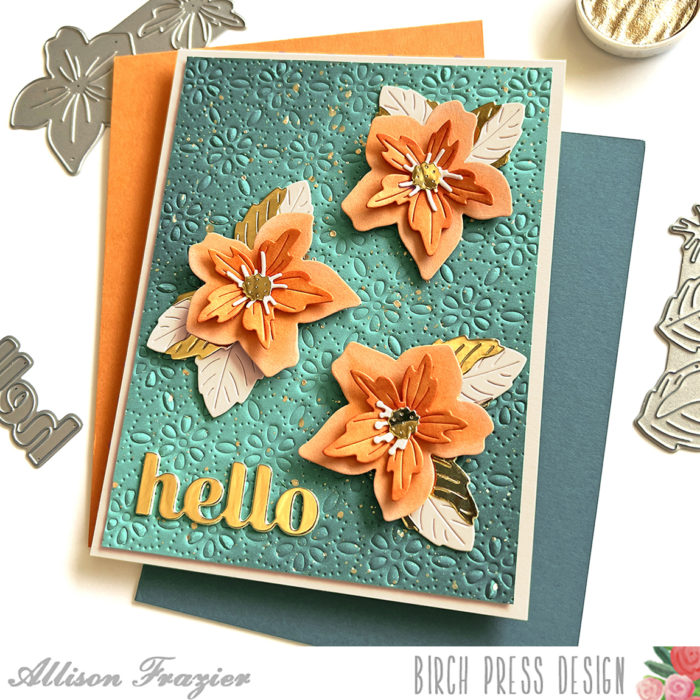
Hello, Friends! Today I am sharing this card featuring the new Pimpernel Contour Layers die set with a vintage inspired color combination. This card is part of our current Instagram Hop! If you haven’t yet participated in the hop, click here to head over to Instagram for your chance at winning one of our new floral layering die sets. Comments close today (Tuesday) March 22 11:59 pm EST, so there is still time!
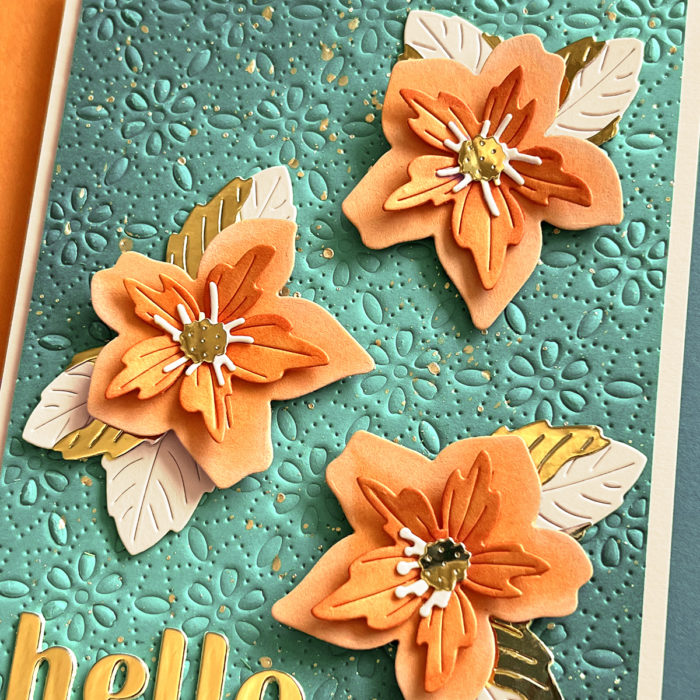
I started my card by dry embossing the Flora Plate Layer C die onto a panel of teal card stock. I then inked up part of the panel with some darker teal ink in order to create a glow in the center. I splattered the panel with gold paint and then adhered it to a parchment colored A2 card base.
I used the Pimpernel die to cut the two main parts of the flower from a light orange card stock. I inked the top layer with a darker orange ink and then inked the edges of the bottom layer with white pigment ink to create a bit more contrast. I used gold foil card stock for the small middle piece of the flower, the top layer of the leaves, and the “hello” sentiment. To give the flowers even more dimension, I used a stylus tool and popped them up on foam tape.
Thank you so much for joining us today. I hope this card brings a smile to your face.
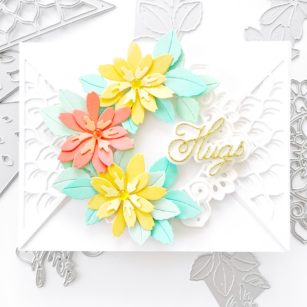
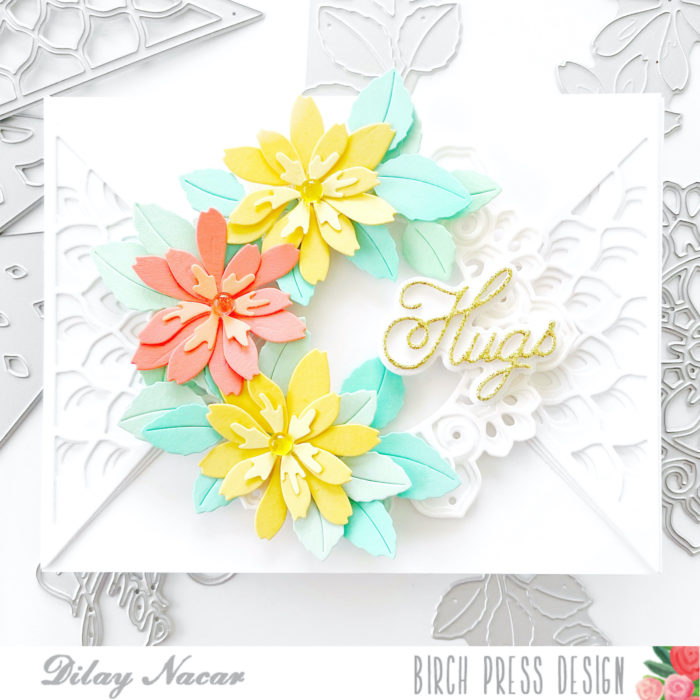
Happy Monday, crafty friends! Dee here today sharing this fresh floral card featuring the Star Flowers dies from the latest Floral Contour Layers collection!
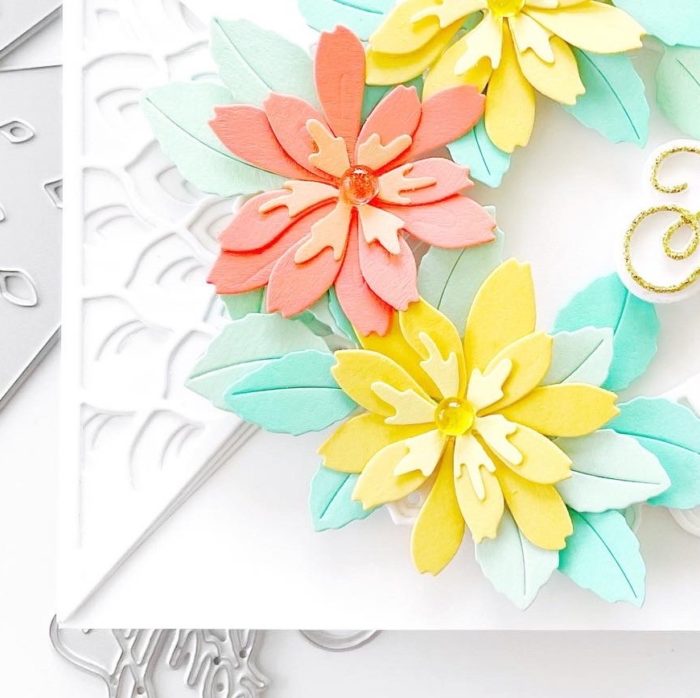
I started by cutting Layer A, B, and C of the Petal Triangle dies twice, then adhered them (mirrored) onto a piece of white cardstock that I cut down to 5.5” x 4.25”.
Next, I cut layers A, B, and C of the Tranquility Layer die (saving the center circle for a future project, then adhered it to the center of the two triangles.
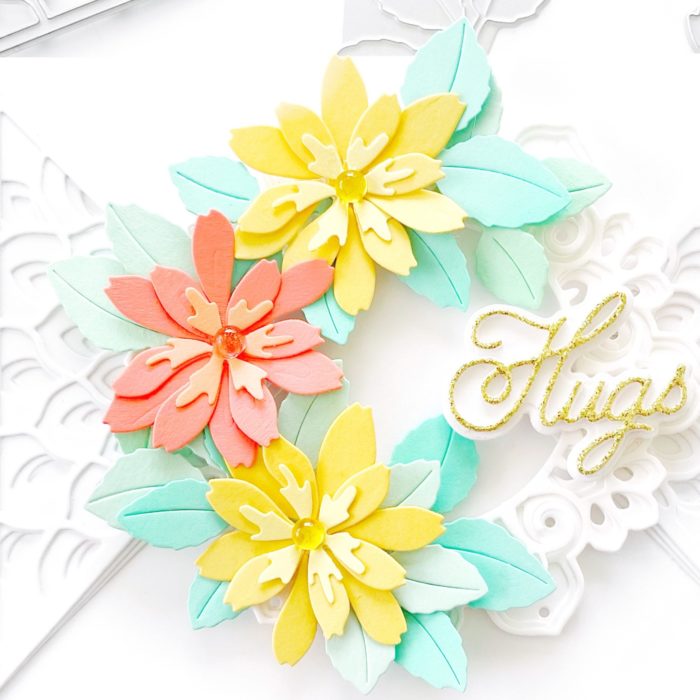
I cut the Star Flowers Contour Layer dies twice in yellow cardstock and once in coral. I layered each flower then adhered them together and onto the Tranquility frame. Next, I die-cut leaves from the Dainty Rose and Leaves dies set in shades of teal then adhered them tucked behind the flowers.
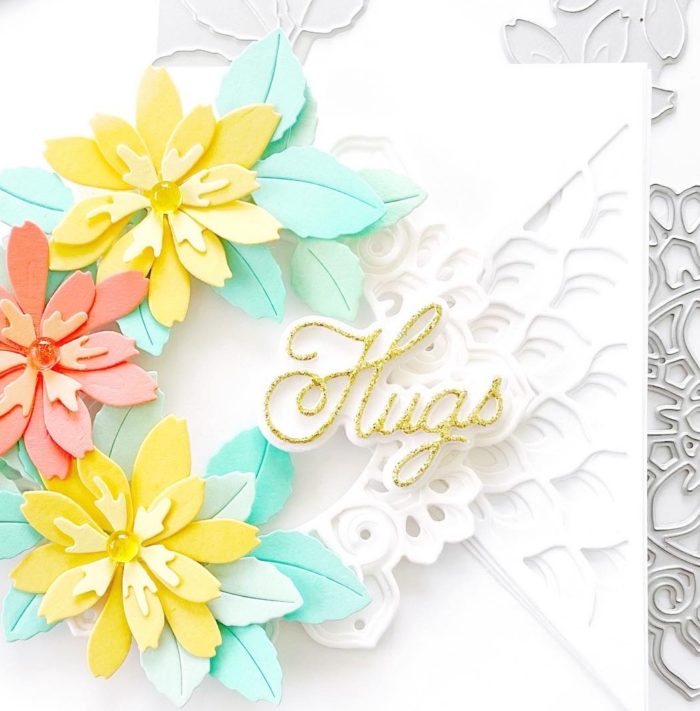
For the sentiment, I die cut the Handwritten Hugs in gold glitter cardstock and adhered it to the card with foam tape. As a finishing touch, I added embellishments in coordinating colors to the center of each flower!
It’s the first day of spring! To celebrate we’re sending you flowers from the latest release at Birch Press Design! Join us in celebrating by following along on our Instagram Instahop!
Hop along to each participating member’s account, follow each person, and prepare to be inspired! Make sure to leave a comment tagging a friend to let us know that you stopped by and to be entered into the @birchpressdesign GIVEAWAY! (Comments close on Tuesday, March 22 11:59 pm EST. One comment per team member’s post, please.) Winners will be announced on the Birch Press Design Instagram Account.
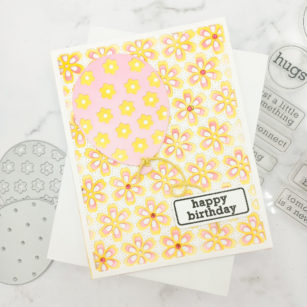
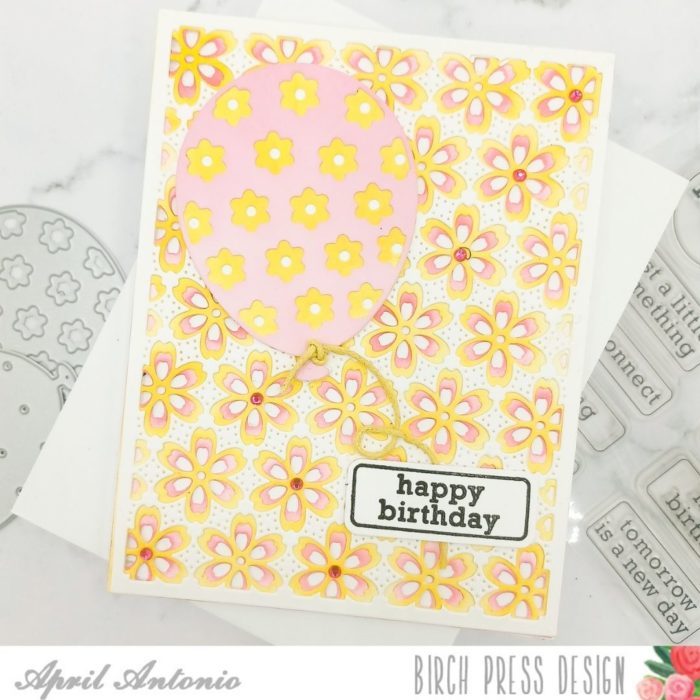
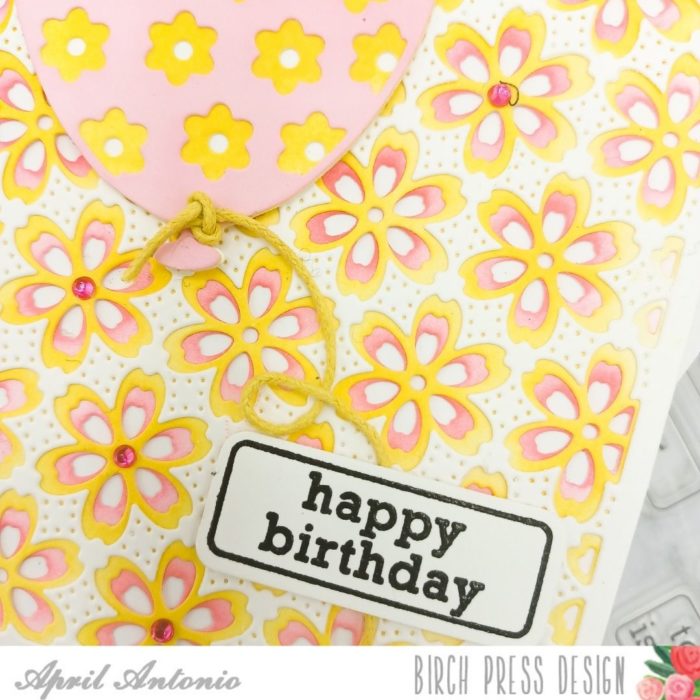
Happy Saturday and welcome back to the blog! Today I am sharing another very easy card using the awesome Floral Balloon die set.
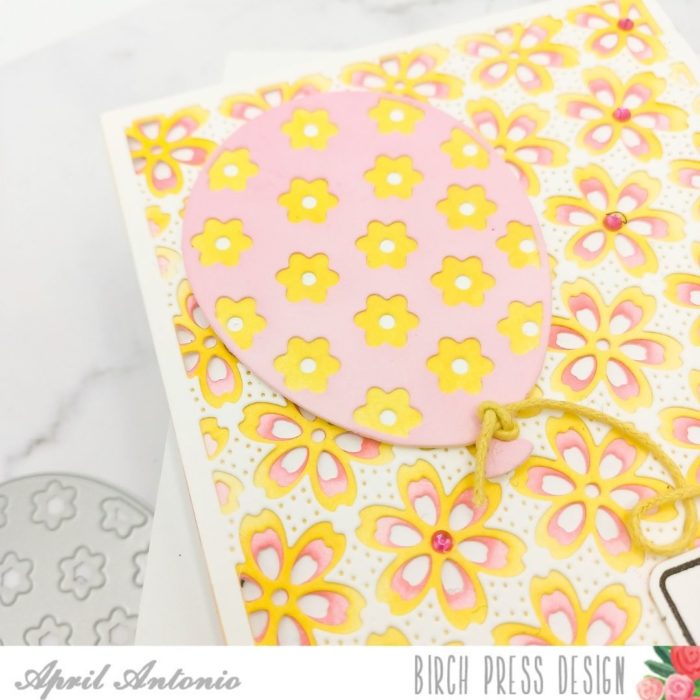
Sometimes I feel like getting inky, and that’s how I felt when preparing this card. I didn’t want to choose cardstock colors, so I diecut all the pieces from white cardstock and did ink blending to add color.
I started by die cutting layers A, B and C of the Flora Plate set. I ink blended with pink onto Layer B, and with yellow onto Layer C. Then I adhered all of them to an A2 card front.
Next I die cut Layers A, B and C of the Floral Balloon die set from white cardstock. Similar to above, I ink blended on the layers, but this time using yellow for Layer B and pink for Layer C. I then adhered those together in order — placing the white Layer A on the bottom, then stacking layers B and C on top of that.
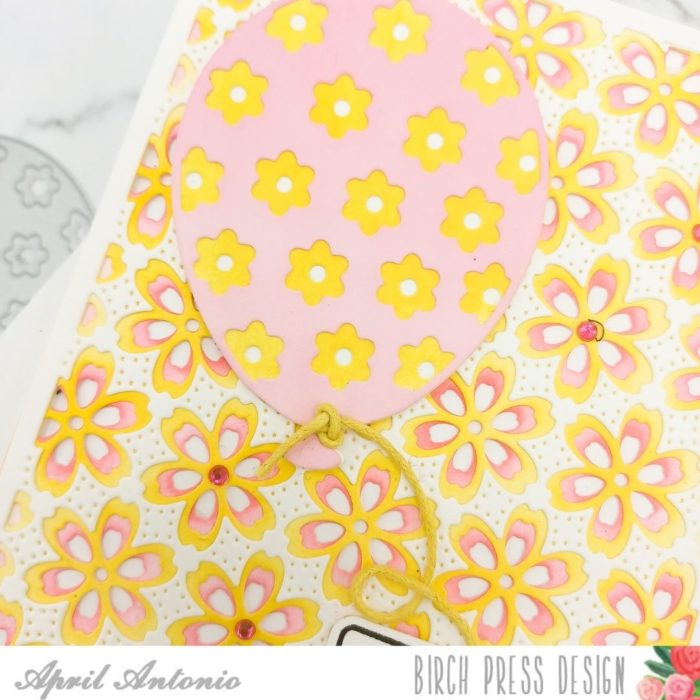
I assembled the card by gluing my ink-blended balloon die cut in the upper left corner of the card, and tying yellow cord around the end.
For the sentiment, I used my new favorite — the Contempo Greetings set, to heat emboss ‘happy birthday’ onto white cardstock, and then die cut it out using the coordinating dies.
The final touch was to add a few well placed pink jewels for some sparkle.
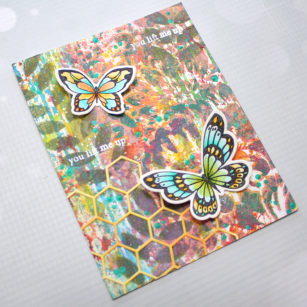
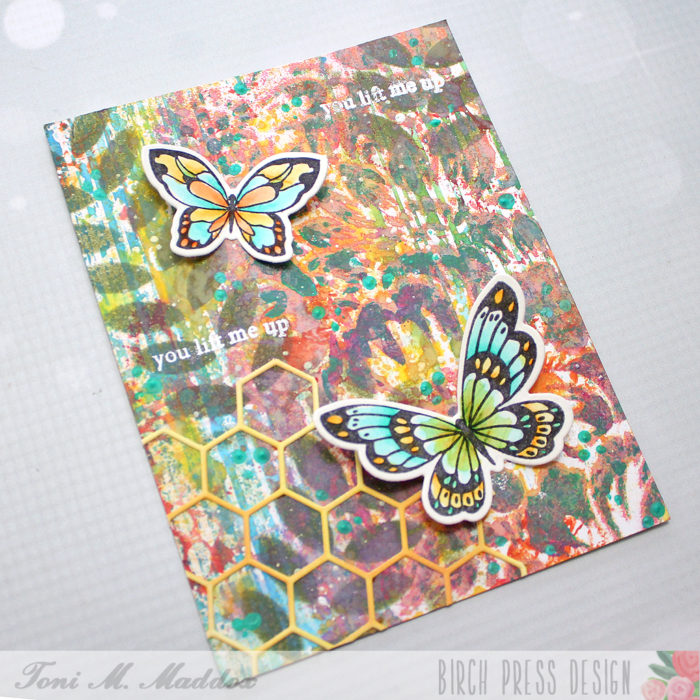
Hello, everyone! Toni here with you today sharing a mixed media card as I felt like a change of pace. My garden is starting to awaken which had me thinking of spring, flowers, and butterflies plus a healthy dose of rain in the Pacific Northwest.
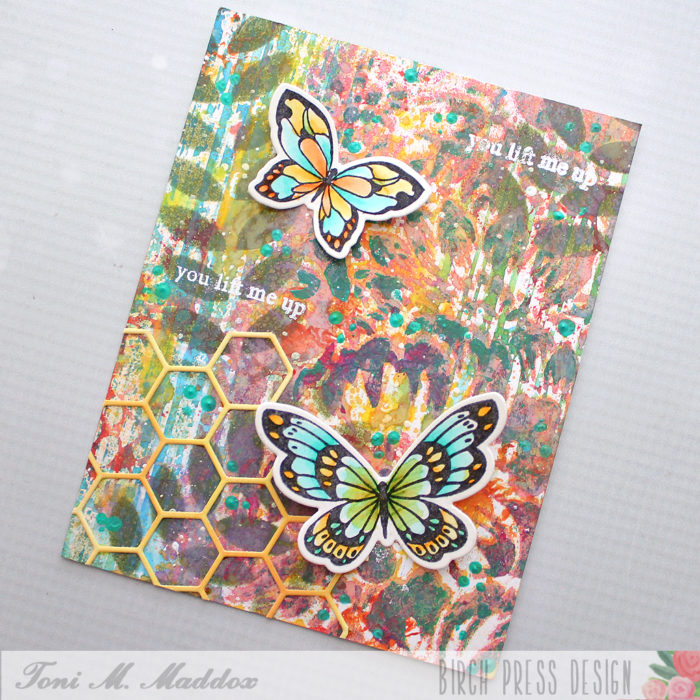
The card front is a combination of Distress Inks, Ranger Archival and Catherine Pooler inks sponged through stencils like the Memory Box Open Studio Leafy Rows. I also used the smooshing technique with the flower and stripes stencils.
I added some additional dots of Liquitex Acrylic Paint using the rounded end of my paintbrush handles. I love the texture on this card so very much!
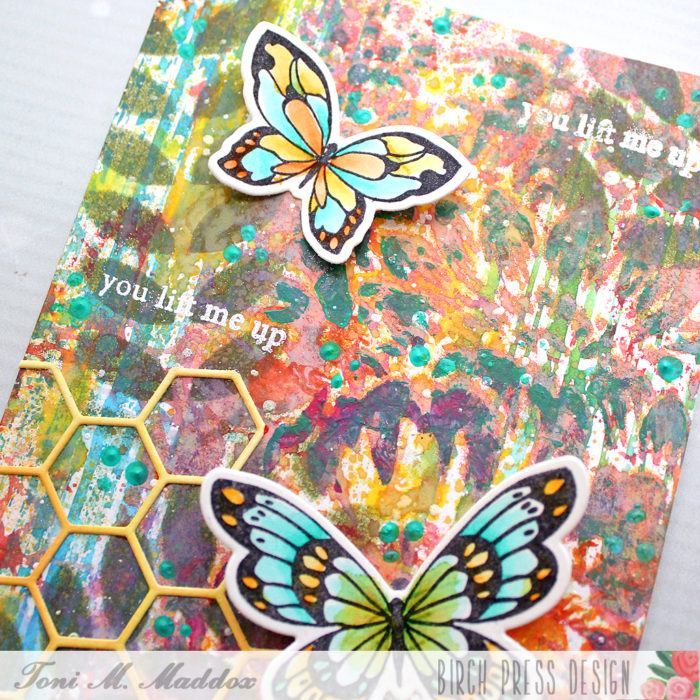
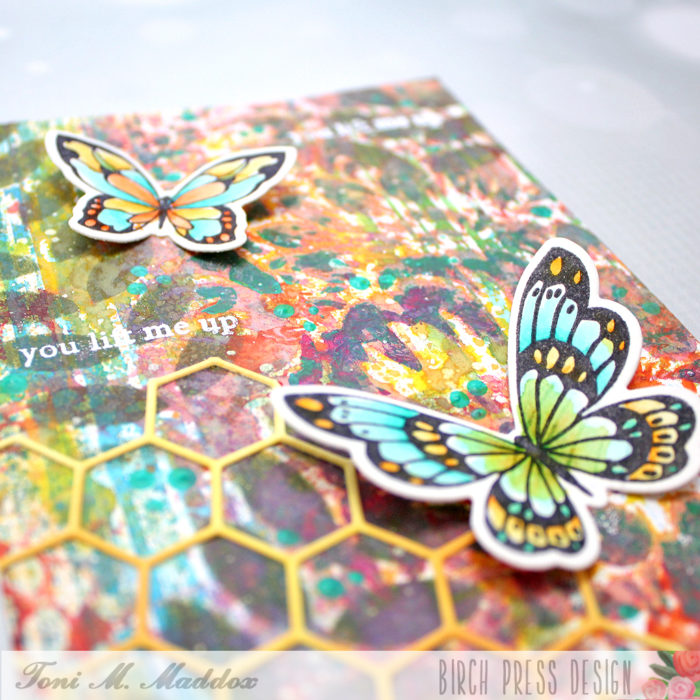
I finished the card base by embossing the Lovely Butterflies sentiment a few times in white and adding the top layer of the Honeycomb Bevel Plate Layer Set which I sponged with Distress Oxide Mustard Seed and Fossilized Amber.
I stamped the Lovely Butterflies with Ranger Archival Jet Black on Memory Box Open Studio Watercolor Paper and colored them up with Zig Real Brush Markers 042, 052 and 070. I creased the wings along the body of the butterflies so they would stick up. The watercolor paper is sturdy enough I think they’ll pop back up after mailing too.
I hope you enjoyed today’s card and have a great rest of your week!
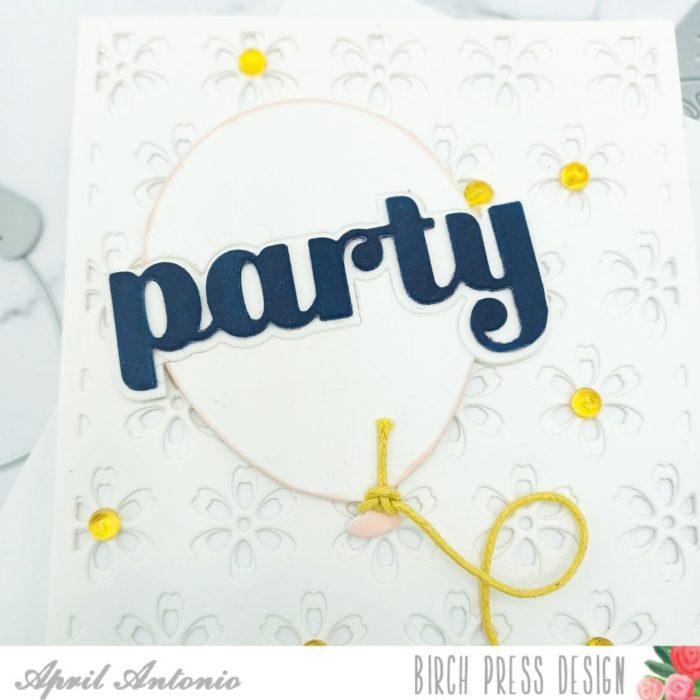
Hello everyone and welcome back to the Birch Press Design blog! April here sharing a clean and simple birthday card that was easy to pull together. I am also sharing a diecut inlay technique that I tried for the first time, so keep on reading!
So one of my favorite things about layering dies is how easy they make it to quickly pull together a card, and the Flora Plate Layering Die set does not disappoint. I think most of us would love to always be able to spend hours crafting, but that is not usually the case because distractions…er, I mean very important obligations happen — it’s called life right?!
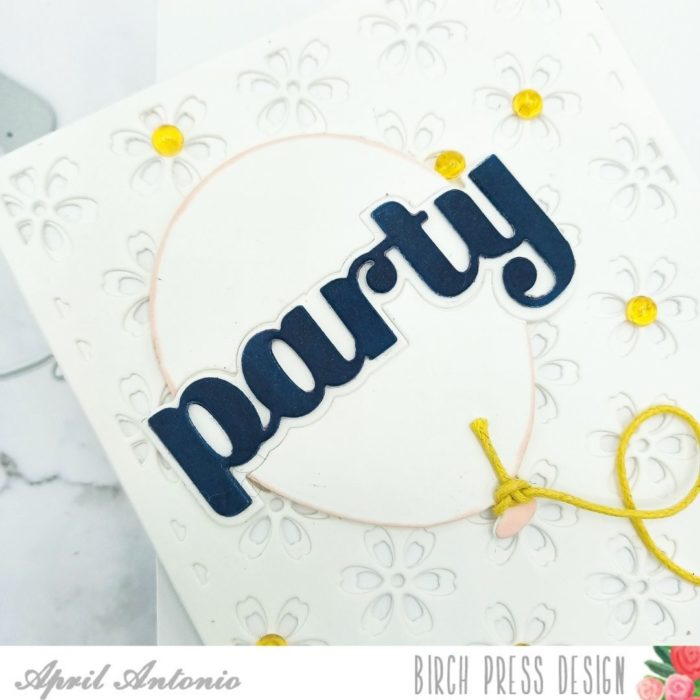
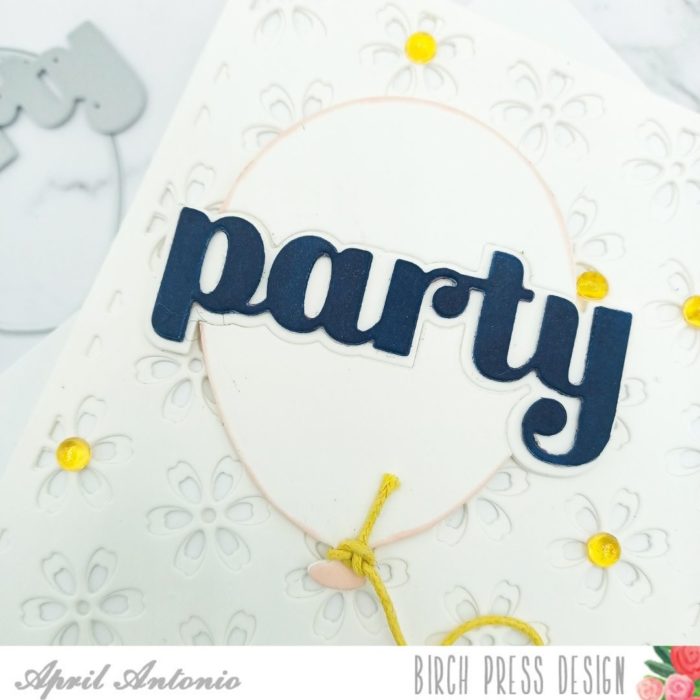
For this card, I cut layers B and C of the Flora Plate set from heavyweight white cardstock and glued them together. Then I grabbed both the Floral Ballon Layer C and the word ‘party’ from the Let’s Party Sugar Script letter die set. Importantly, this set has the word ‘party’ and it’s shadow — I grabbed both the word and the shadow.
Now here is the cool diecut inlay technique I used—
I die cut the balloon twice from white cardstock. I will use one layer as a backer.
I then took the shadow of the word ‘party’, laid it into the center of one of the balloon pieces and die cut straight into the balloon.
I cut the shadow of ‘party’ twice more from a piece of white cardstock, then cut the actual word ‘party’ a few times from heavy weight cardstock.
For assembly I put the balloon that had ‘party’ in the center on top of the backer balloon piece. Then I inlayed the shadow of ‘party’ right into the center of the balloon thus completing the diecut inlay part. Also, to give the entire piece more stability I added the shadow behind the backer balloon and lined it up with the shadow on top. This is not needed — I just wanted to give a little more stabilty to my diecut piece.
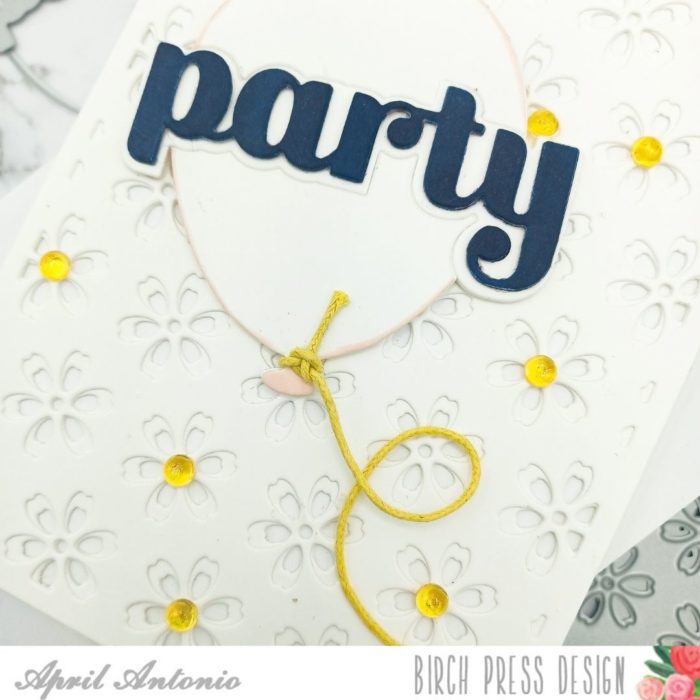
Lastly, I put the word ‘party’ on top of the shadow after stacking it a few times and inking it up with navy ink.
I love how this look turned out. I usually will diecut inlay into the background of a card, but have not did this into another diecut and I like it. I did ink the edges of the top ballon with a light pink ink.
To finish the card off I tied some yellow twine around the balloon, curled it, and secured the curl with liquid glue. Lastly, I added some much needed bling from the Memory Box Autumn Fairy Crystals set to brighten the entire card.
That is it for today’s post! I hope this post has inspired you to stretch your supplies by finding creative ways to use them together..and that you will find this diecut inlay on a diecut technique fun and helpful!
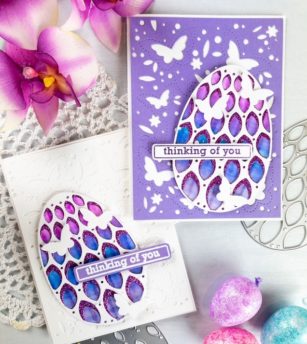
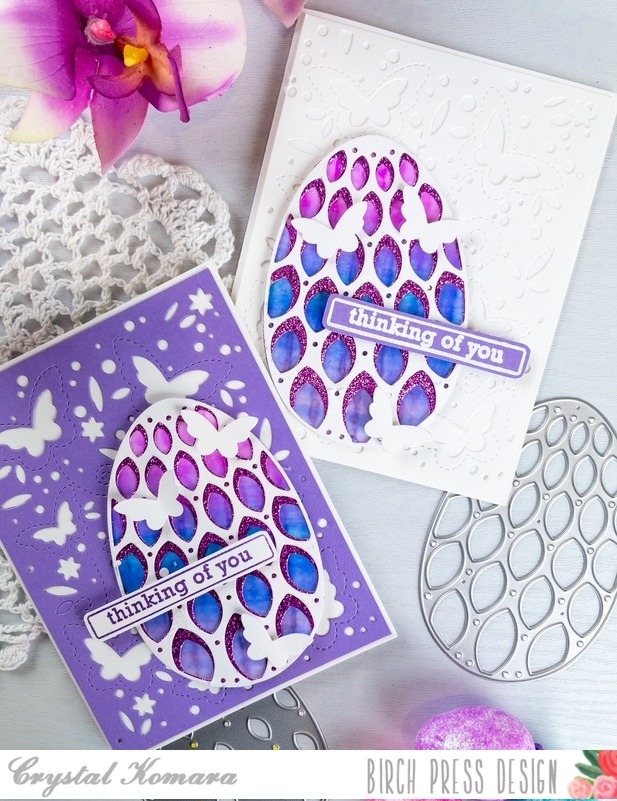
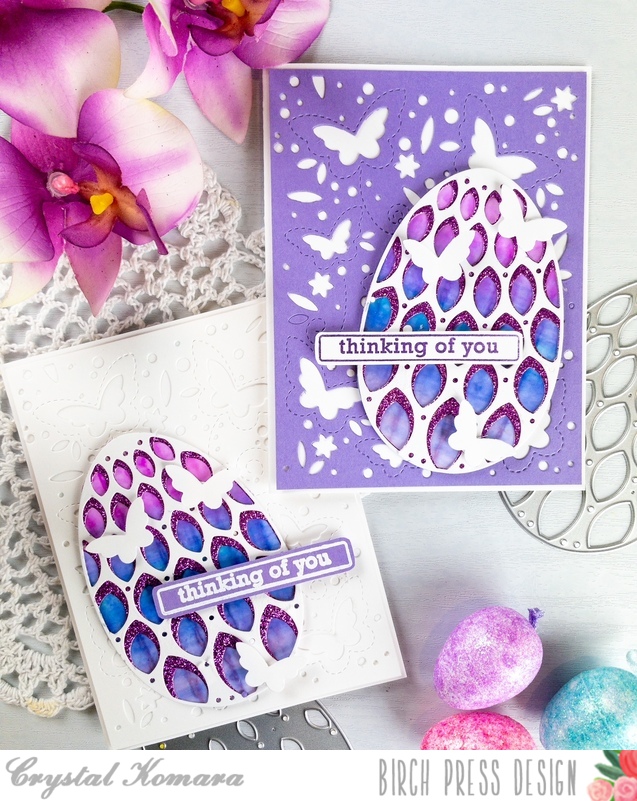
Hello crafty readers! This is Design Team member Crystal Komara here with you today. Today I’m sharing two cards made using my favorite spring themed die from Birch Press Design called the Petal Egg Layer Set. There are just so many color combinations that could be used to create the perfect Easter card using these beautiful layering dies.
Card details:
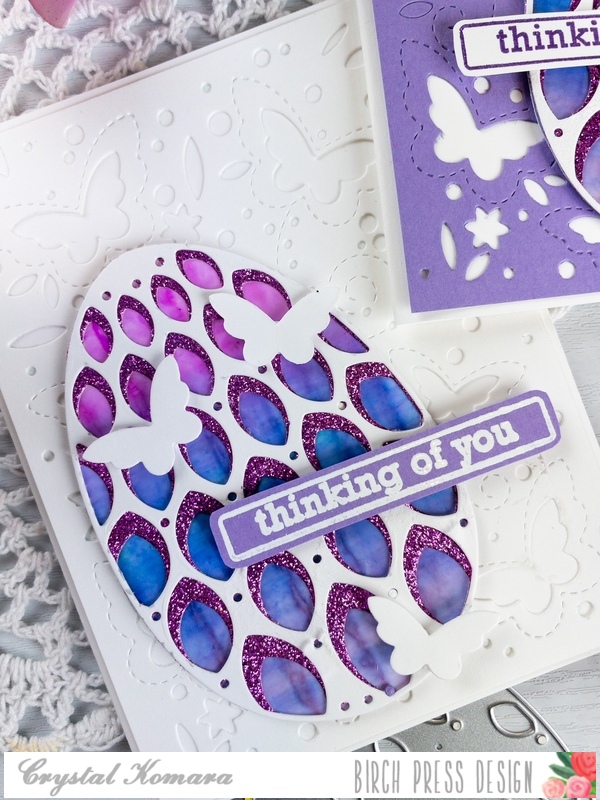
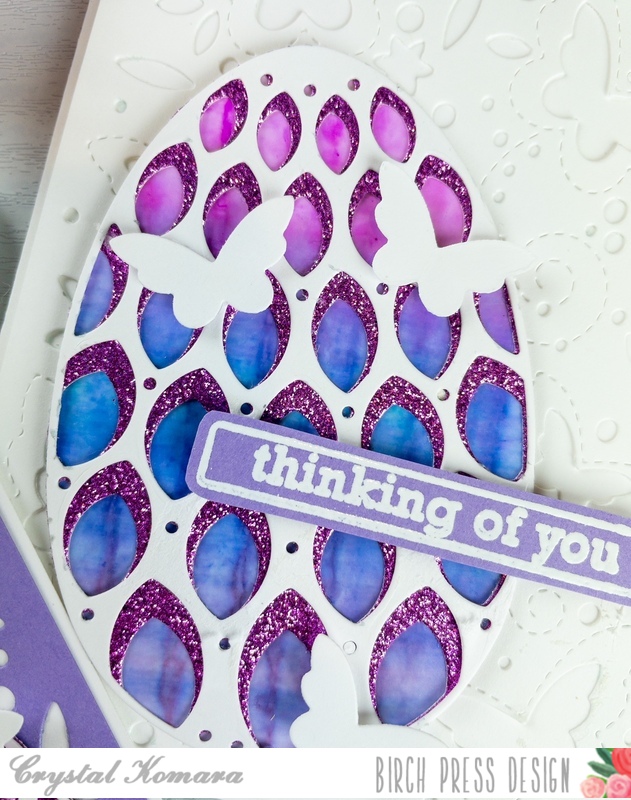
The base of this A2 sized card is made from 80 lb. Neenah Solar White Smooth cardstock. Using Layer Plate C of the Butterfly Garden Layering Plate, I die cut the first layer from white cardstock. I saved some of the extra butterflies off to the side (to use as added 3D pieces at the end). Using the Petal Egg Layering Set, I die cut Layer B from purple glitter cardstock (from the Twinkling Jewel 6 x 6″ glitter pad) and Layer A from white cardstock. I created a background using blue and purple alcohol inks on Yupo paper. Once this dried, I fussy cut the shape of the egg to fit it behind the egg as the third or base layer.
I stamped the sentiment “thinking of you” from the Contempo Greetings stamp set in Versamark ink on a piece of purple Vibrant Violet cardstock. I heat embossed the sentiment with white embossing powder and then used the coordinating Contempo Greetings die to die cut it out. I adhered the greeting to the front of the egg using 3M foam adhesive. Lastly, I added a couple white butterflies (from the background) to add more texture.
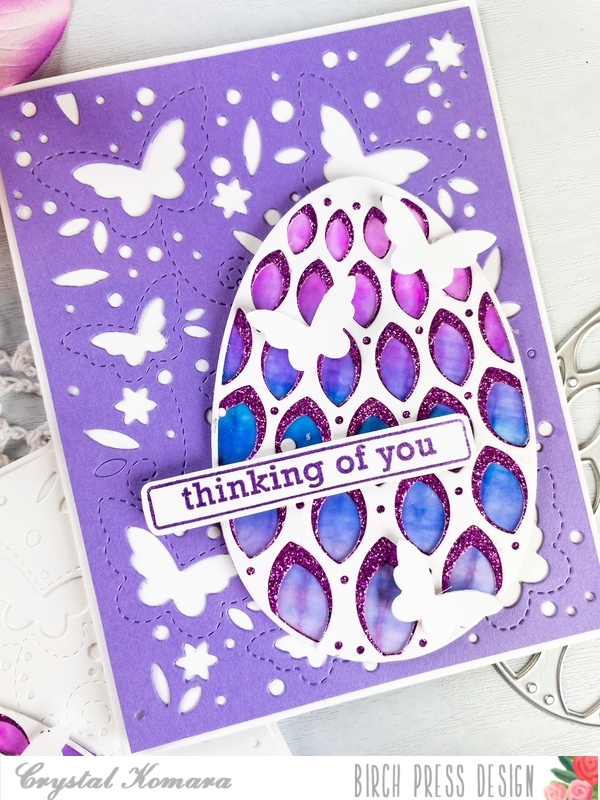
I created a second card using the same instructions (as above), but I simply changed out the background mat to a purple cardstock from the Vibrant Violet paper pack.
I hope you have enjoyed these Easter inspired cards. Thank you for visiting and have a wonderfully creative day!