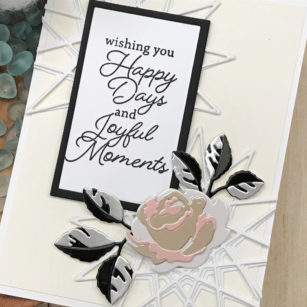
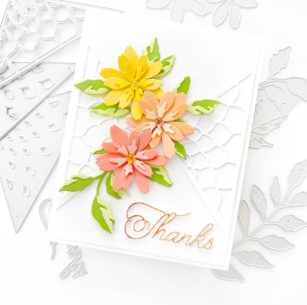
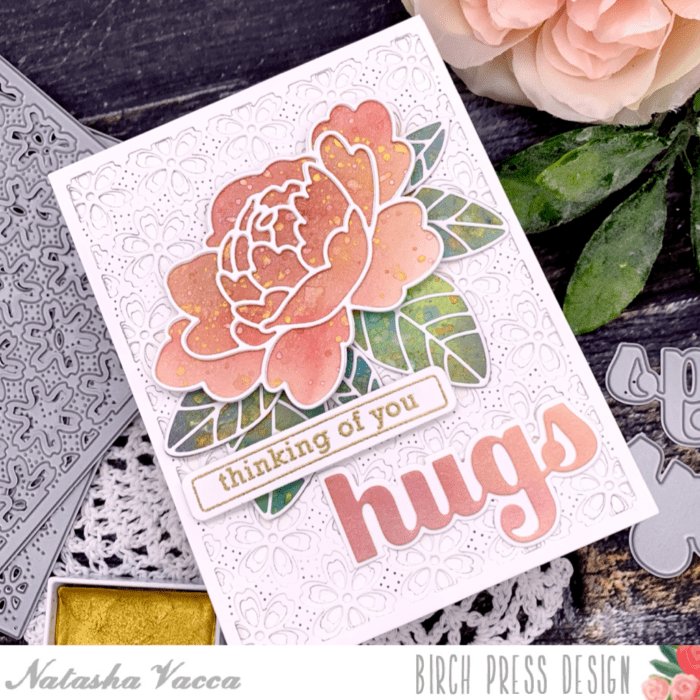
Happy Sunday everyone! I am excited to be back on the blog today sharing a layered card using the new Dainty Rose & Leaves die set. Birch Press recently released a line of beautiful layering dies and they all coordinate so beautifully with each other.
For the card I am sharing today I am using two of the layering dies along with a layering background die for some extra dimension and interest.
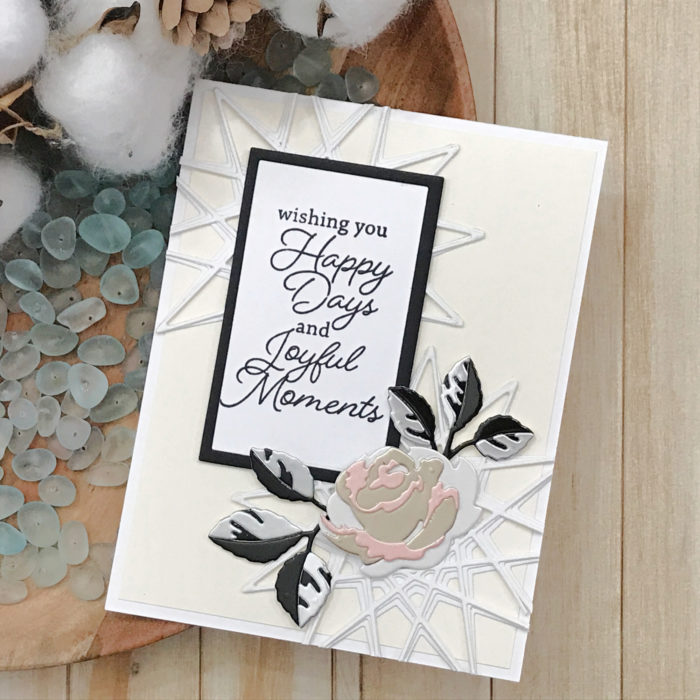
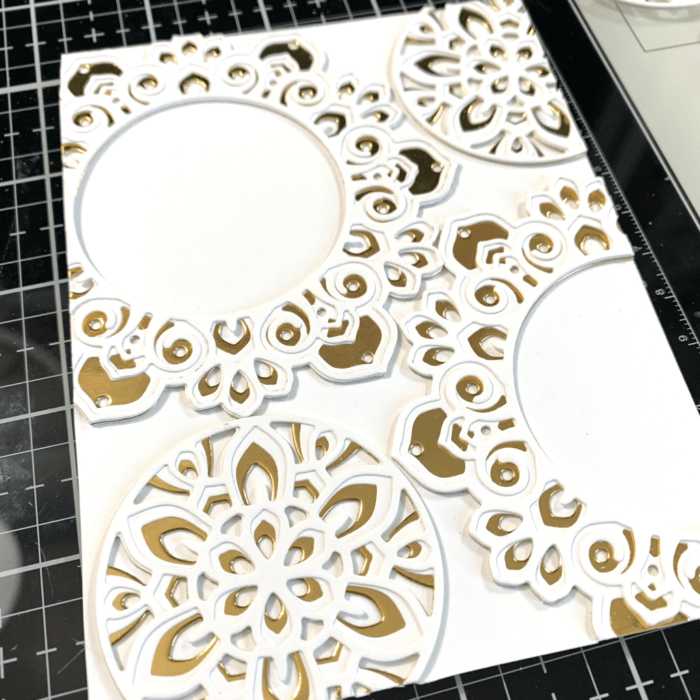
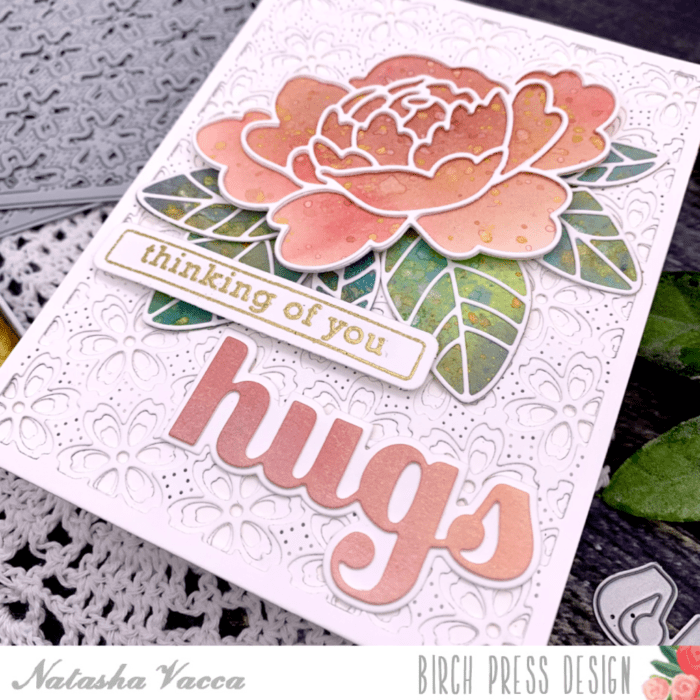
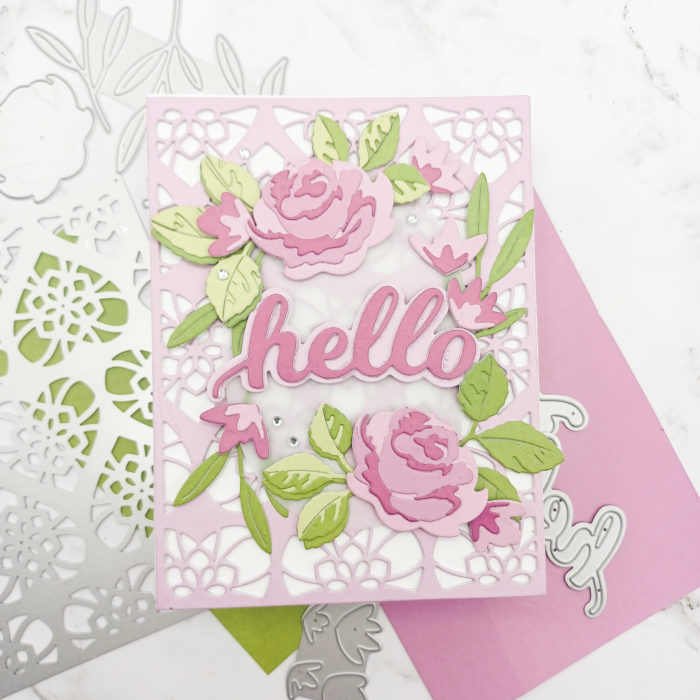
To start, I used the Kinsley Heart Plate Layer A and die cut it three times — twice from heavyweight white cardstock and once from lavender cardstock taken from the Memory Box Vibrant Violet cardstock pack. I glued those layers together, putting the lavender layer on top, and then adhered it to a A2 card base.
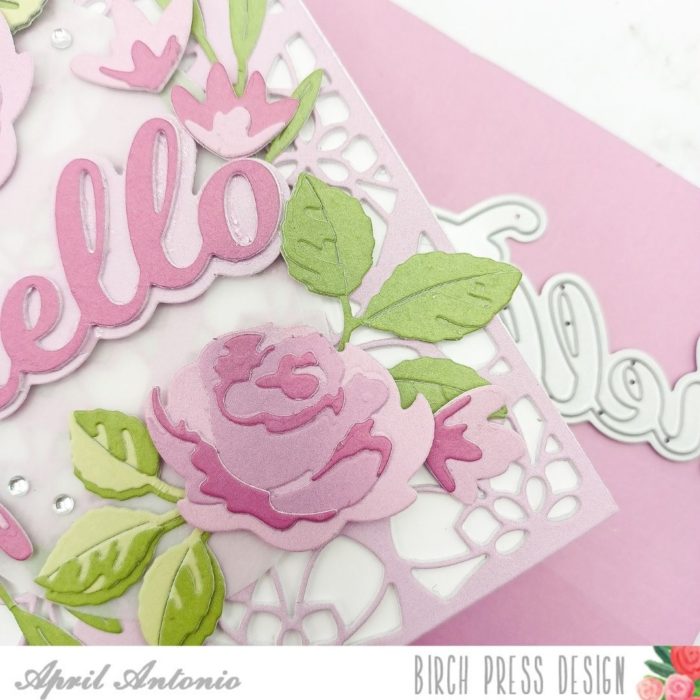
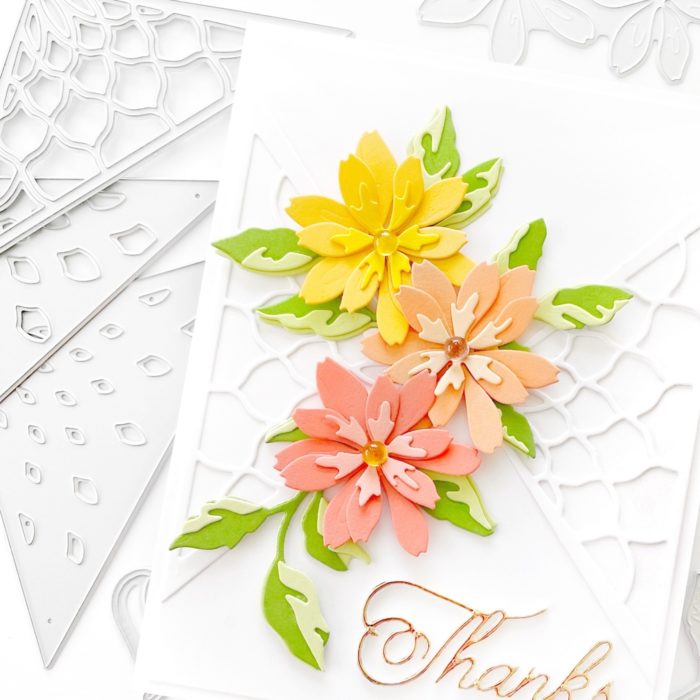
Next, I wanted cut florals that would match the background so I used the same Vibrant Violet cardstock pack and chose three shades of violet that were light, medium and dark to cut the flowers from so I could add some dimension to the die cuts. I cut the leaves from green cardstock pulled from the Memory Box Lush Green cardstock pad
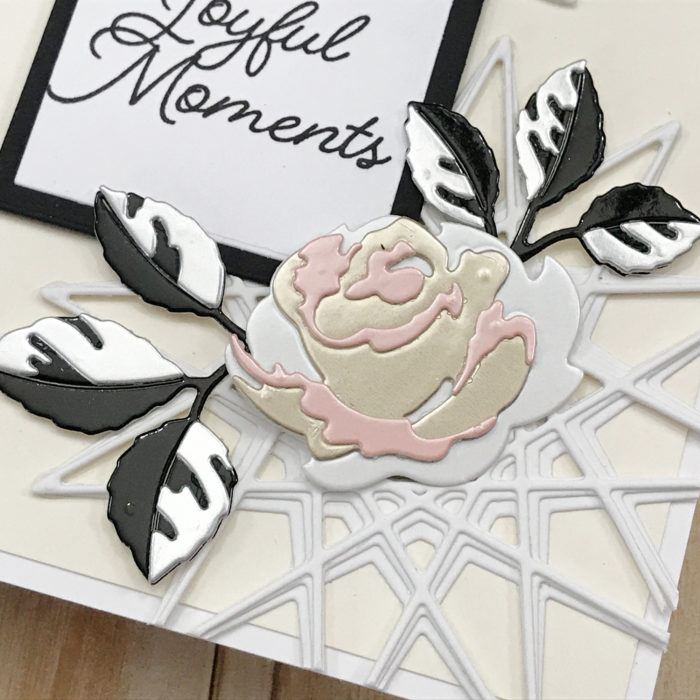
Fun tip: For layering flowers, starting with a light base and then working your way to the darker base on top is always a tried a true formula.
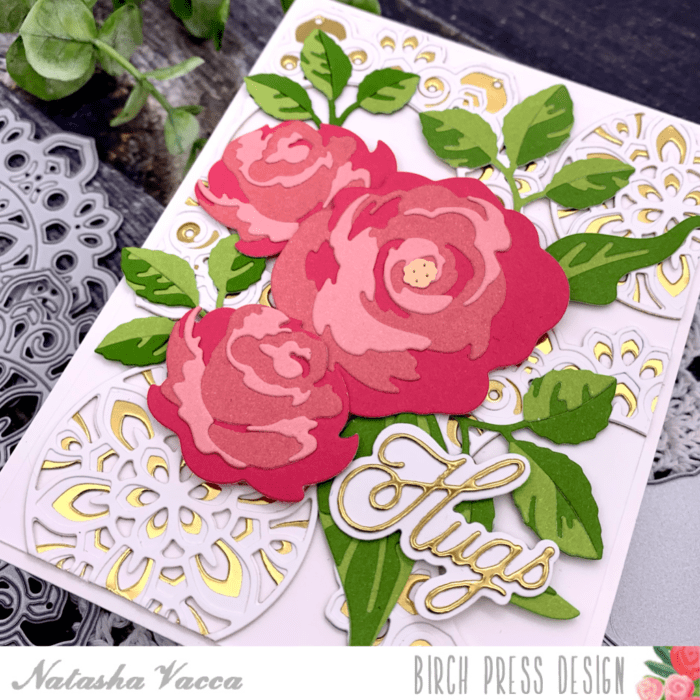
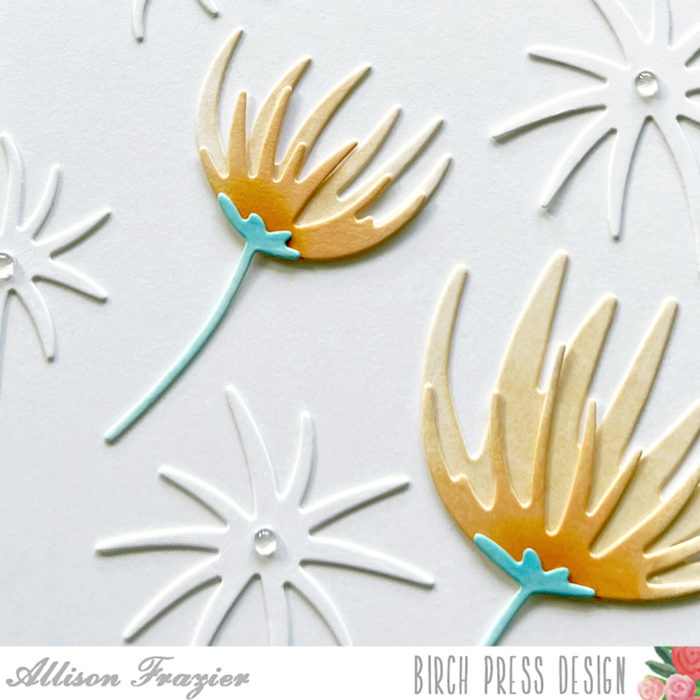
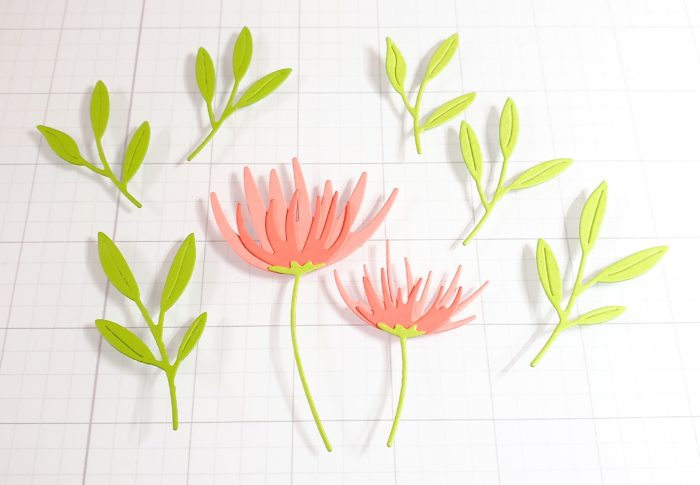
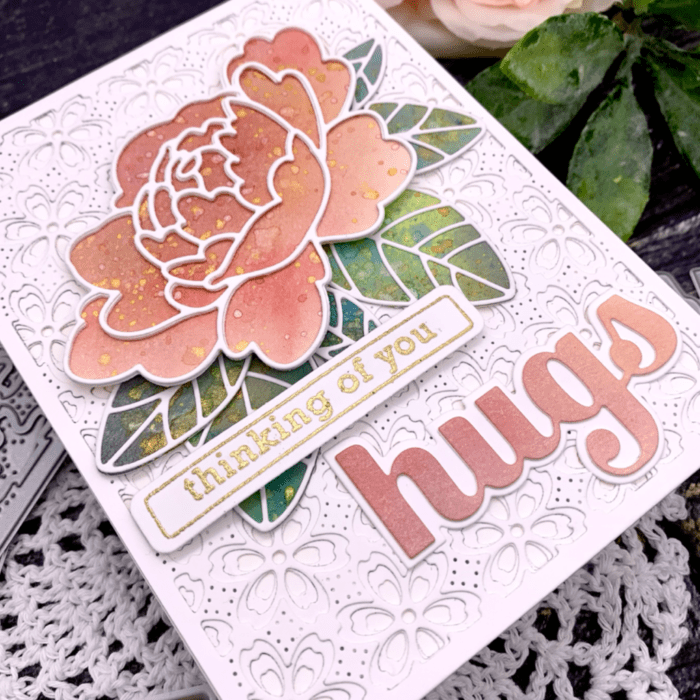
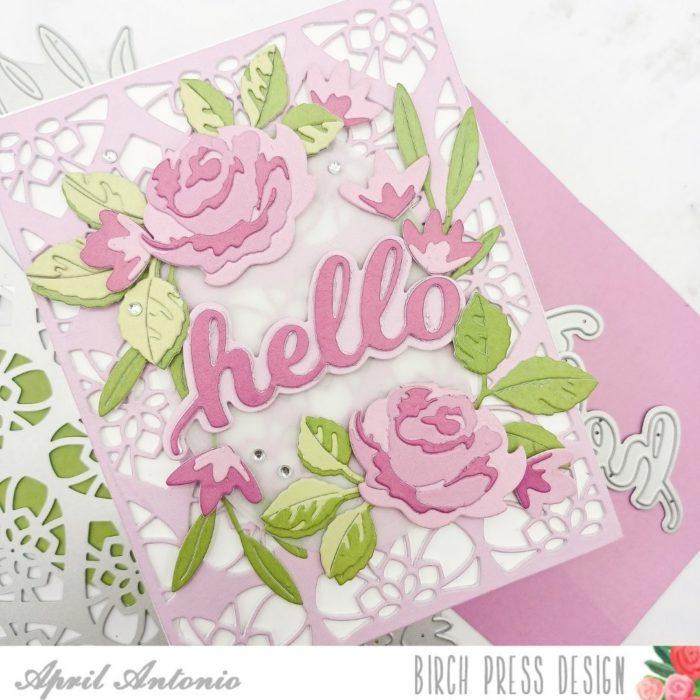
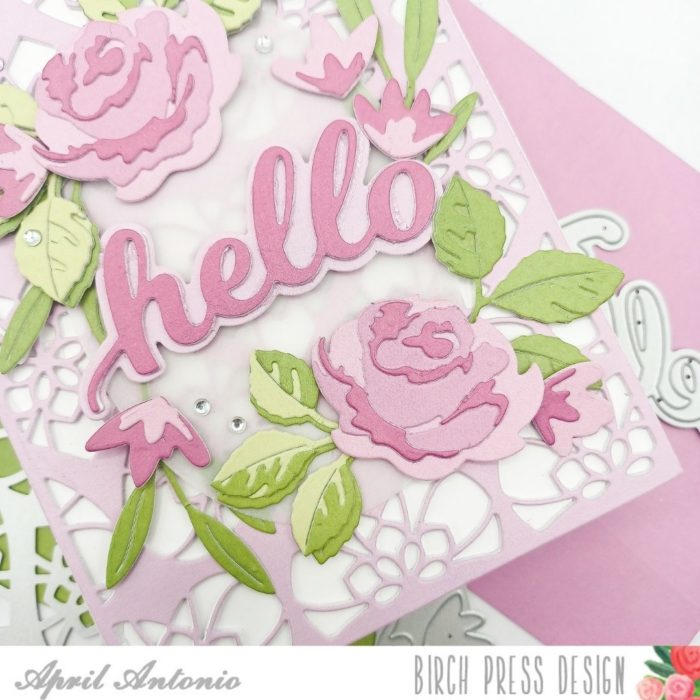
For my florals I realized that I wanted a prominent flower so I used the Dainty Rose & Leaves layering die set to die cut the lavender roses. Later, after adhering the roses and leaves to the card I realized that I had a lot of open space so I decided to fill it in with smaller flowers and leaves from the Tiny Tuft Flowers & Leaves die set.
Both of these sets are easy to use and I will usually die cut all of my pieces and then assemble them all at once to save time.
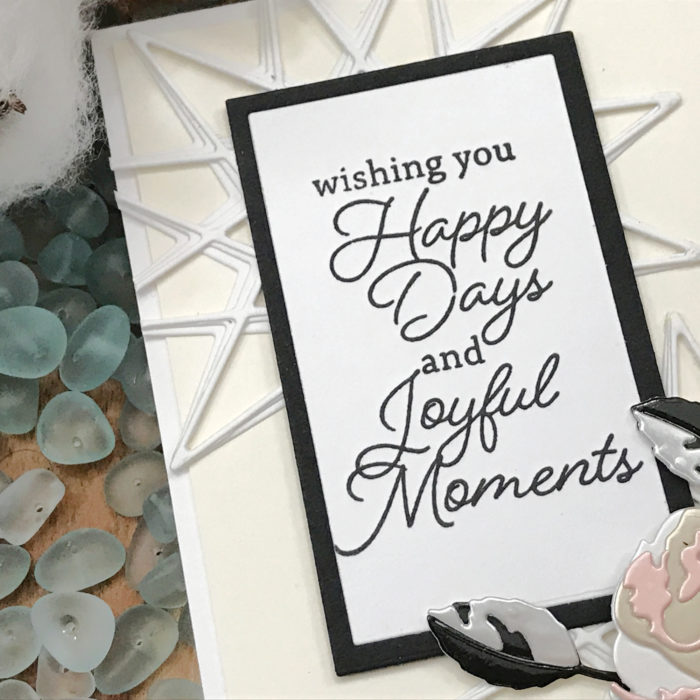
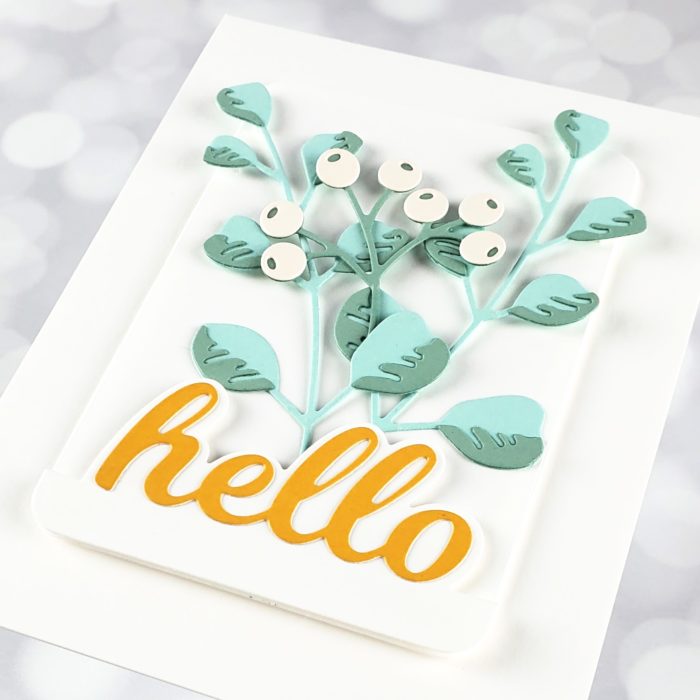
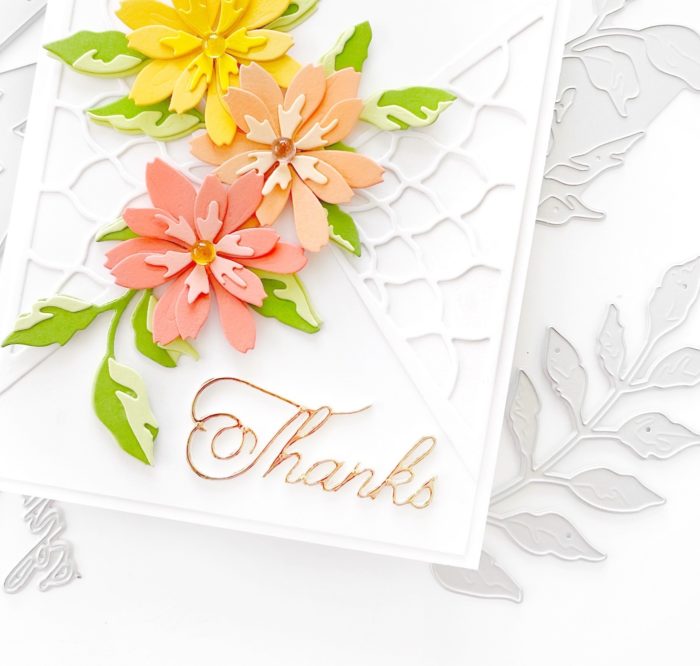
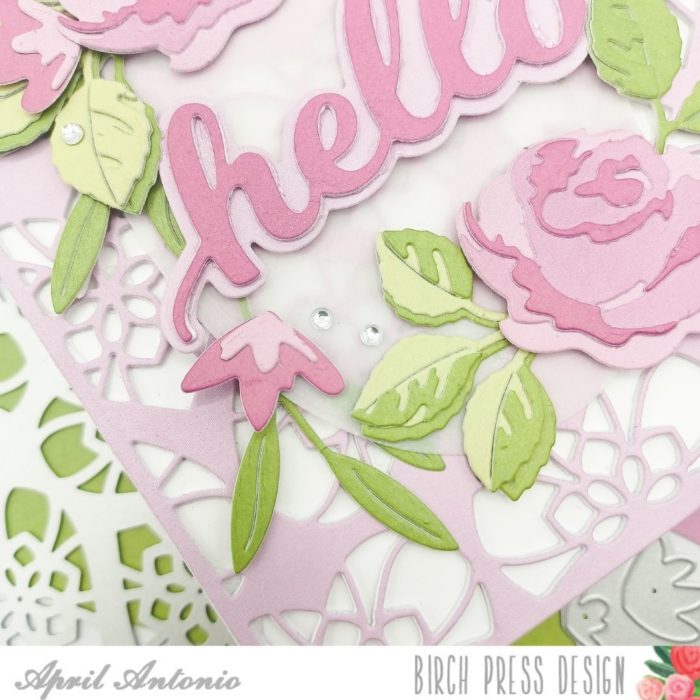
After cutting out my flower layering pieces I took a piece of heavy weight vellum and die cut a small sized oval to use as the base for the sentiment on my card. For my sentiment I chose the Honey Script ‘Hello’ die set. Using the same violet paper pad as I did for the flowers, I die cut the sentiment from a medium toned purple and the shadow from a lighter, lavender color. I also cut the sentiment a few times from white cardstock and layered it all together using liquid glue for extra dimension.

Now, here is one of my tricks for gluing down vellum to a card, since it’s very see-through. Remember that vellum oval I cut earlier? I took that oval, adhered the stacked ‘hello’ die to it, and arraned all of the flowers and leaves I had assembled around the edge of the oval. I did all of this with the oval on top of my card base so I wouldn’t accidentally go too far over the edge of the card.
Once I had all of the florals arranged how I wanted to them I glued them down to the oval with either liquid glue or foam dots, then flipped the entire arrangement over to the back. I then only put adhesive on the parts of the vellum that were covered with the florals and leaves so the glue wouldn’t show through on the front. I turned the arrangement back over and adhered the entire thing to the front of the card.
I added some Memory Box clear jewels as a finshing touch and the card was done!
————————————————————————————–
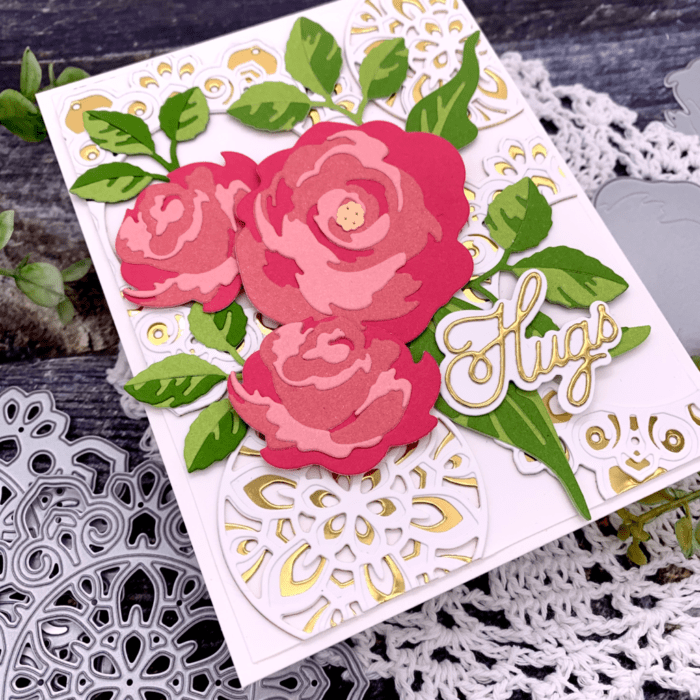
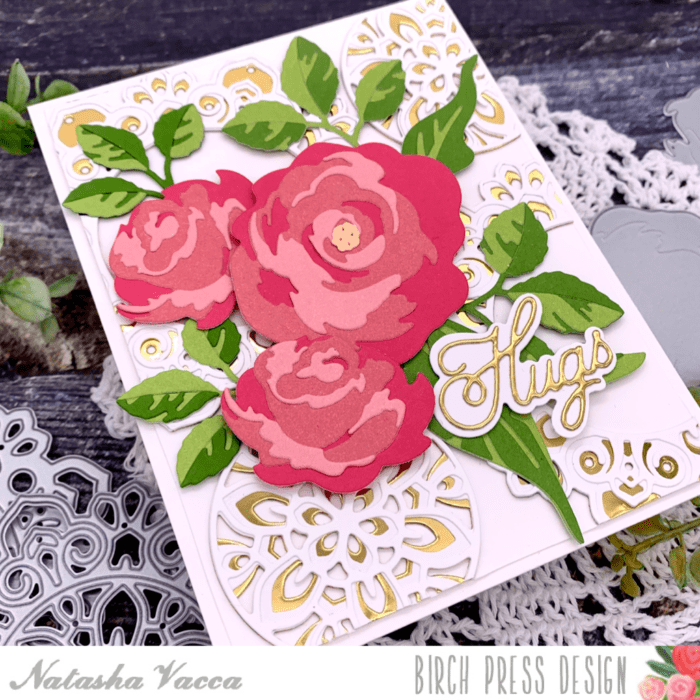
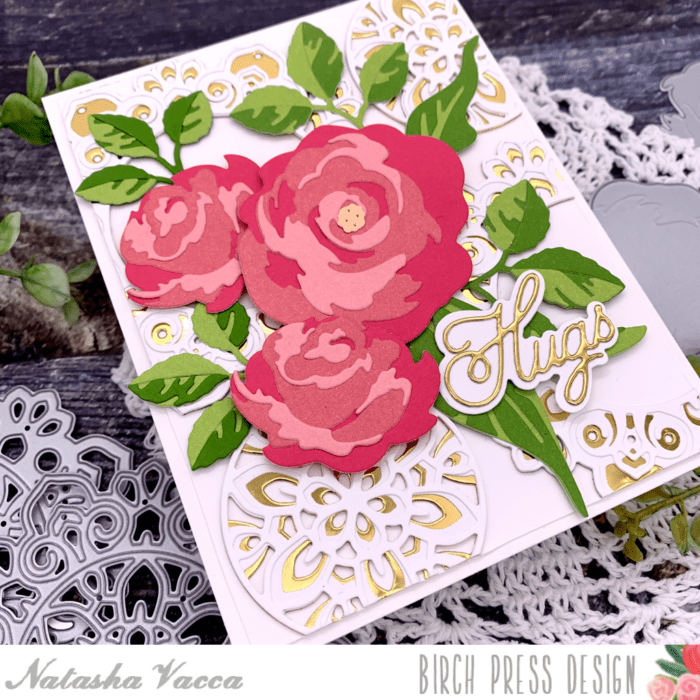
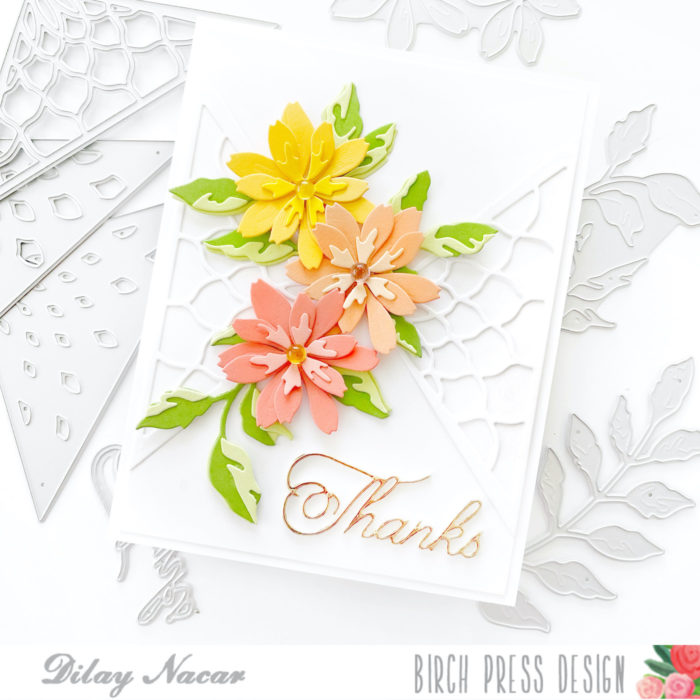
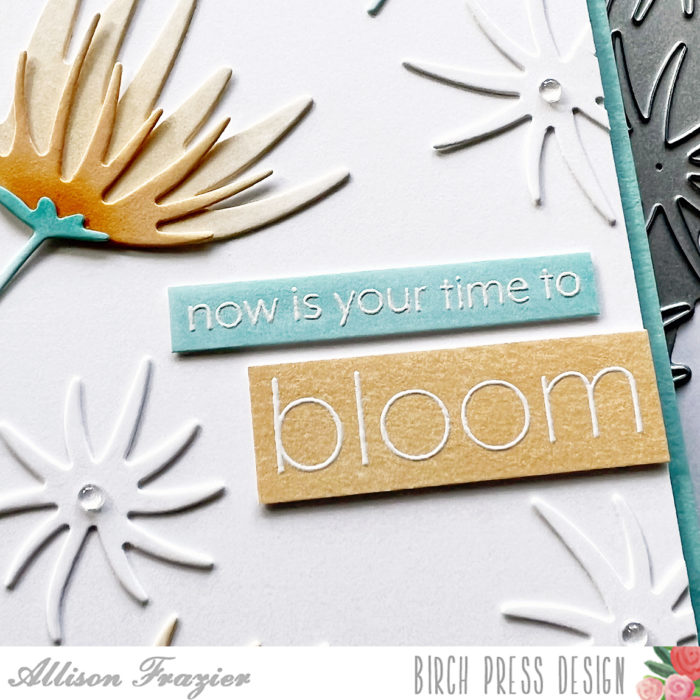
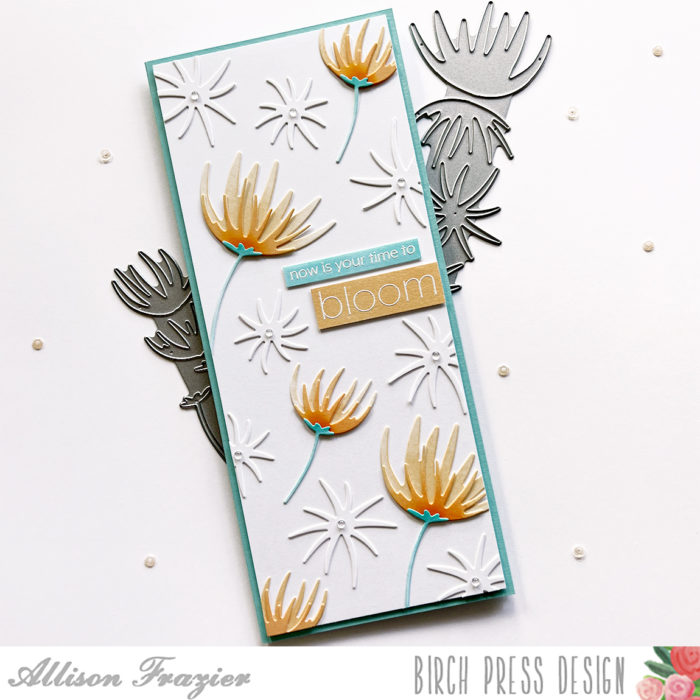
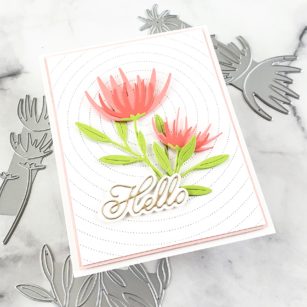
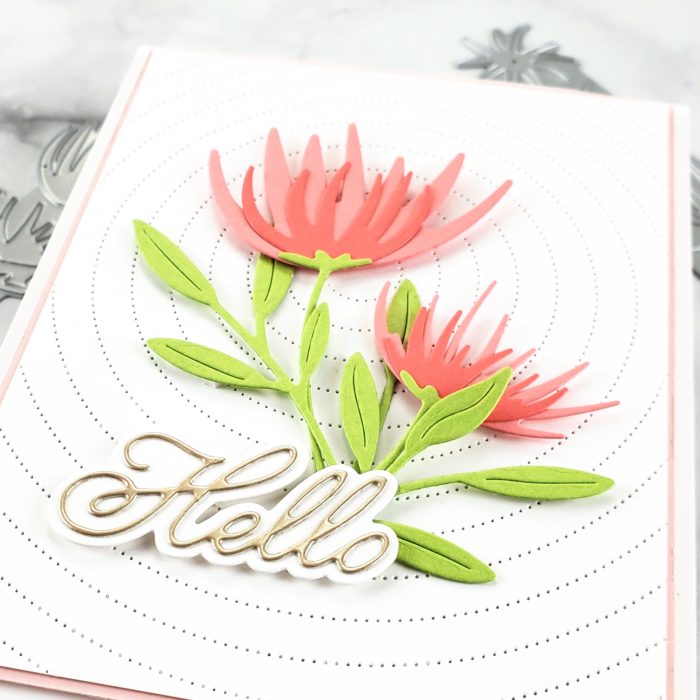
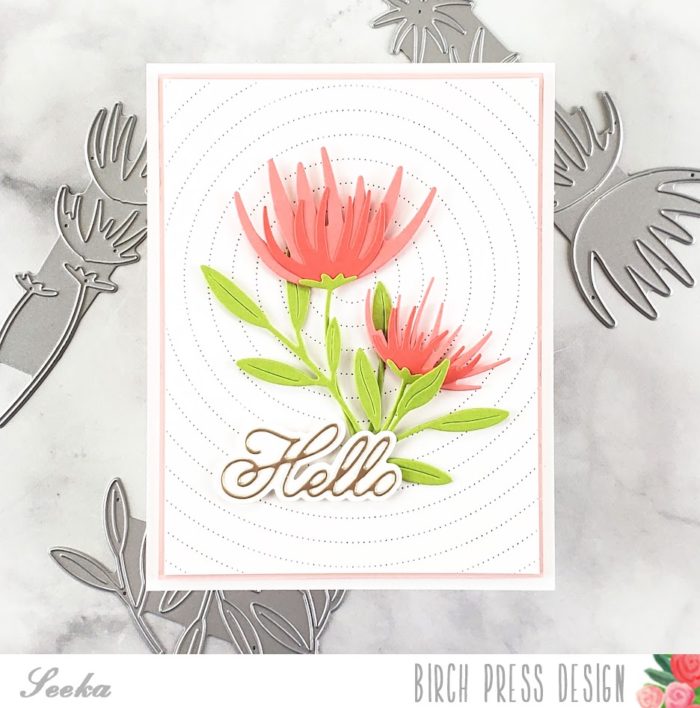
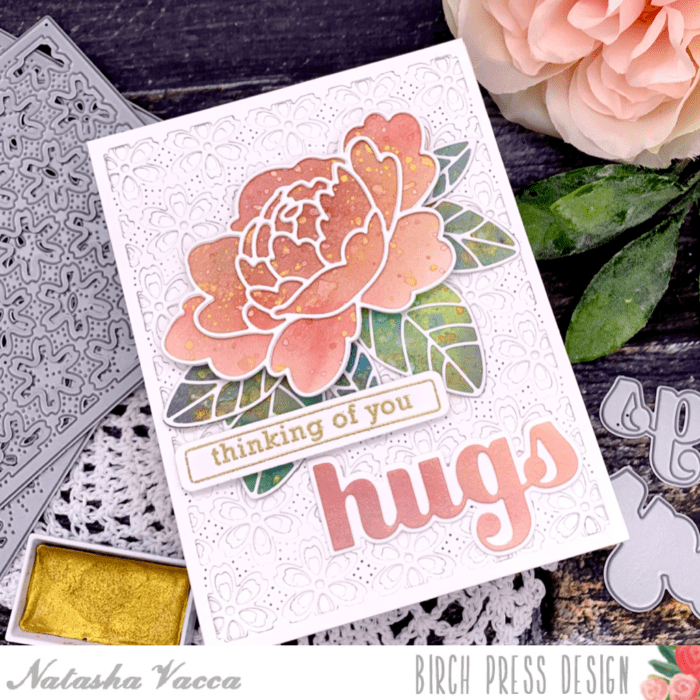
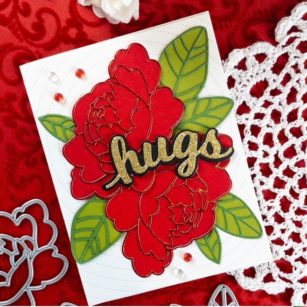
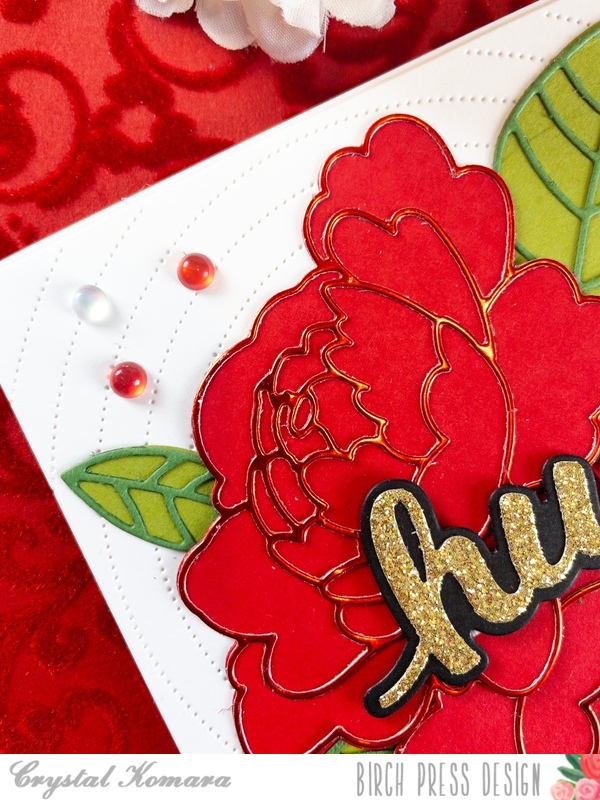
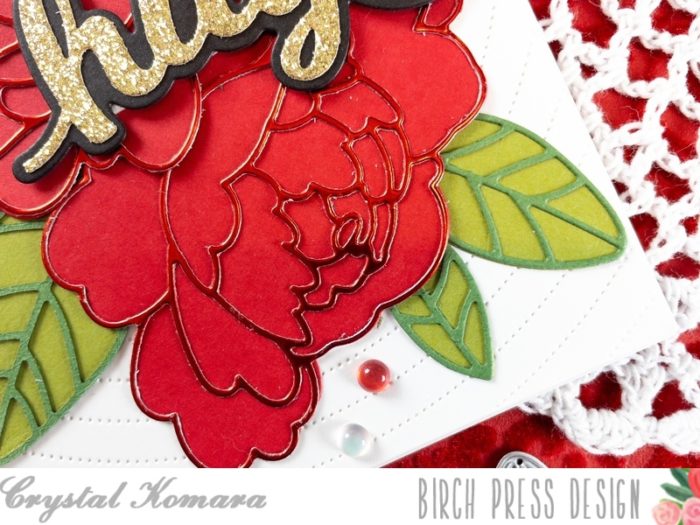
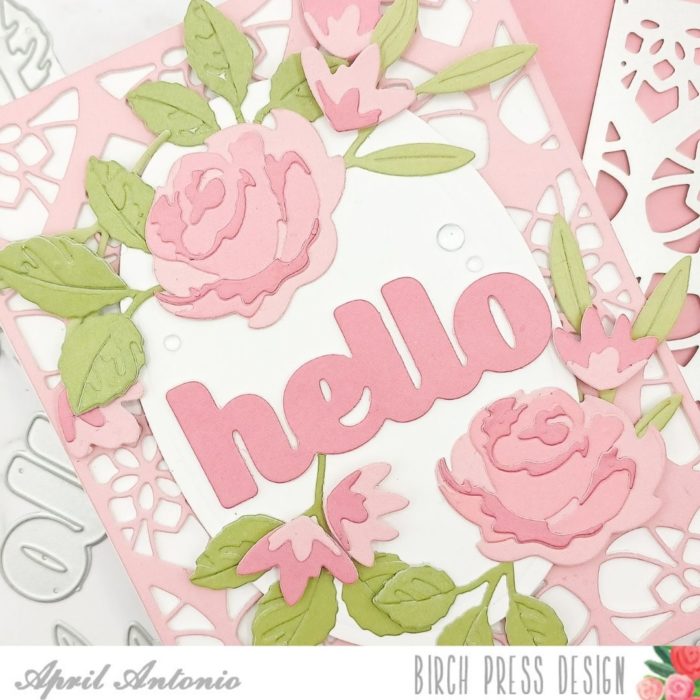
For the second card I created, I used the same design but used a different color scheme and sentiment. The new layering dies are so versatile and work in a rainbow of colors.
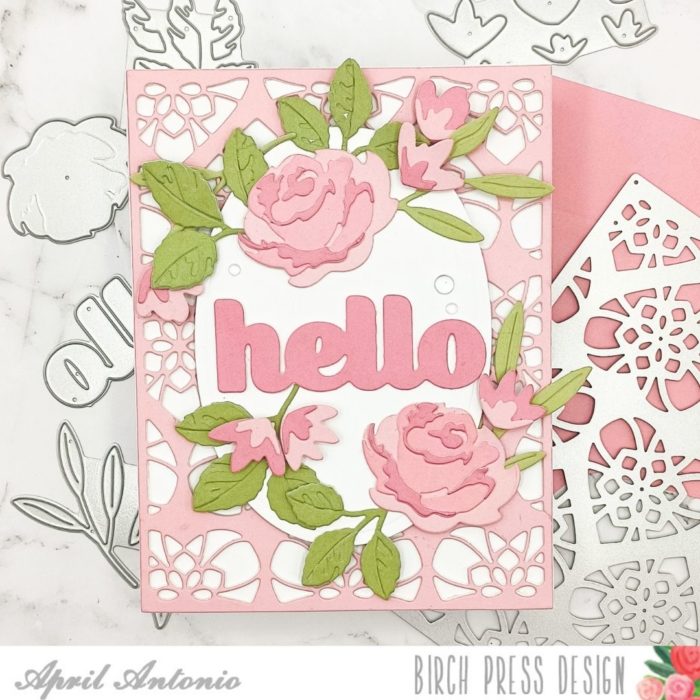
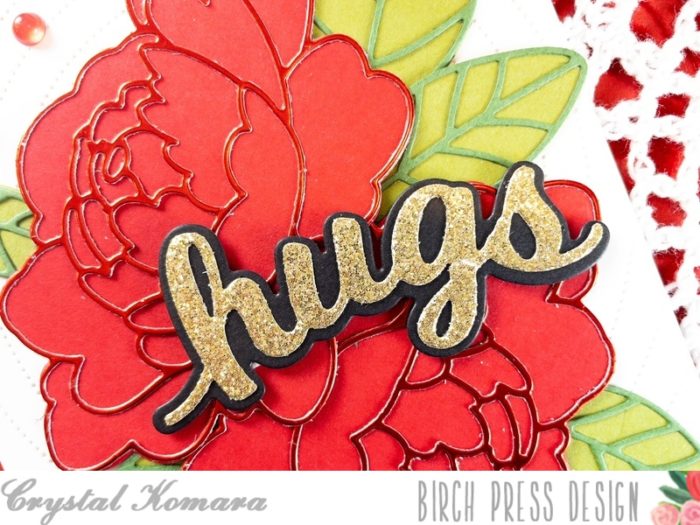
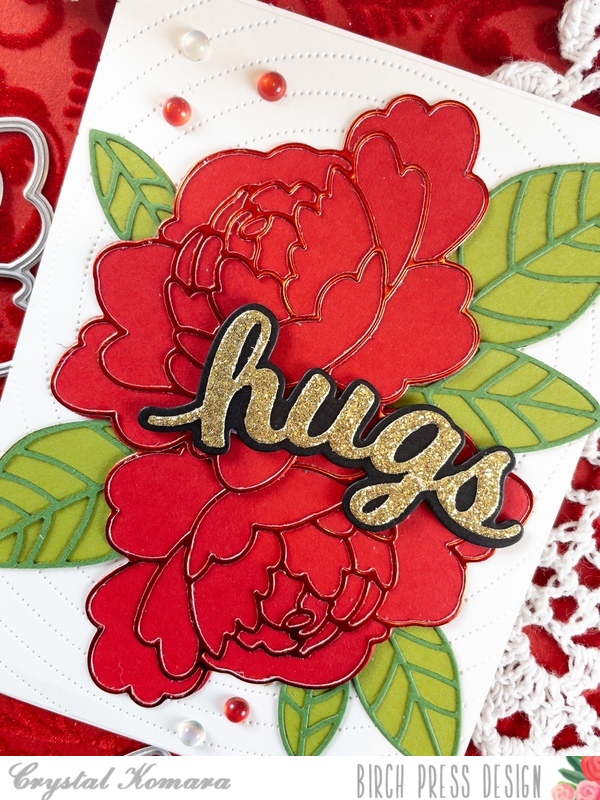
I used pink cardstock from the Memory Box Berry Red cardstock pad, as well as the shadow layer from the Honey Script ‘Hello’ die set. I die cut the ‘Hello’ a few times from white cardstock and once from pink cardstock, and layered it all together. One other change I made is to use an oval cut from white cardstock, instead of vellum, as the mat for my sentiment.
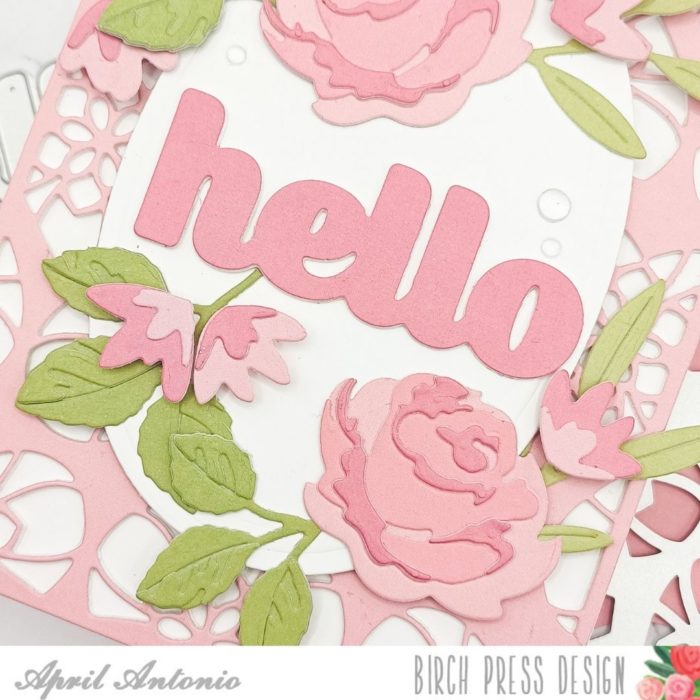
I finished off the card with Memory Box clear fairy drops.
That is all for today! Thank you so much for stopping by and I really hope you will give the new layering floral dies a try. They are fun to use and can help you create some amazing card designs.

Supplies