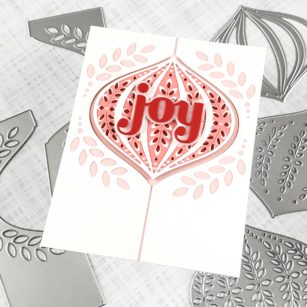
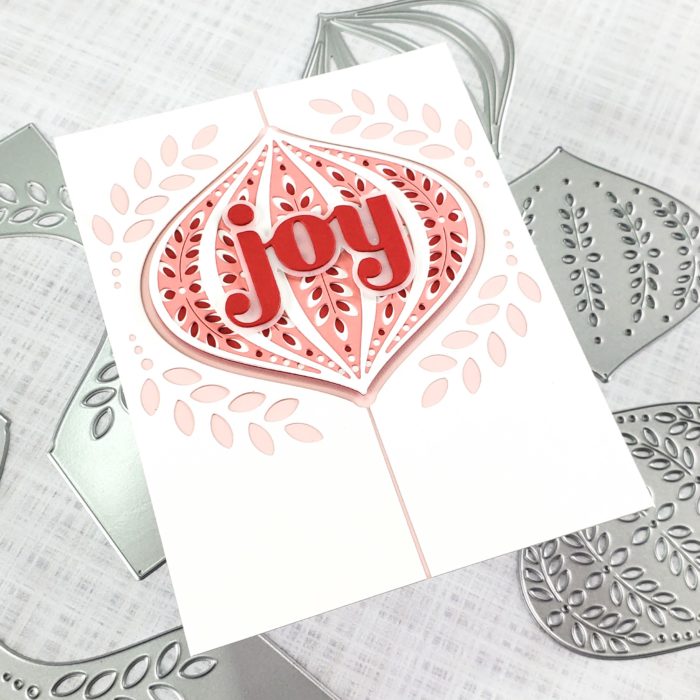
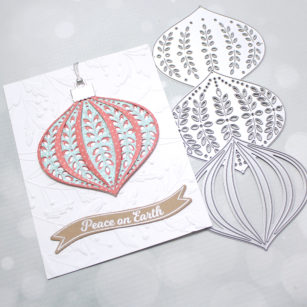
Hello and welcome! Seeka here and today I’m sharing a card featuring the Marisol Frames and Marisol Ornament Layer sets.
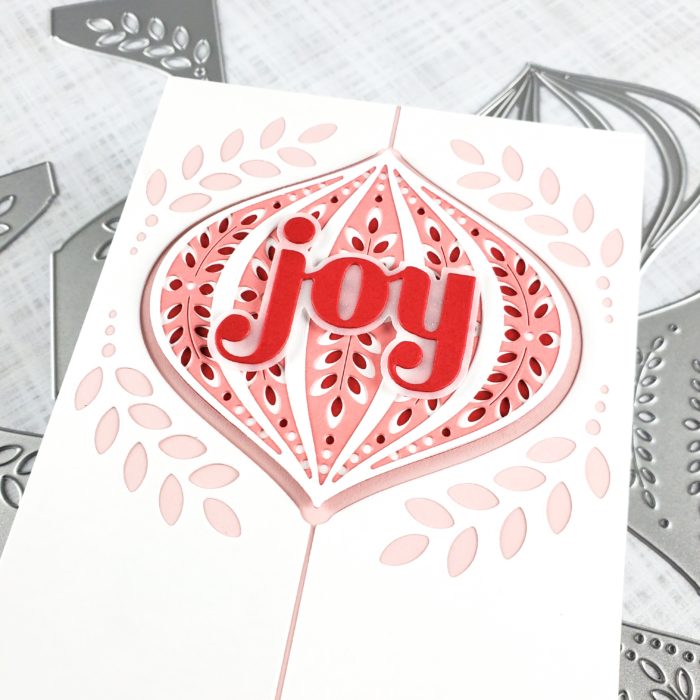
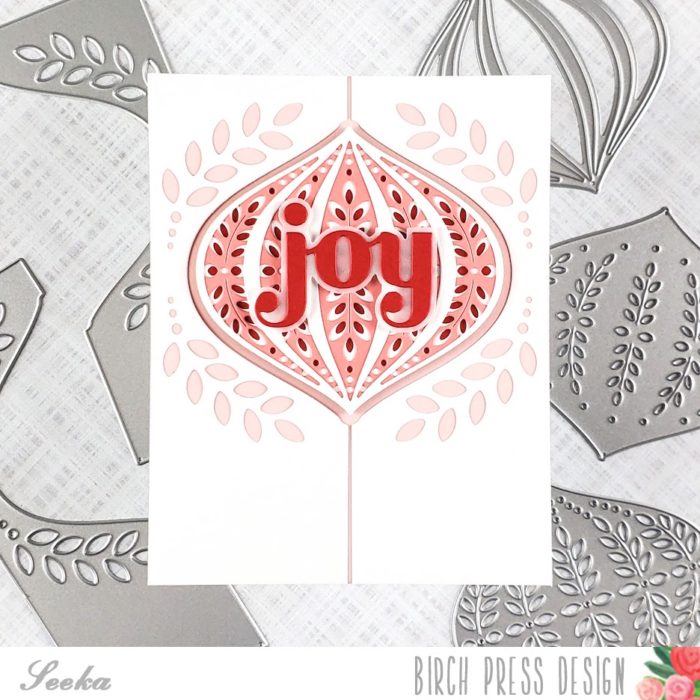
To start, I cut the four layers of the ornament from three different cardstock colors. I used a red for the solid layer (which is part of the Ornament Basics die set), a peachy pink for Marisol Layer B, and white for Marisol Layers A and C. I adhered the four layers together and set them aside.
Next, I used the Marisol Frames Layer A die to cut white cardstock. I adhered the two pieces to a 4.25″ x 5.5″ panel of light pink cardstock and then used foam tape to adhere the ornament.
For the sentiment, I used the Big Joy Sugar Script die set. I cut the sentiment from the same red cardstock as the ornament’s solid layer, and then cut the shadow layer from vellum. I adhered the two layers together and then used foam tape to adhere the sentiment to the ornament.
To finish, I adhered the card front to a card base.
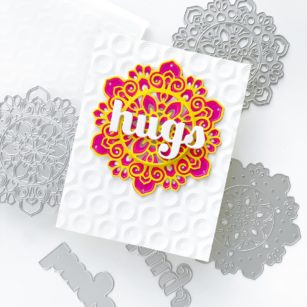
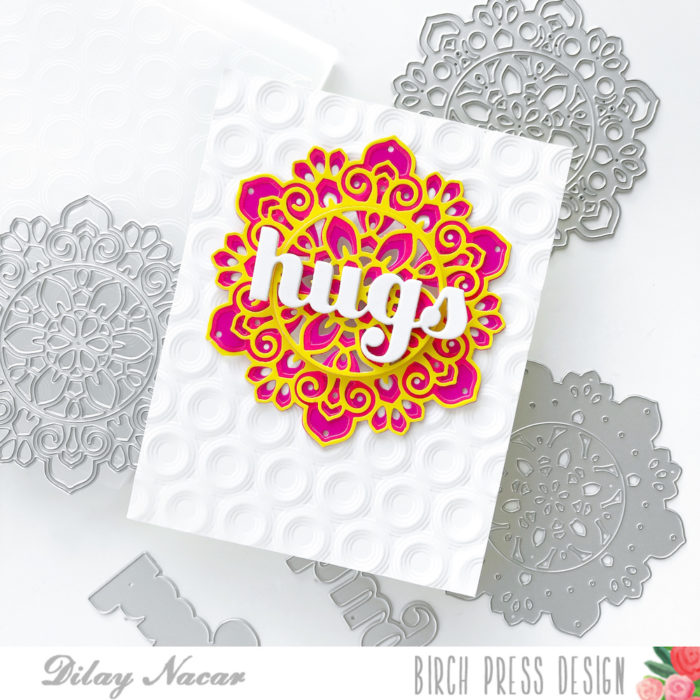
Welcome back! Dee here today sharing a clean and simple card with lots of white space and a pop of color!
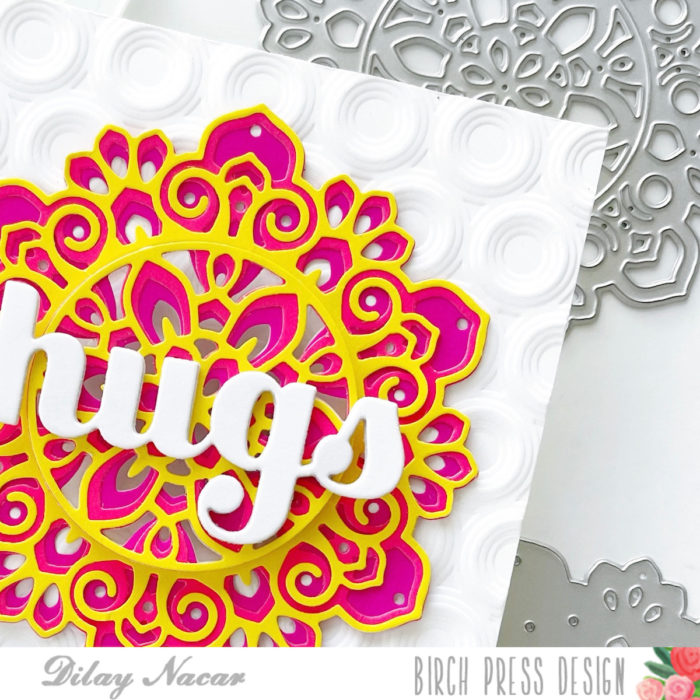
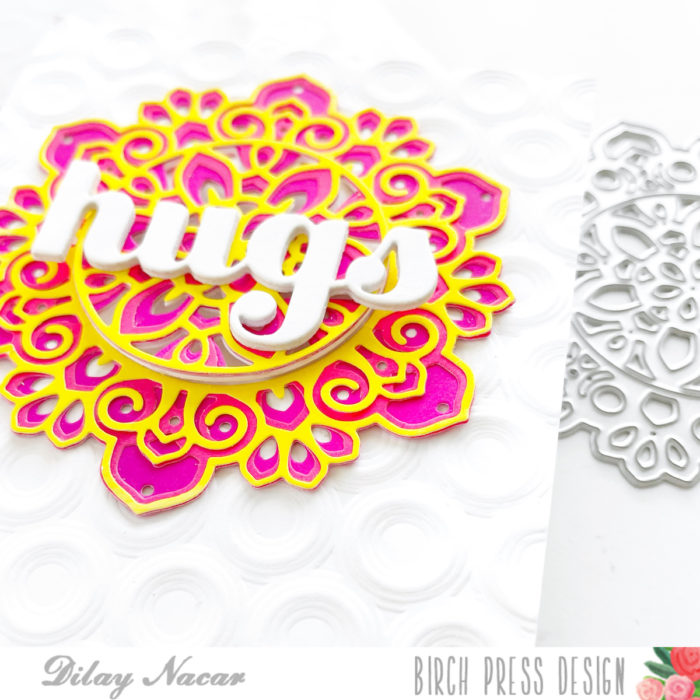
To begin, I added texture to an A2-sized white card base with the Memory Box Ringadings 3D embossing folder. Next, I cut the Tranquility layering dies (frame and circle center) in three different colors: Layer A in yellow, Layer B in hot neon pink, and Layer c in dark pink/purple.
I adhered the frame portion to the center of the embossed panel, then adhered the circle with foam adhesive
Next, I cut the Big Hugs Sugar Script die three times in white then stacked and adhered them together.
To finish, I adhered the stacked hugs to the center of the circle and mounted the card onto an A2-sized, top-folding card base.
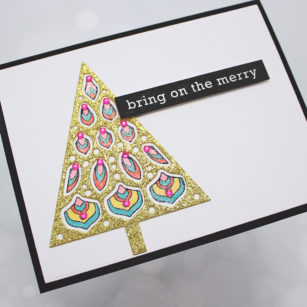
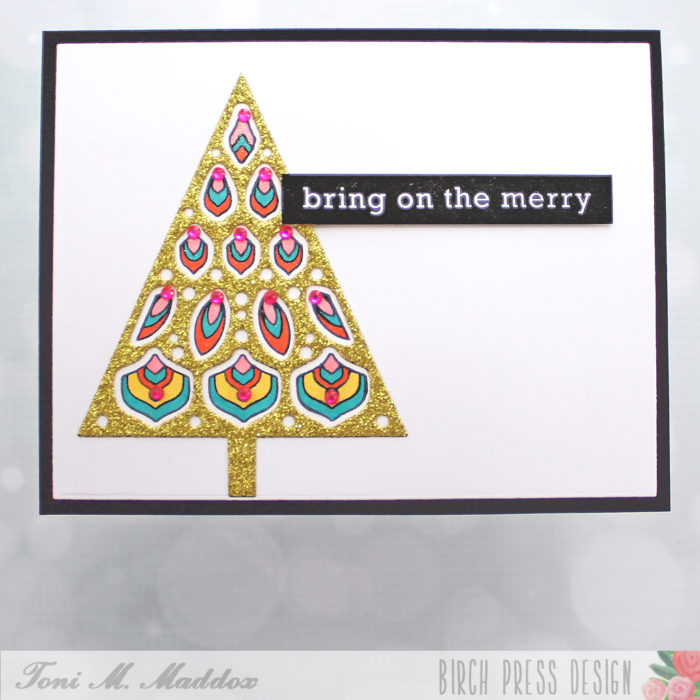
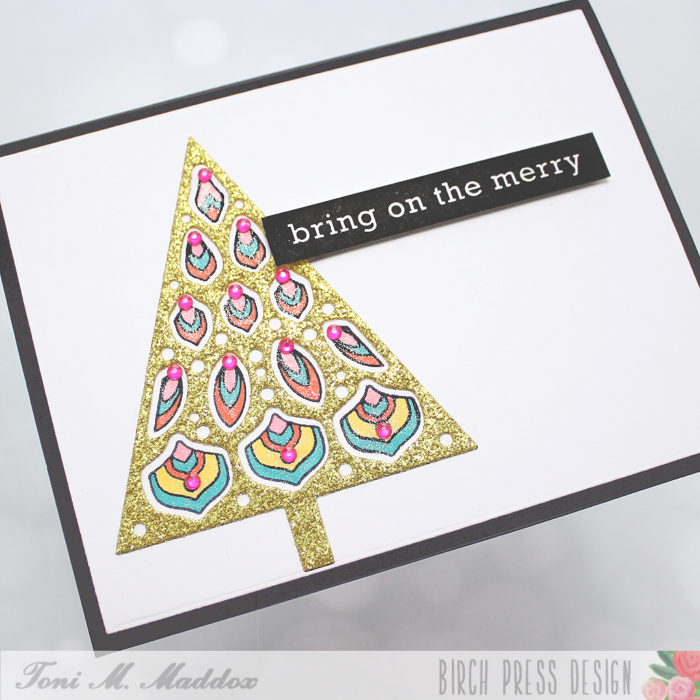
For the first card, I stamped the tree image onto Copic-friendly cardstock and colored it up with Copics BG49, R43, Y18, and YR09. I then diecut the tree outline from the Memory Box Majestic Hues 6×6 Glitter Pad.
Isn’t that glitter dreamy? I added a few Fairy Jewels as well because why not–bling it on! I stamped the Christmas Mandala sentiment with Versafine Onyx Black and kept the remainder of the card very simple to really showcase that fabulous tree.
Since I had the Christmas Mandala set out, I made a very different second card. I used Catherine Pooler inks as well as Hero Arts Unicorn Pigment Ink to stamp the Joy sentiment onto the card base bokeh-style. I made a few of these since they’re time-consuming to set up but once you do, easy peasy to stamp and off stamp on multiple cards.
I hope you were inspired today and find a bit of time to get crafty. Have a great rest of your day!
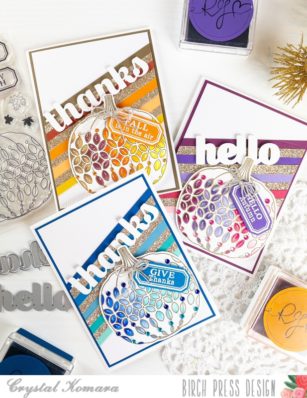
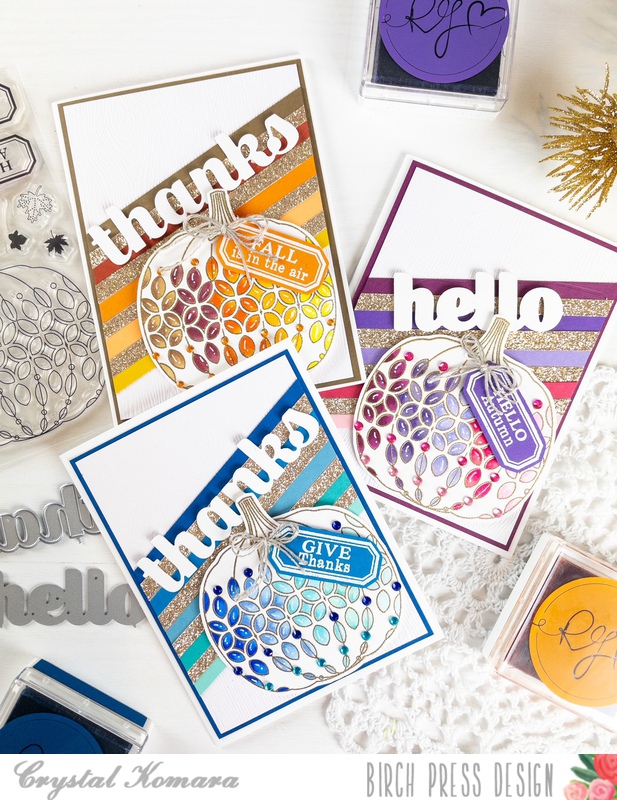
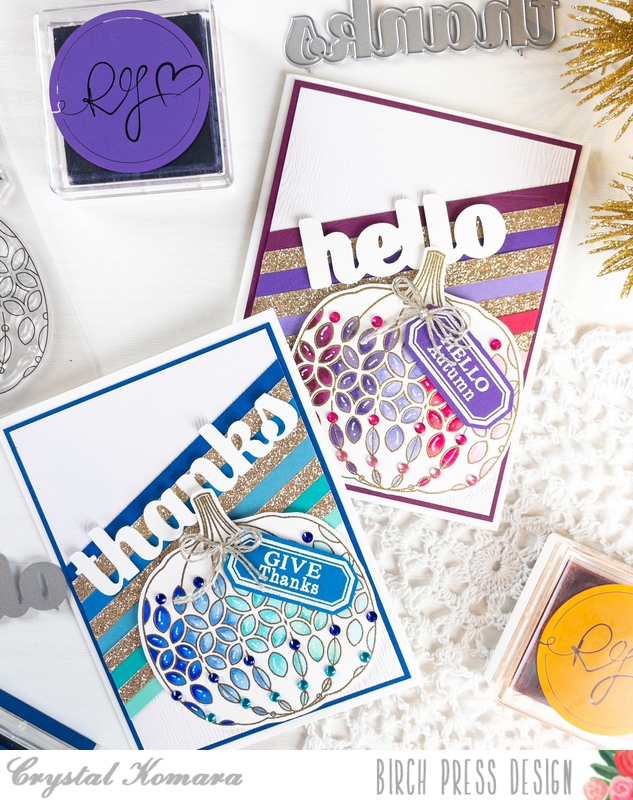
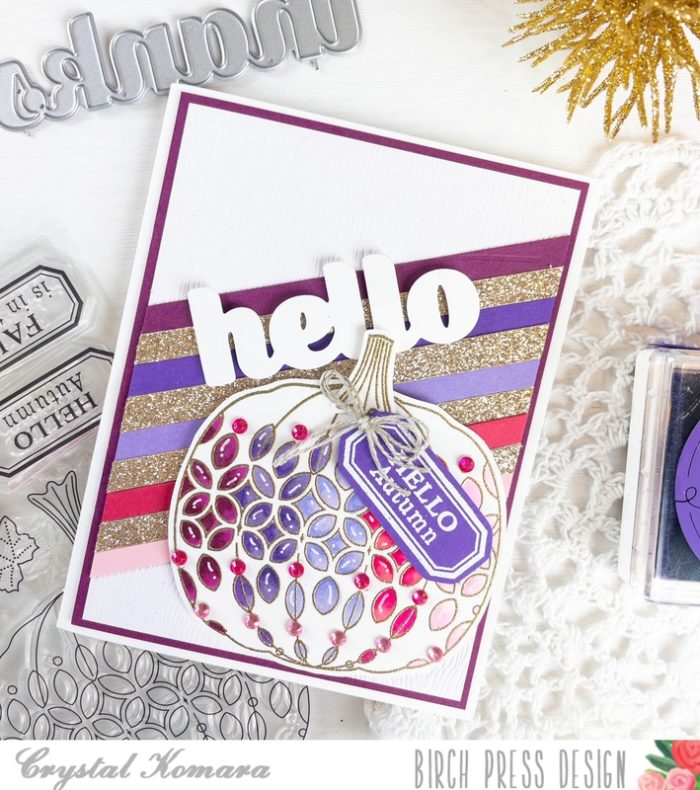
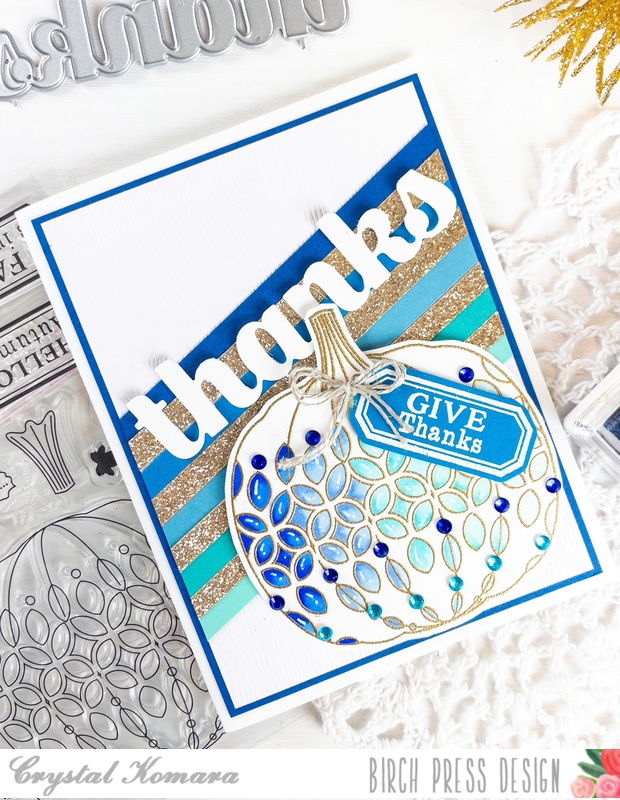
Hello crafty readers! This is Design Team member Crystal Komara here with you today sharing a couple cards made using the beautiful Pumpkin Lacework stamp set and coordinating dies. This is probably my favorite stamp set from Birch Press Design, so just like the old expression “if the shoe fits, buy it in every color”, I decided to stamp it in every color! Now the question is, do YOU prefer the more traditional orange/brown pumpkin, or do you like the blues and purples?
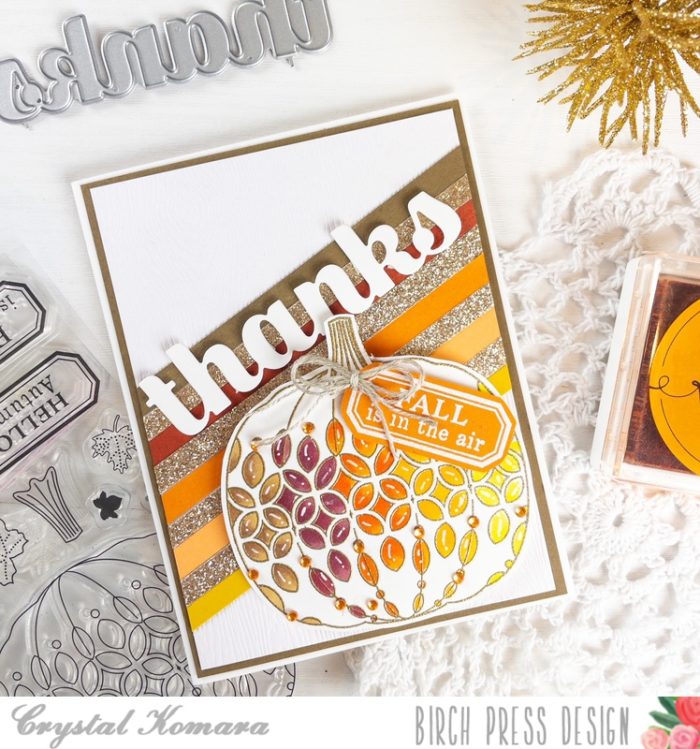
So, let’s take a look at the most conventional card first. It’s beautiful and elegant heat embossed with gold embossing powder and then colored using Copic markers in brown, oranges and yellows. It is very traditional, warm and earthy.
But, now let’s step outside-of-the-box and try the same exact card simply using a different color pattern. Does it still emit fall vibes? I think so!
Card details:
Each of these A2 cards were made using all the same dimensions and products, I simply alternated some colors. The base of each card is made from 80 lb. Neenah Solar White Smooth cardstock. I matted a 5″ x 3 3/” piece of white woodgrain cardstock with a coordinating piece of blue, purple or brown cardstock from the Ocean Blue, Vibrant Violet and Earth Neutral 6 x 6″ paper packs. I cut 5″ x 1/4″ strips of ombre colors from these same paper packs and diagonally lined them up along the card alternating with 1/4″ strips of gold glitter cardstock from the Twinkling Jewel Glitter 6 x 6″ pad.
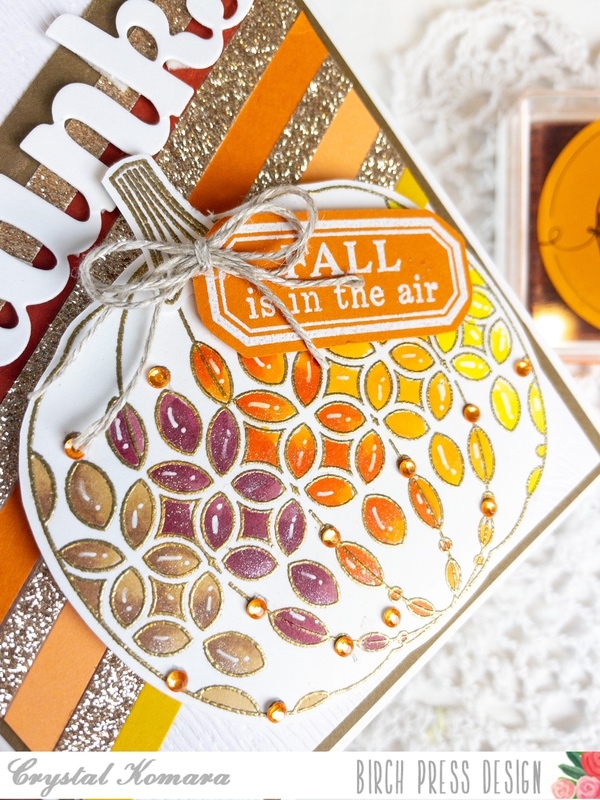
I stamped the pumpkins and stems using the Pumpkin Lacework stamp set. I stamped the image in Versamark ink on white cardstock and heat embossed it with gold embossing powder. I used the coordinating dies to cut the pumpkin and stem out. I colored the pumpkins with Copic markers and then adhered the colored pumpkins to the card with 3M foam adhesive. I stamped the tag in coordinating colored cardstock in Versamark ink and heat embossed it with white embossing powder. I adhered the tag to each pumpkin and added linen thread for extra dimension. Lastly, I cut the sentiment “thanks” and “hello” from white cardstock using the Thanks Sugar Script and Hello Sugar Script.
I hope you have enjoyed seeing these cards in a variety of colors and that you’ll feel encouraged to try adding more color to your fall cards. Thank you for visiting and have a wonderfully creative day!
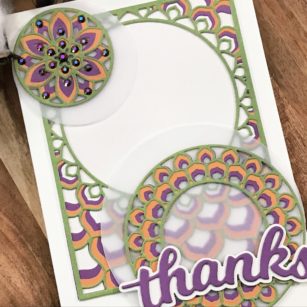
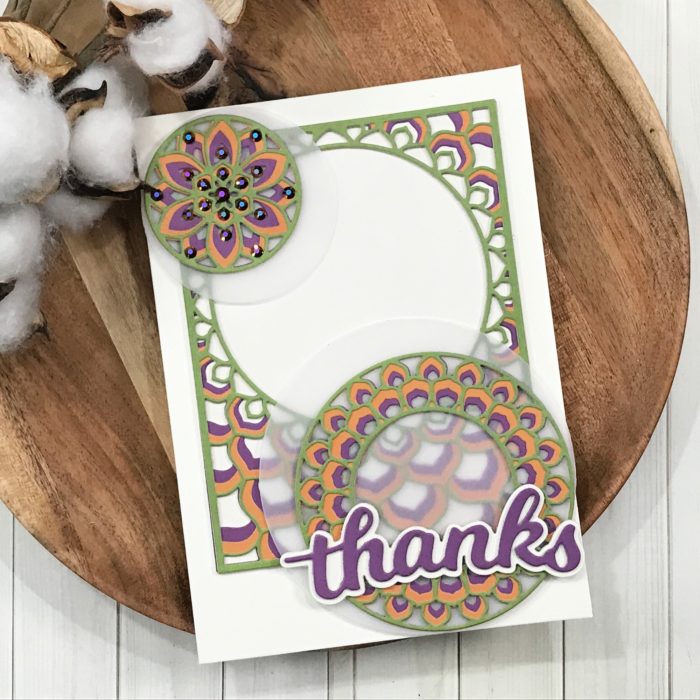
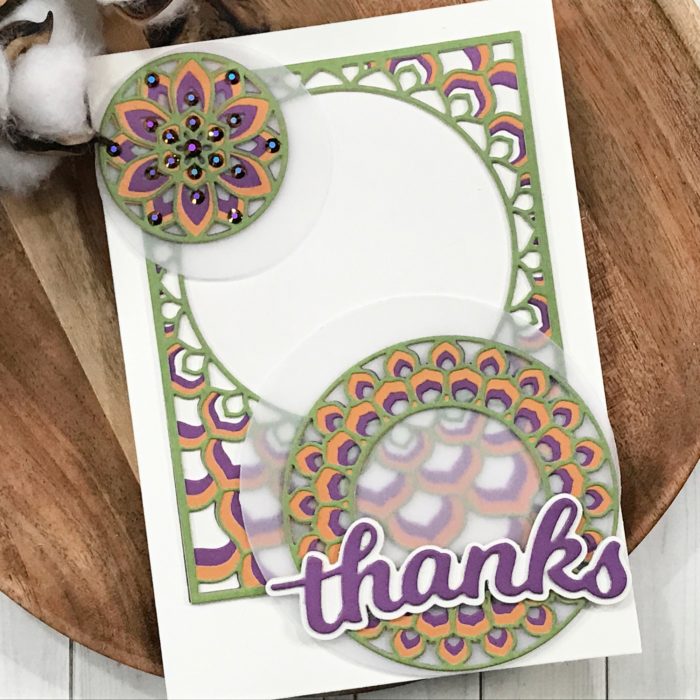
Today I am featuring the Epiphany Plate Layering Die Set! We do not have to use our dies only one way, let’s look beyond what they are capable of! With this set we get a plate, ring, and a medallion. So many ways we can arrange these pieces. Let’s get started!
First let’s get our die cutting done and layer our sections together, let’s include our sentiment at the same time!
I also cut a 4.25 inch x 5.50 inch panel to place behind our main layering panel. I grabbed a circle die to cut two panels from vellum card stock! These will be placed off-set behind our ring and medallion.
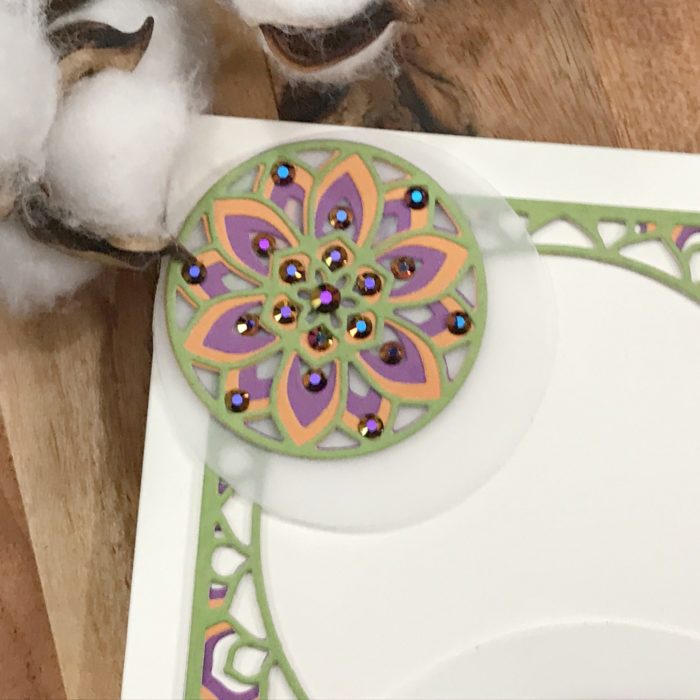
For our card we are going to use a 5 inch x 7 inch card base setting our main panel in the center towards the top. Our medallion is placed in the upper right hand corner with the vellum edge hanging over the opening and the ring is placed at the bottom right corner the same way!
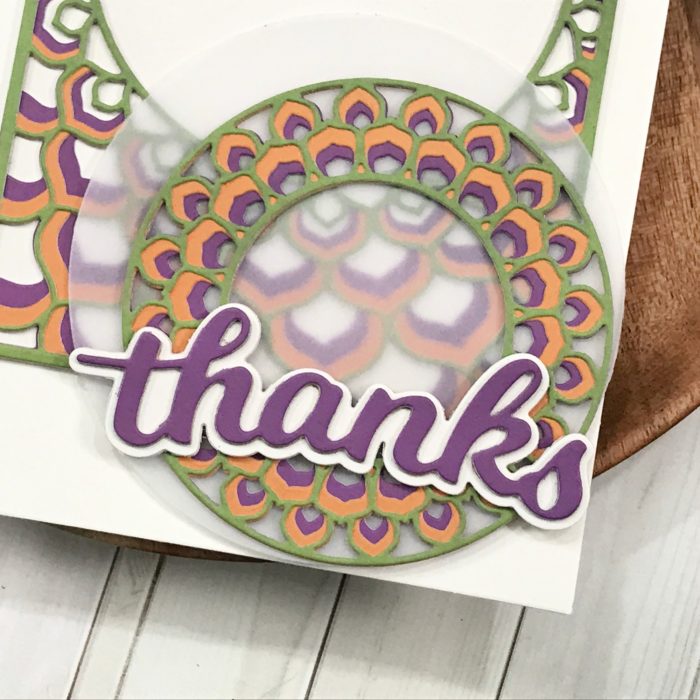
Next we place out sentiment die cut along the edge of the panel showing through the ring die.
This will give us a great geometric shape to our design!
For the final touch we always need to add some bling with some gem embellishments!
As always, I hope you enjoyed today’s project… and if you want to see more details just click on the video below and see how these projects come together step by step!
Make sure you stay tuned for more wonderful projects coming soon! Have a great day and always remember… Be Creative!
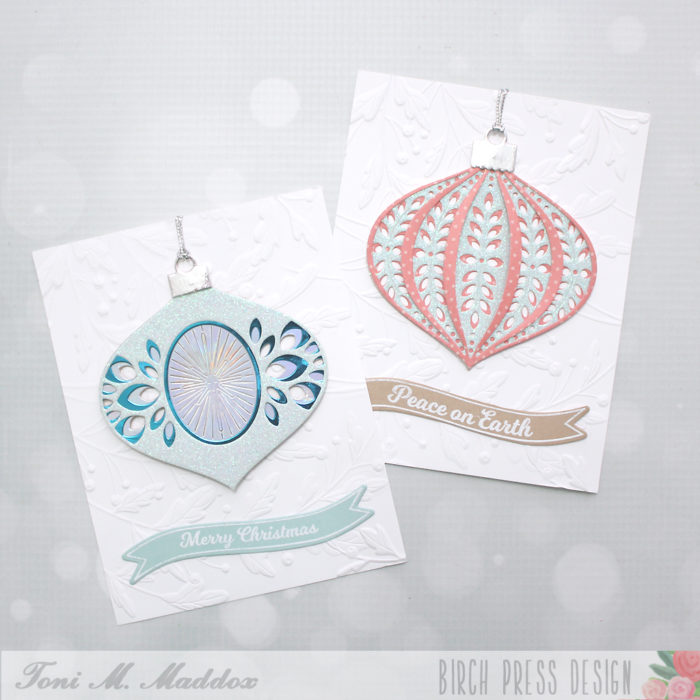
Hello, everyone! Toni here with you today with a couple of cards inspired by ornaments found on my grandma’s Christmas tree back in the day.
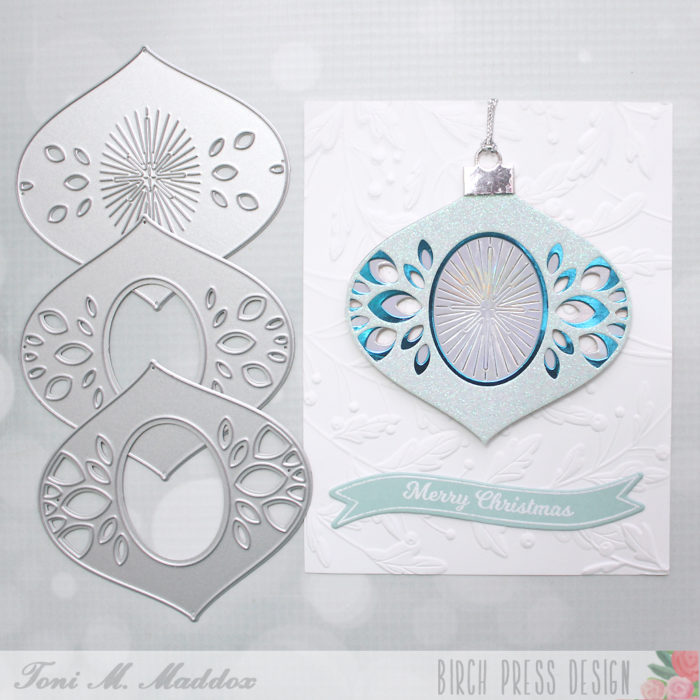
For the first card, I used the Marisol Ornament Layering Dies cut from Memory Box Delicate Pastel Glitter 6×6 paper and Cottage Stripes & Dots 6×6 paper.
I embossed the Christmas Ornament and Labels sentiment in white on kraft and cut it out with the coordinating label die.
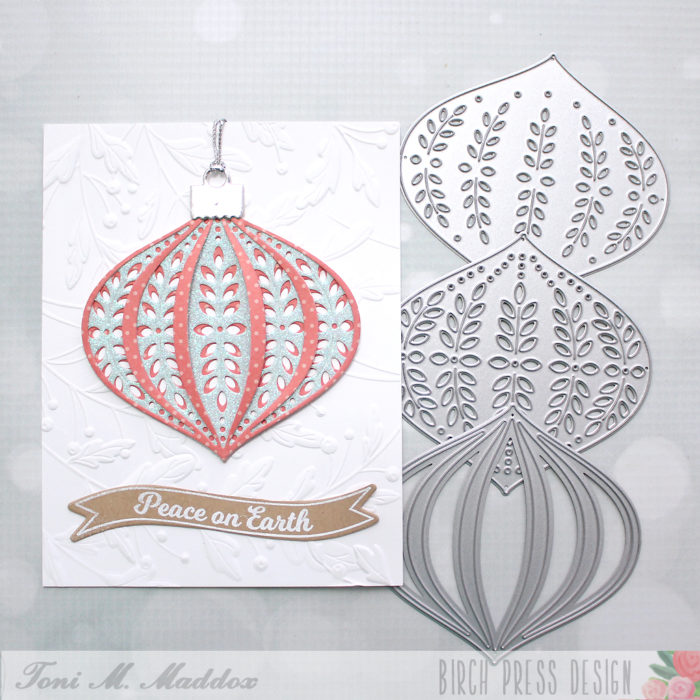
For the second card, I used the Belle Ornament Layering Dies along with Memory Box Delicate Pastel Glitter 6×6 paper and foil paper from my stash (a great substitute would be Memory Box Polished Foil). I particularly love the patterned center of this ornament.
I embossed and cut the Christmas Ornament and Labels sentiment for this card as well, this time using Memory Box Fresh Aqua 6×6 paper.
On both cards I embossed the front with the Memory Box Gracious Leaves 3D embossing folder as the design reminded me of mistletoe. The texture is amazing!
Fun tip: I attached both ornaments to the card front with removable adhesive dots and included a silver hanging loop in case the receipient wants to hang the ornament in years to come.
Thanks for visiting and have a wonderful rest of your day!
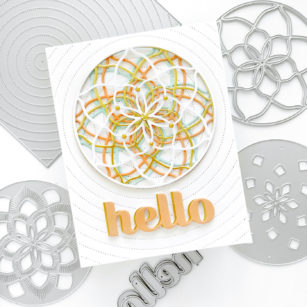
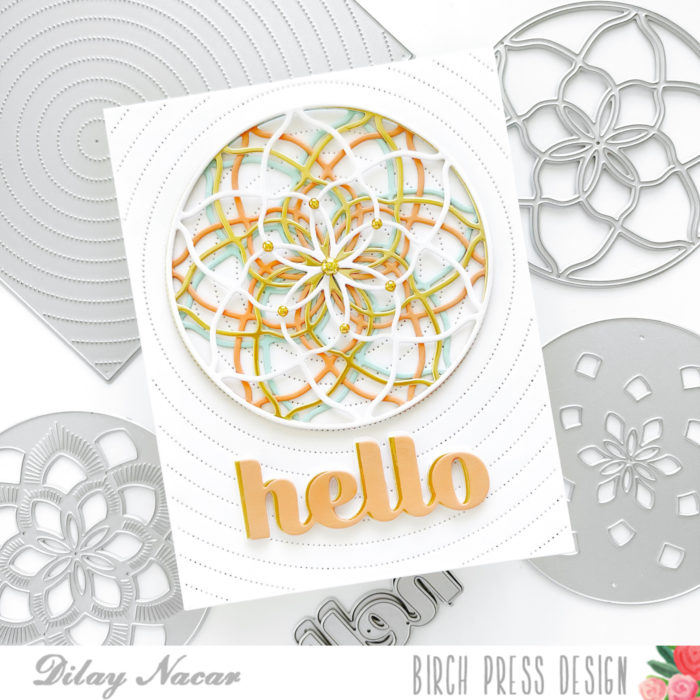
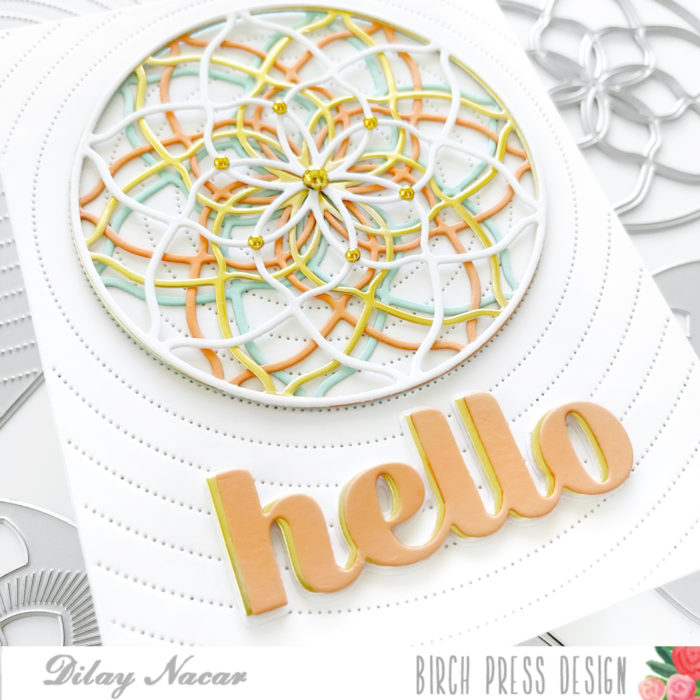
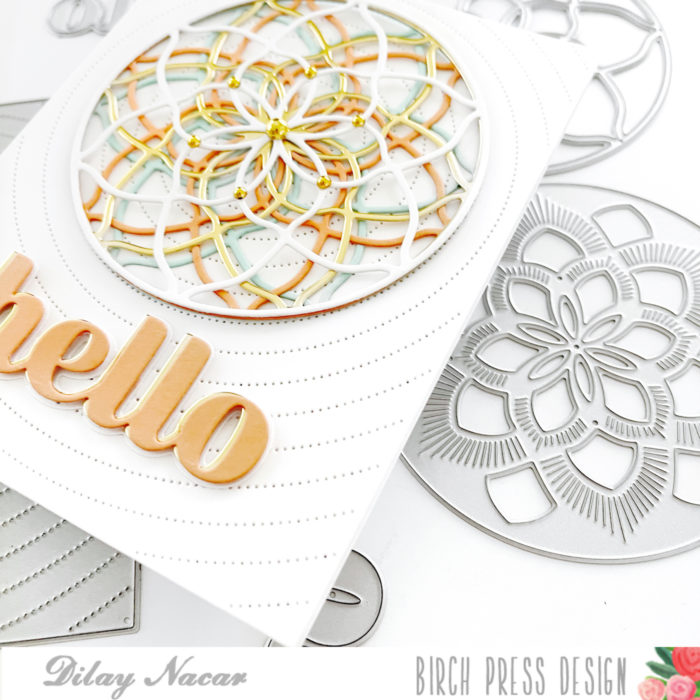
Welcome back, crafters! Dee here sharing a card that combines the Arista and the Pinpoint Radial plate dies for a clean and simple geometric design! Let’s get started!
I began by cutting the Pinpoint Radial plate die with white cardstock, then die cutting Layer A of the Arista layering dies four times – once in white and three in different colored cardstock. I stacked all four together, offsetting each one, and adhered them together for a kaleidoscope effect, then adhered it to the center of the Pinpoint Radial background.
To finish, I cut the Big Hello Sugar Script die once in colored cardstock and once in gold, stacked and adhered them together (offset), and adhered it to the background. For a little extra shine, I added gold embellishments to the center of the Arista circle!
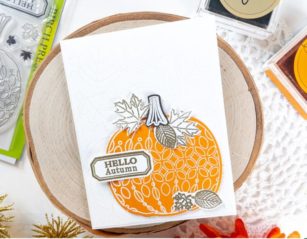
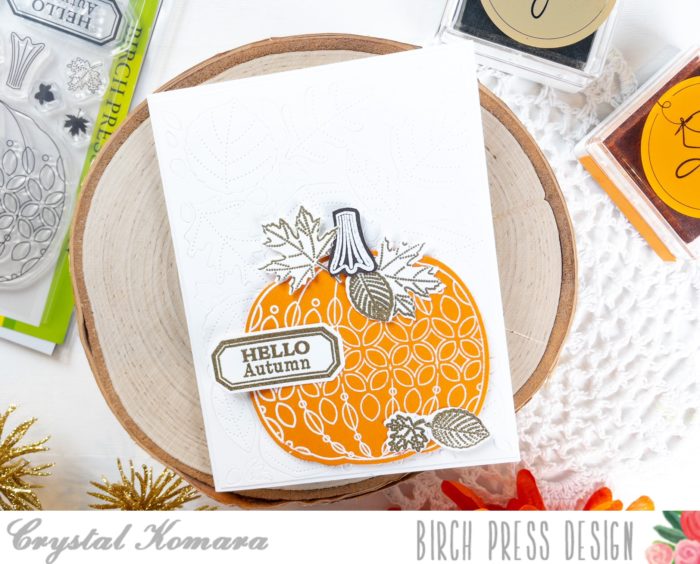
Hello friends, it’s almost the last day of September and we are officially in the midst of PSL season! That’s Pumpkin Spice Latte for anyone unfamiliar with the popular influencer inspired lingo. This is Design Team member Crystal Komara here today inspiring you to embrace fall (while dreading winter) and I’m sharing a simple, yet elegant card made using my favorite Birch Press Design stamp set called Pumpkin Lacework.
Card details:
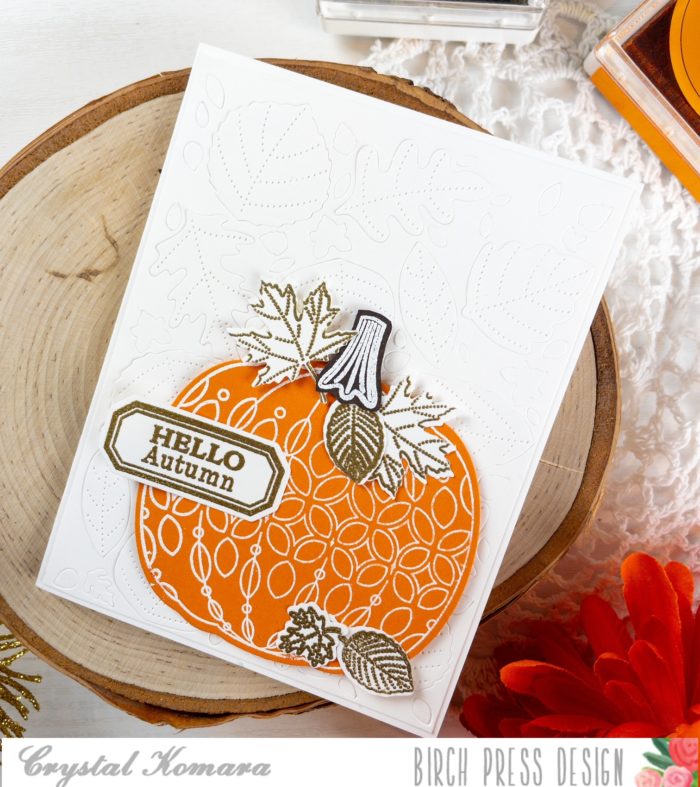
The base of this A2 sized card is made from 80 lb. Neenah Solar White smooth cardstock. Using Layer B of the Autumn Breeze Layering Plates, I cut the background from white cardstock. I adhered this leafy imprinted background directly to the card base.
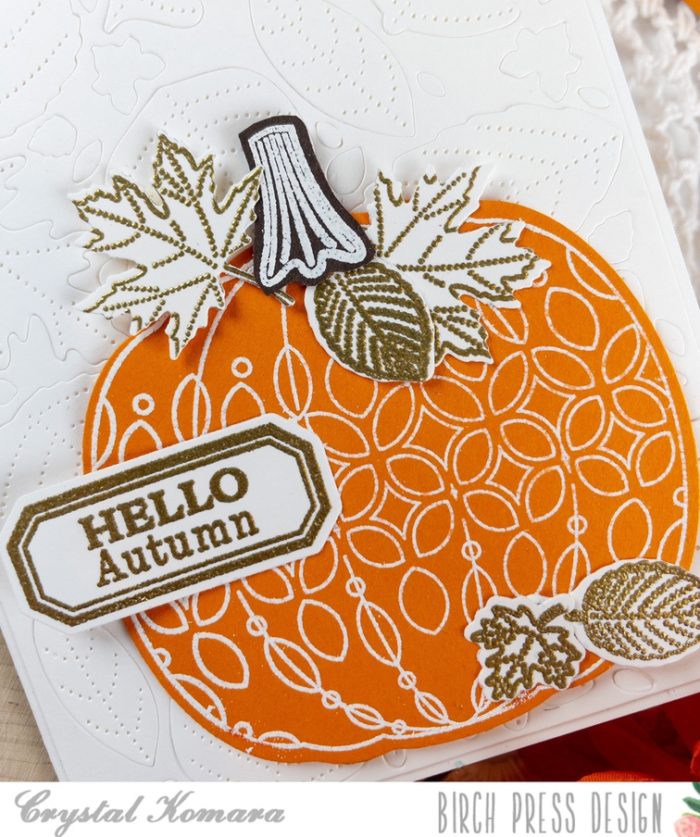
Using the Pumpkin Lacework stamp set, I stamped the large pumpkin in Versamark ink on orange cardstock. I heat embossed the pumpkin with white embossing powder. I used the coordinating Pumpkin Lacework die to cut the pumpkin out. I adhered the pumpkin to the lower right side of the card using 3M foam adhesive. I stamped the pumpkin stem in Versamark ink on brown cardstock and heat embossed it with white embossing powder. I also stamped a variety of the leaves in Versamark ink on white cardstock and heat embossed the leaves with gold embossing powder. I used the Pumpkin Lacework dies to cut all the small images out before adhering them to the pumpkin using a Tombow adhesive runner.
I stamped the “hello autumn” sentiment from the same Pumpkin Lacework stamp set in Versamark ink on white cardstock. I heat embossed the sentiment with gold embossing powder and used the coordinating die to cut the sentiment out. I adhered the sentiment to the left side of the pumpkin using 3M foam adhesive.
I hope today’s card will inspire YOU to create some beautiful fall things! Thanks for visiting and have a wonderfully creative day.
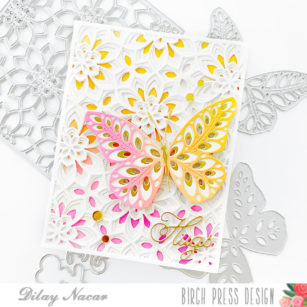
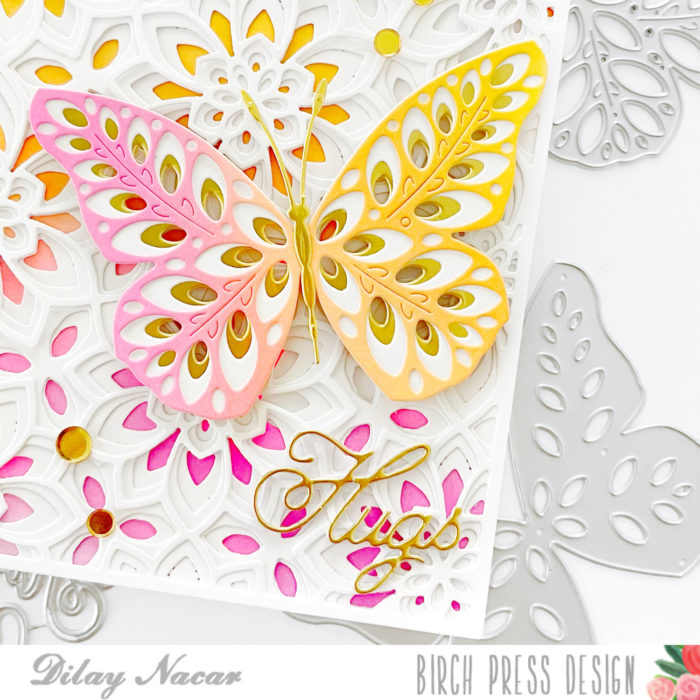
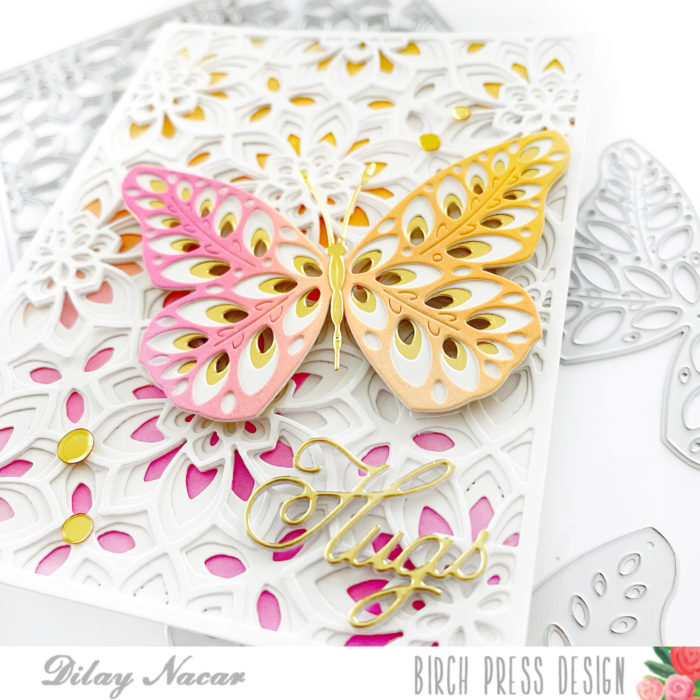
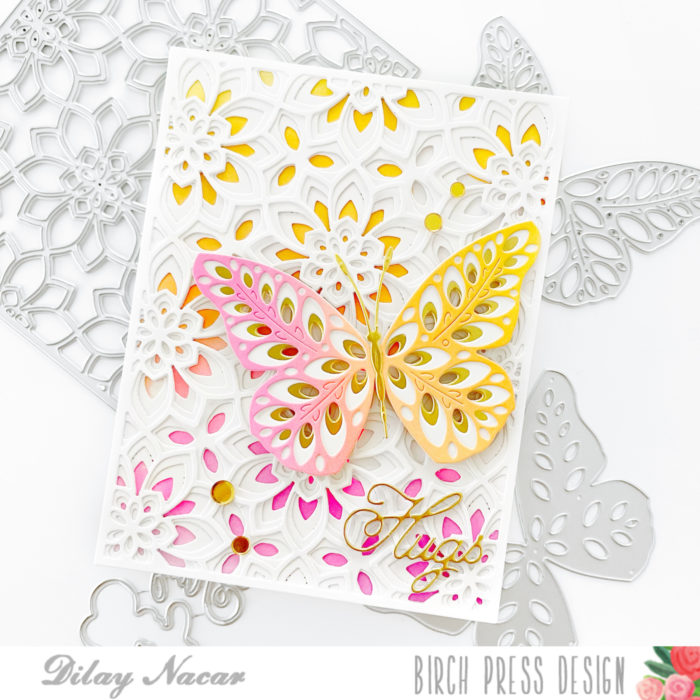
Hi friends and welcome back! Dee here today sharing a card featuring the Viola and Eloquent layered dies that I combined with a simple ink blending combo for pops of color!
To begin, I first cut the Viola Plate dies (layers a, b, and c) in white, then stacked and adhered them together. Next, I watered colored two A2-panels in yellow, To begin, I cut the Viola dies (layers a, b, and c) in white, then stacked and adhered them together.
Next, I watered-colored two A2-panels in yellow, orange, and pink, adhering one panel behind the Viola layers and die cutting the other panel with layer a of the Eloquent butterfly set. I then die cut layers b and c of the Eloquent set in gold and white, then adhered the three layers together.
I then die cut layer b and c of the Eloquent set in gold and white then adhered the three layers together. To finish the butterfly, I die cut the body of the butterfly from the Butterfly Basics set in gold and adhered it to the center.
Once the layers were complete, I adhered the butterfly to the front with foam adhesive. To finish, I die cut the sentiment from the Handwritten Hugs in gold, added gold embellishments, and mounted the panel onto an A2-sized card base.
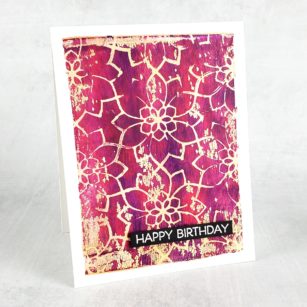
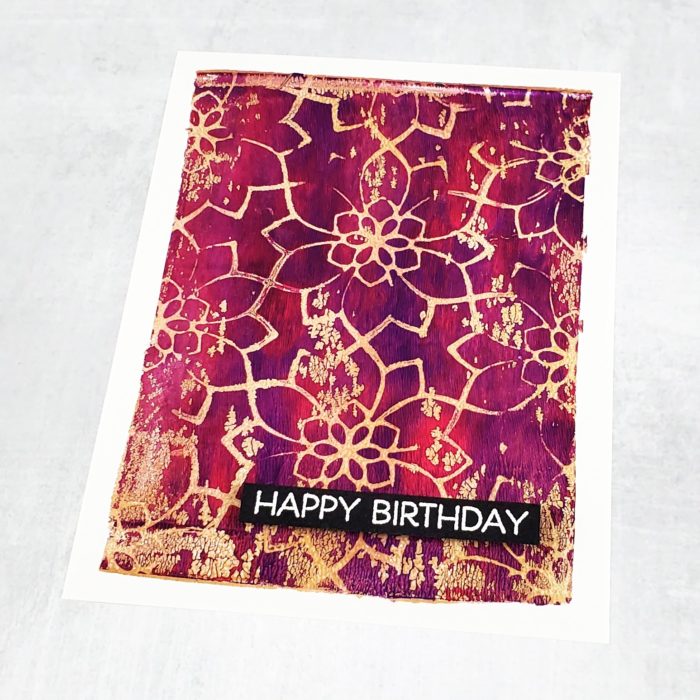
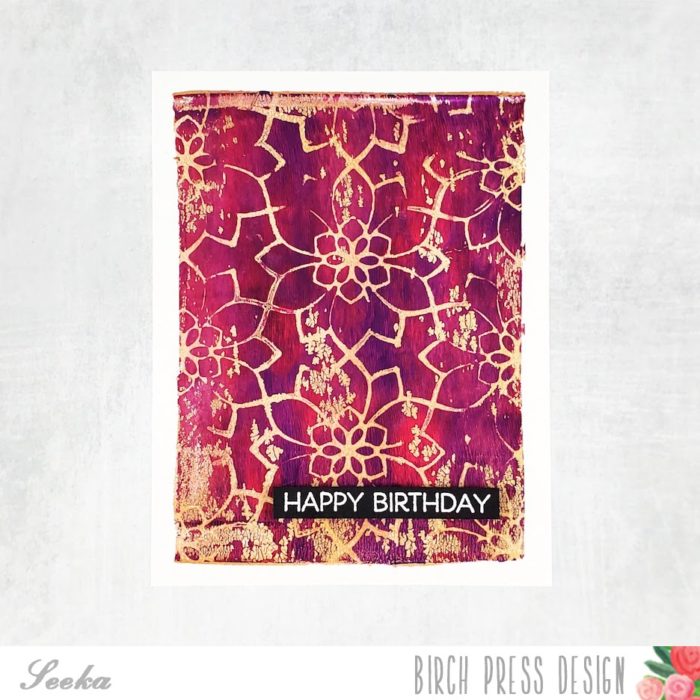
Hello and welcome! Seeka here and today I’m sharing a card featuring the Viola Plate Layer A die and a gel press technique. This is a very different style for me and I’m having a lot of fun with it!
I started by using the cover die to cut a piece of heavy white cardstock. This piece will be used to create the pattern on the finished background but won’t itself be used on the final card.
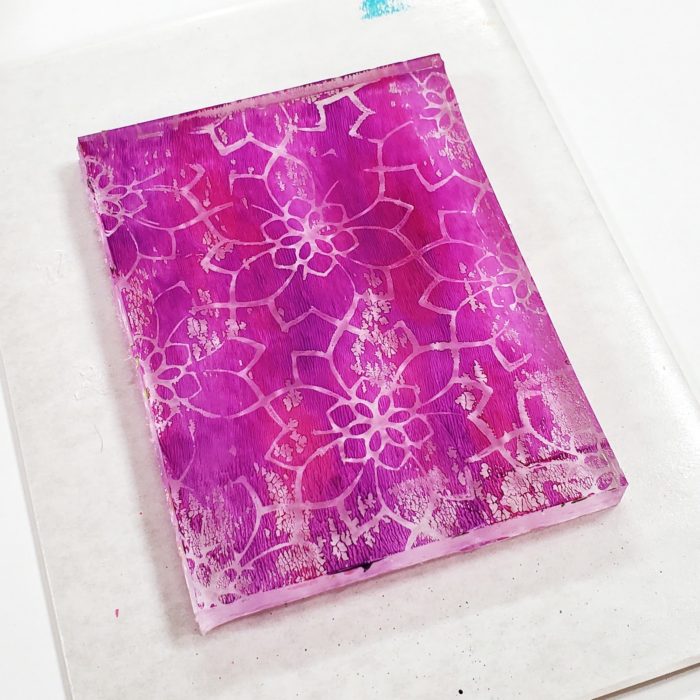
Next, I put a few small blobs of two acrylic paint colors onto a gel press plate. I used two jewel-toned colors for this card: Dina Wakley’s Fuchsia and Blackberry Acrylic Paint.
Next, I used a brayer to spread and blend the two colors. I purposefully did not completely blend the colors together because I wanted to maintain a mottled color variation on the final piece.
Immediately after spreading the paint, I placed the die cut panel over the plate and used a craft pick to gently tap over it to press the piece into the paint. It’s important to make sure that the die cut makes contact with the paint to ensure that, when you pull the die cut away, the paint it touches is lifted away from the gel press plate. After I’d pressed over multiple areas of the die cut, I lifted it away.
During this process, some of the paint also beads up as if the gel press plate is resisting the paint. This is what creates the slightly distressed look on the finished panel. I’ve found that this happens inconsistently and that sometimes the color and the brand of paint can make a difference.
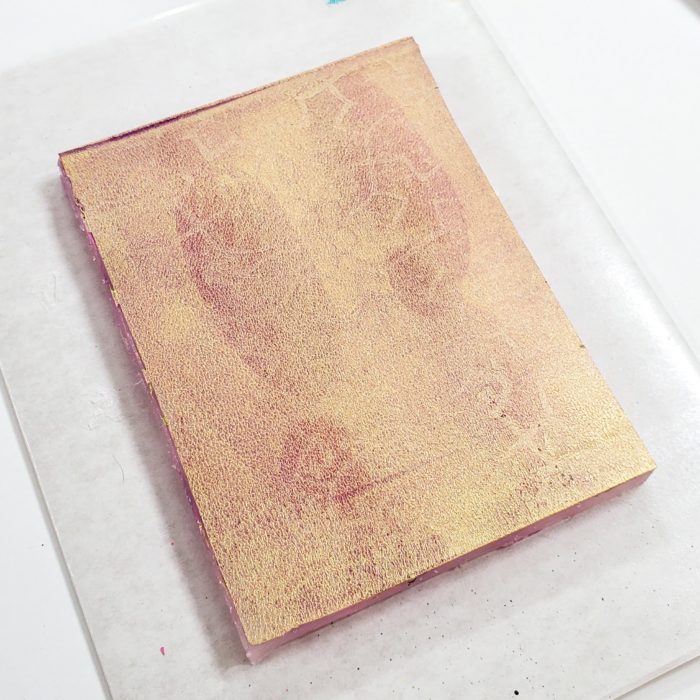
I let this layer dry for several minutes until when I gently touched it, no paint transferred to my finger. Then I put a few dabs of an iridescent gold acrylic paint (I used Golden Iridescent Bright Gold Fine) onto the plate and used a brayer to spread it into a very thin layer.
Immediately, while the gold layer was wet, I placed a piece of Neenah Solar White 80# Classic Crest cardstock over the gel press plate and used the palms of my hands to press it into the plate. Then I peeled it away which lifted the two layers of paint with it.
While the panel was drying, I heat embossed a sentiment from the Happy Lingo stamp set onto black cardstock.
To assemble the card, I trimmed the background to 4.25″ x 5.5″ and then used foam tape to adhere the sentiment. I finished by adhering the card front to a card base.