
Hello Everyone and Welcome Back!
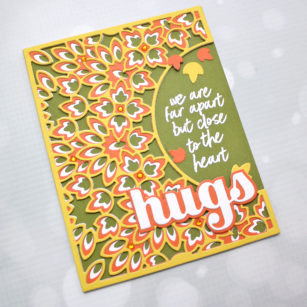
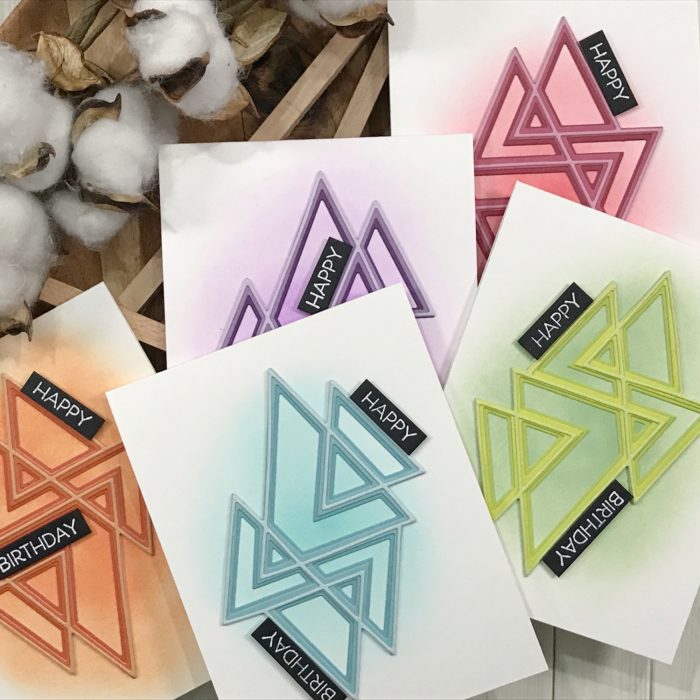
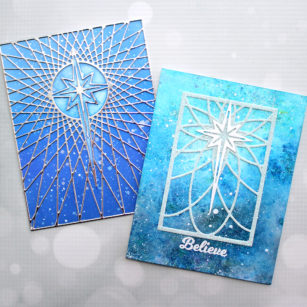
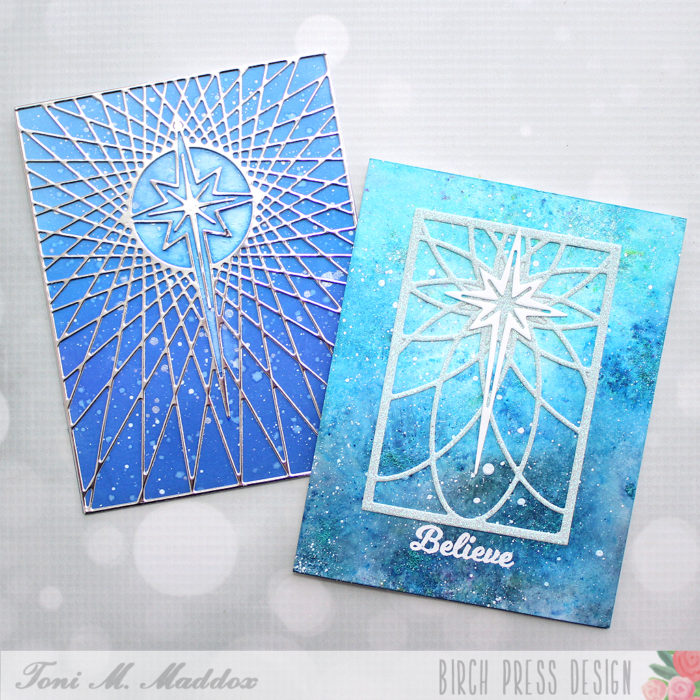
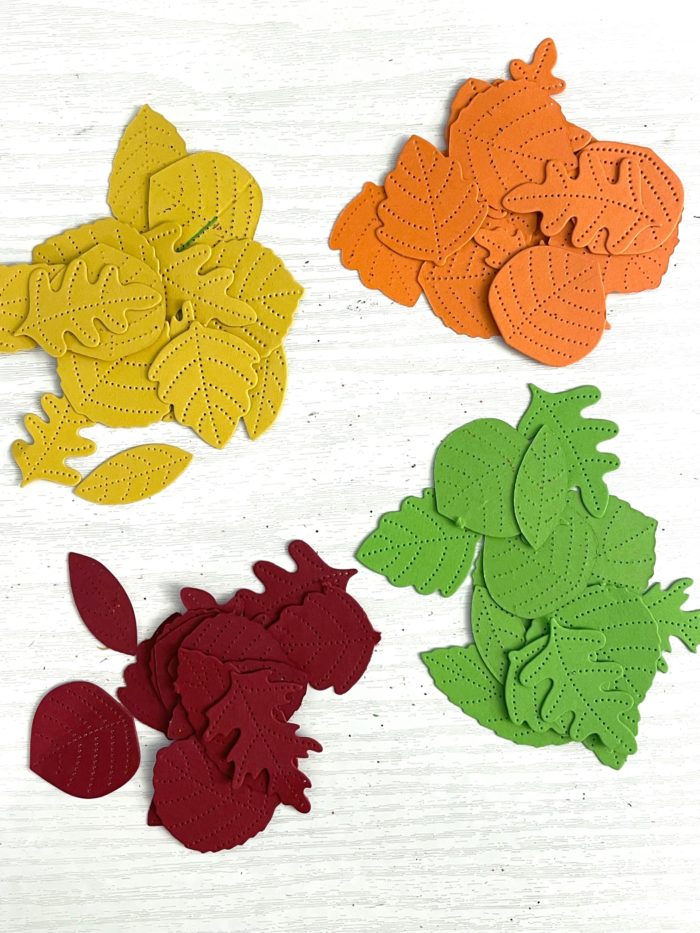
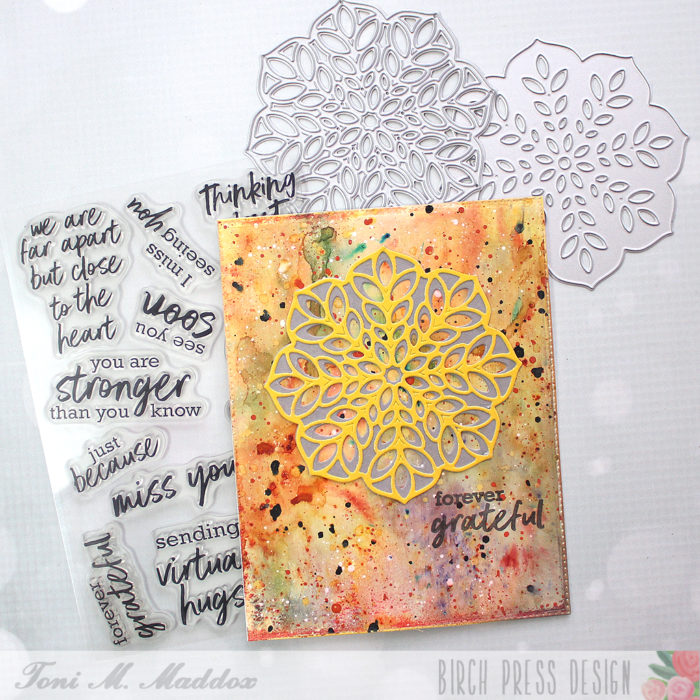
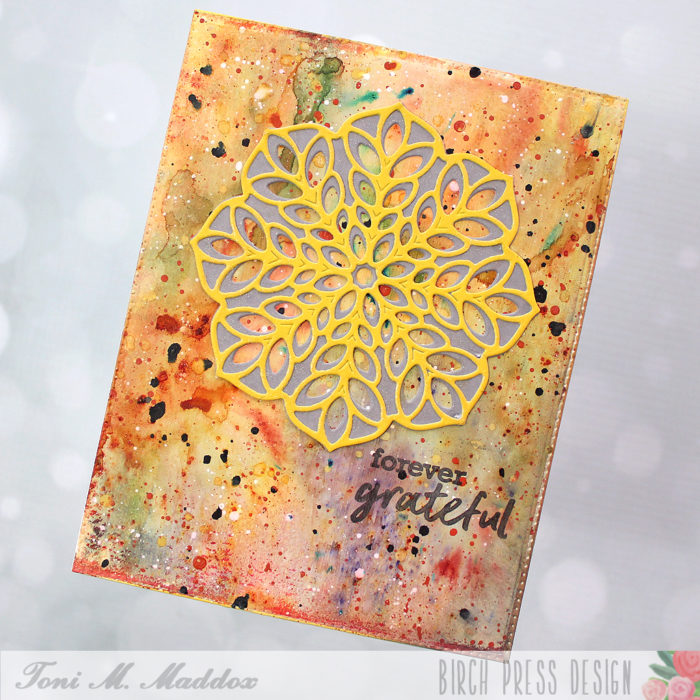
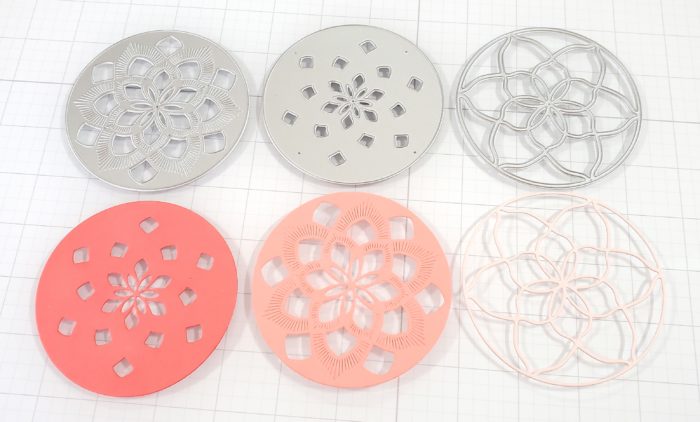
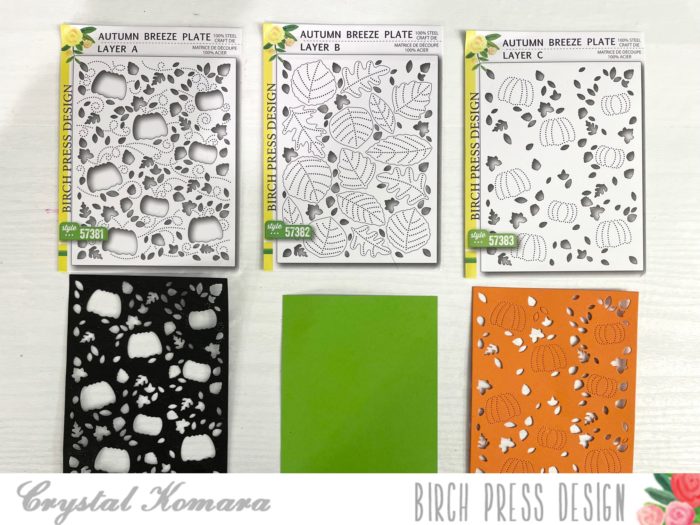
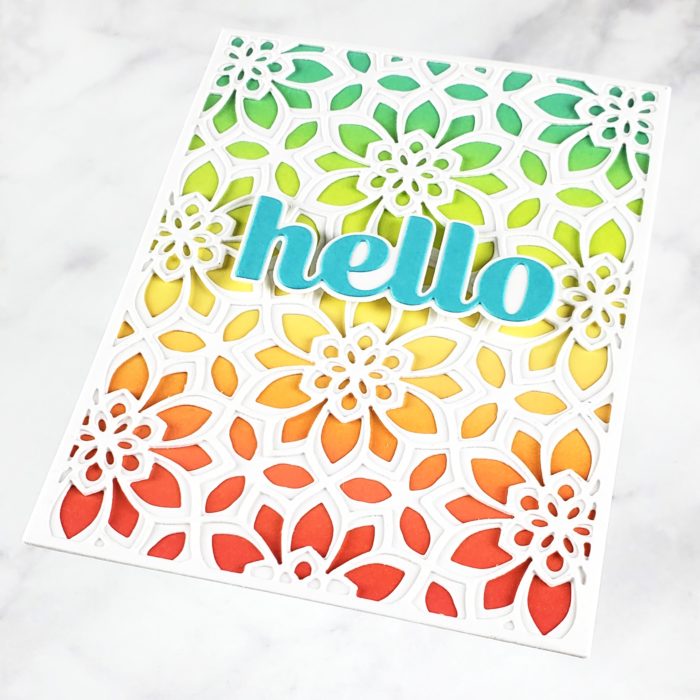
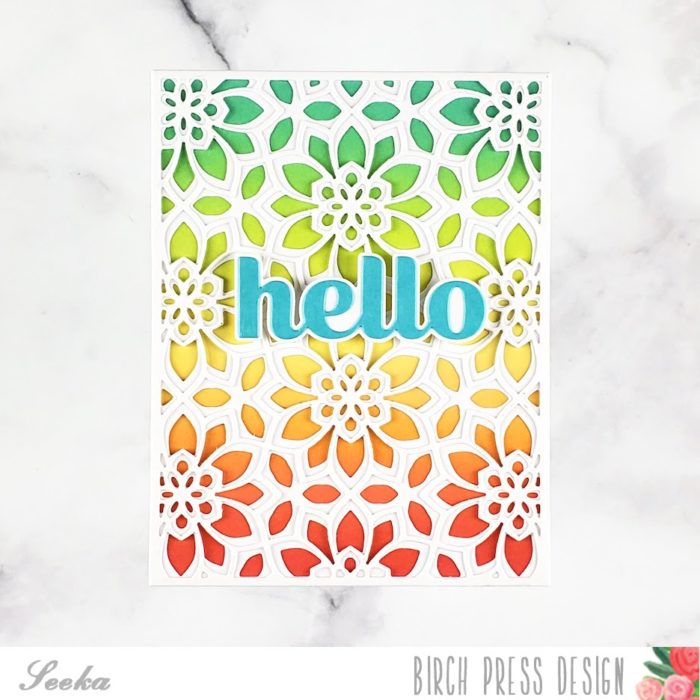
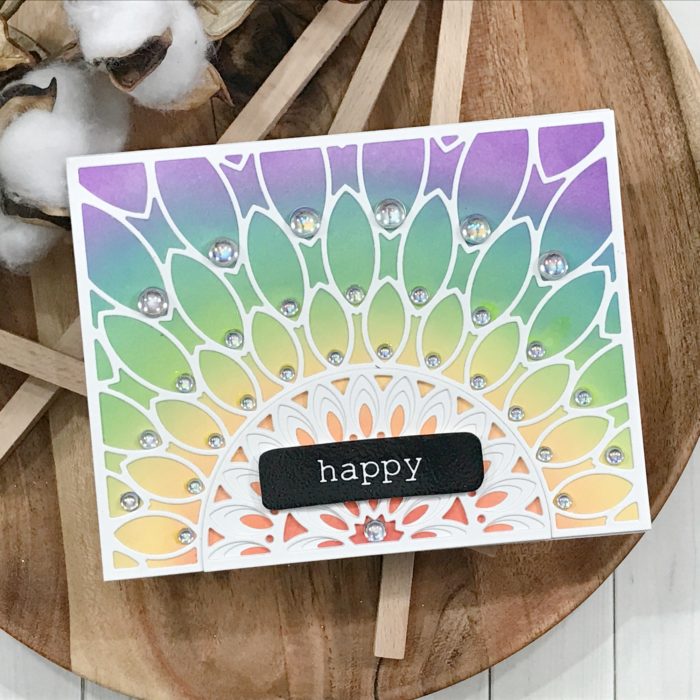
Today we are going to create a card using different layers from the Lumina Layering Die Set! Since the Lumina Layering Die plate had two parts to it we can choose which section we add multiple layers to add dimension in one area! Please we are going to add a rainbow in the background! Let’s get started!
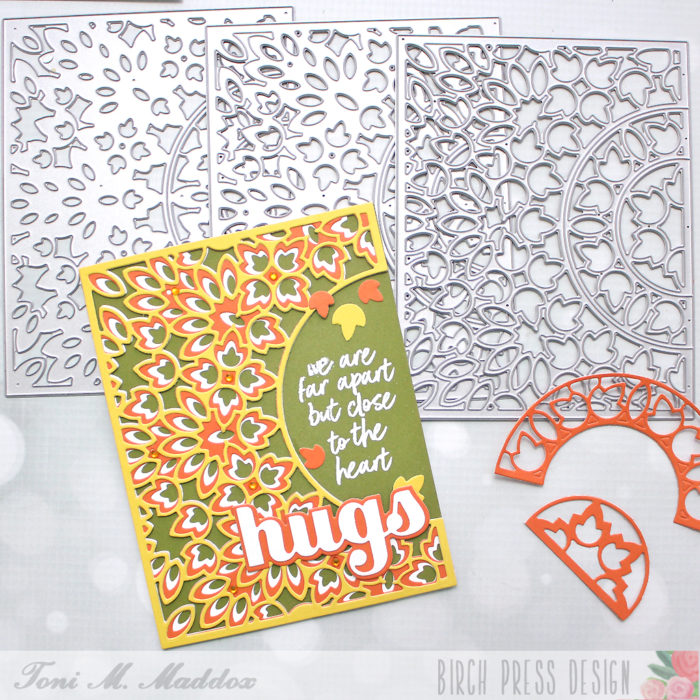
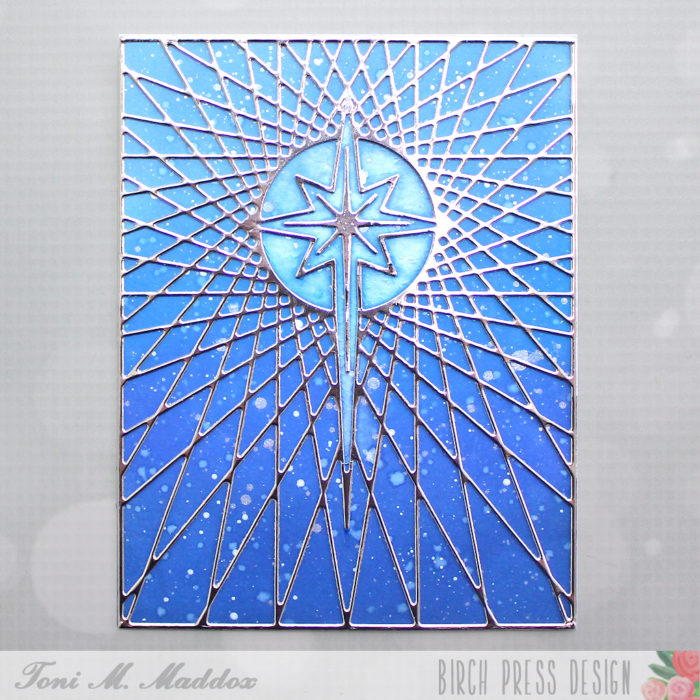
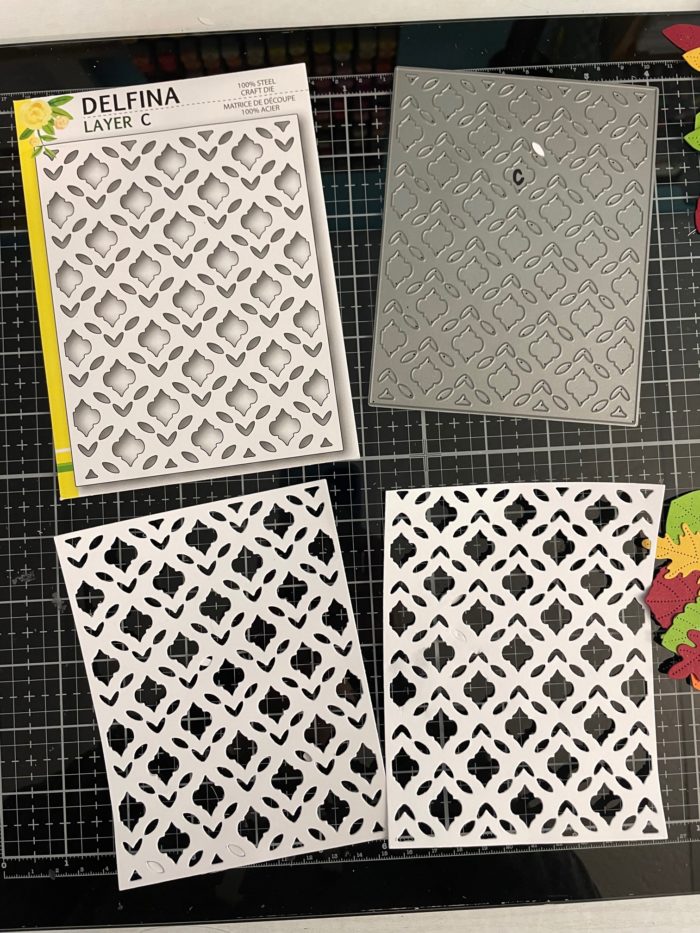
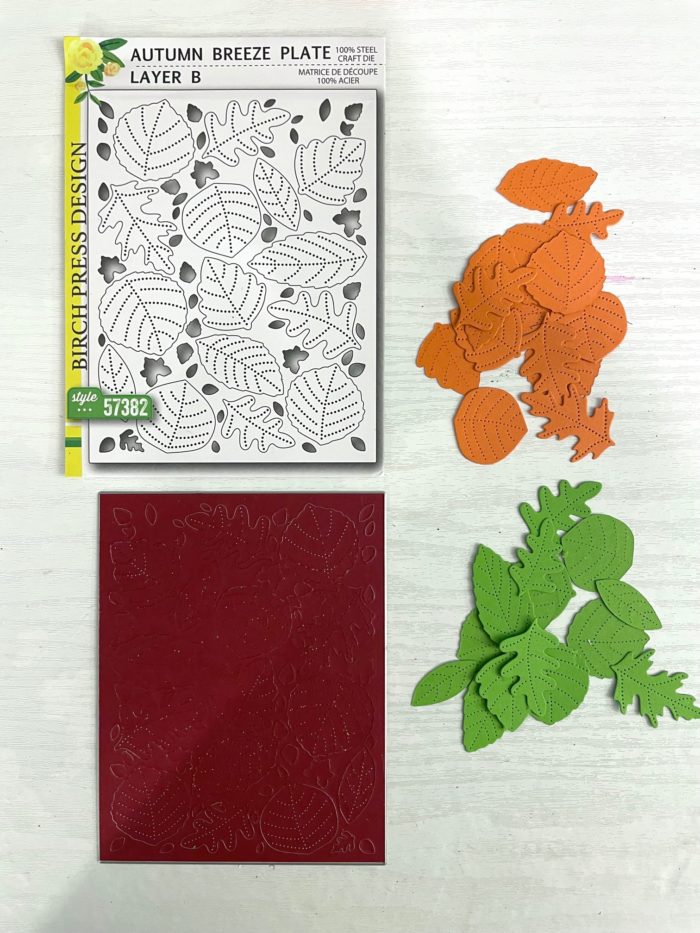
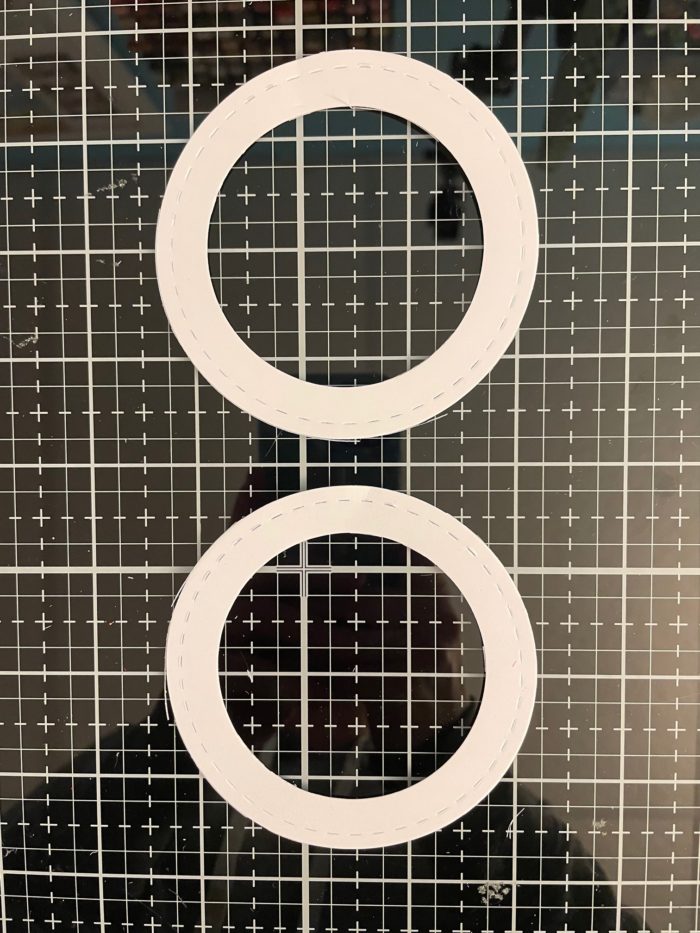
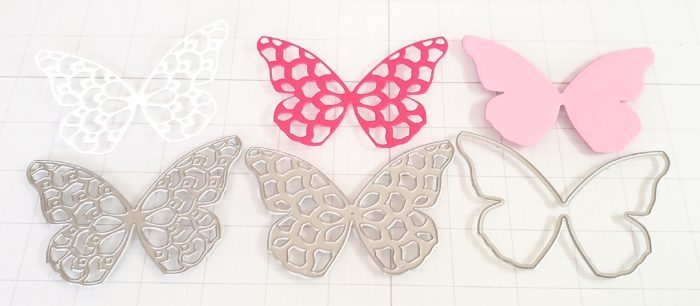
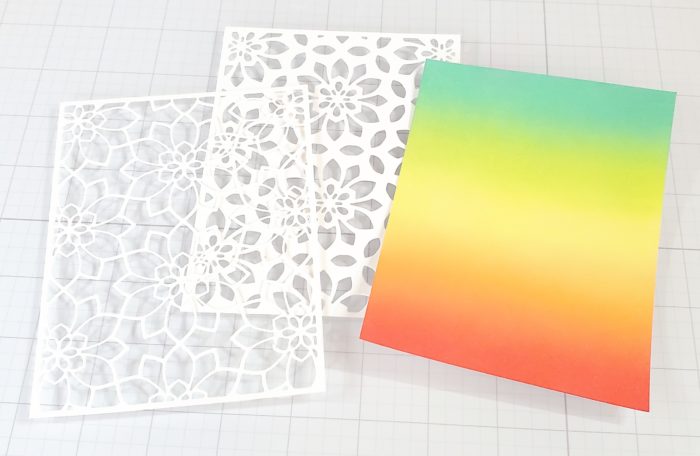
First let’s get our die cutting done and only layer the cetner cut out of the panel! Set this aside to dry and grab a piece of your ink blending card stock!
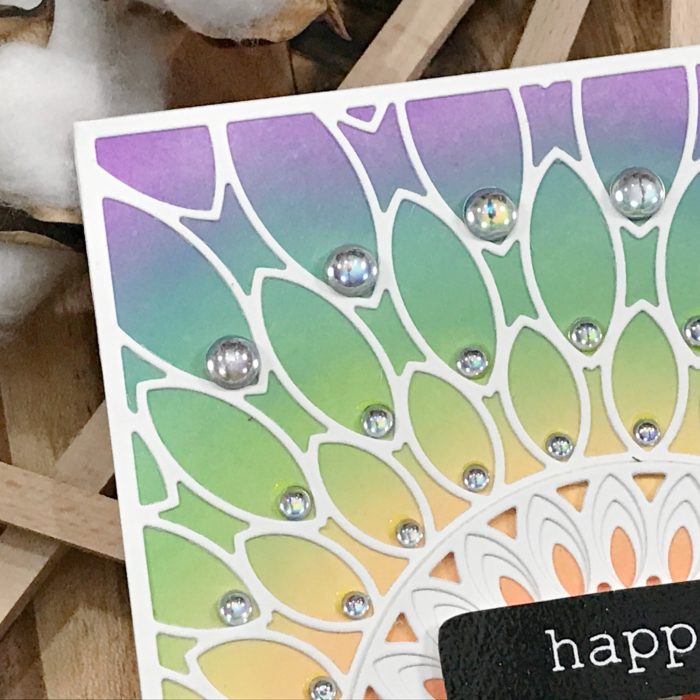
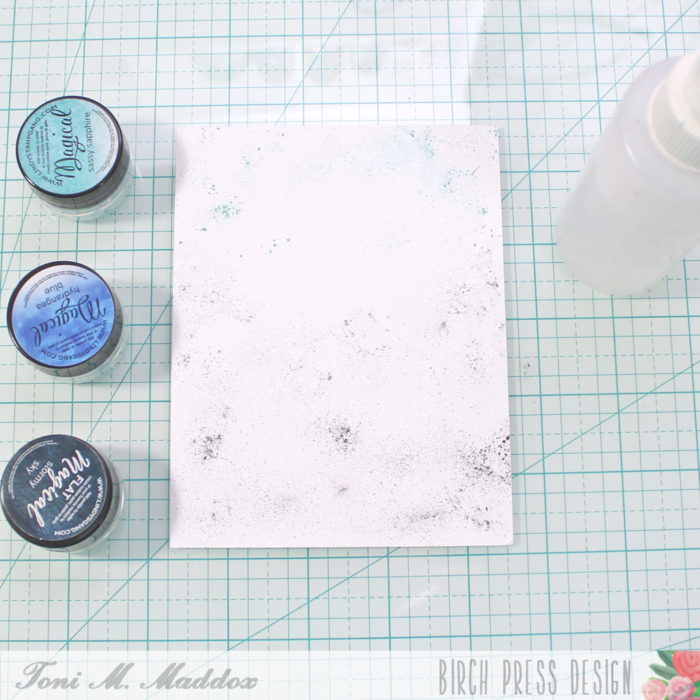
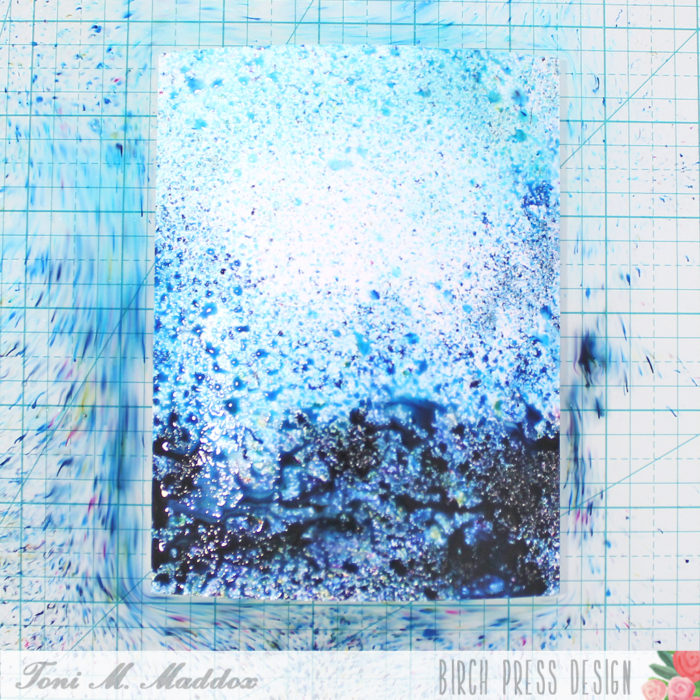
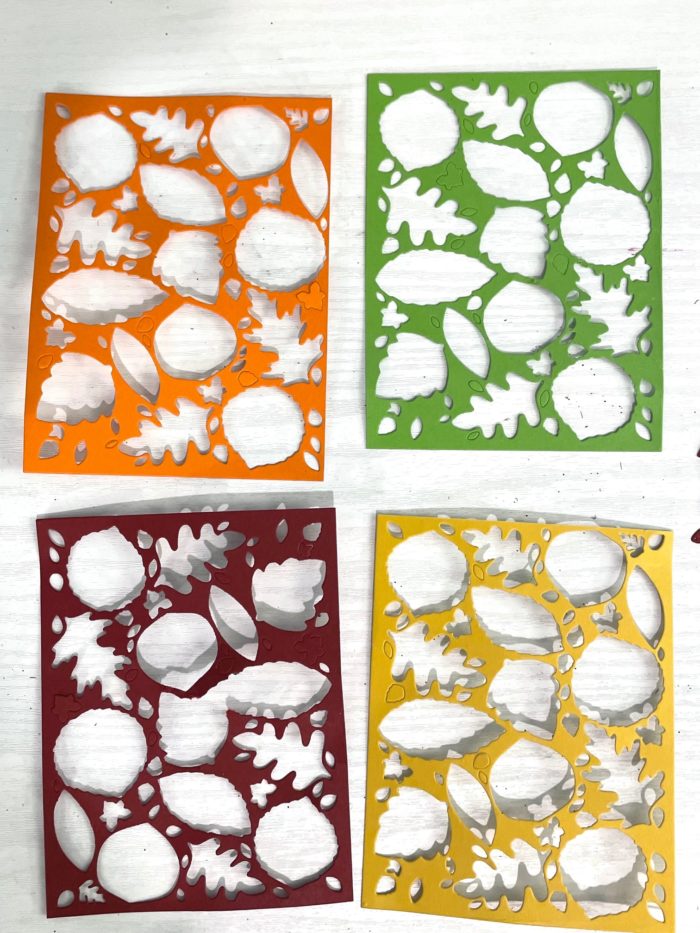
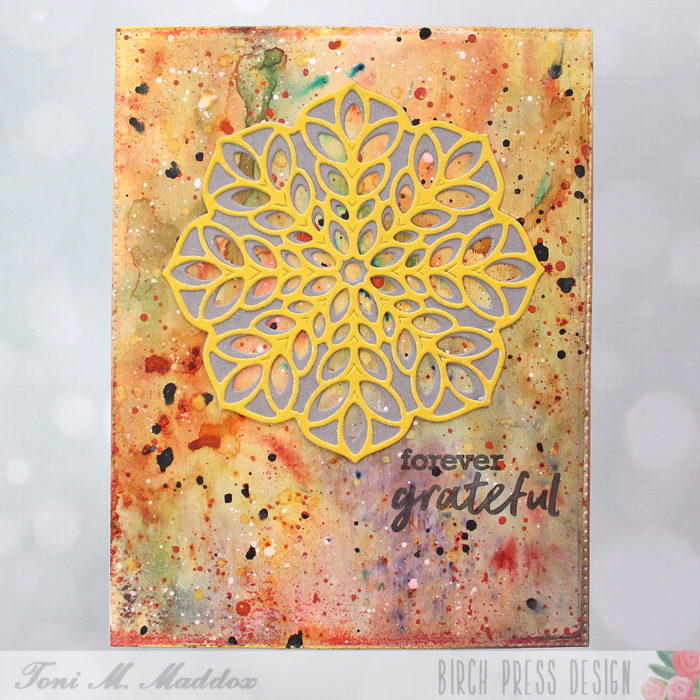
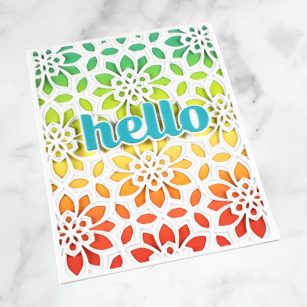
On this panel we will create our rainbow using our ink blending brushes and our favorite inks. I chose my oxides and Bristol card stock!
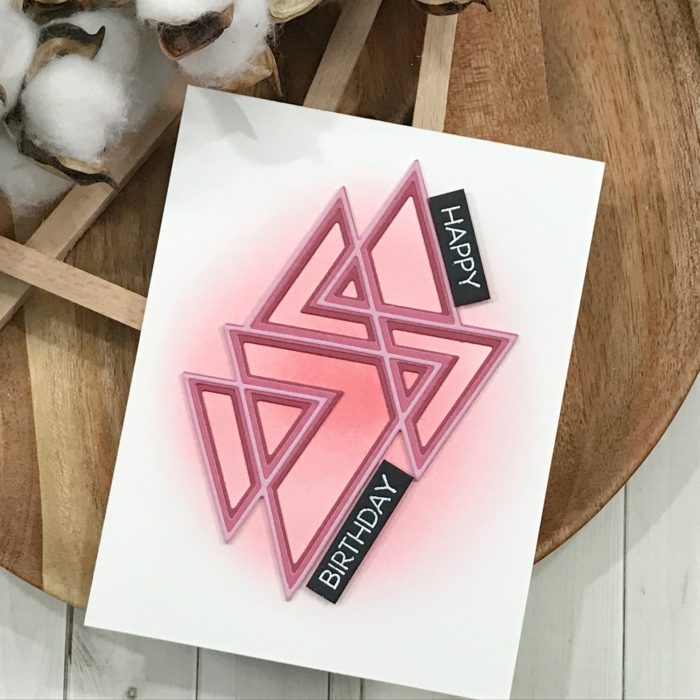
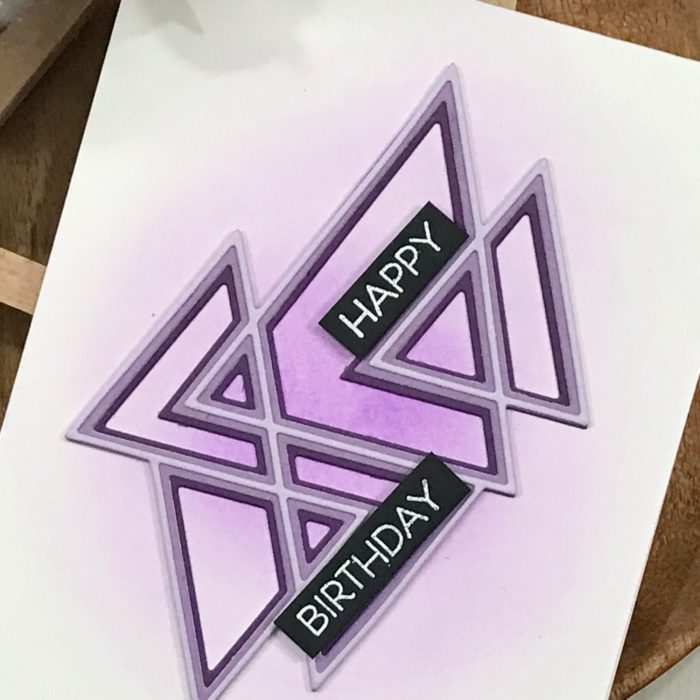
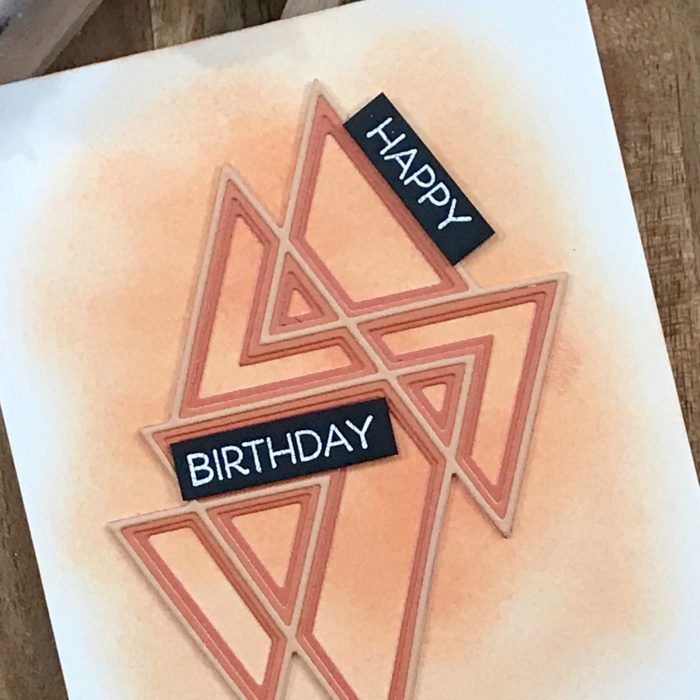
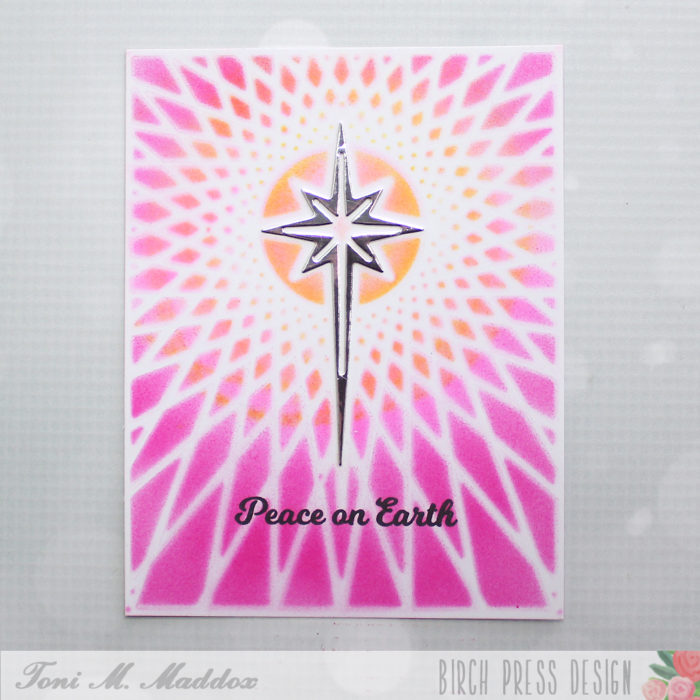
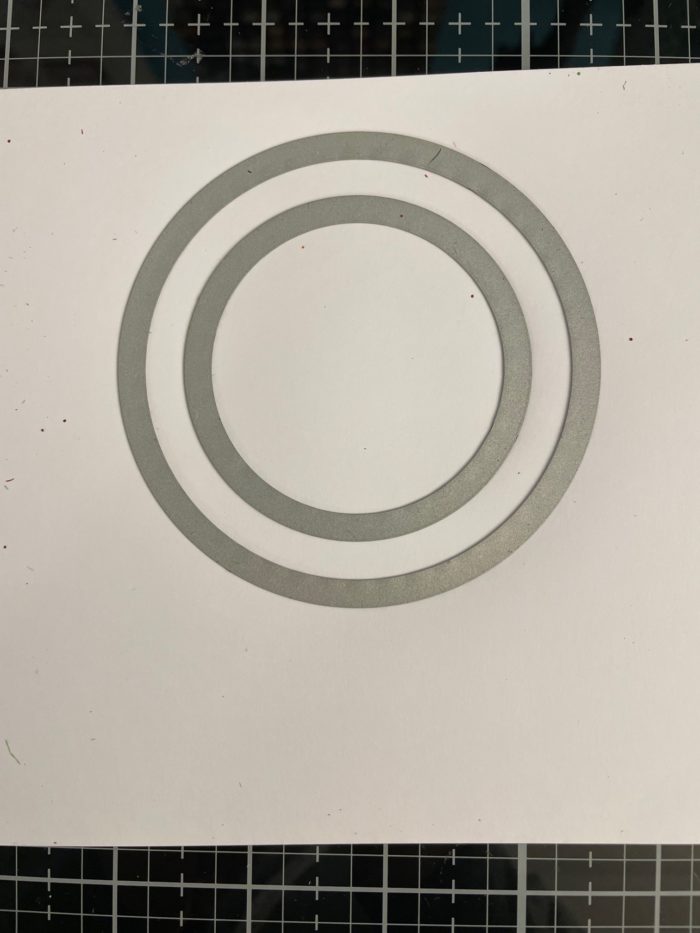
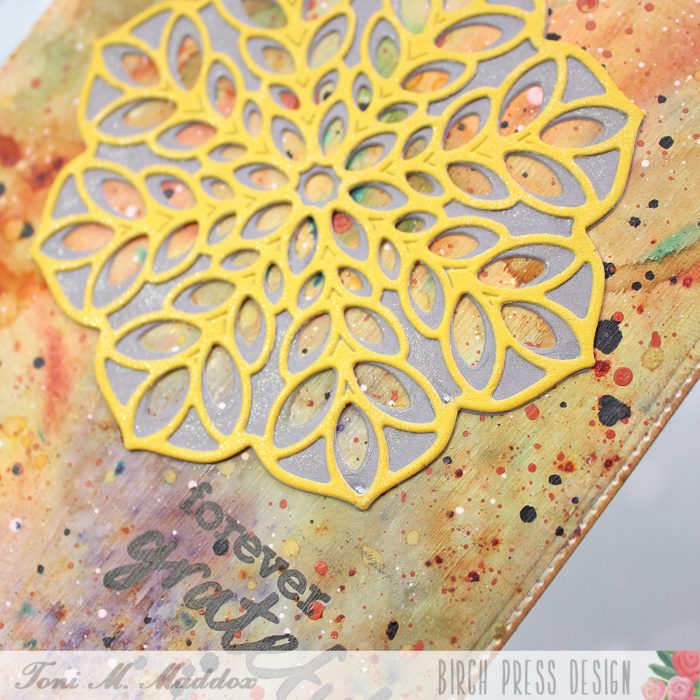
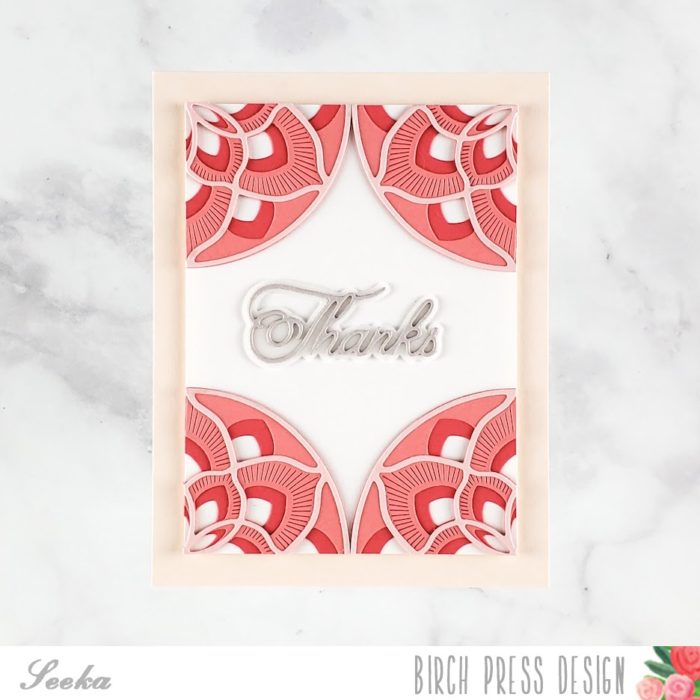
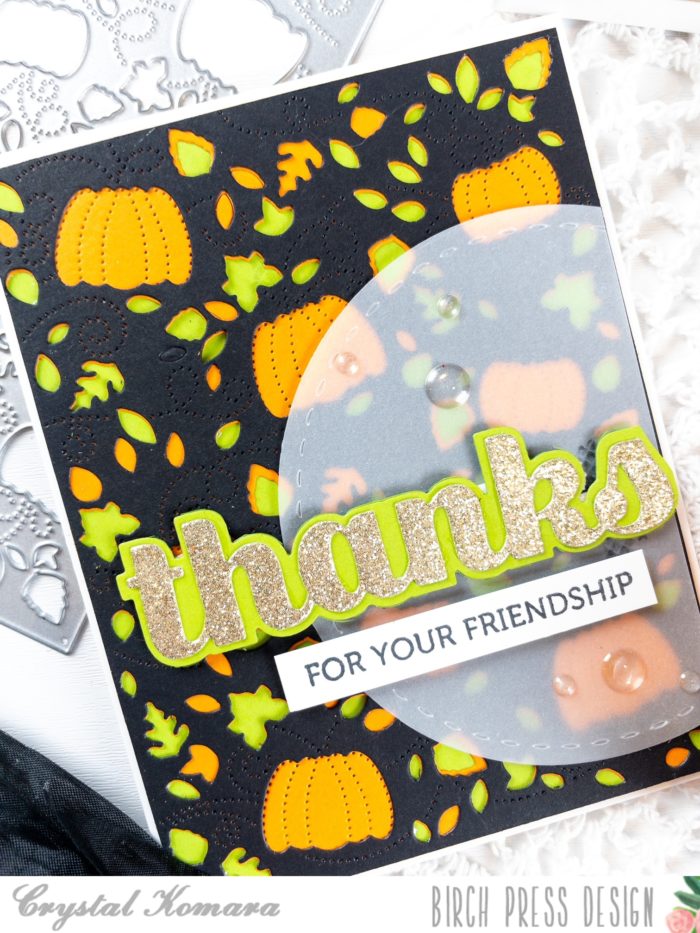
I cut my panel down to 4 1/4 inches x 5 1/2 inches so my die cut would fit properly. I am only using the ‘A’ layer of our die set for the background and setting the help circle onto its place on my card panel.
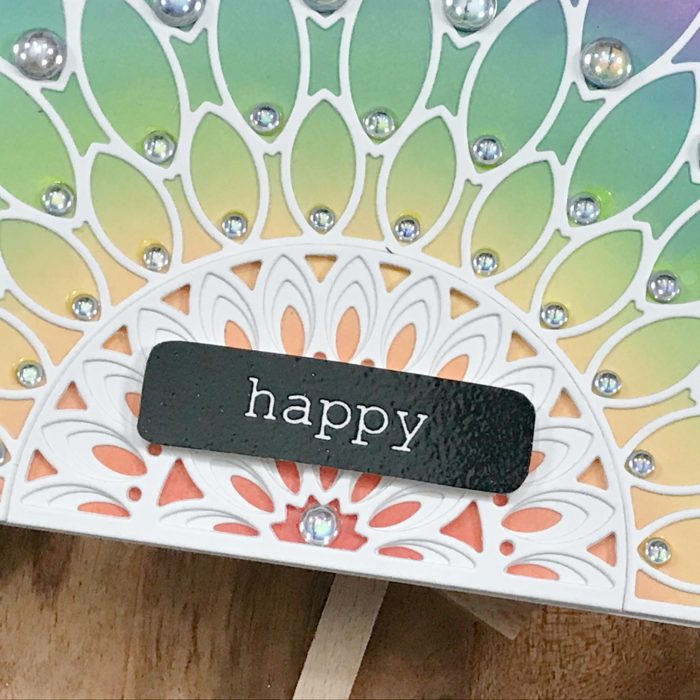
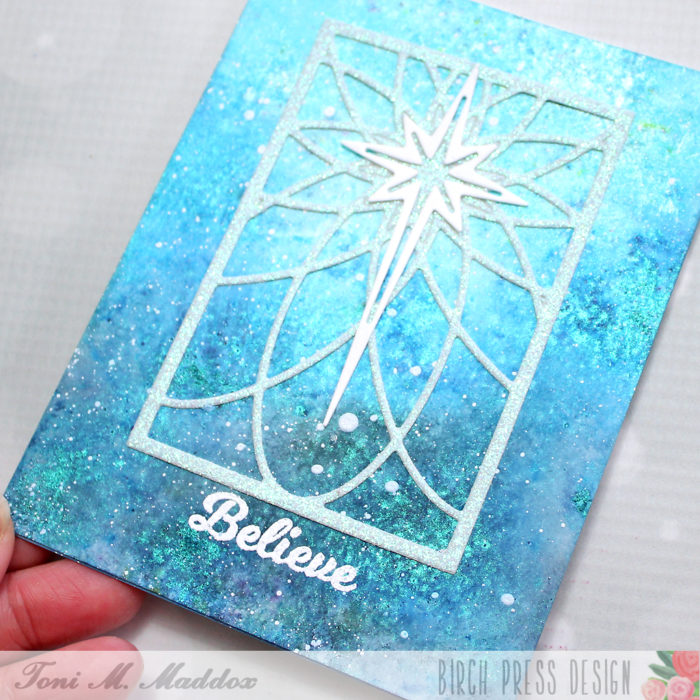
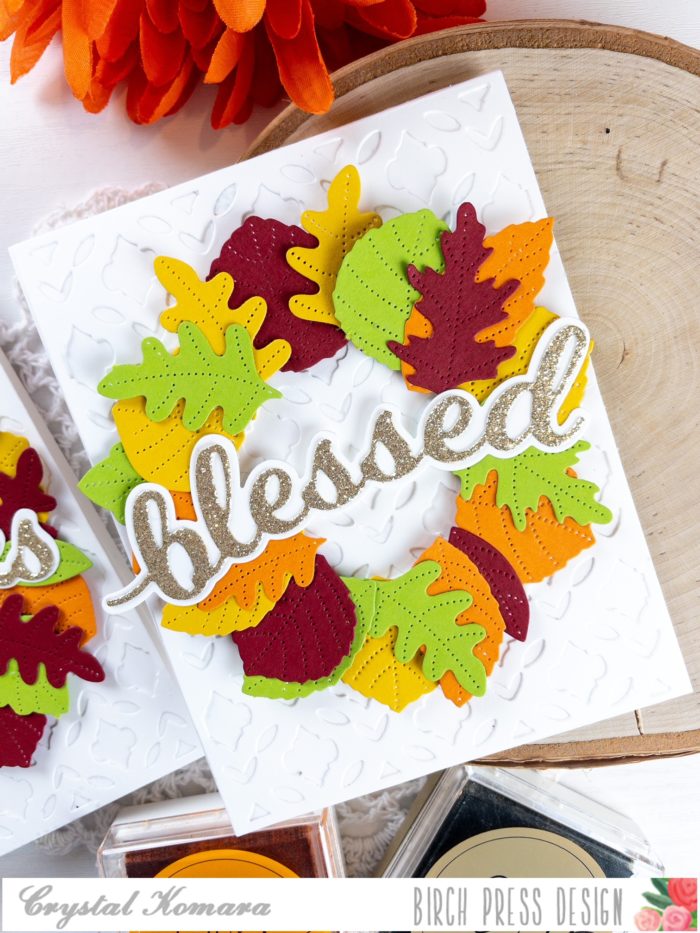
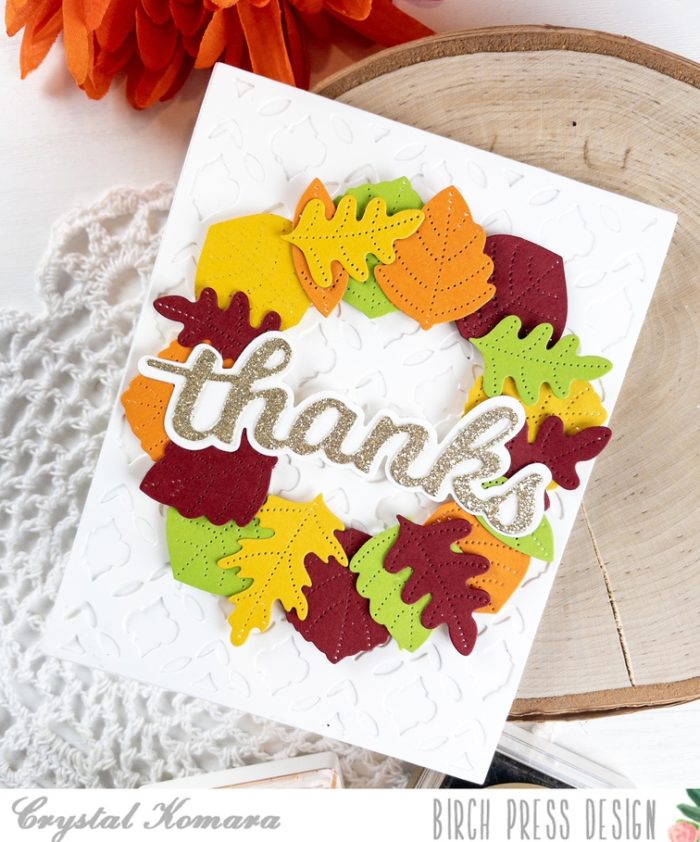
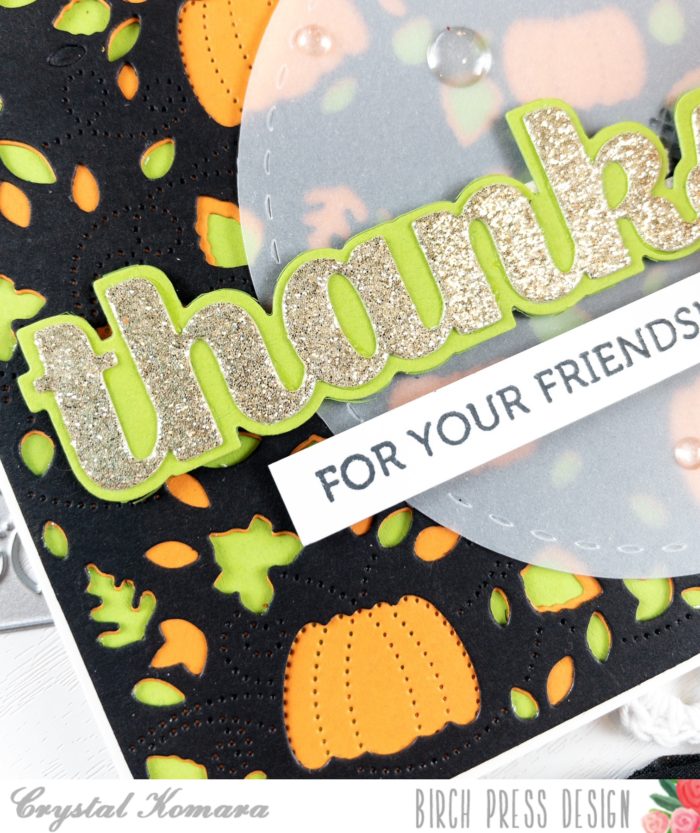
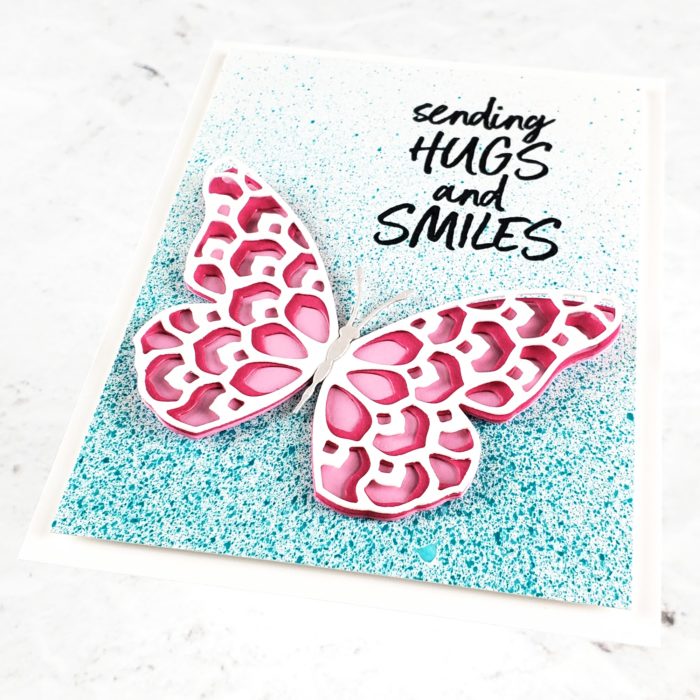
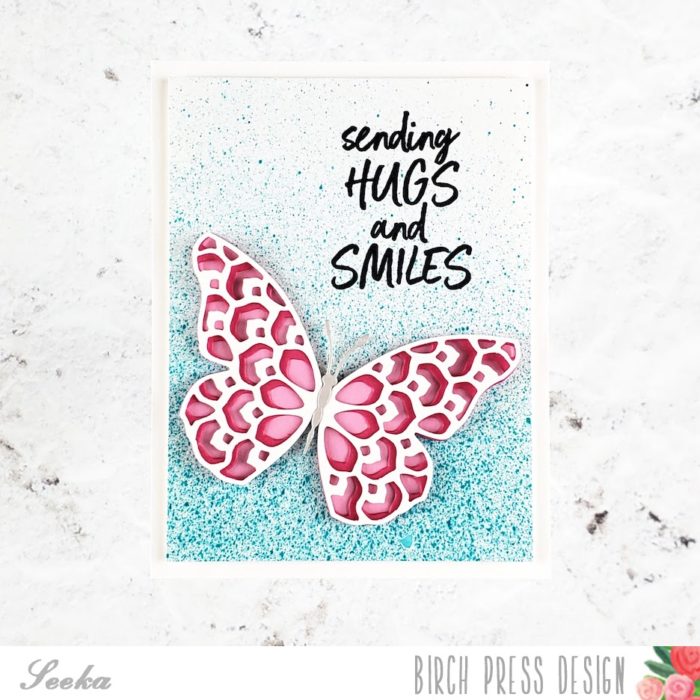
I used a sentiment from the Big and Little Reverse Words Stamp set and placed it using double sided foam squares.
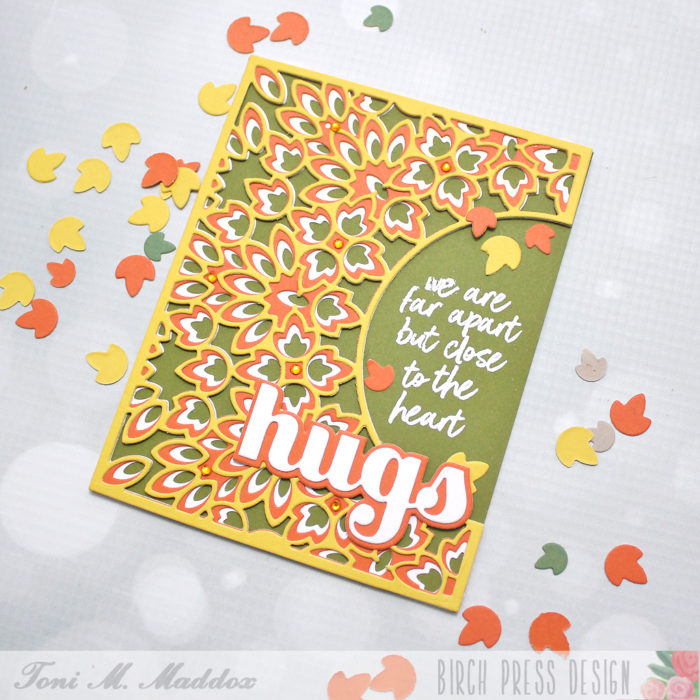
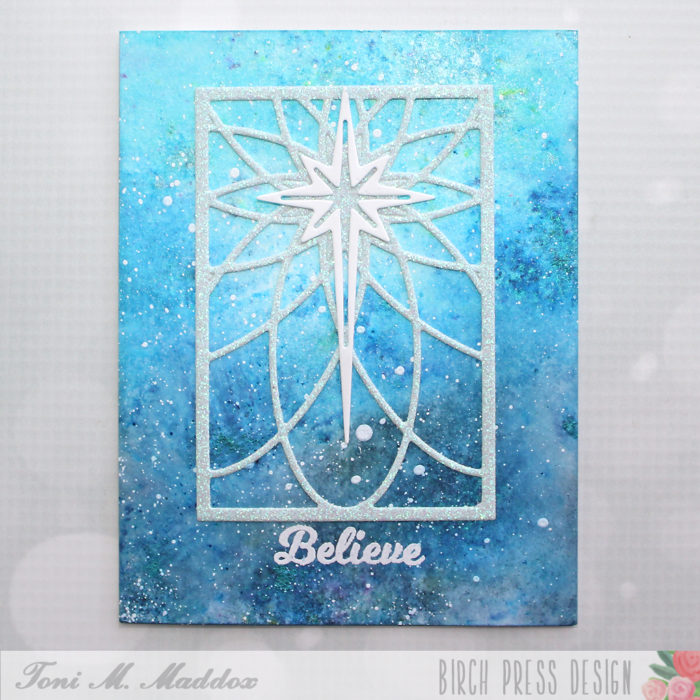
What rainbow is not complete with out sparkle and shine! I added some iridescent drops to each opening in the die cut!
As always, I hope you enjoyed today’s project… and if you want to see more details just click on the video below and see how these projects come together step by step!
Make sure you stay tuned for more wonderful projects coming soon! Have a great day and always remember… Be Creative!

Supplies