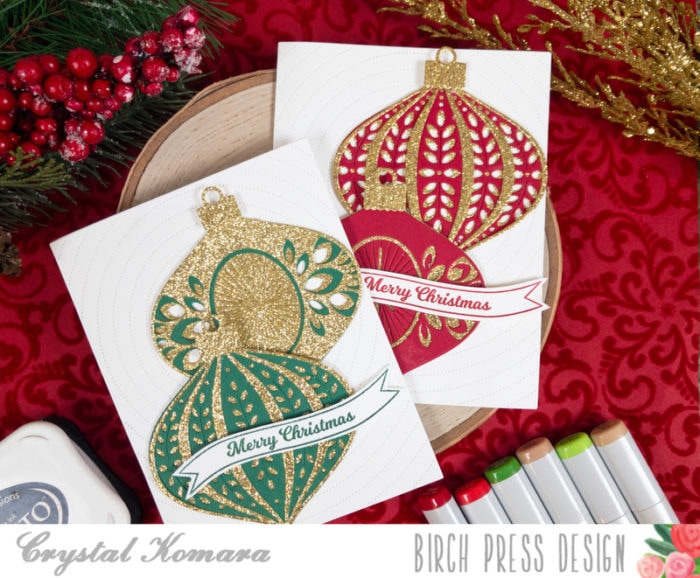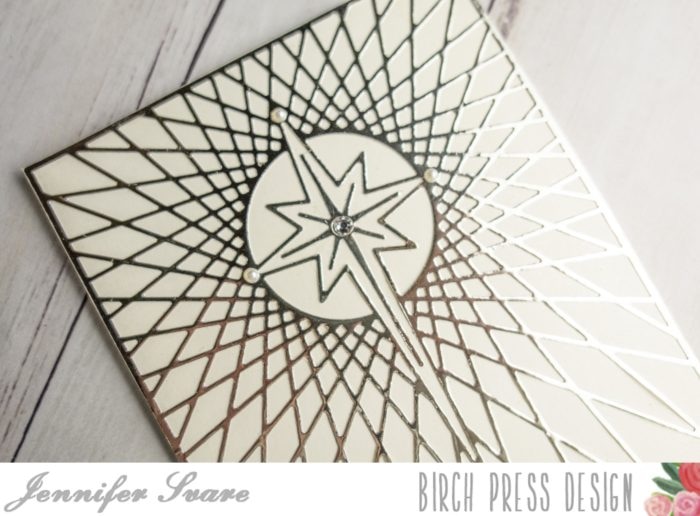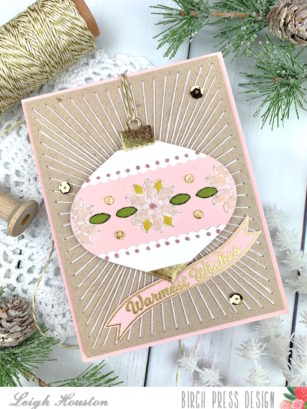
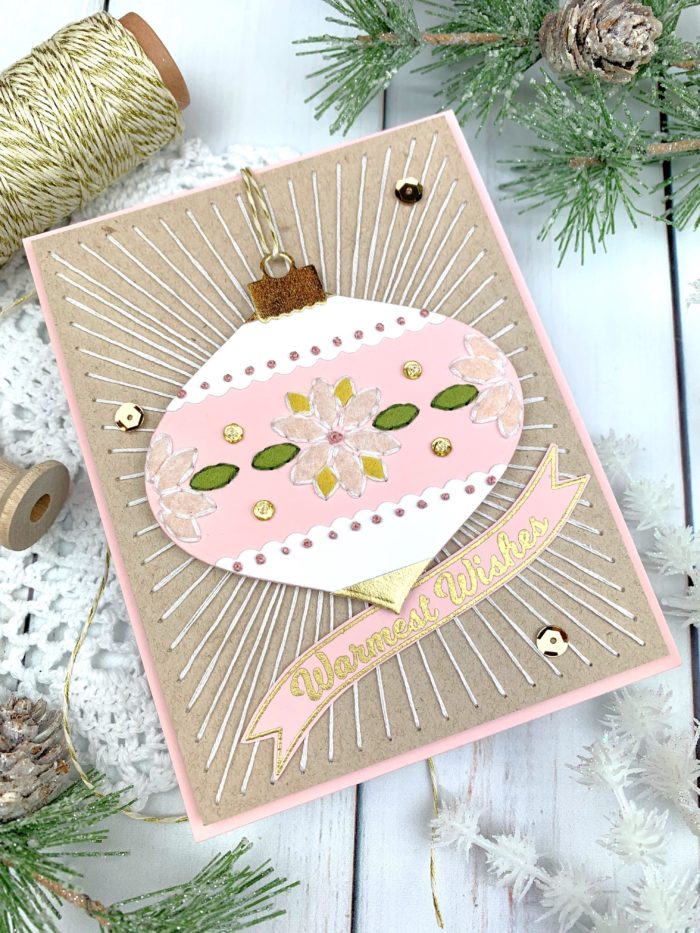
Hello, friends! I am so happy you stopped by today for this holiday string art card made with Birch Press Designs’s Flicker Ornament Layering dies. I had so much fun making this card… let’s walk through the process!
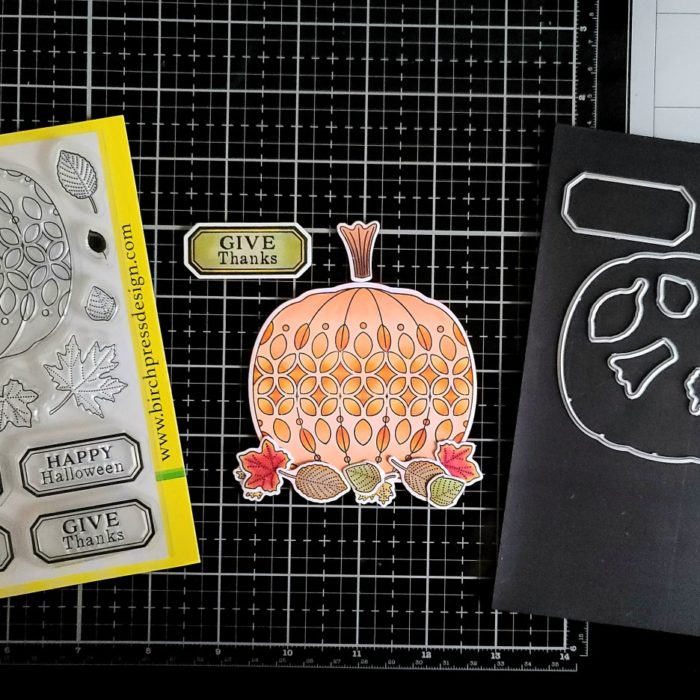
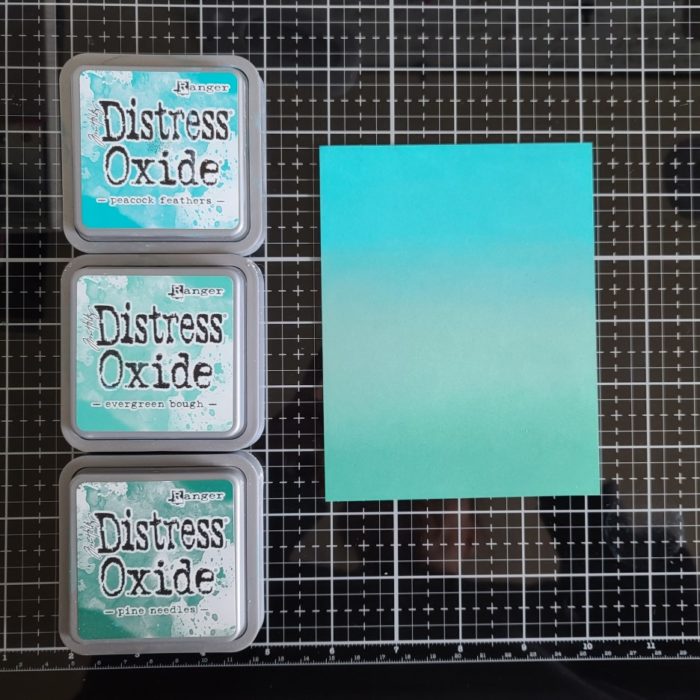
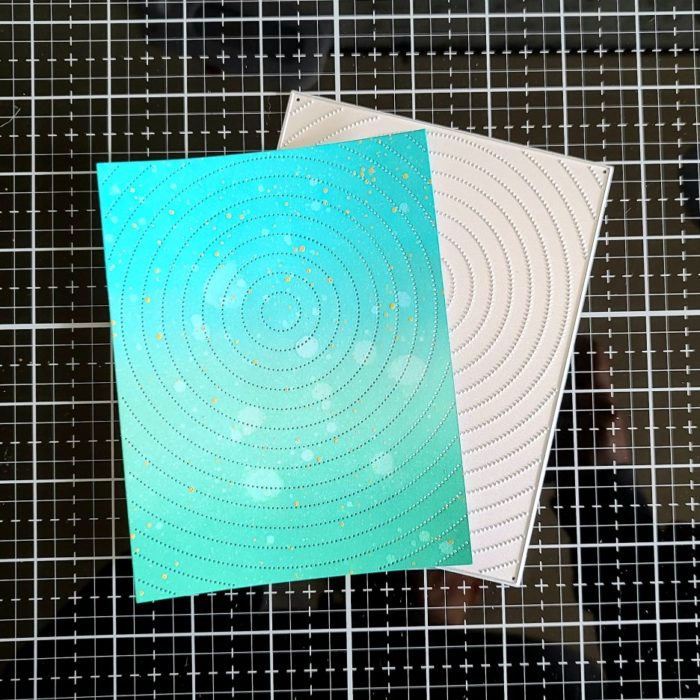
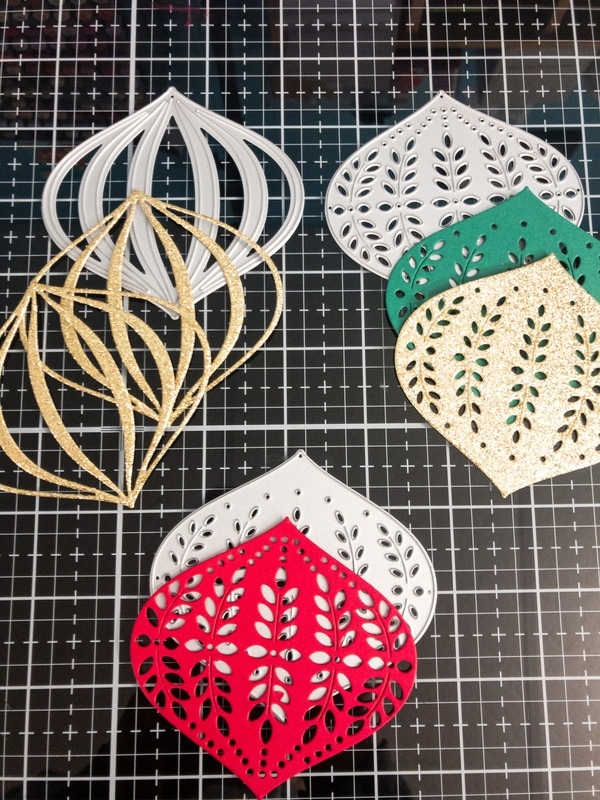
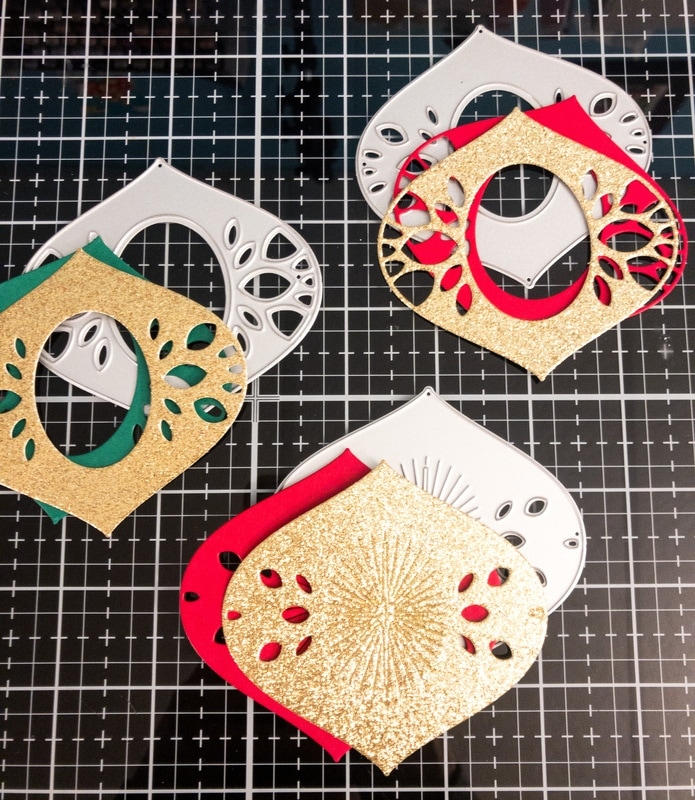
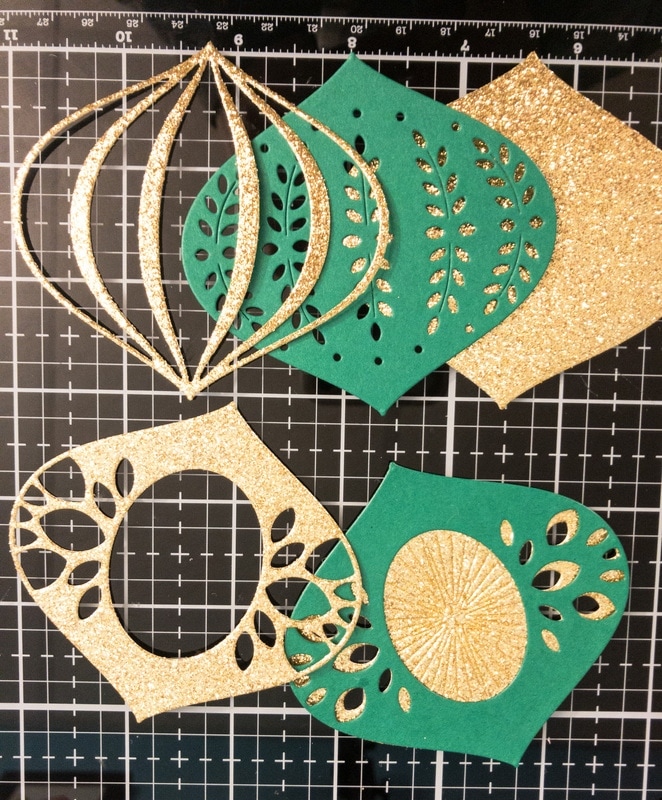
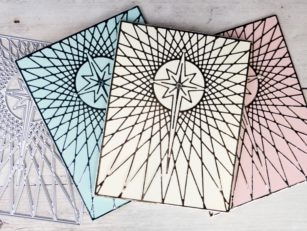
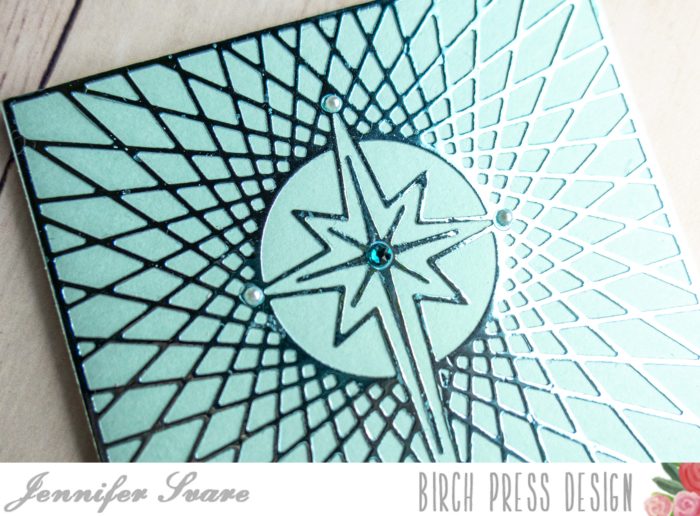
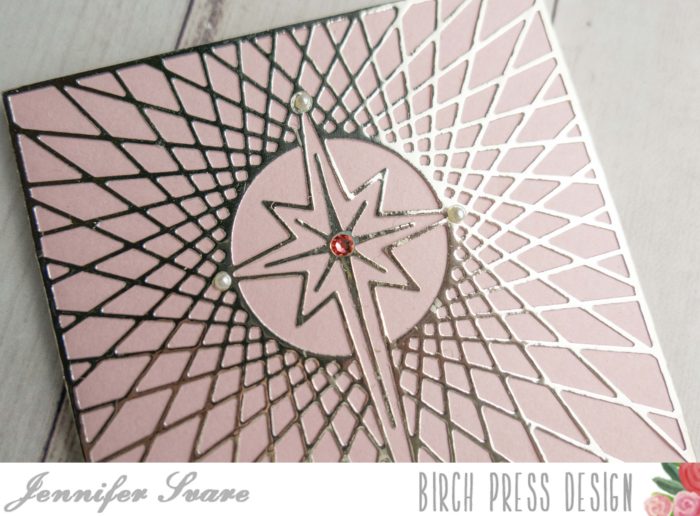
I started my card by making a string art base on a panel of kraft cardstock. You can find a photo tutorial on how to make this panel here. Then it was time to make the ornament. I cut a base layer from blush pink cardstock using Birch Press’s Ornament Basics die set (an absolute must-have for creating beautiful Christmas bauble ornament). I also cut accents from metallic gold cardstock and plain white cardstock, layering them to create the ornament.
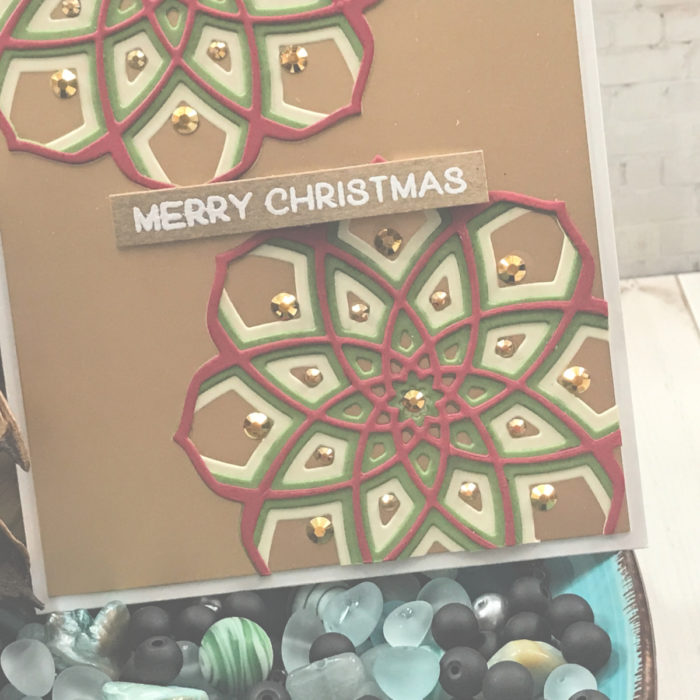
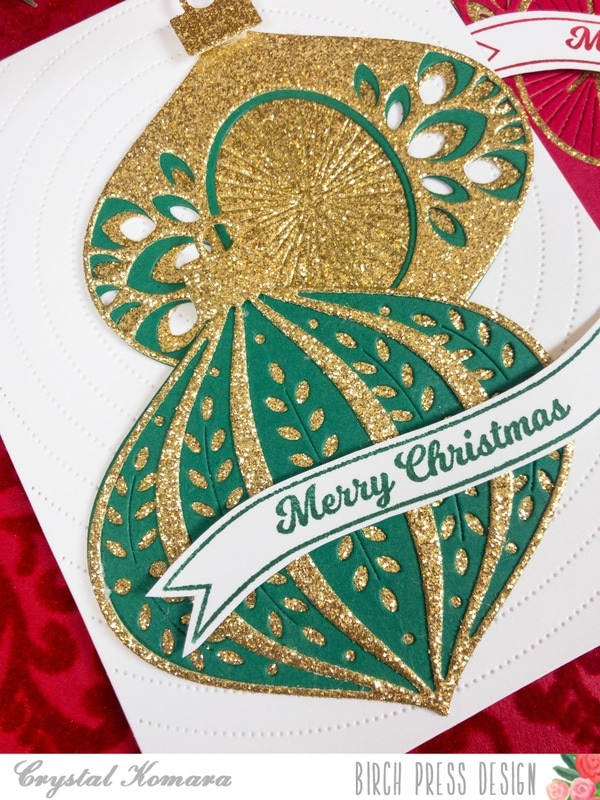
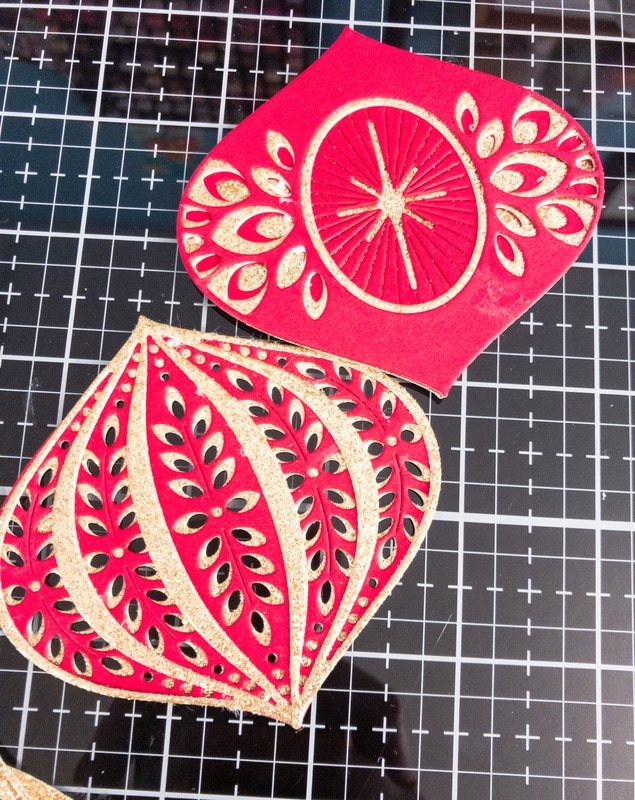
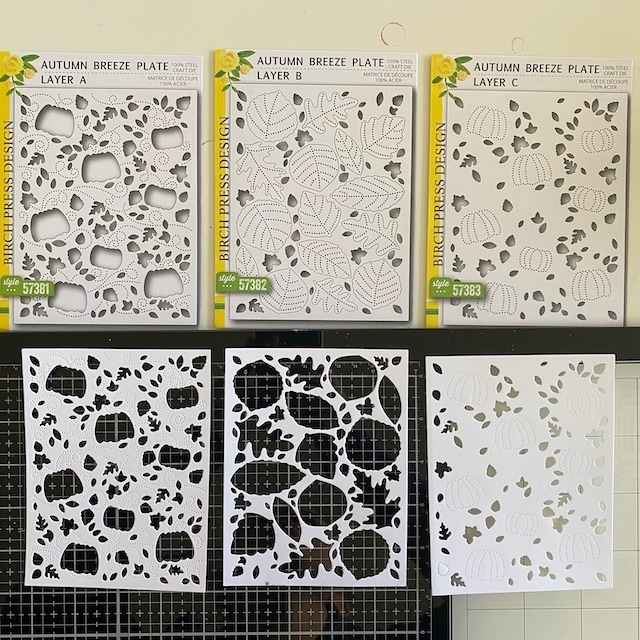
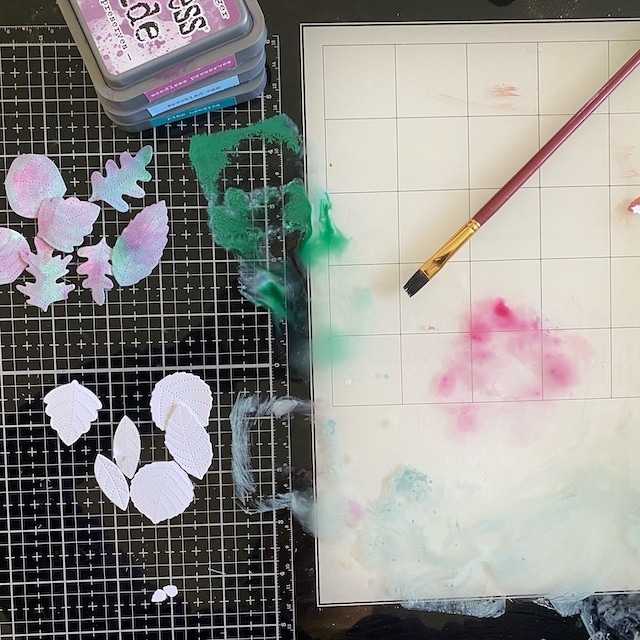
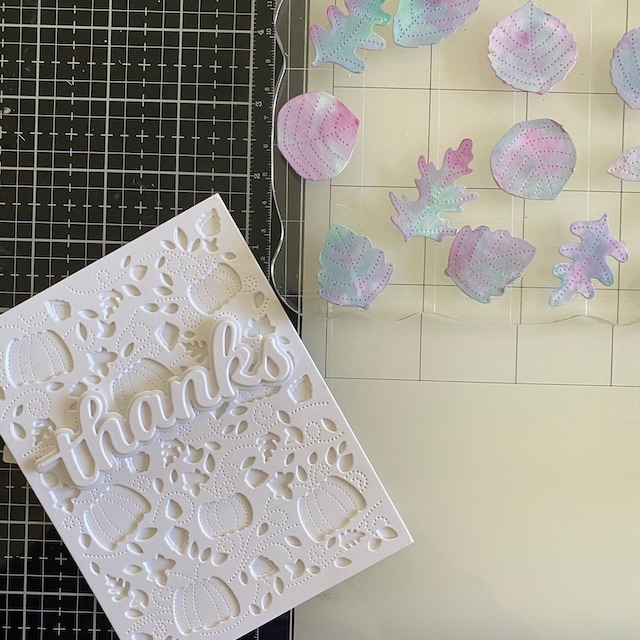
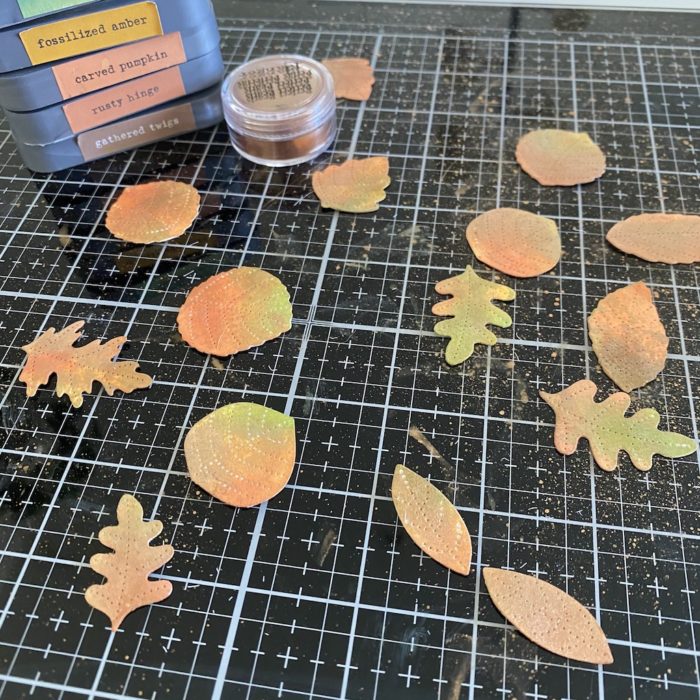
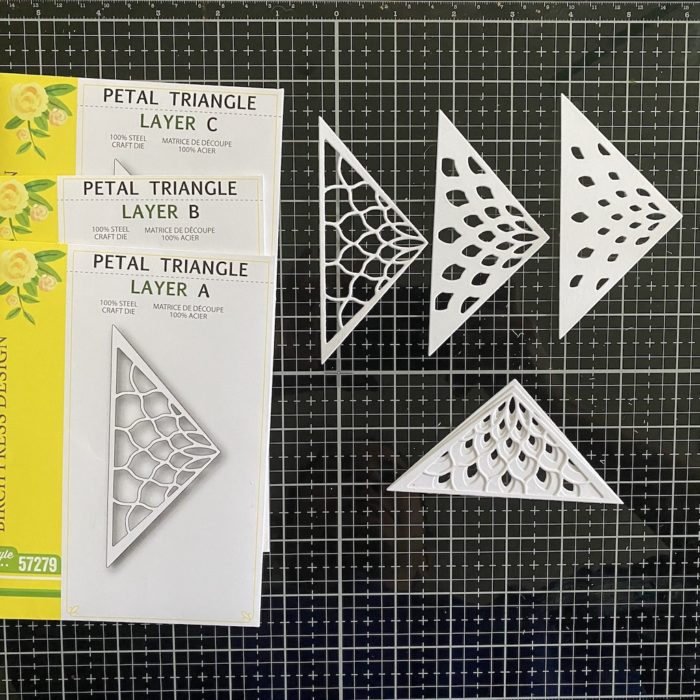
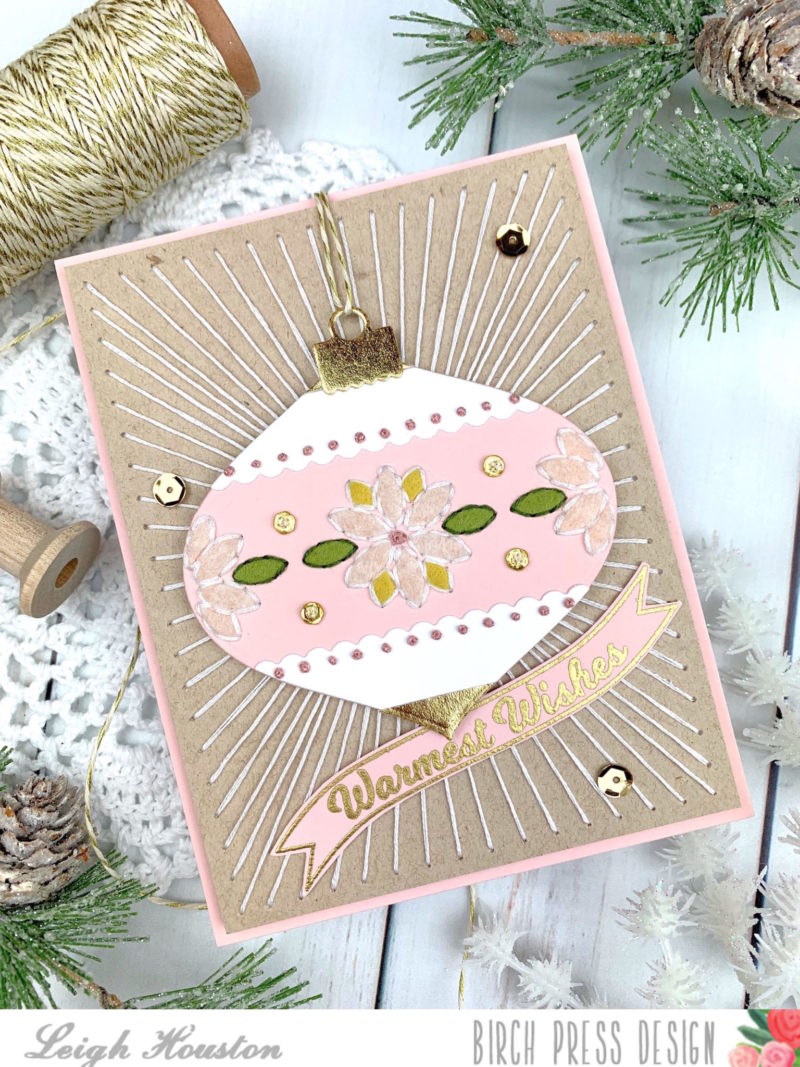
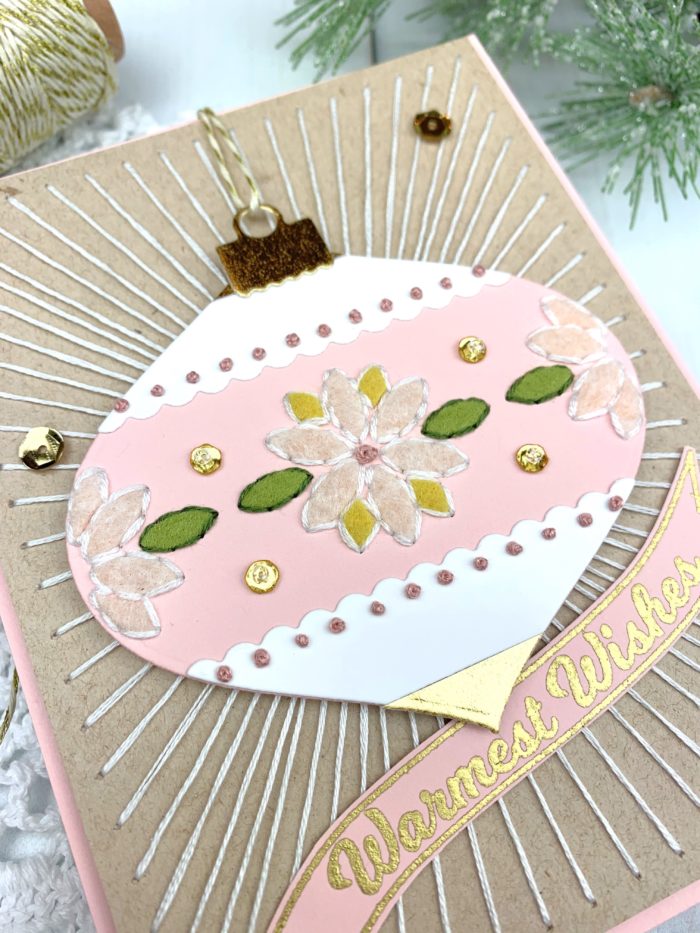
For my embellishments, I used the Flicker Ornament Layer B die to cut pieces from wool felt. Before cutting, I adhered double sided adhesive to the back of the felt and used a precision cutting plate to make sure I got nice clean cuts. After adhering the pieces to my ornament, I poked holes around the edges and added simple backstitching for added texture. I also added french knots along the pierced border of the ornament embellishments for some more interest.
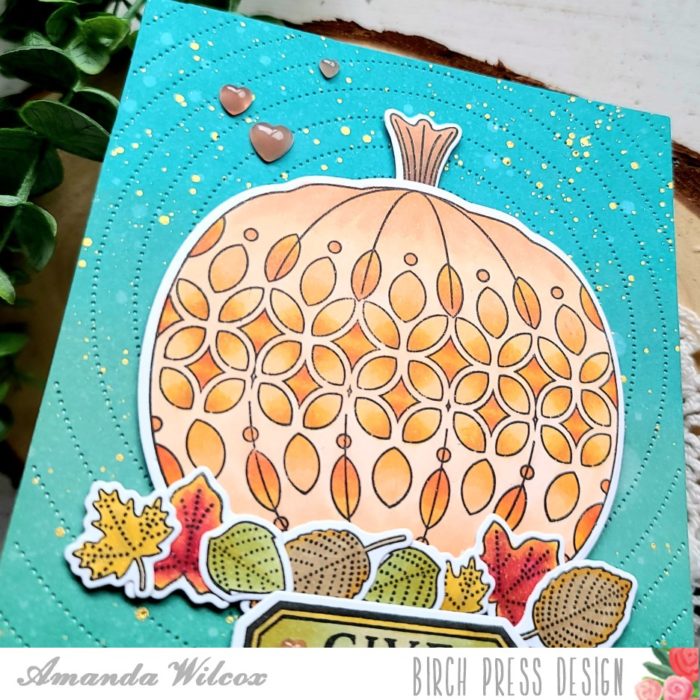
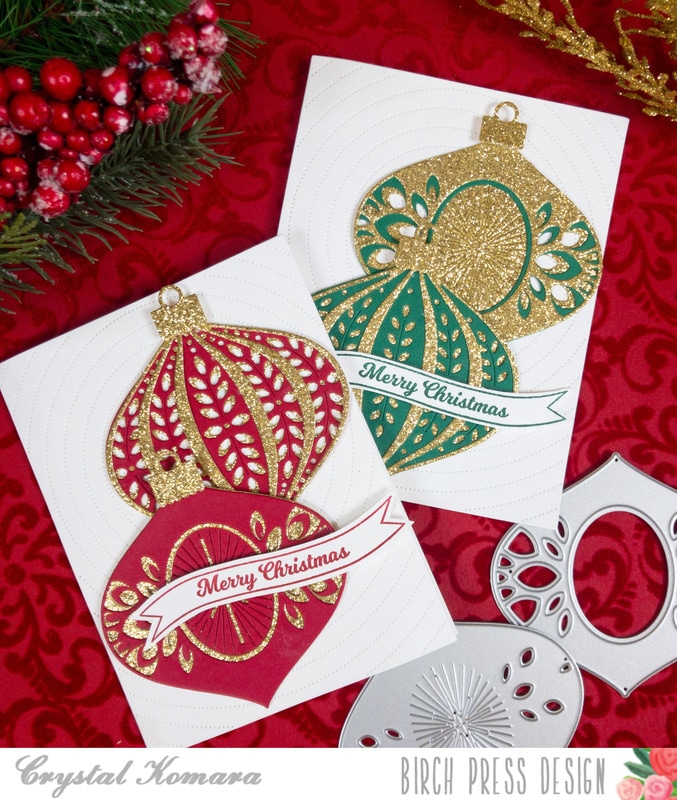
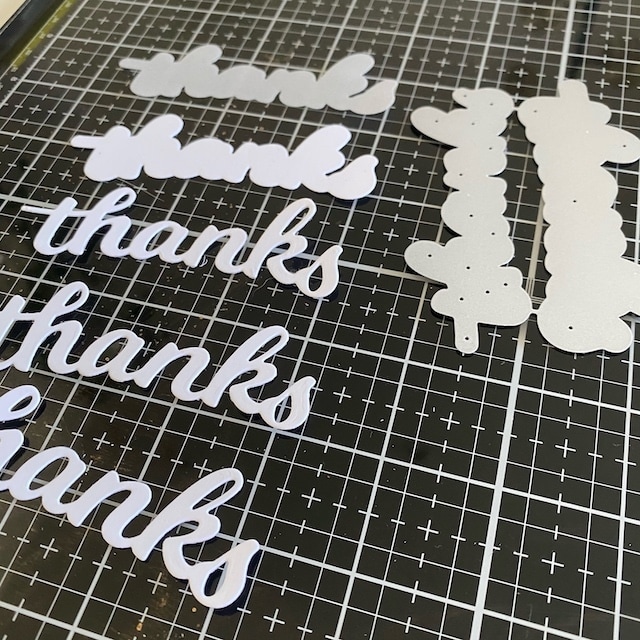
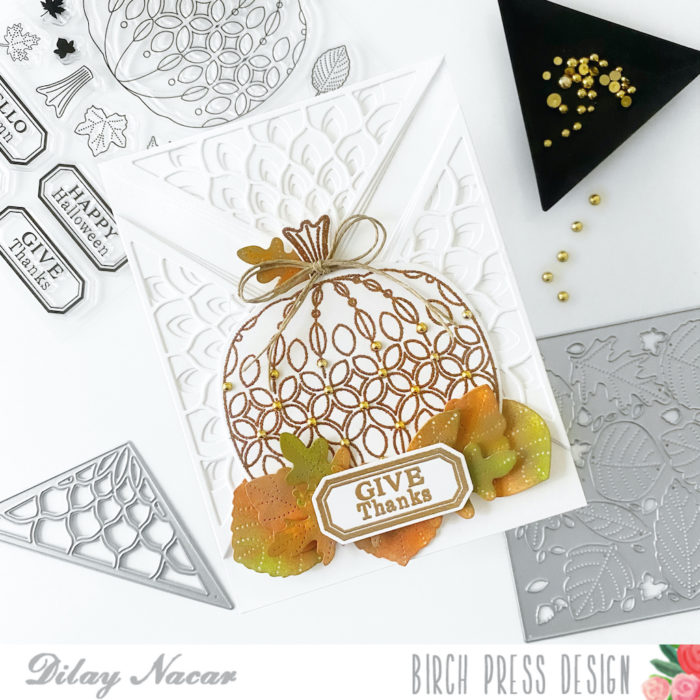
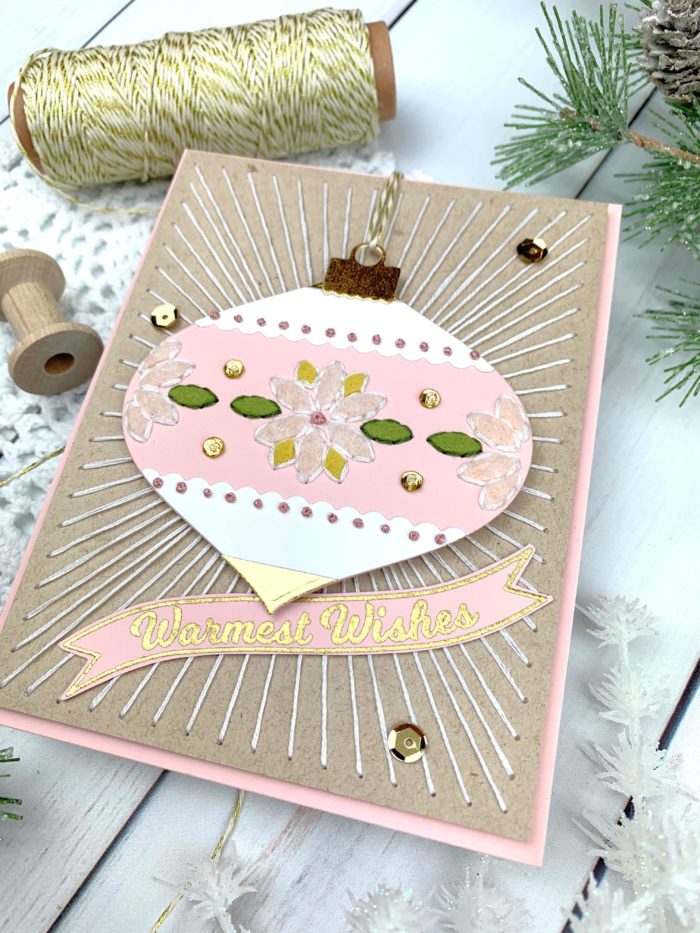
To finish my card, I stamped my sentiment onto blush cardstock using the Christmas Ornament and Labels stamp set, embossing it in gold. I adhered my ornament to the string art base, added my sentiment, and dotted a few gold sequins here and there for a little sparkle.
I hope you enjoyed this fun holiday card and that it inspired you for your holiday craft projects! Links to the products I used are below. Thanks for stopping by and I’ll see you again soon with another Birch Press Designs cardmaking project!
Supplies